manuals.online logo
Brands
  1. Home
  2. •
  3. Brands
  4. •
  5. Vermont Castings
  6. •
  7. Fireplace Accessories
  8. •
  9. Vermont Castings 3440 User manual

Vermont Castings 3440 User manual

Gasket Kit #3440
Installation Instructions
for the Vigilant, Resolute,
Intrepid, Intrepid II and
1975 - 1988 Defiant* stoves
Vermont Castings’ stoves use a rope-type gasket to
make a seal between some parts. With use, this gasket
can become compressed and begin to lose its effective-
ness. It should then be replaced. *1975 - 88 Defiants
do not have glass in the front doors.
Contents
4’ of steel reinforced griddle gasket
12’ of 5/16” door gasket
5’ of 3/16” glass gasket
1 tube of gasket cement
Tools Required:
Utility knife
Rubber mallet, or hammer and block of wood
Wire brush
Flat-blade screwdriver
Installation Precautions
Wait until the fire is out and the stove has cooled before
replacing the gasket, and be sure to follow the stan-
dard safety procedure for working with dusty materials:
Wear safety goggles and a dust mask.
Installation Instructions
On most stoves you can remove the door(s) simply by
swinging them back and froth while lifting, to free the
hinge pins from their supports. Set the door(s) down on
a flat, padded surface, such as a rug scrap or old towel.
The procedure for replacing the gaskets is the same,
regardless of stove type.
1. Remove the existing gasket by grasping an end and
pulling firmly.
2. Use a wire brush or the tip of a screwdriver to clean
the channel of any remaining cement or bits of
gasket. Remove stubborn deposits of cement with a
cold chisel if necessary.
3. Determine the correct length of the appropriate-sized
gasket by laying it out in the channel. Allow an
extra 1-2” (25-51 mm), and mark the spot to be cut.
ST559
Remove
gasket
11/30/00 djt
ST560
Fig. 1 Remove gasket then clean channel with wire brush.
4. Remove the gasket from the channel, place it on a
wood cutting surface, and cut it at the marked spot
with a utility knife. Twist the ends slightly to discour-
age the gasket from unraveling.
5. Apply the cement in the channel. Before you cut the
tip of the cement tube, however, knead the tube thor-
oughly to help mix back into the cement any water
that may have separated during storage. Practice
applying the cement on a piece of newspaper before
you actually place it in the channel.
Once you are familiar with the technique, lay a thin,
unbroken 1/8” (3 mm) bead of cement in the chan-
nel. Avoid saturating the gasket with the cement. If
saturated, the gasket will lose its resiliency.
6. Starting at one end, press the gasket into the chan-
nel. Ensure a good joint where the gasket ends meet
before trimming any excess. Do not overlap the
gasket ends or leave ends with ragged edges.
ST559
Remove
gasket
11/30/00 djt
Cement
Stove Gasket
ST561
Fig. 2 Lay a bead of gasket cement then press gasket in
place.
7. Replace the door(s) by aligning the hinge pins with
the supports, and pressing down gently. It may help
to swing the door back and forth gently as you press
down. Press the part firmly against its normal mat-
ing surface to seat the gasket evenly in its channel.
2008844 7/08 Rev. 10
Tap it with the rubber mallet (or hammer/block of
wood) to help seat it properly. Never hit cast iron
directly with a metal hammer.
8. Clean any excess cement from around the channel;
extra cement left on painted iron will leave a white
residue. Extra cement will attack and dull an enam-
elled finish, so remove it immediately with a damp
rag. Then, let the cement that holds the new gasket
dry for at least 24 hours. Use a slip of waxed paper
between the gasket and the mating surface to keep
the cement from migrating through the gasket and
sticking to the mating surface.
9. Test the gasket seal by closing the door or griddle
on a piece of paper. Pull gently on the paper. A good
seal will provide firm resistance. A poor seal will let
the paper move freely.
If a poor seal is apparent after you have installed a new
gasket and it cannot be corrected with door or latch
adjustments, it may be necessary to insert shim gas-
kets under the new gasket or to take other corrective
actions. Your dealer can provide the necessary materi-
als and advice.
The stove’s door latch(es) may need adjustment after
you have installed a new gasket. Initially, it may require
loosening to accommodate the gasket; after a few
weeks, it may need tightening to compensate for the
gasket compressing.
To adjust the door, first loosen the 7/16” lock nut on the
door latch by turning it counterclockwise with a wrench.
Then, turn the striker screw with an Allen wrench
- counterclockwise for a tighter door, clockwise for a
looser one.
Retighten the lock nut while holding the striker screw in
position with the Allen wrench once you have achieved
the proper adjustment.
Care of the Glass Panels
Most carbon deposits will burn off the glass during nor-
mal use. Constant deposits on the glass indicate low,
smoky fires. However, if you wish to clean the glass
panels, use only a cleaner especially made for cleaning
stove glass. Your dealer can supply this.
MHSC
149 Cleveland Drive • Paris, Kentucky 40361
www.mhsc.com

Other Vermont Castings Fireplace Accessories manuals

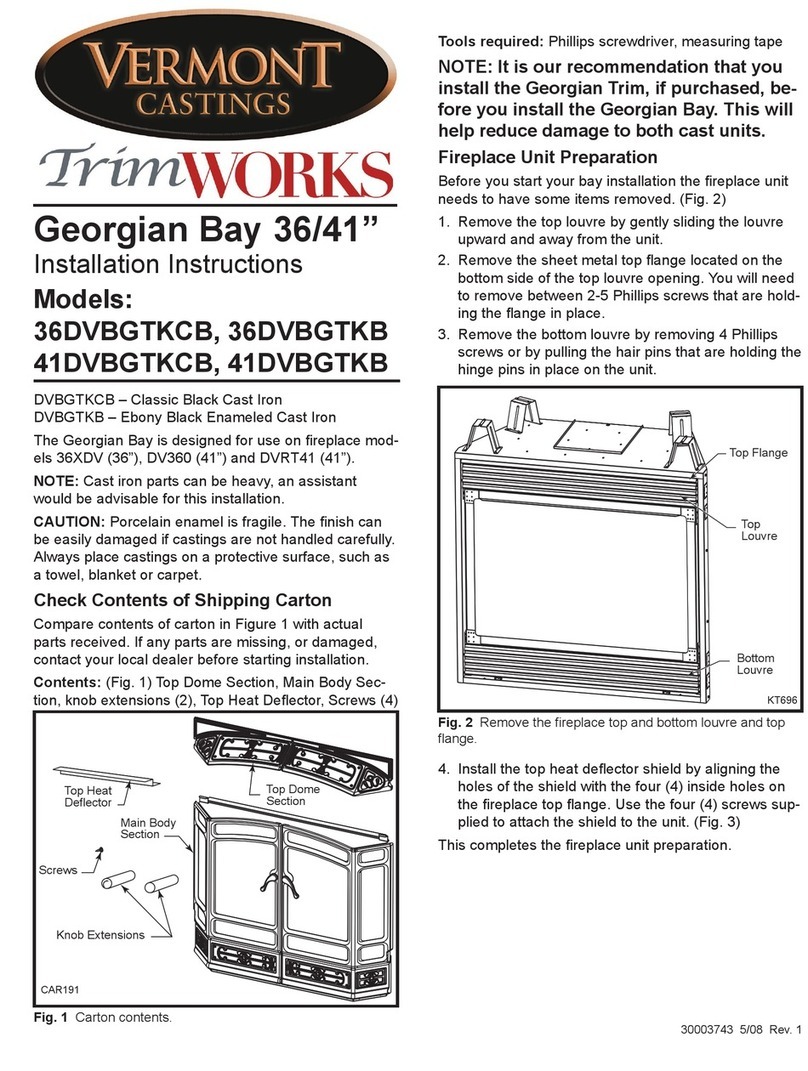
Vermont Castings TrimWorks 36DVBGTKCB User manual

Vermont Castings

Vermont Castings TrimWorks 36DVBGTKCB User manual

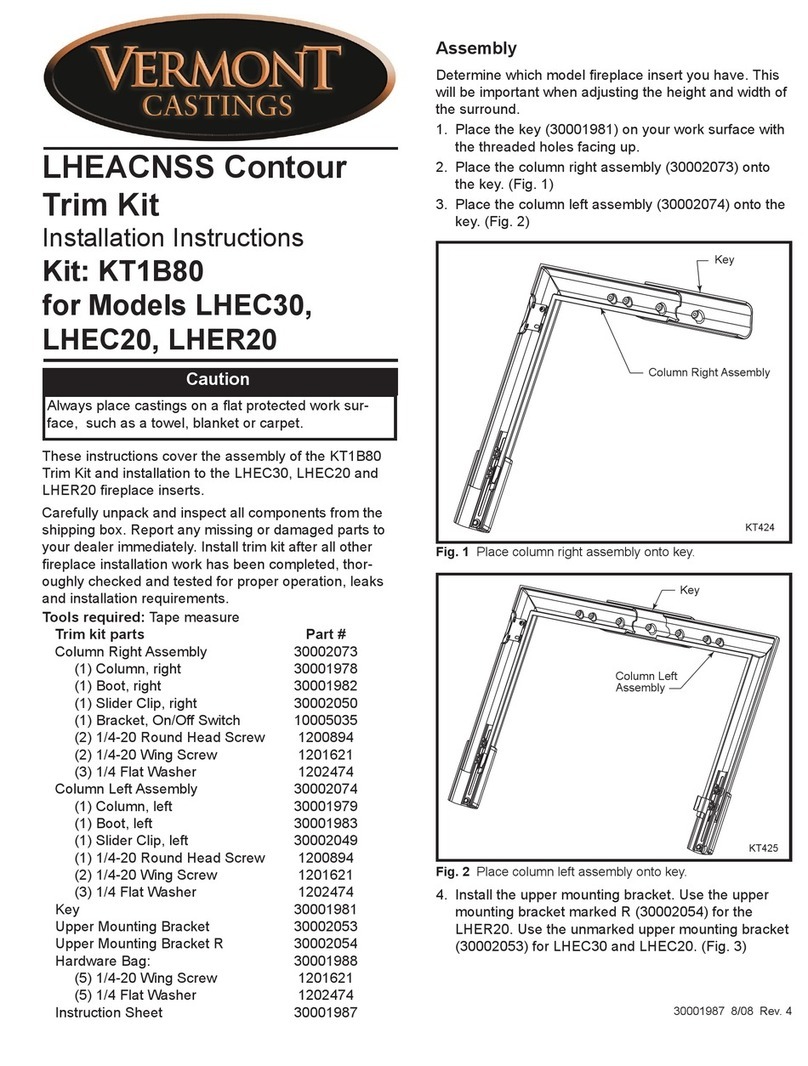
Vermont Castings LHEACNSS Contour KT1B80 User manual

Vermont Castings

Vermont Castings LHEACNSS Contour KT1B80 User manual

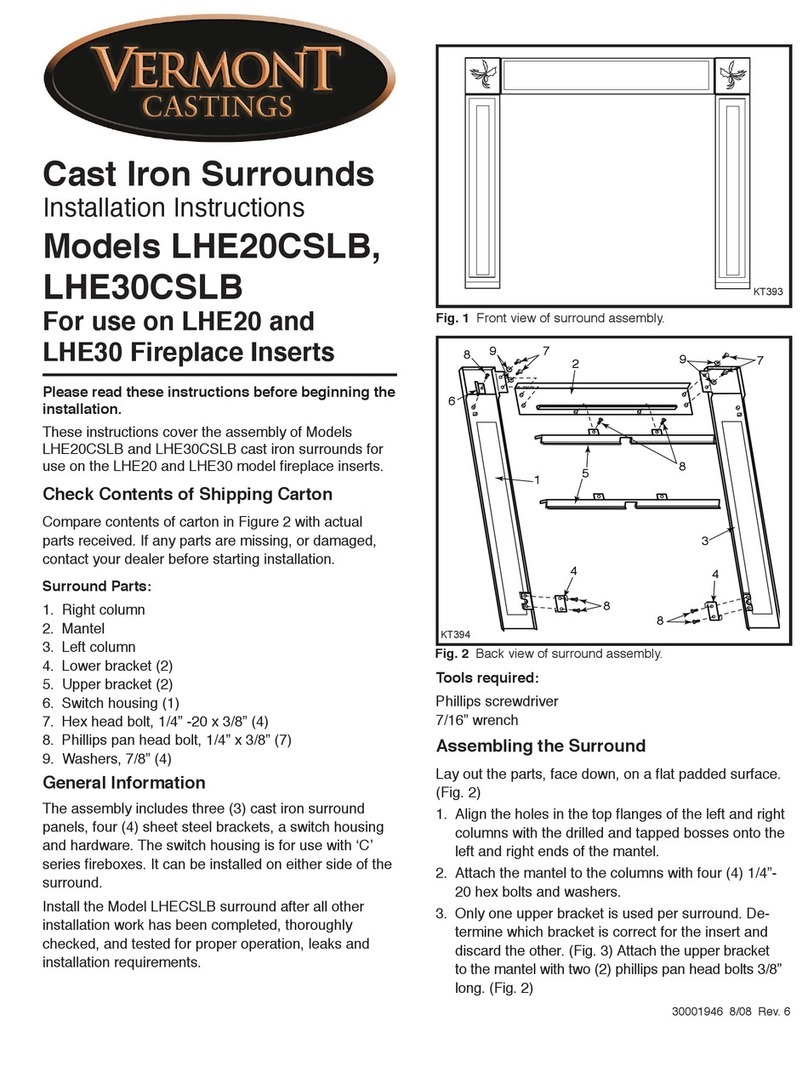
Vermont Castings LHE20CSLB User manual

Vermont Castings

Vermont Castings LHE20CSLB User manual

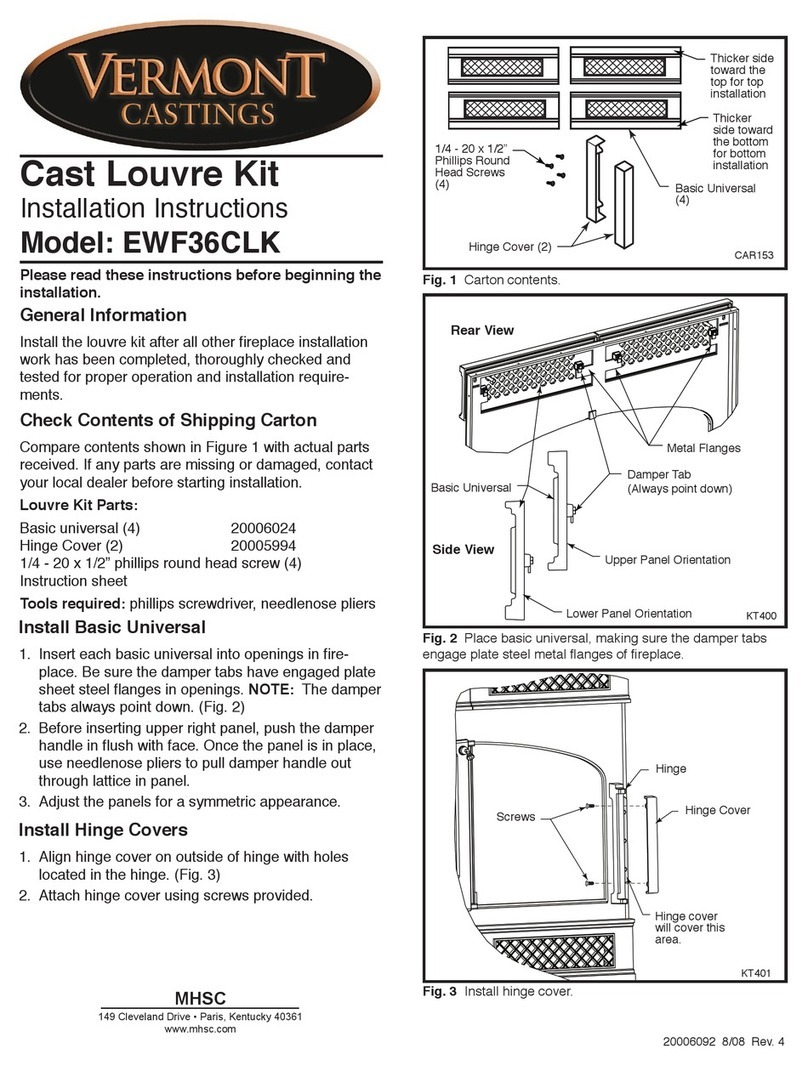
Vermont Castings Cast Louvre Kit EWF36CLK User manual

Vermont Castings

Vermont Castings Cast Louvre Kit EWF36CLK User manual

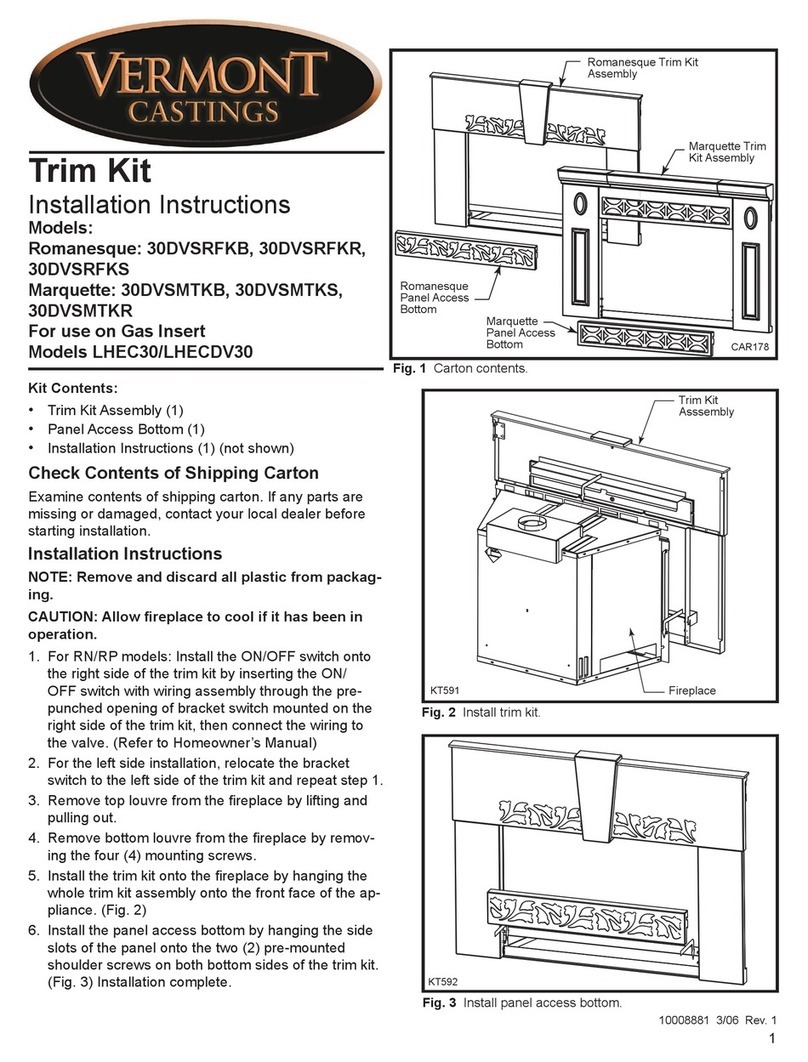
Vermont Castings Romanesque 30DVSRFKB User manual

Vermont Castings

Vermont Castings Romanesque 30DVSRFKB User manual

Popular Fireplace Accessories manuals by other brands

Desa Mantel and Base W26TO Assembly and installation instructions

Desa

Desa Mantel and Base W26TO Assembly and installation instructions

Dimplex MFP050W install guide

Dimplex

Dimplex MFP050W install guide

IHP RDV-CONTF-BLK installation instructions

IHP

IHP RDV-CONTF-BLK installation instructions

Valor L2 SERIES installation manual

Valor

Valor L2 SERIES installation manual

Grand Canyon Gas Logs JUMBOSLIMBRNR-24 Installation and operation guide

Grand Canyon Gas Logs

Grand Canyon Gas Logs JUMBOSLIMBRNR-24 Installation and operation guide

Travis Industries 250-02736 manual

Travis Industries

Travis Industries 250-02736 manual

Outdoor Lifestyles ODCOUG-36SSL installation instructions

Outdoor Lifestyles

Outdoor Lifestyles ODCOUG-36SSL installation instructions

Empire Comfort Systems EMBC-1S-C-1 Assembly instructions

Empire Comfort Systems

Empire Comfort Systems EMBC-1S-C-1 Assembly instructions

Hearth & Home Outdoor Lifestyles ODCOUG-36NR Owners manual care and operation

Hearth & Home

Hearth & Home Outdoor Lifestyles ODCOUG-36NR Owners manual care and operation

Hearth & Home ST36-CFP installation instructions

Hearth & Home

Hearth & Home ST36-CFP installation instructions

pleasant hearth ORION FA340TG manual

pleasant hearth

pleasant hearth ORION FA340TG manual

Desa PC-BVBN installation instructions

Desa

Desa PC-BVBN installation instructions

Town & Country Fireplaces TCWS.38CE2 instructions

Town & Country Fireplaces

Town & Country Fireplaces TCWS.38CE2 instructions

Lennox Hearth Products SV4.5CTS Series installation guide

Lennox Hearth Products

Lennox Hearth Products SV4.5CTS Series installation guide

Valor LT2 2700K manual

Valor

Valor LT2 2700K manual

European Home FULCRUM H Series installation guide

European Home

European Home FULCRUM H Series installation guide

Valor 614CVI user manual

Valor

Valor 614CVI user manual

Heatilator WHB30 installation instructions

Heatilator

Heatilator WHB30 installation instructions

manuals.online logo
manuals.online logoBrands
  • About & Mission
  • Contact us
  • Privacy Policy
  • Terms and Conditions

Copyright 2025 Manuals.Online. All Rights Reserved.