ESC
000
SE T
30%P
T
1 2 3 4
5 6 7 8 9
10
A B
06 08/2 017
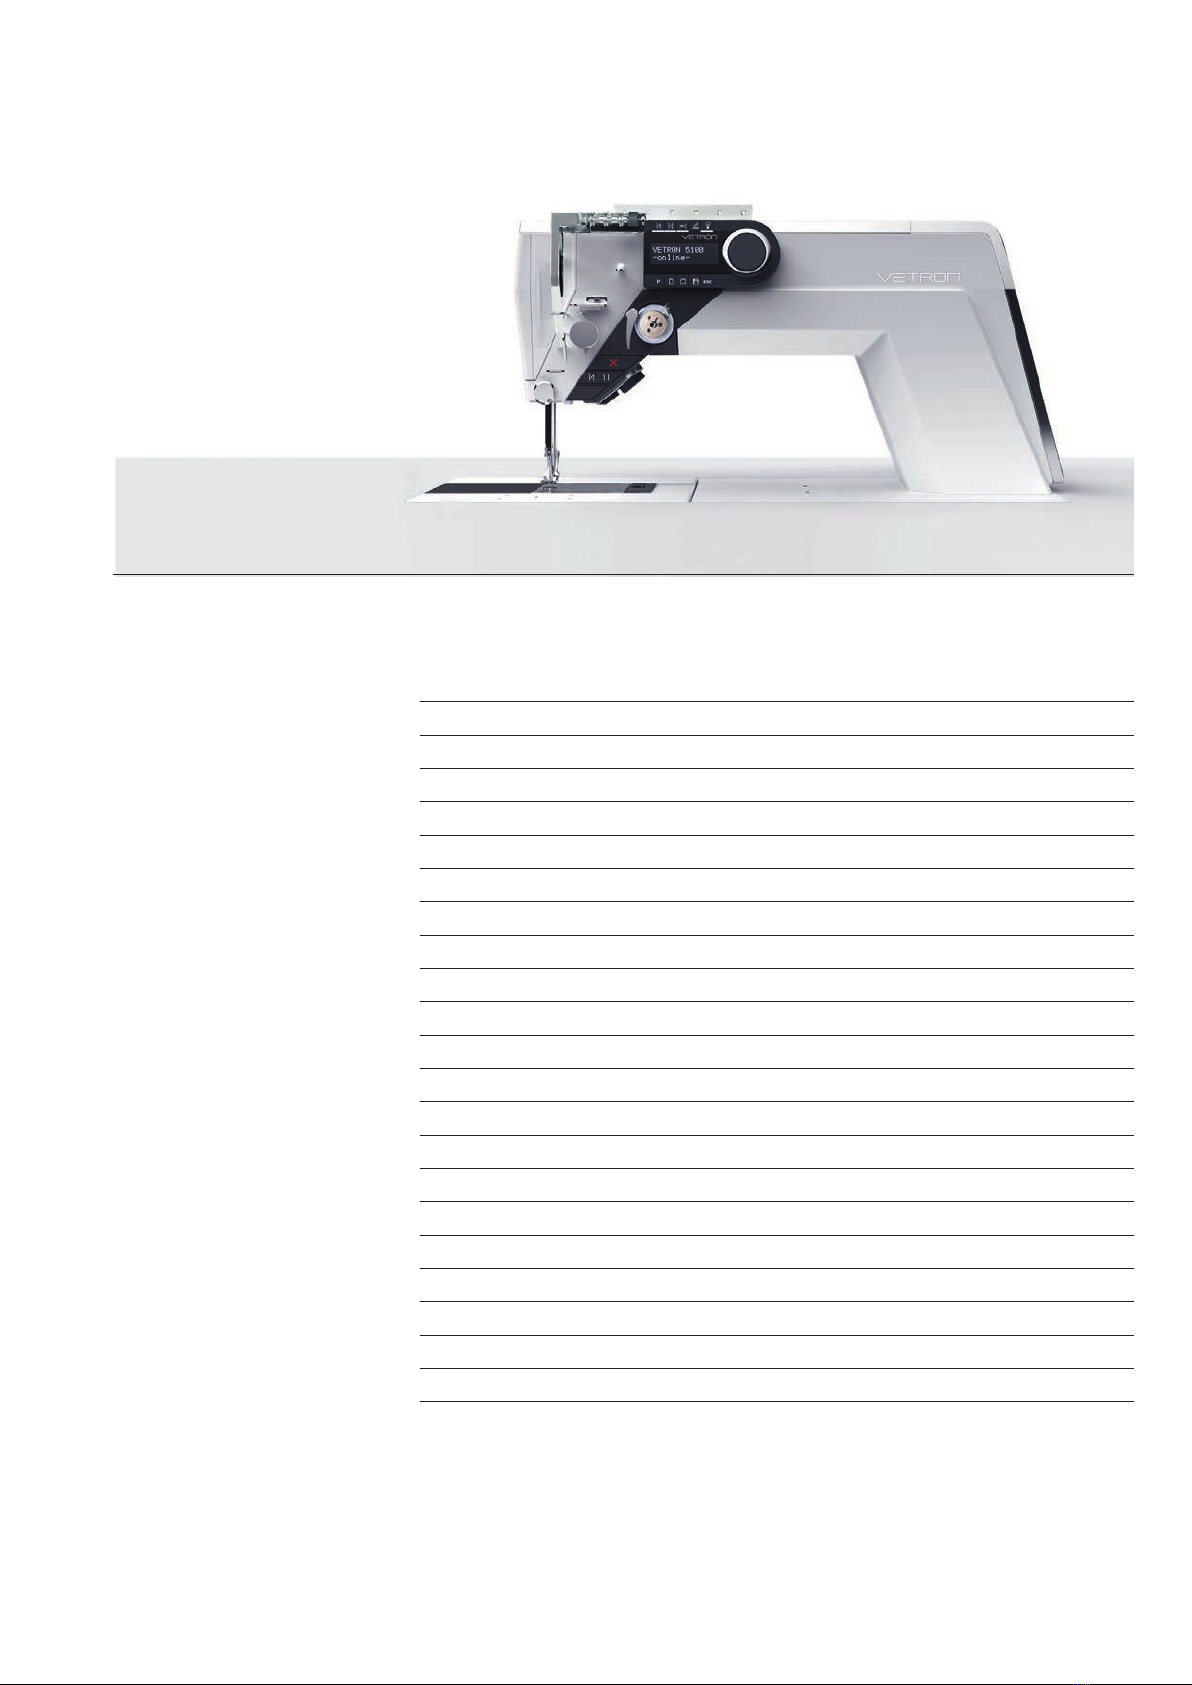
VETRON 5000/5100 - FLAT BED MACHINE
07
08/2 017
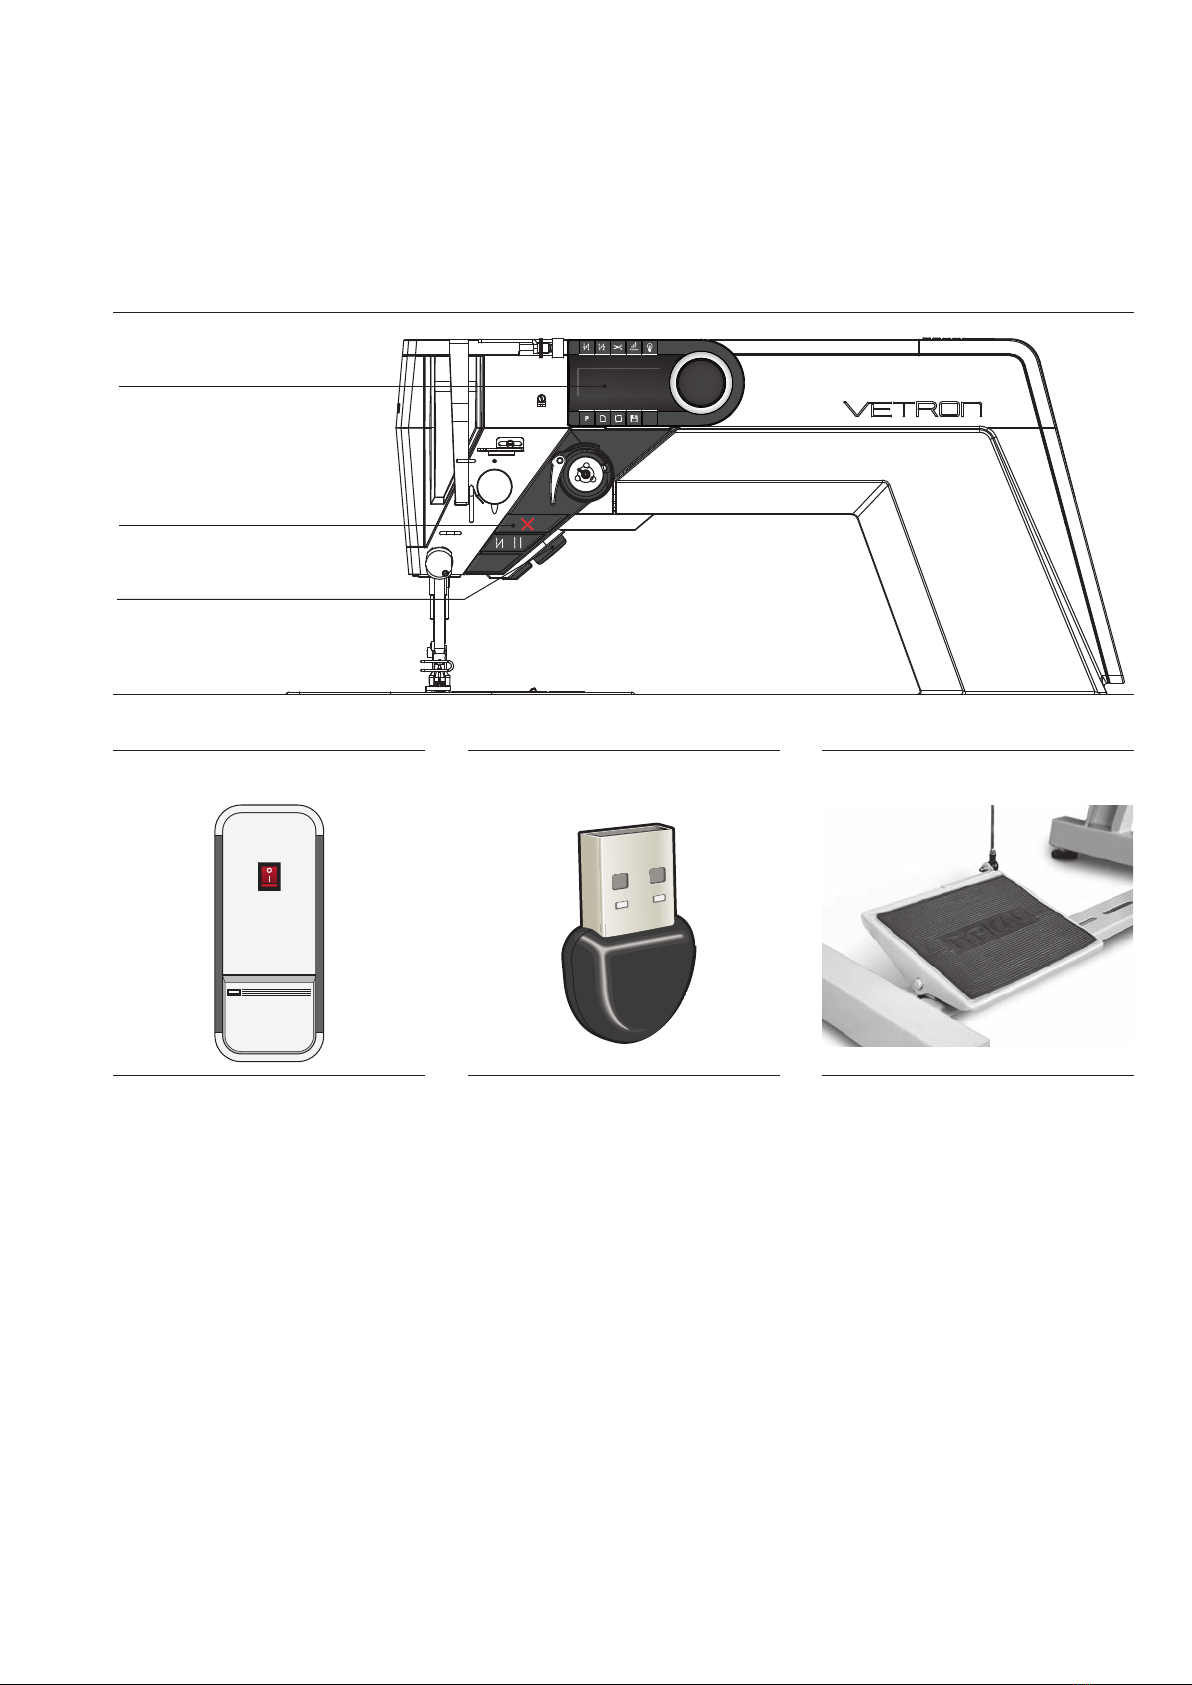
VETRON 5000/5100 - FLAT BED MACHINE
INSTRUCTION BOOK
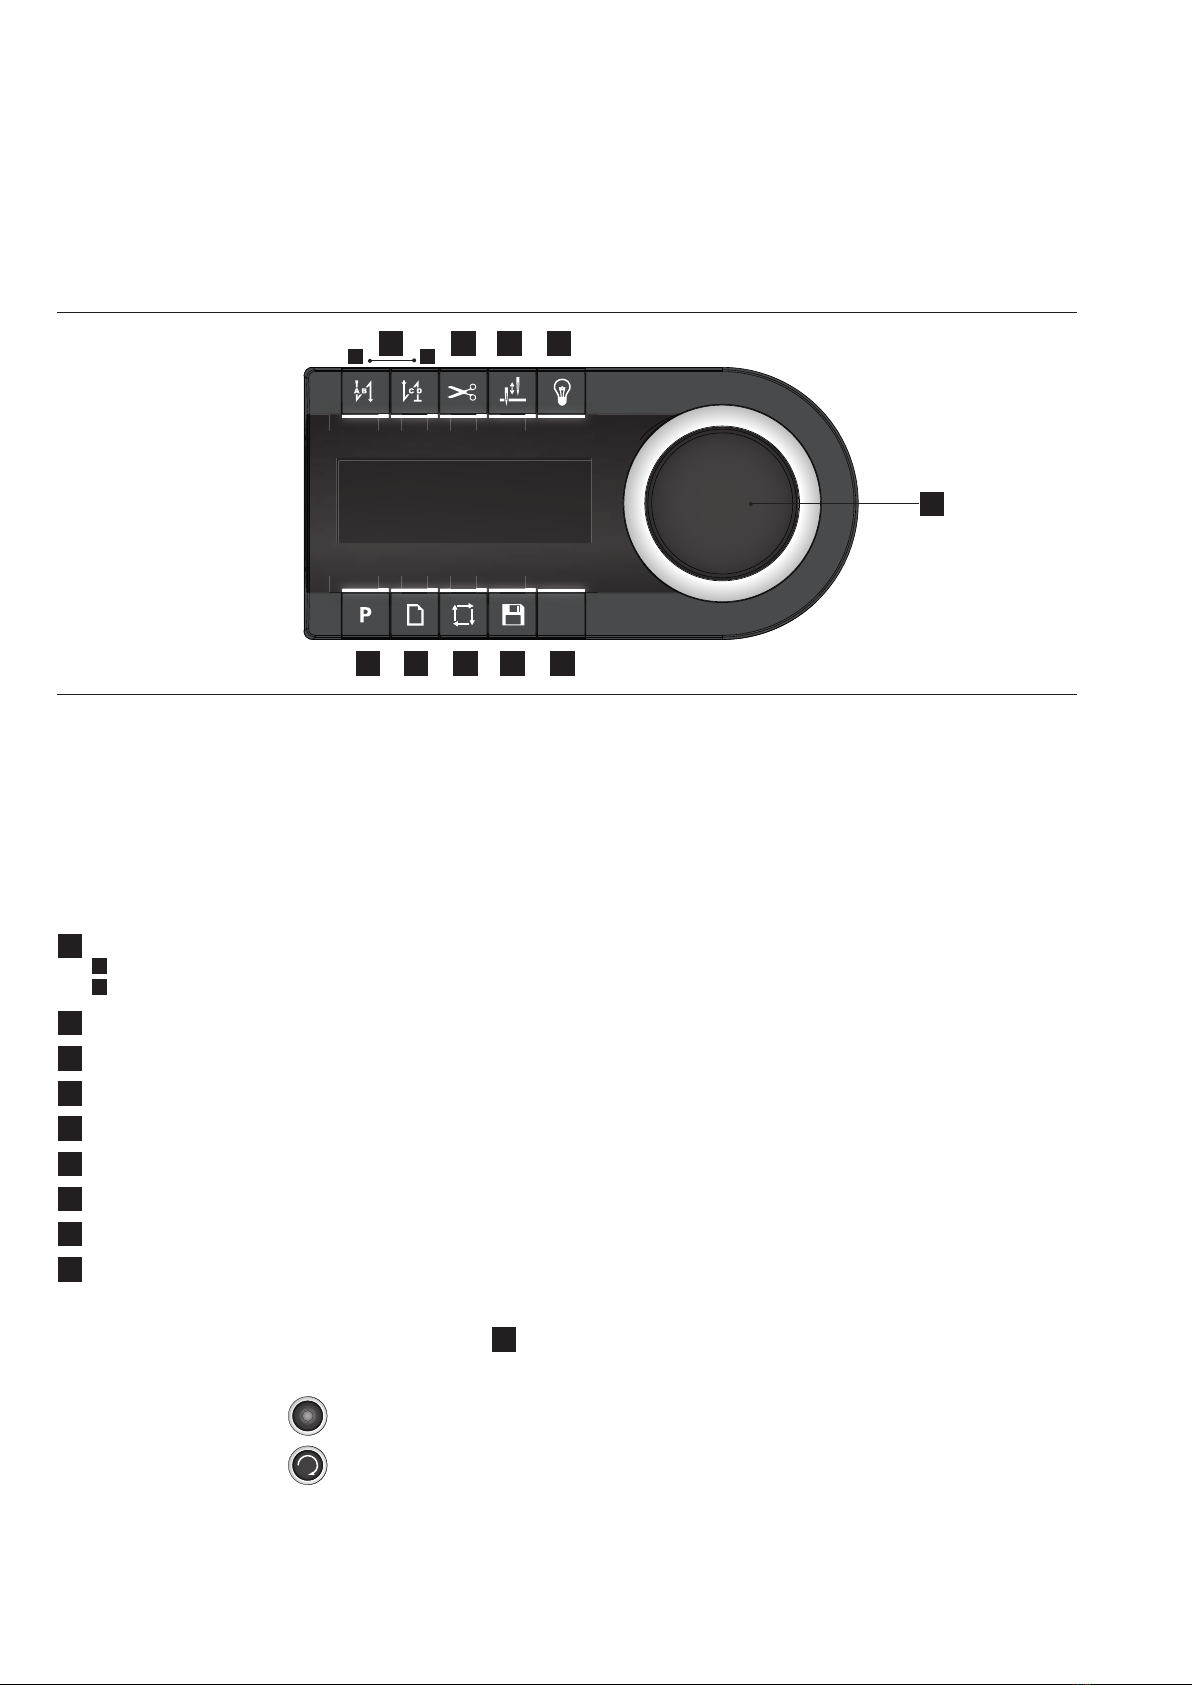
02. OPERATING PANEL
The operating fi eld indicates the current operating states.
Operation takes place via continuous dialog between control and operator.
Depending on the operating state, di erent texts are displayed.
The following functions are assigned to the BUTTONS ABOVE AND BELOW THE DISPLAY:
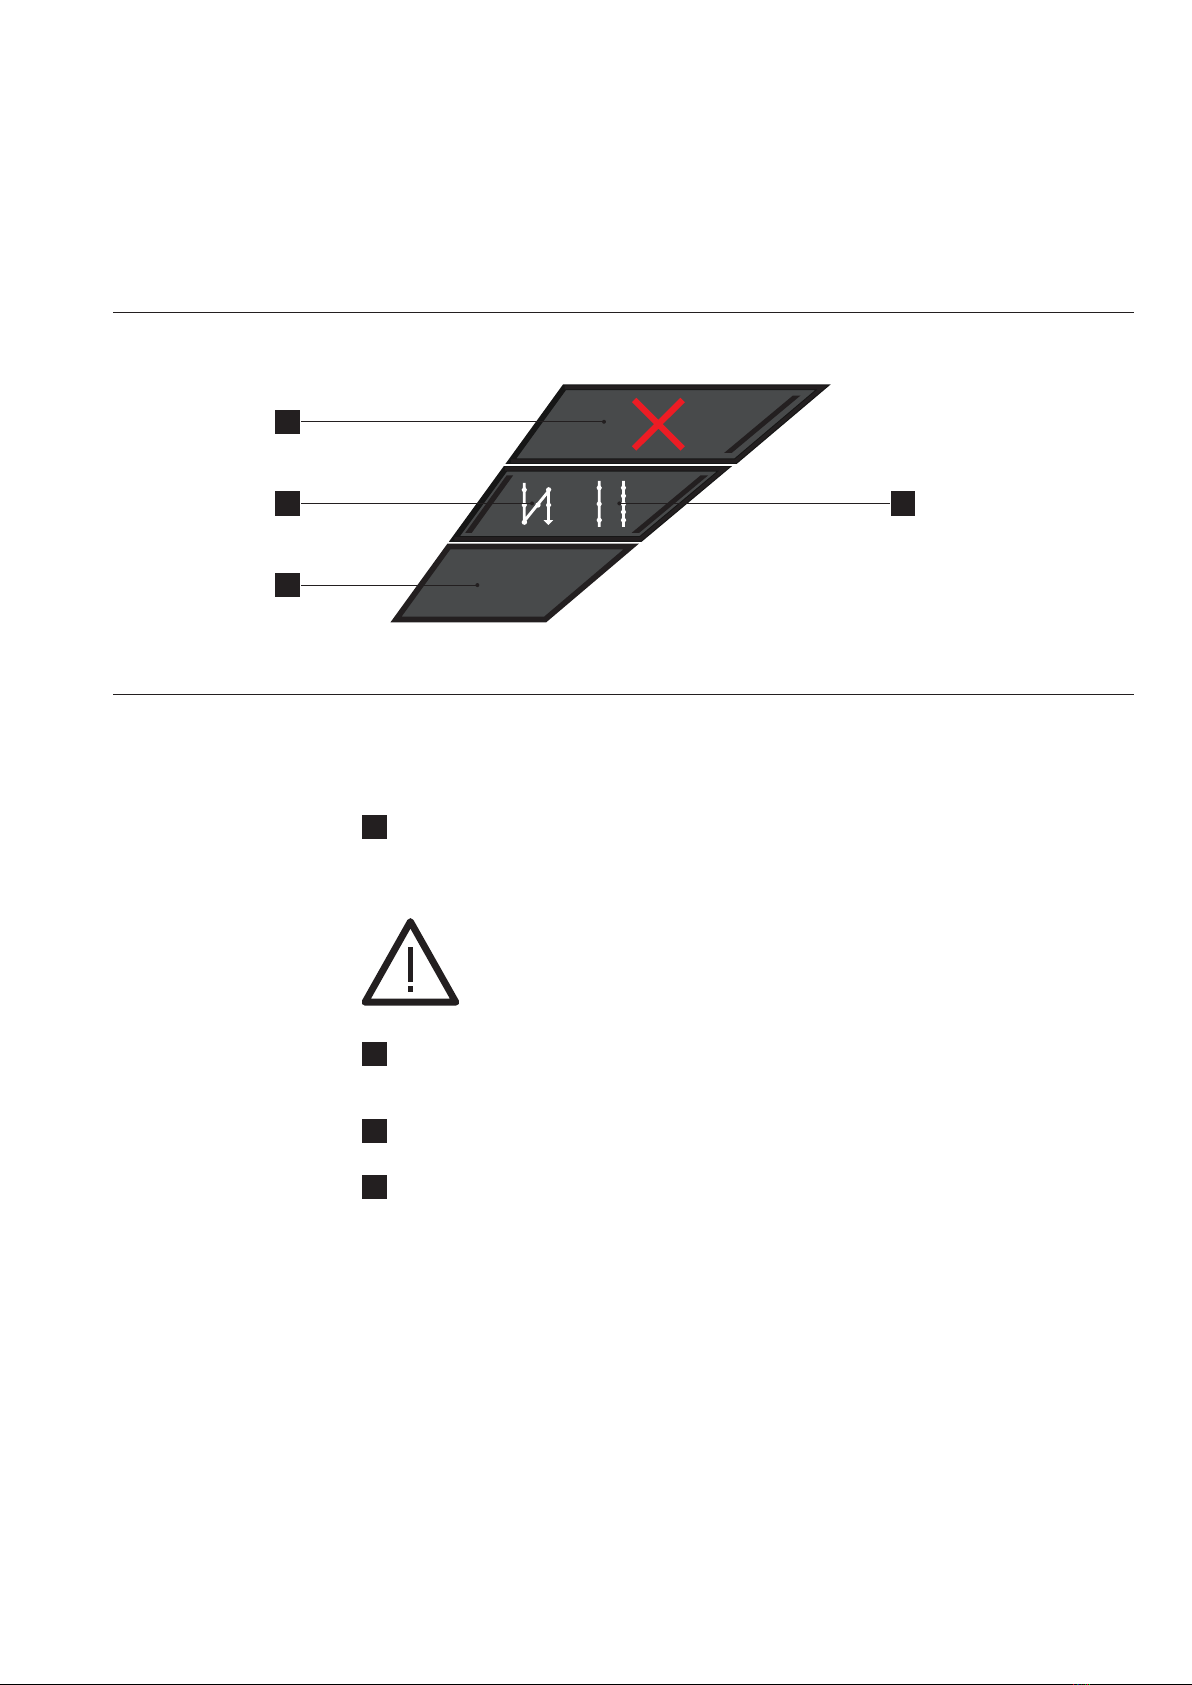
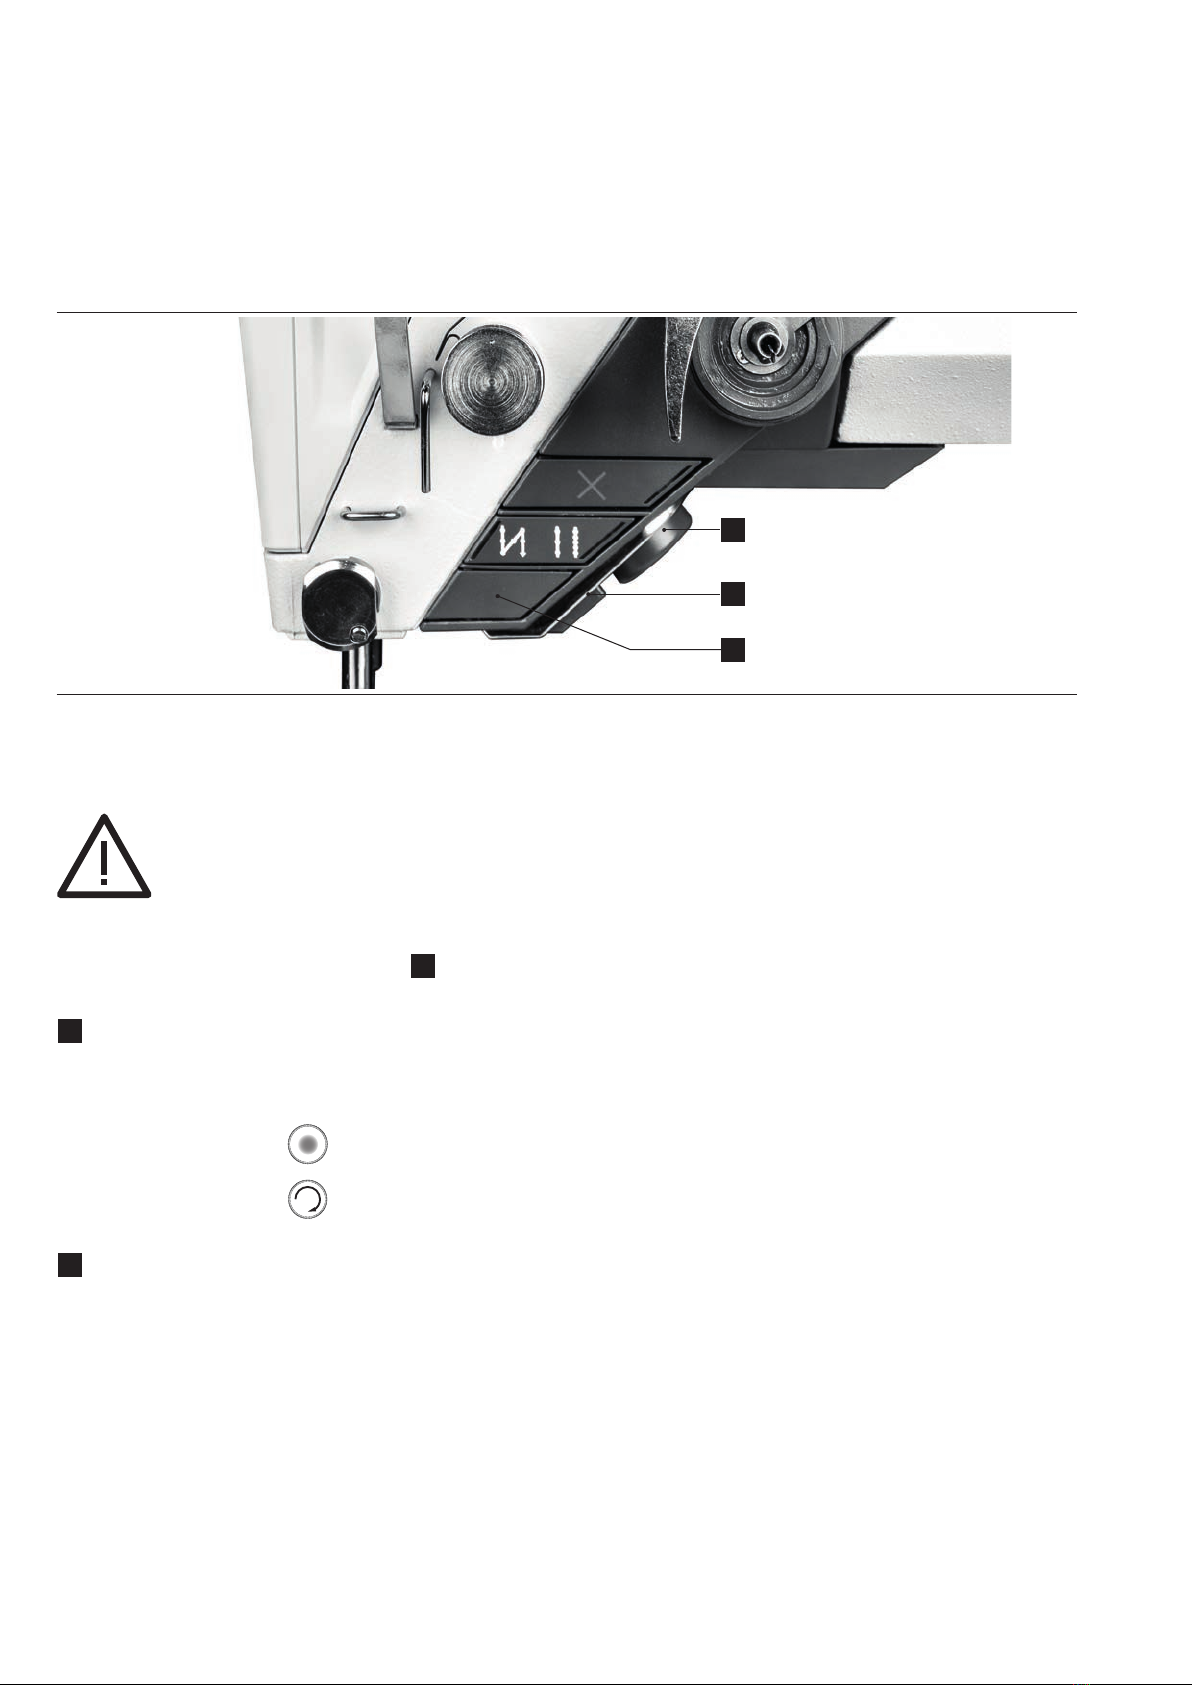
1 BACKTACK (from left to right):
A Start backtack
B End backtack
2 THREAD TRIMMING
3 NEEDLE UP/DOWN AFTER STOP
4 LIGHT ON/OFF
5 PARAMETERS
6 NEW PROGRAM
7 PROGRAMMED SEAM
8 SAVE
9 CANCEL
If a function is activated, this is indicated by illuminating the corresponding LED.
In order to CHANGE OR SET VALUES, use the JOG KEY ( 10 ):
Turning changes the values; pressing the JOG KEY enters the value.
In the following, the operating type is indicated by the following icons:
Input = Press the JOG KEY:
Change = Turn the JOG KEY: