Viavi FiberChek User manual

VIAVI//Public
FiberChek Probe Microscope
FiberChek Probe Microscope
QUICK CARD
https://www.viavisolutions.com/en-us/products/fiber-inspection-cleaning
PON Fiber Inspection with Pass/Fail Analysis
This Quick Card outlines how to use the FiberChek Probe Fiber Inspection Microscope to
inspect fiber end faces commonly found in GPON and XGSPON deployments. The
FiberChek Probe can be operated autonomously or can be used in conjunction with an
Android or iOS device with VIAVI’s FiberChekMOBILE application. The FiberChekMOBILE
application is recommended when performing tests in direct sunlight or locations where the
screen cannot be easily viewed.
•FiberChek Probe Fiber Inspection Microscope
•Smartphone (iPhone®) or tablet with iOS and
the FiberChekMOBILE app.
(Search the Apps@Work or the App Store® to
install VIAVI FiberChekMOBILE)
•Bulkhead and Patch Cord Inspection Tips
matching the fiber under test
•Fiber optic cleaning tools
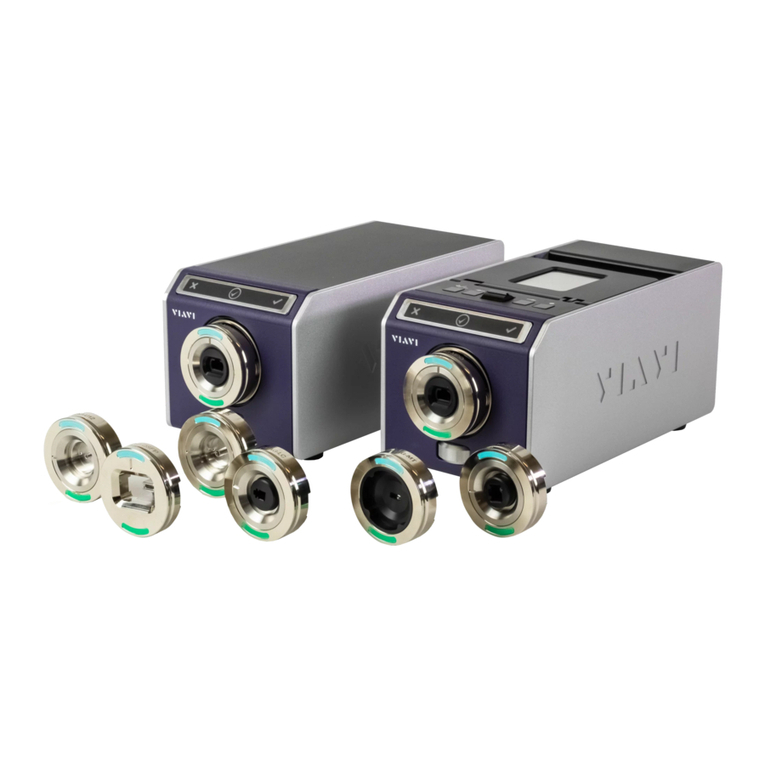
Figure 2: FiberChek Probe, Side view and Front View Figure 3: Inspection tips
Connection Type Tip
SC-APC Bulkhead2
Patch Cord2
Corning
OptiTap
Bulkhead1
Patch Cord2
Corning
OptiTip
Bulkhead1
Patch Cord1
Corning
PushLok
Bulkhead1
Patch Cord2
Figure 1: Equipment Requirements

VIAVI//Public
FiberChek Probe Microscope
FiberChek Probe Microscope
QUICK CARD
2
https://www.viavisolutions.com/en-us/products/fiber-inspection-cleaning
CONNECT TIP TO FIBERCHEK PROBE
Inspection Tips are attached to the Front of the FiberChek
probe by threading the collar of the tip onto the device:
•1The OptiTap Bulkhead tip, OptiTip tips and PushLock
Bulkhead tip connect directly to the probe.
•2The remaining tips connect to the Barrel Assembly
by loosening and tightening the Retaining Nut.
INCREASE SCREEN DIM TIMEOUT (OPTIONAL)
Press the Power Button to turn on the FiberChek Probe.
CONNECT TO FIBERCHEKMOBILE (OPTIONAL)
1. Tap the Touchscreen Display to enter the Settings menu.
2. Scroll down to SYSTEM SETTINGS and press the Action Button.
3. Scroll down to POWER OPTIONS and press the Action Button.
4. Press the Action Button for Battery SCREEN DIM.
5. Scroll down to 30 MINUTES press the Action Button.
6. Press the Magnification/Return Button four times or press the
Trigger to return to the Live Inspection View.
1. Tap the Touchscreen Display to enter the Settings menu.
2. Scroll down to RADIO SETTINGS and press the Action Button.
3. Scroll down to WIFI ENABLE and press the Action Button.
4. Press the Magnification/Return Button two times or press the Trigger
to return to the Live Inspection View.
5. Connect the iPhone to the FiberChek Probe microscope via Wi-Fi:
•Enable Wi-Fi on the iPhone.
•Tap FiberChek Wi-Fi SSID to connect.
6. Press the FiberChekMOBILE icon on your iPhone to launch
FiberChekMOBILE and initialize Microscope.

VIAVI//Public
FiberChek Probe Microscope
FiberChek Probe Microscope
QUICK CARD
3
https://www.viavisolutions.com/en-us/products/fiber-inspection-cleaning
SETTING UP THE FIBERCHEK PROBE
1. Tap the Touchscreen Display to enter the Settings menu.
2. Select PROFILE using the Navigation Control and press the Action
Button. Choose the desired profile using the Navigation Control and
press the Action Button.
3. Return to the Settings menu by pressing the Magnification/Return
Button.
4. Select TIP using the Navigation Control and press the Action
Button. Choose the desired tip using the Navigation Control, then
confirm by pressing the Action Button. If Tip is not shown, connect
the FiberChek Probe to FiberChekPRO™software on a PC and move
the appropriate tip setting onto the microscope. For more information,
consult the FiberChekPRO user manual. To download FiberChekPRO
to your PC, visit http://fcpro.updatemyunit.net/.
5. Press the Magnification/Return Button twice or press the Trigger
once to return to the Live Inspection View. The FiberChek Probe is
ready to perform PASS/FAIL Analysis.
Connection Type Profile Tip
SC-APC Bulkhead SM APC (IEC-61300-3-35Ed. 2.0) StandardTips (with BAP1)
Patch Cord SM APC (IEC-61300-3-35Ed. 2.0) StandardTips (with BAP1)
Corning
OptiTap Bulkhead SM APC (IEC-61300-3-35Ed. 2.0) FBPT-COD-L
Patch Cord SM APC (IEC-61300-3-35Ed. 2.0) StandardTips (with BAP1)
Corning
OptiTip Bulkhead Ribbon, SM APC (IEC-61300-3-35 Ed. 2.0) Ribbon Tips
Patch Cord Ribbon, SM APC (IEC-61300-3-35 Ed. 2.0) Ribbon Tips
Corning
PushLok Bulkhead SM APC (IEC-61300-3-35Ed. 2.0) FBPT-CEV-A6
Patch Cord SM APC (IEC-61300-3-35Ed. 2.0) StandardTips (with BAP1)
Figure 4: Profile and Tip settings

VIAVI//Public
FiberChek Probe Microscope
FiberChek Probe Microscope
QUICK CARD
4
https://www.viavisolutions.com/en-us/products/fiber-inspection-cleaning
INSPECT BULKHEAD
1. Insert the Bulkhead inspection tip into Bulkhead.
►For SC-APC and PushLok Bulkheads, align
the keys on the inspection tip and the
bulkhead connector.
►For OptiTap Bulkheads, align the arc and
flat pin in the inspection tip to the matching
insertions inside the OptiTap receptacle
adapter.
►For OptiTip Patch Cord Inspection, slide
the patch cord adapter onto the main tip
assembly. Rotate wheel to view and
test each fiber.
2. Tap the Trigger of the FiberChek microscope
to auto-focus the fiber under test. Press the
Trigger again and hold for 2 seconds to perform
PASS/FAIL analysis. FiberChek will briefly display
the analysis result and enter the Analysis Result
View. A green screen with a "check" graphic
indicates a PASS result.A red screen with an "X"
graphic indicates a FAIL result.
3. If the test fails, clean the fiber end-face and re-run
the inspection test. Repeat until it passes.
4. When the test passes the results for all zones will
be shown in green.
Figure 5: SC APC Bulkhead
Figure 7: OptiTap Bulkhead
Figure 6: PushLok Bulkhead
Figure 8: OptiTip Bulkhead
Figure 9: FiberChek Mobile

VIAVI//Public
FiberChek Probe Microscope
FiberChek Probe Microscope
QUICK CARD
© 2022 VIAVI Solutions, Inc,
Product specifications and descriptions in this
document are subject to change without notice.
Patented as described at viavisolutions.com/patents
Contact Us
To reach the VIAVI office nearest you,
visit viavisolutions.com/contact
+1 844 GO VIAVI
(+1 844 468-4284)
INSPECT PATCH CORD
1. Insert the Patch Cord into the Inspection tip:
➢For SC-APC Patch Cord inspection through an
SC-SC Optical Coupler, insert the Patch Cord into the
SC APC optical coupler. The Patch Cord, coupler, and
tip are all keyed and the keys must be aligned.
➢For Corning OptiTap, PushLok, and SC-APC Patch
Cord Inspection without an Optical Coupler, insert
the Patch Cord into the 2.5mm APC Patch Cord
inspection tip. Rotate fiber and align the connector
key to the notch on inspection tip for proper alignment.
➢For OptiTip Patch Cord Inspection, slide the bulkhead
adapter onto the main tip assembly. Rotate wheel to
view and test each fiber.
2. Tap the Trigger of the FiberChek microscope to
auto-focus the fiber under test. Press the Trigger
again and hold for 2 seconds to perform
PASS/FAIL analysis. FiberChek will briefly display
the analysis result and enter the Analysis Result
View. A green screen with a "check" graphic
indicates a PASS result.A red screen with an "X"
graphic indicates a FAIL result.
3. If the test fails, clean the fiber end-face and re-run
the inspection test. Repeat until it passes.
4. When the test passes the results for all zones will
be shown in green. You are ready to connect the
patch cord to the bulkhead.
Figure 10:
SC APC Patch Cord and Coupler
Figure 11: SC APC Patch Cord
Figure 12: OptiTap Patch Cord
Figure 13: OptiTip Patch Cord
Figure 14: FiberChek Mobile
Other manuals for FiberChek
2
Other Viavi Microscope manuals

Viavi
Viavi FVAi-2030 User manual

Viavi
Viavi P5000i Parts list manual

Viavi
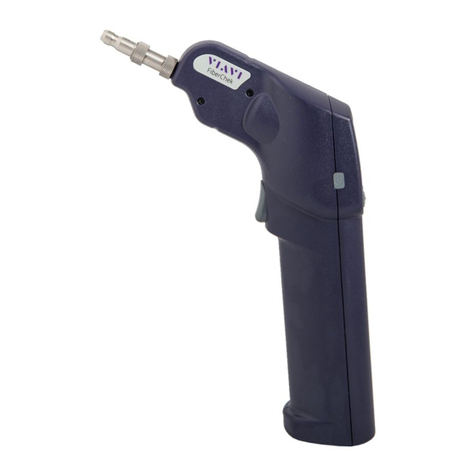
Viavi FiberChek User manual
Viavi
Viavi FiberChek Parts list manual

Viavi
Viavi P5000i Parts list manual
Viavi
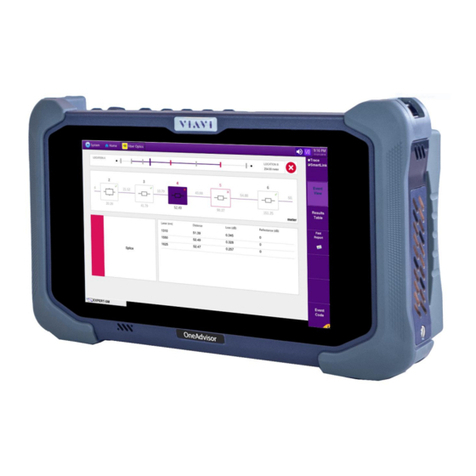
Viavi OneAdvisor ONA-800 Parts list manual

Viavi
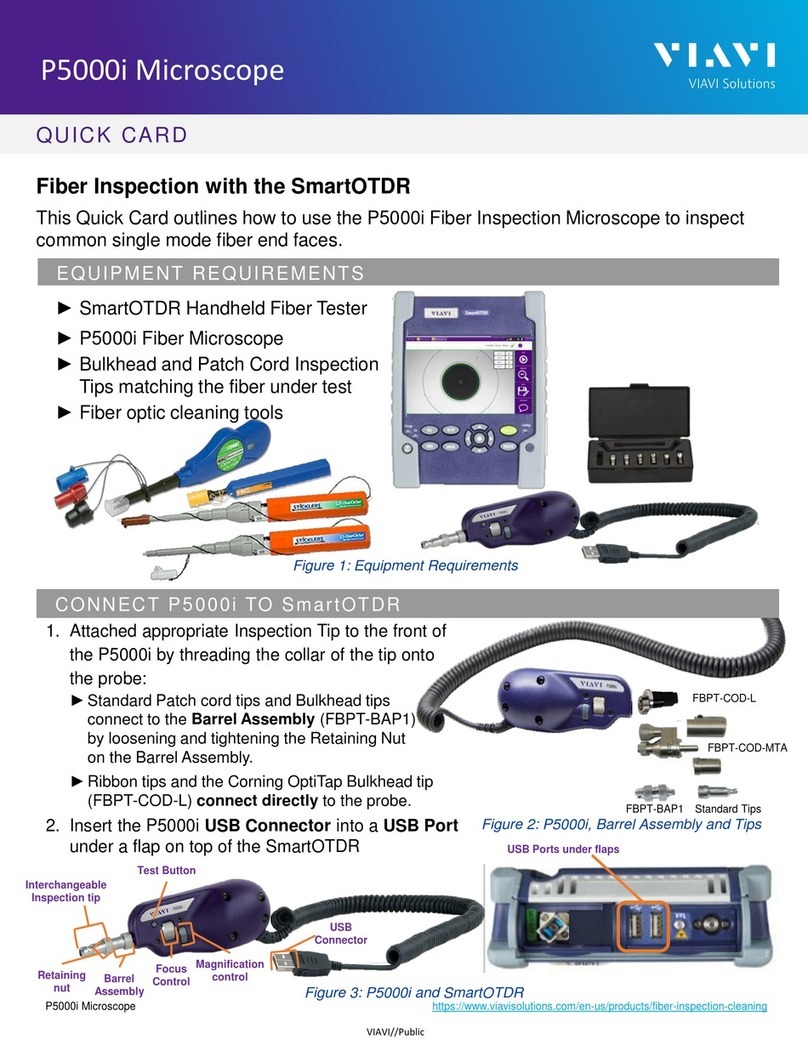
Viavi INX 760 User manual
Viavi
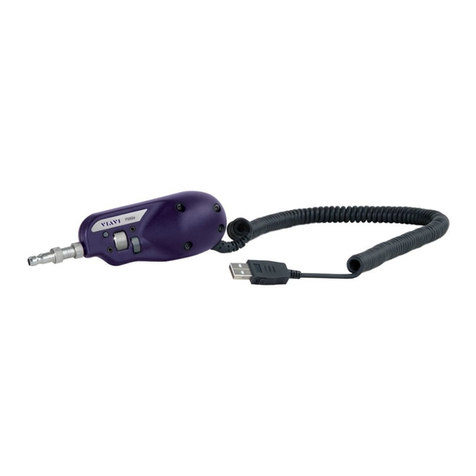
Viavi P5000i User manual
Viavi
Viavi P5000i Parts list manual
Viavi
Viavi FVAm Series User manual


