manuals.online logo
Brands
  1. Home
  2. •
  3. Brands
  4. •
  5. VIBIA
  6. •
  7. Outdoor Light
  8. •
  9. VIBIA Jordi Volardell Wind User manual

VIBIA Jordi Volardell Wind User manual

SUPPLIED MATERIAL MATERIAL SUMINISTRADO
GELIEFERTES MATERIAL
1.
TECHNICAL SPECIFICATIONS ESPECIFICACIONES TÉCNICAS TECHNISCHE DATEN
4055
1
Shade's screws / Tornillos pantalla / Schrauben für Schirm 4 un.
2
Allen key / Llave allen / Imbußschlüsse 2 un.
3
Lamp structure / Estructura luminaria / Leuchten-Struktur 1 un.
4
Shade / Pantalla / Schirm 1 un.
2.
3.
4.
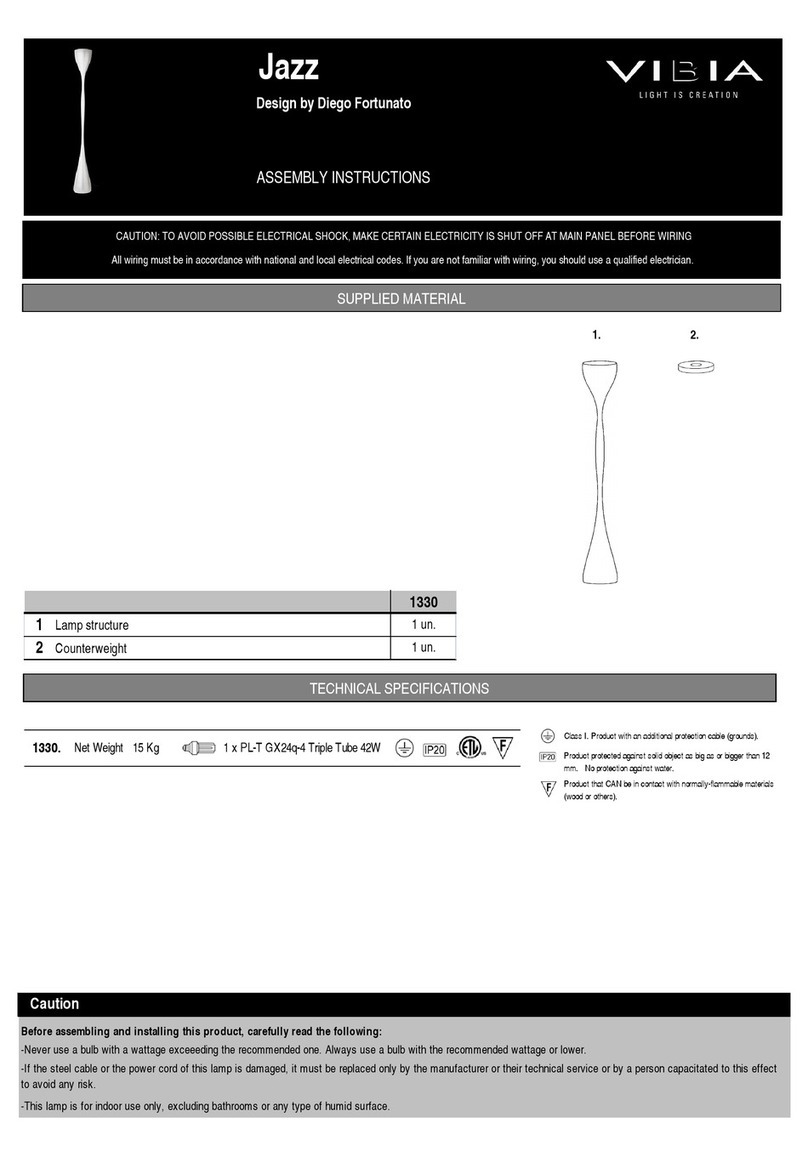
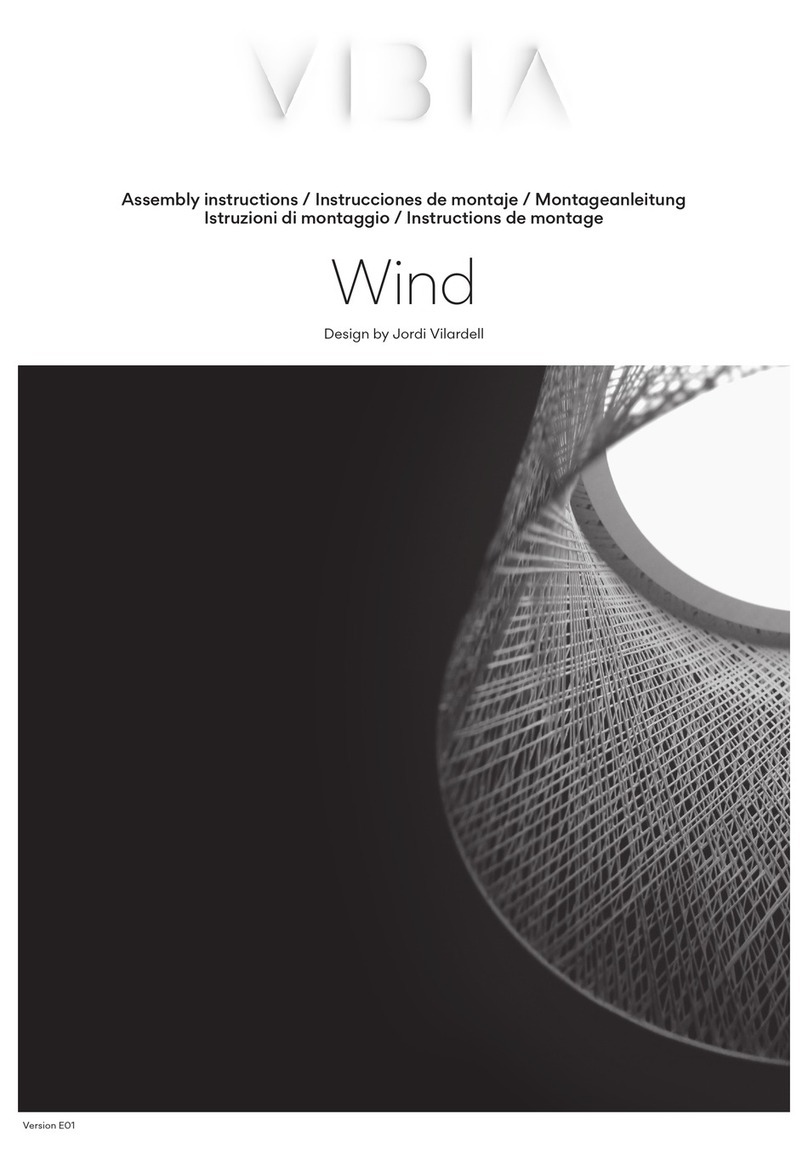
Wind
Design by Jordi Vilardell
ASSEMBLY INSTRUCTIONS
INSTRUCCIONES DE MONTAJE
MONTAGEANLEITUNG
Before assembling and installing this product,
carefully read the following:
Antes de proceder al montaje e instalación de esta
luminaria, leer detenidamente las siguientes
consideraciones.
Bevor Sie mit der Montage dieser Leuchte beginnen,
sollten Sie die folgenden Hinweise in aller Ruhe
lesen und berücksichtigen.
-Switch of the mains before installing the lamp. -Desconectar el suministro eléctrico antes de proceder a
la instalación de la luminaria.
- Schalten Sie vor dem elektrischen Anschluss den Strom
ab.
-Always use the recommended bulb -Utilizar siempre la bombilla recomendada. -Benutzen Sie immer das empfohlene Leuchtmittel.
-If you wish to fix the lamp to the ground, choose the
most adequate plugs and screws depending on the
surface.
-Si se desea fijar la luminaria al suelo elegir los
elementos de fijación mas adecuados en función del
soporte de instalación.
-Sollten Sie die Leuchte fix auf dem Boden befestigen
wollen, wählen Sie für die vorgesehene Vorrichtung das
dafür geeigneste Begestigungsmaterial.
-Before the installation, make sure the installation surface
will not be damaged. If this happens, it will be the
installator´s responsibility.
-Asegurarse antes de realizar esta operación que no se
producirán daños irreparables en el soporte de
instalación. En caso contrario la responsabilidad será del
instalador.
-Vergewissern Sie sich vor diesem Prozess, dass die
Vorrichtung hierduch nicht dauerhaft beschädigt wird. Im
entgegengesetzten Falle wäre der Installateur hierfür
verantwortlich.
-If the steel cable or the power cord of this lamp is
damaged, it must be replaced only by the manufacturer
or their technical service or by a person capacitated to
this effect to avoid any risk.
-Si el cable flexible o cordón de esta luminaria está
dañado, deberá sustituirse exclusivamente por el
fabricante o su servicio técnico, o por una persona con
cualificación equivalente con objeto de evitar cualquier
riesgo
- Wenn das Kabel dieser Leuchte beschädigt werden
sollte, muss es ausgetauscht werden. Dies darf
ausschliesslich nur durch den Fabrikanten, seinem
Kundendienst oder einer hierfür qualifizierten Person
geschehen, um jegliche Gefahr ausschliessen zu
können.
Caution / Precaución / Vorsicht
EN D
ES
4055.
Net Weight / Peso Neto / Netto-Gewicht 27,8 Kg 1 x 2GX13 230V 40W
(T5C) 50 Hz
Class I. Product with an additional protection cable (grounds).
Clase I. Aparato con un cable protector adicional (toma de tierra).
Klasse I. Apparat mit zusätzlichen Schutzleiter (Erdkabel).
Dust-tight product. Protected against water spray.
Producto totalmente estanco al polvo. Protegido contra las
proyecciones de agua.
Staubdicht. Schutz gegen das Eindringen von Spritzwasser.
Product that CAN be in contact with normally-flammable materials
(wood or others).
Está permitido que producto con este distintivo esté en contacto con
materiales normalmente inflamables (maderas u otros).
Es ist erlaubt Produkte mit diesem Etikett auf normal entflammbaren
Oberflächen (Holz usw.) zu montieren.
Alternating current
Corriente alterna
Wechselstrom
ASSEMBLY INSTRUCTIONS INSTRUCCIONES DE MONTAJE
MONTAGEANLEITUNG
GRUPO T DIFFUSION S.A. Barcelona, 72-74. 08820 El Prat de Llobregat (Barcelona - Spain)
Nacional Tel 934 796 970. Fax 934 796 973. Internacional Tel +34 934 796 971. Fax +34 934 782 026
www.vibia.es grupo-t@grupo-t.com
-Use a slightly-wet cotton cloth for cleaning.
-Para limpiar la luminaria, usar un paño de algodón
ligeramente humedecido en agua.
-Zur Reinigung der Leuchte nutzen Sie einen leicht
angefeuchteten Baumwoll-Lappen.
-In case of malfunction or damage, please contact
the retailer who sold the lamp.
-En caso de avería o incidente con la luminaria,
contactar directamente con el establecimiento en
que se adquirio.
-Im Falle des Ausfalls oder einer Fehlfunktion der
Leuchte setzen Sie sich direkt mit dem Unternehmen in
Verbindung bei dem Sie die Leuchte bezogen haben.
Maintenance / Mantenimiento / Instandhaltung
EN DES
1
2
3
4






A
B
C
D
A






A
B
C
D
E
F
EN
ES
D
NOTE
: Please, follow these instructions just in case you need to fix the lamp to the groun
d. If you
do not need it to be fixed to the ground, skip steps 1 through 3 and go directly to step 4.
1. Disassemble the base (A) as follows:
Remove the two screws (B) using the supplied Allen wrench.
Hold the lamp (C) firmly and move it toward the cable (as shown by the arrow) until it comes
loose from the fixing plate (D).
Pull upwards to completely release it from the base (A)
Important: Do not do this if the lamp is leaning or lying on the ground. It must be vertical.
2. Fix the base (A) to the ground using the most adequate screws and plugs (not supplied).
3. Replace the lamp (C) following the instruction of step 1 backwards, making sure the lamp is
firmly joined to the anchorage device (D), and fix it in place by tightening the screw (B) with
supplied allen key.
4. After installing the fluorescent bulb, fix the shade (E) in place using its 4 screws (F) (supllied in
a bag), using the supplied Allen wrench.
NOTA
: Solo en caso de necesitar anclar la luminaria al suelo seguir las indicaciones descritas a
continuación. Si no necesita fijarla, hacer caso omiso de los puntos 1 al 3, e ir directamente al
punto 4.
1. Desmontar la base (A) según se indica a continuación:
Primero, extraer los dos tornillos (B) con una llave allen suministrada.
Segundo, coger el pie (C) fuertemente con las manos y siguiendo el orden que indica la flecha,
desplazar el pie hacia el lado donde está la salida del cable hasta soltarse del anclaje (D).
Tercero, tirar hacia arriba para liberarlo completamente de la base (A).
Importante: No realizar esta operación con la luminaria inclinada ni tumbada, tiene que estar
situada en posición vertical.
2. Fijar la base (A) al suelo con los tornillos y tacos mas adecuados (no suministrados).
3. Volver a montar el pie (C) siguiendo los pasos contrarios al punto 1, y asegurandose de que
quede bien sujeto al anclaje (D), fijarlo roscando los dos tornillos (B) con la llave allen
sumistrada.
4. Después de instalar el fluorescente fijar la pantalla (E) con los 4 tornillos (F) (se adjuntan en
una bolsa) con la llave allen suministrada.
HINWEIS
: Nur bei Notwendigkeit die Leuchte auf dem Boden befestigen zu müssen beachten
Sie die folgenden Anweisungen. Wenn Sie die Leuchte nicht befestigen müssen, können Sie die
Punkte 1-3 überspringen und direkt zu Punkt 4 gehen.
1. Demontieren Sie die Basisplatte (A) wie folgt:
Erstens: Entnehmen Sie die beiden Schrauben (B) mit einem mitgelieferten Imbußschlüssel.
Zweitens: Ergreifen Sie die Leuchte (C) mit den Händen und schieben Sie sie in Pfeilrichtung (in
Richtung des Kabelauslasses), bis sie aus der Verankerung (D) ausrastet.
Drittens: Heben Sie sie nach oben, um sie komplett von der Basisplatte (A) zu lösen.
WICHTIG: Diesen Vorgang mit der Leuchte weder in geneigter noch liegender Position
realisieren. Die Leuchte muss sich in vertikaler Position befinden.
2. Befestigen Sie die Basisplatte (A) auf den Boden mit den dafür geeignesten Schrauben und
Dübeln (nicht im Lieferumfang enthalten).
3. Montieren Sie wieder die Leuchte (C) in entgegengesetzter Reihenfolge des 1. Punktes.
Vergewissern Sie sich, dass sie einen festen Sitz an der Verankerung (D) hat und befestigen Sie
die beiden Schrauben (B) mit dem mitgelieferten Imbußschlüssel.
4. Befestigen Sie nach dem Einsetzen der Leuchtstofflampe den Schirm (E) mit den 4 Schrauben
(F) (in einem Beutel beigefügt) und dem mitgelieferten Imbußschlüssel.
This manual suits for next models

1

Other VIBIA Outdoor Light manuals

VIBIA Warm User manual

VIBIA

VIBIA Warm User manual

VIBIA Palo Alto User manual

VIBIA

VIBIA Palo Alto User manual

VIBIA Halley User manual

VIBIA

VIBIA Halley User manual

VIBIA Bamboo User manual

VIBIA

VIBIA Bamboo User manual

VIBIA Skan 0250 User manual

VIBIA

VIBIA Skan 0250 User manual

VIBIA Break User manual

VIBIA

VIBIA Break User manual

VIBIA 5510 User manual

VIBIA

VIBIA 5510 User manual

VIBIA Break User manual

VIBIA

VIBIA Break User manual

VIBIA Warm 4900-INC User manual

VIBIA

VIBIA Warm 4900-INC User manual

VIBIA Empty 4125 User manual

VIBIA

VIBIA Empty 4125 User manual

VIBIA Suite User manual

VIBIA

VIBIA Suite User manual

VIBIA Halley User manual

VIBIA

VIBIA Halley User manual

VIBIA Break User manual

VIBIA

VIBIA Break User manual

VIBIA Wind User manual

VIBIA

VIBIA Wind User manual

VIBIA Bamboo 4803 User manual

VIBIA

VIBIA Bamboo 4803 User manual

VIBIA Meridiano User manual

VIBIA

VIBIA Meridiano User manual

VIBIA Tempo 5762 Series User manual

VIBIA

VIBIA Tempo 5762 Series User manual

VIBIA Plis Outdoor User manual

VIBIA

VIBIA Plis Outdoor User manual

VIBIA Tempo User manual

VIBIA

VIBIA Tempo User manual

VIBIA Warm 4895 User manual

VIBIA

VIBIA Warm 4895 User manual

VIBIA Jazz User manual

VIBIA

VIBIA Jazz User manual

VIBIA Bamboo 4804 User manual

VIBIA

VIBIA Bamboo 4804 User manual

VIBIA Meridiano User manual

VIBIA

VIBIA Meridiano User manual

VIBIA Balance 5189 User manual

VIBIA

VIBIA Balance 5189 User manual

Popular Outdoor Light manuals by other brands

LIGMAN AUGUSTA 5 installation manual

LIGMAN

LIGMAN AUGUSTA 5 installation manual

CREE LIGHTING Traveyo Series manual

CREE LIGHTING

CREE LIGHTING Traveyo Series manual

LIGMAN HA-60385-A installation manual

LIGMAN

LIGMAN HA-60385-A installation manual

Original BTC DAVEY LIGHTING 2467/E14 instruction manual

Original BTC

Original BTC DAVEY LIGHTING 2467/E14 instruction manual

MOOD CHIC instruction manual

MOOD

MOOD CHIC instruction manual

LUTEC 6951302012 instruction manual

LUTEC

LUTEC 6951302012 instruction manual

Dancover AC06005 manual

Dancover

Dancover AC06005 manual

Maretti QUATRO SUSPENDED L 410x255 quick start guide

Maretti

Maretti QUATRO SUSPENDED L 410x255 quick start guide

TaoTronics TT-DL23 user guide

TaoTronics

TaoTronics TT-DL23 user guide

LUTEC SECURY'LIGHT VESTA ST1906-CAM manual

LUTEC

LUTEC SECURY'LIGHT VESTA ST1906-CAM manual

Gama Sonic ASPEN GS-8 instruction manual

Gama Sonic

Gama Sonic ASPEN GS-8 instruction manual

Growth Product 18231-001 Assembly instructions

Growth Product

Growth Product 18231-001 Assembly instructions

Dayvia Wellbi Instructions for use

Dayvia

Dayvia Wellbi Instructions for use

Totec AMA-SW01 quick guide

Totec

Totec AMA-SW01 quick guide

Faro Barcelona MUST 70657 instructions

Faro Barcelona

Faro Barcelona MUST 70657 instructions

Sistemalux MINICOOL SQUARE instruction sheet

Sistemalux

Sistemalux MINICOOL SQUARE instruction sheet

Light Efficient Design Remphos Outdoor Series installation manual

Light Efficient Design

Light Efficient Design Remphos Outdoor Series installation manual

LIGMAN HAMILTON4 installation manual

LIGMAN

LIGMAN HAMILTON4 installation manual

manuals.online logo
manuals.online logoBrands
  • About & Mission
  • Contact us
  • Privacy Policy
  • Terms and Conditions

Copyright 2025 Manuals.Online. All Rights Reserved.