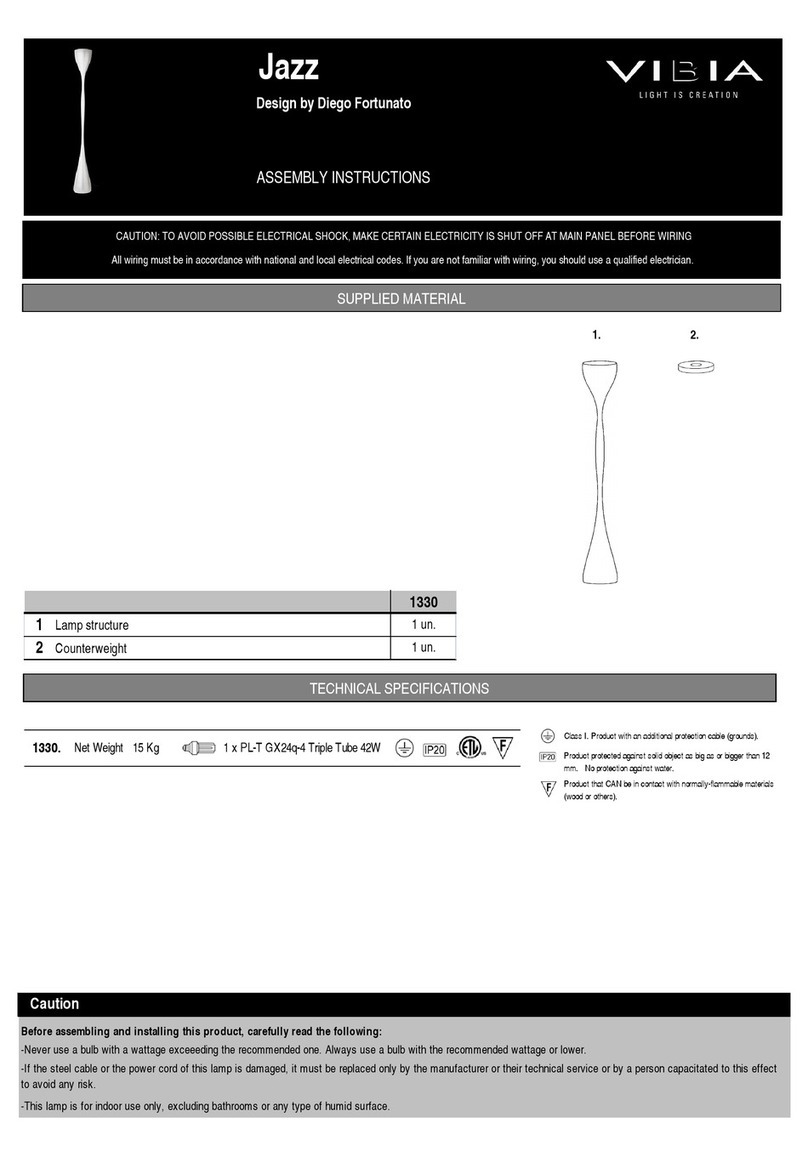
VIBIA Swing 0503 User manual
Other VIBIA Outdoor Light manuals

VIBIA
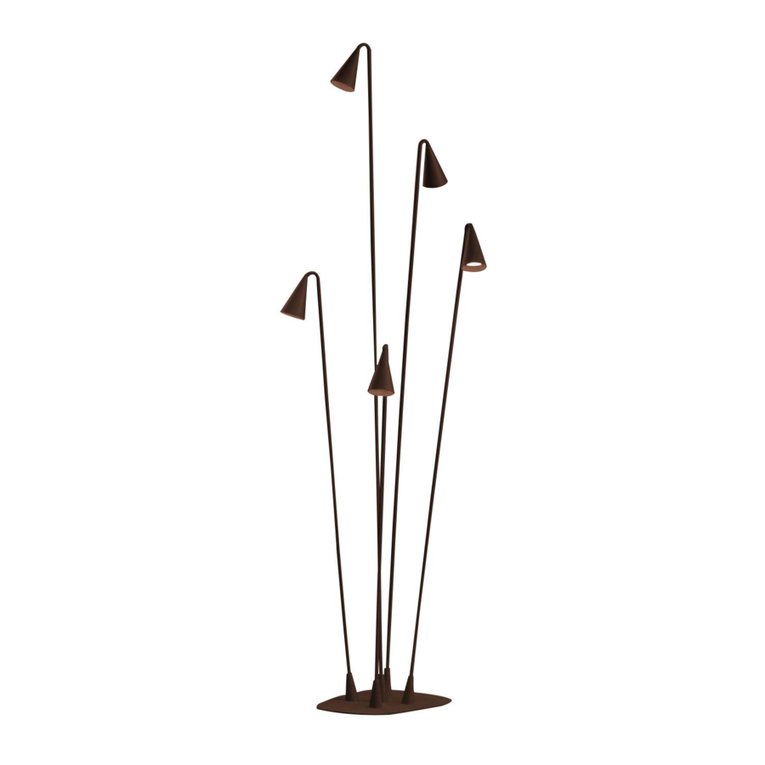
VIBIA Break User manual
VIBIA
VIBIA Brisa Quick start guide
VIBIA
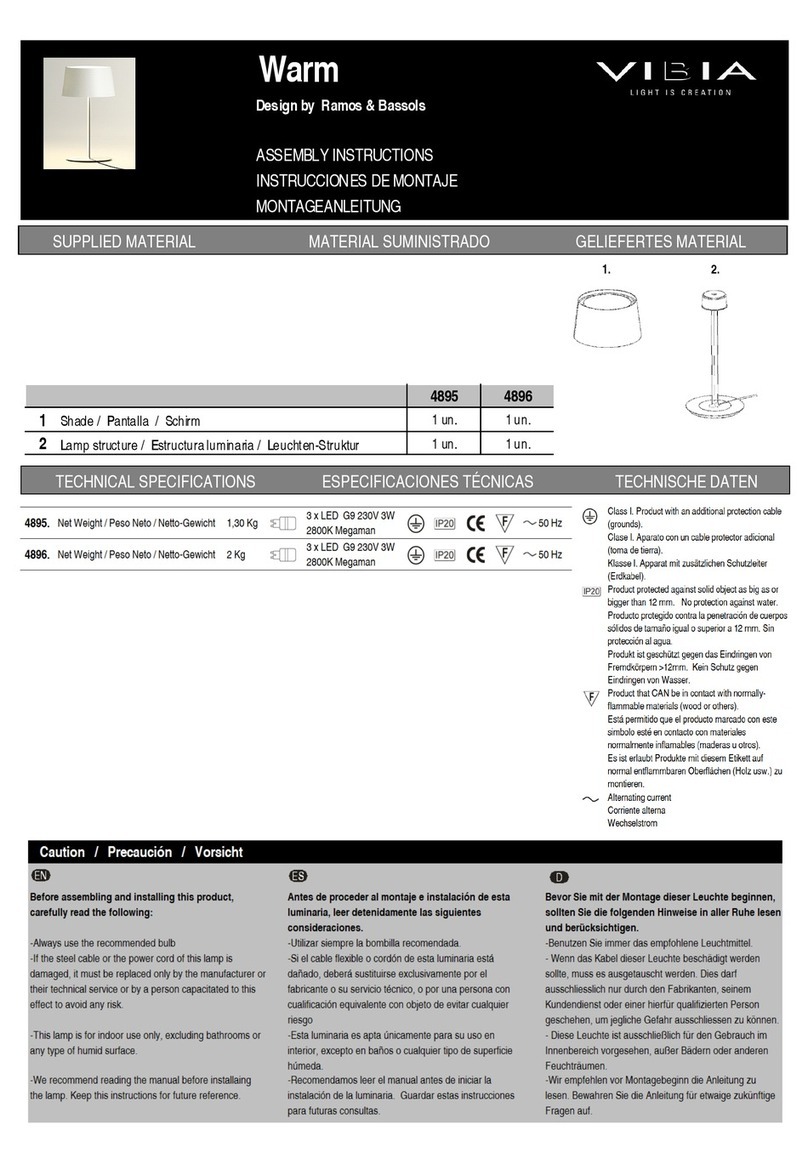
VIBIA Warm 4895 User manual

VIBIA
VIBIA Meridiano User manual

VIBIA
VIBIA Fold User manual

VIBIA
VIBIA Palo Alto 4510 User manual

VIBIA
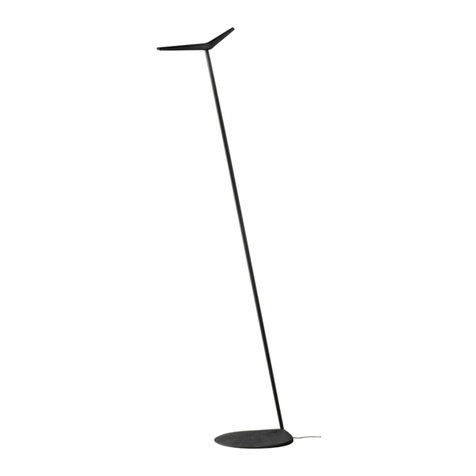
VIBIA Brisa User manual
VIBIA
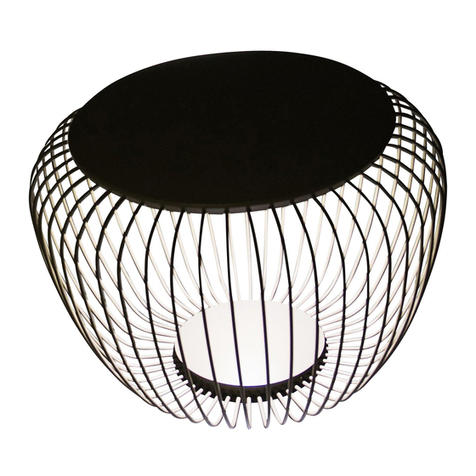
VIBIA Skan 0250 User manual
VIBIA
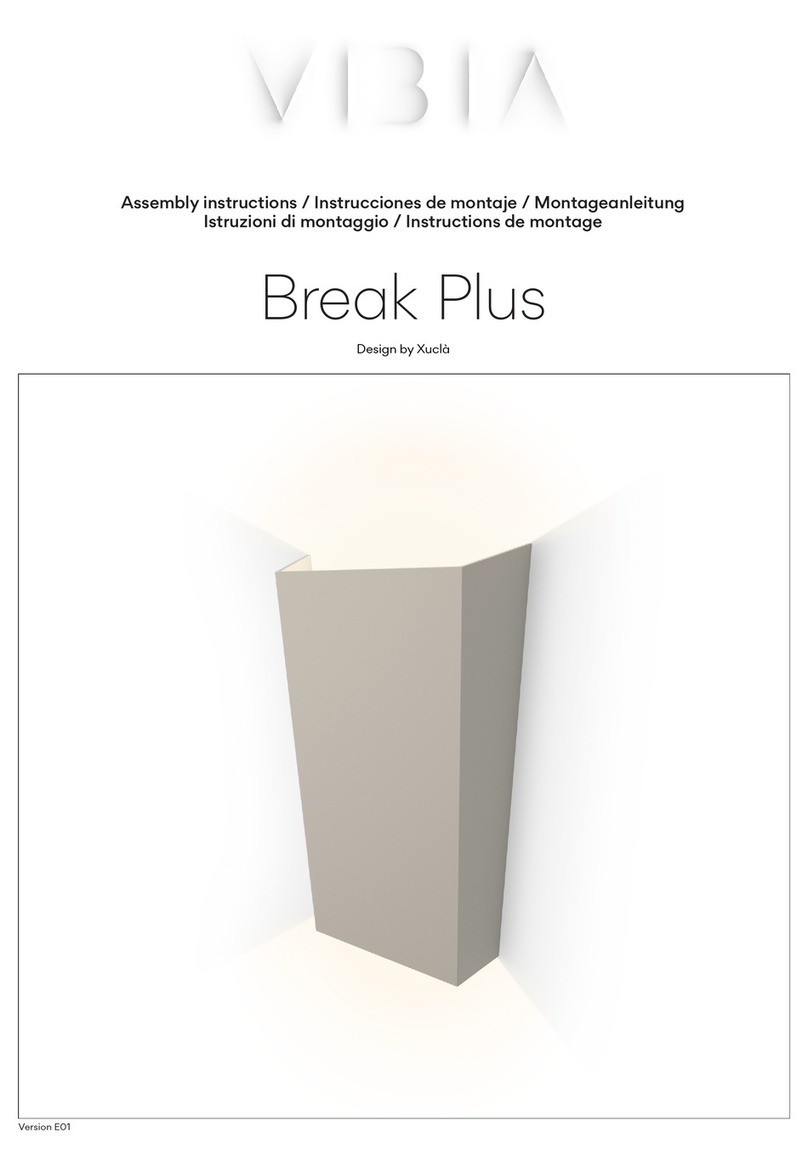
VIBIA 4710 User manual
VIBIA
VIBIA Break Plus User manual

VIBIA
VIBIA Wind User manual

VIBIA
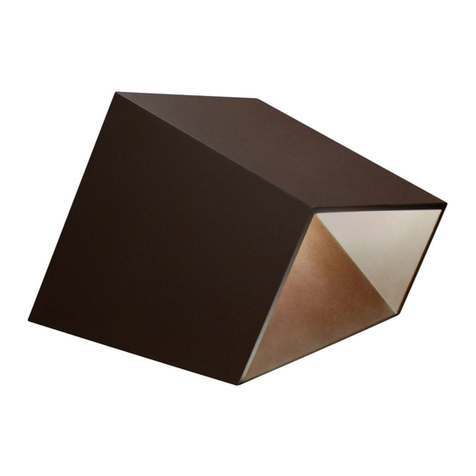
VIBIA Warm User manual
VIBIA
VIBIA Break User manual
VIBIA
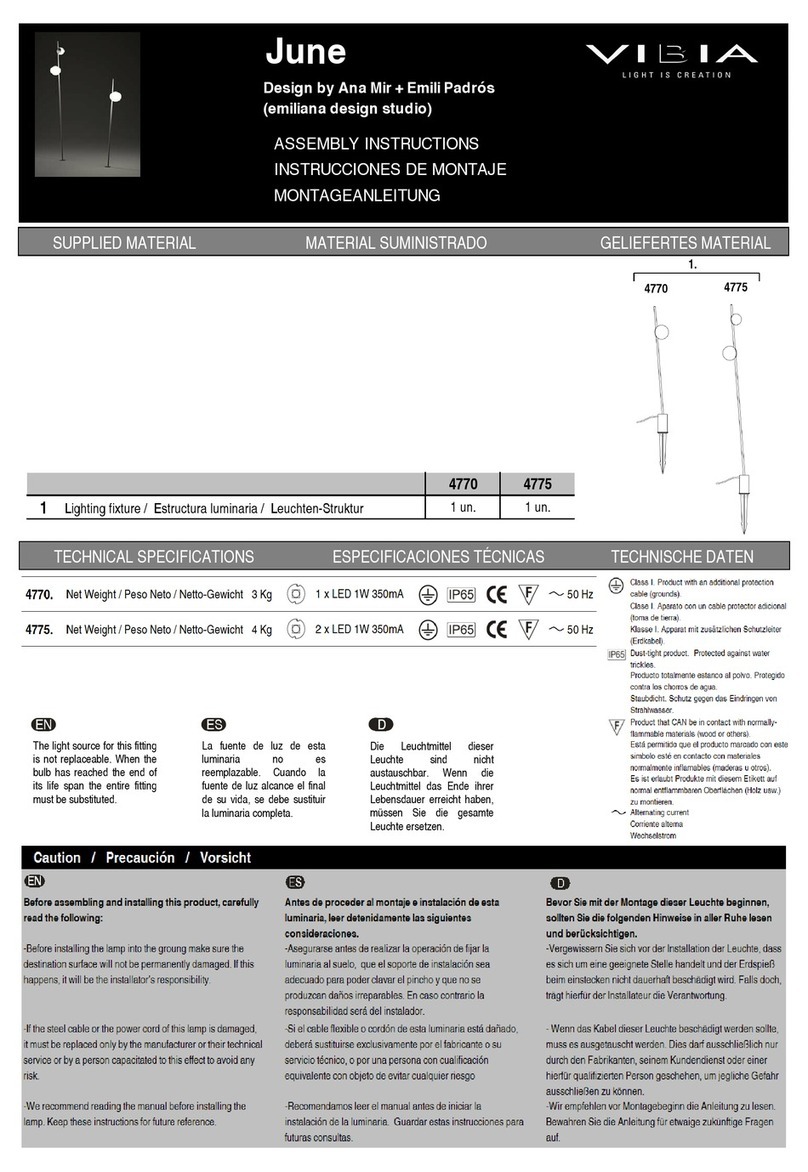
VIBIA June User manual

VIBIA
VIBIA Plis Outdoor Quick start guide
VIBIA
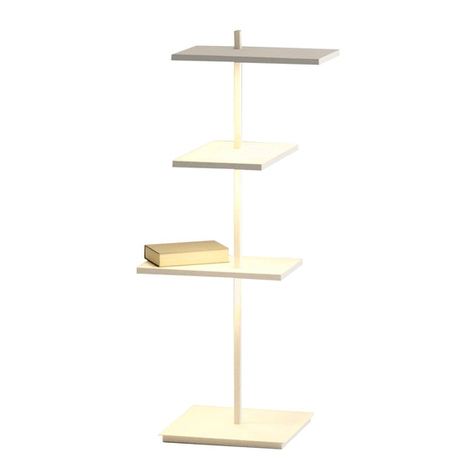
VIBIA Suite 6010 User manual

VIBIA
VIBIA Balance 5189 User manual

VIBIA
VIBIA Guise 2262 User manual
VIBIA
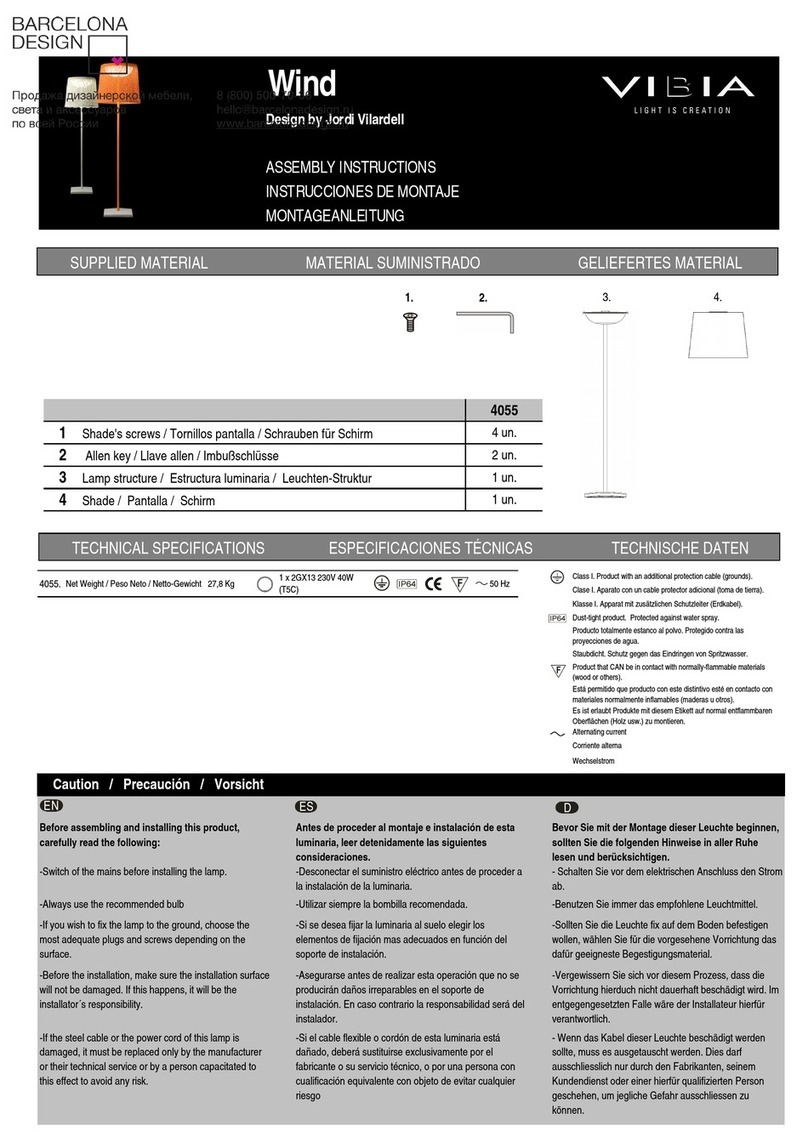
VIBIA Jordi Volardell Wind User manual
VIBIA
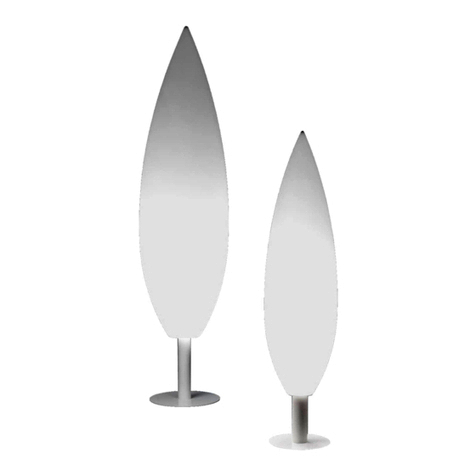
VIBIA Tree 4000 User manual
Popular Outdoor Light manuals by other brands

Kichler Lighting
Kichler Lighting HELEN 37536 instructions

Thorn
Thorn OXANE L installation instructions

esotec
esotec Solar Globe Light multicolor 20 operating instructions

mitzi
mitzi HL200201 ELLIS Assembly and mounting instructions

HEPER
HEPER TILA S AFX 3 Module Installation & maintenance instructions

Designplan
Designplan TRON 180 installation instructions

BEGA
BEGA 84 253 Installation and technical information

HEPER
HEPER LW8034.003-US Installation & maintenance instructions

HEPER
HEPER MINIMO Installation & maintenance instructions

LIGMAN
LIGMAN BAMBOO 3 installation manual

Maretti
Maretti TUBE CUBE WALL 14.4998.04 quick start guide

Maxim Lighting
Maxim Lighting Carriage House VX 40428WGOB installation instructions

