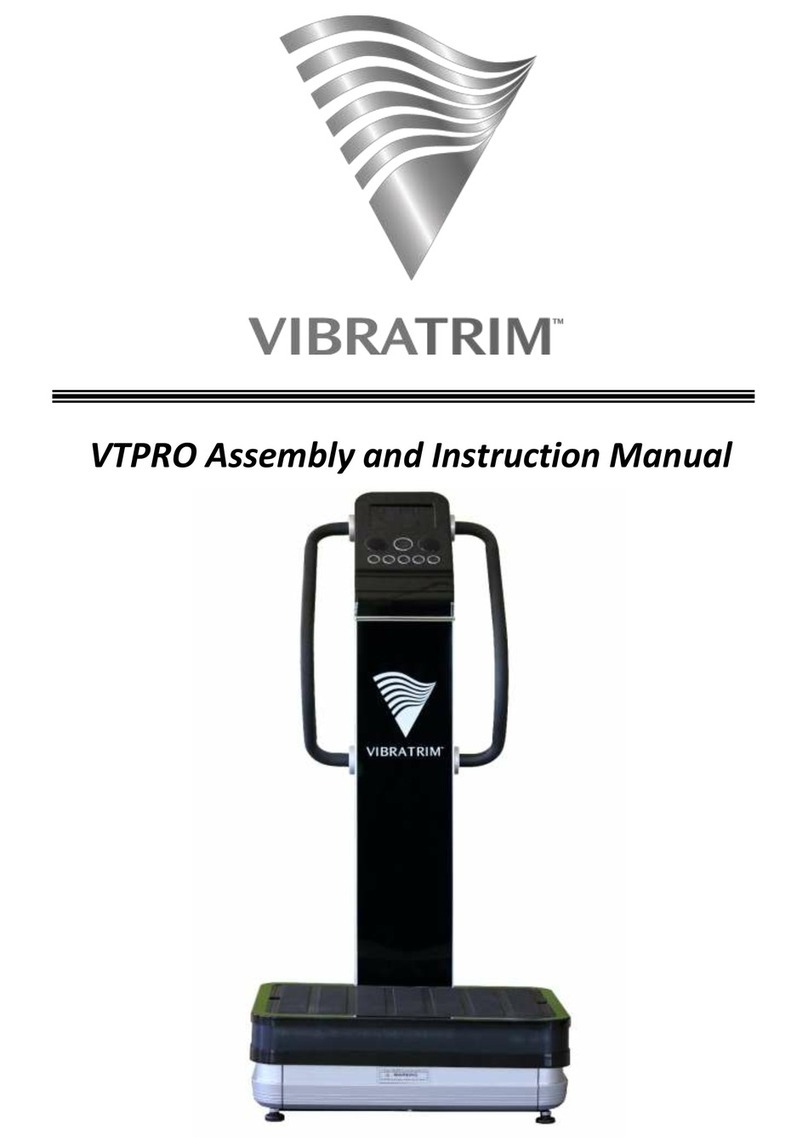
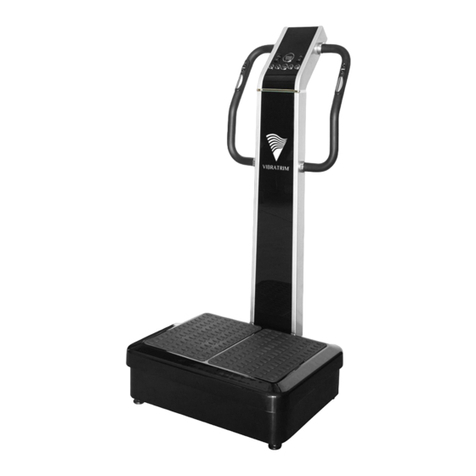
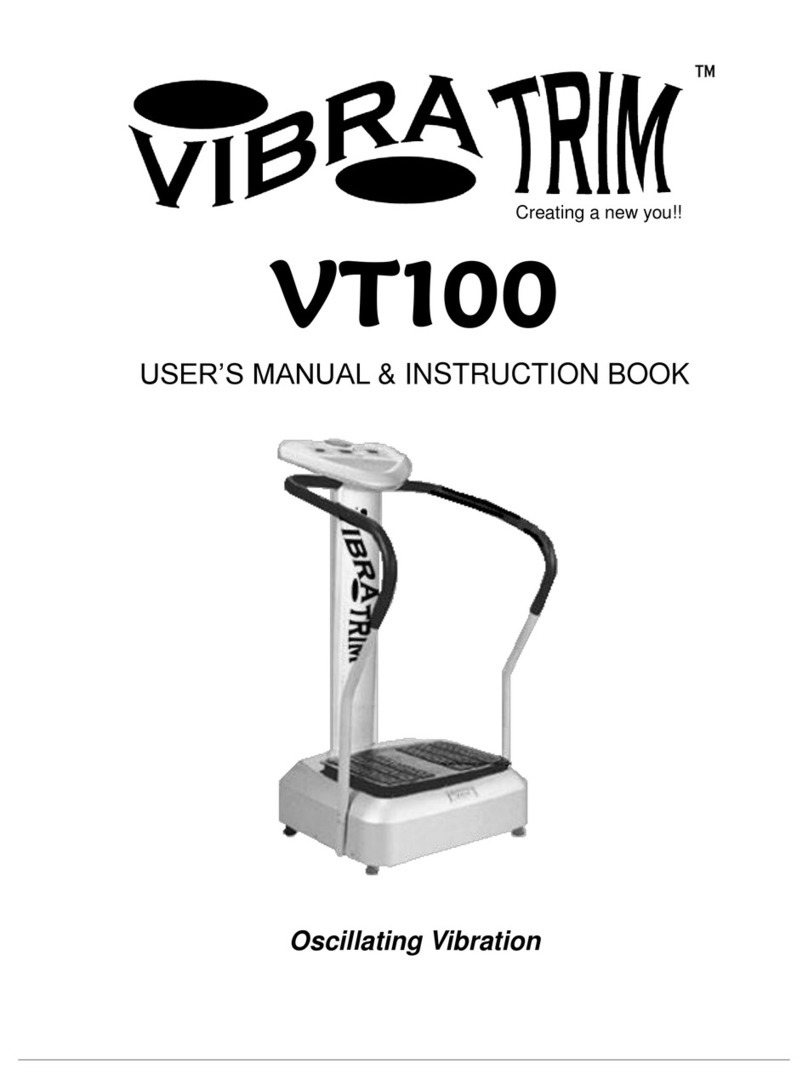
Vibratrim VT500 User guide

VT500 Assembly and Instruction Manual

2 | P a g e
Table of Contents
Introduction ................................................................................................................................................... 3
Structural Illustration ............................................................................................................................. 4
Packaging details ............................................................................................................................................ 5
Assembly Instructions ................................................................................................................................ 6 -8
Control Panel Illustration ...............................................................................................................................9
Control Panel Instructions ........................................................................................................................... 10
Safety Cautions ............................................................................................................................................ 11
Health Cautions ........................................................................................................................................... 12
Maintenance Instructions ............................................................................................................................ 13
Product Specifications .................................................................................................................................. 13
Warranty ...................................................................................................................................................... 14
**************************************************************************
01

3 | P a g e
Introduction
Thank you for purchasing your VibraTrim VT500. Please read the entire user manual thoroughly before you
begin operating the VibraTrim. This operation manual should be kept available for future reference after you
have read it through.
Please read the assembly instructions on pages 6-9 before beginning assembly.
It may save you some time and headaches.
Our company has the absolute right to alter the design pictures and material color without prior notice. Design,
pictures and material color seen in this manual are solely for illustration purposes.
The VT500 is the sixth model that we have produced. All of our models feature the oscillation style of vibration.
We believe this is the best form of vibration for the body as it is mimicking the natural walking movement. The
VT500 provides two kinds of vibration modes. One mode is the oscillating vibration style plus the second mode
is spiral vibration. The oscillating vibration is the safest, most complete muscle development simply because it
allows the pelvis to move the way it naturally wants to: rotating side to side, the same as when you walk. This
not only limits vibration of the head and neck but it also brings into play the important small stabilizing muscles
of the spine that you ordinarily would not be able to consciously contract and exercise. Improved posture is an
under-rated benefit of exercising with a Pivotal vibration machine. The spiral vibration provides your muscles
ligaments and tendons to be exercised more thoroughly. Many therapists will also use this mode to aid in
recovering from an injury or surgery. The combined vibration mode also increases your circulation providing
benefits to diabetics, cellulite sufferers, etc. Both vibration modes can be used individually or together. Another
major difference, in this model is the ability to design your own training program with the three user definable
programs.
If you should find something wrong with your unit, please notify us right away either by phone
at 253-238-0675 or by email at service@vibratrim.net. You are covered by our outstanding 3
Year Warranty.
There are hundreds of stories of how these units have changed people’s lives. If you have a
story that you would like to share, after using this unit for a while, we would love to hear it.
You can also post your testimony at https://www.facebook.com/VibraTrim.
427 E Stewart St
Milwaukee, WI 53207
253-238-0675 or 414-207-4001

4 | P a g e
Structural Illustration
Packing Details
Carton 1
Number
Description
Quantity
1
Vibration Base Unit
1
Carton 2
Number
Description
Quantity
1
Support Column with Display Panel Attached
1
2
Parts Package (Contents shown below)
1
3
Power Cord
1
4
User Manual
1
5
Exercise Wall Chart
1
Support Column
Vibration Platform
Handrails
Display & Control Panel
Base Unit

5 | P a g e
Parts List
Number
Description
Quantity
Used in Step #
1
Cross Recess Head Screw M5x10
4
4
2
Cross Recess Head Screw M5x20
8
6
3
Inner Hexagon Head Screw M6x16
8
5
4
Inner Hexagon Head Screw M8x16
10
2
5
Lock Washer 8
10
2
6
Flat Washer 8
10
2
7
Decorative Ring (halves)
8
6
8
Inner Hexagon spanner tool 5 mm
1
9
Inner Hexagon spanner tool 8 mm
1
10
Dual duty screwdriver
1
Assembly Instructions
Step 1:
1. Take the machine out of boxes. Inventory all the parts.
2. Connect the 4 pin cable from the support column with the corresponding cable in the base.
3. Assemble the support column and base by sliding them together as shown in the figure
below.

6 | P a g e
Step 2:
There are 10 screws with 10 washers & 10 lock washers in total with five of each on both sides.
Insert all of the screws with the washers only a couple turns first before tightening them, it will make
this task a little easier for you. Tip: Alternate inserting the screws from one side to the other. Also, if
the next screw does not line up perfectly, gently rock the tower back and forth while turning in the
screw. At this point you can go ahead and test your work by plugging in the machine and turning the
power on.
5 M8x16 hex head screws
Insert 5 M8x16 hex head
screws with the lock washers
on the screw first followed by
the flat washers, on each side
before tightening them.
Step 3:
Slide the square cover over the connected parts as shown below.

7 | P a g e
Step 4:
Insert two M5x10 screws on each side then tighten the screws.
Step 5:
Attach the handrails with M6x16 screws as shown below。
2 M5x10 hex
head
Insert two M5x10 screws on each side

8 | P a g e
Step 6:
After tightening the screws attaching the arms to the support column, place the decorative plastic
rings as shown below.
Step 7: Connect the power cord and you are now ready to use the machine. Flip the power switch to
the on position. If the power switch does not light up and power the unit, please contact customer
service.

9 | P a g e
Control Panel
1
Oscillation dynamic display
8
Spiral switch & speed control
2
Oscillation speed display
9
Programming
3
Vibration dynamic display
10
Standby
4
Time display
11
Mode
5
Spiral speed display
12
Time up
6
Oscillation switch & speed control
13
Time down
7
Start/Stop button

10 | P a g e
Control Panel Operation
1. Turning on/off: Turn on the main power switch at the back of machine. Press START/STOP button to run the
machine. Press the START/STOP again will stop the machine. The main power switch should be turned off when the
machine is not in use. If the machine is not going to be used for an extended period unplug the unit.
2. When the START/STOP button is pressed the machine will start in the Manual mode, which is the default
program.
Oscillation Dial serves two functions. Function 1 Rotating the left SPEED+/- rotary dial clockwise increases the
oscillation speed, Rotating the left SPEED+/- rotary dial counter-clockwise to reduce oscillation speed.
Function 2 If you press the dial like a button it will shut off the Spiral Vibration
Spiral Dial serves two functions. Function 1 Rotating the right SPEED+/- rotary dial clockwise increases the
oscillation speed, Rotating the right SPEED+/- rotary dial counter-clockwise to reduce oscillation speed.
Function 2 If you press the switch it will shut off the Oscillation Vibration
3. If you desire to use one of the built in programs, before you press the START/STOP button press the ”MODE”
dial, the system will change to the P1 program. You will notice the top of the display panel has changed and the
Auto Mode is now flashing and the “P”indicator light is now lit and flashing. Pressing or turning the mode dial will
change it to the next program. It will move in this sequence P1,P2,P3,U1,U2,U3 and back to manual. Choose the
desired program and press START/STOP button the run it. P1,P2,P3 are default automatic program;U1,U2,U3 are
user defined program.
4. TIME Up/Down: You can adjust the time before pressing the START/STOP button, press TIME Up button to
increase the time, press the TIME Down button to reduce the time. The default time is 10 minutes, the maximum
adjustment of time is 20 minutes. Do not use the machine longer than 20 minutes in any one session.
5. Standby: When the machine is not running and the display panel is lit, pressing the STANDBY button will
make the screen go dark. This will cause the display panel to darken except for the Standby light. This is designed
so that you can leave the machine on and when you are ready to use it again pressing any button will bring the
display panel back to life.
6. Programming: Press the MODE button and select one of the U1,U2,U3 programs. Now press the PROG button
to modify one of these programs. The system will come into the first step of that program to be modified, press the
time buttons up or down to set time for the current speed, ROTATE the left SPEED+/- rotary dial to adjust the
oscillation speed, and/or PRESS the right SPEED+/- rotary dial to choose the spiral movement. Press PROG button
once again to confirm. The system now moves to the second step of programming automatically. Repeat the above
step to finish all the steps of program you are creating or modifying. There are twelve steps in these programs that
can be modified. Press the START/STOP button to run the program you just created.

11 | P a g e
Safety Cautions
To maintain the operational standard of the VT500, please note the following:
A . BEFORE OPERATING THE VT500
When using the machine, comply with the operation instructions.
•Use the Vibration Plate for its intended use as described in this manual, the online manual the exercise DVD.
•Make sure that the power cord is not pinched by any portion of the machine or other object.
The power cord may get damaged leading to shorting, electrocution or fire.
•Connect the unit to a single power outlet only.
Connecting multiple products to an outlet may lead to fire, tripping the breaker or causing damage to the unit.
•Please remove dirt on the power plug using a dry cloth
•Leave a 6 inch space from the wall, when placing the unit for usage.
Good air circulation will prevent the product from malfunctioning.
•Install the product on a level surface
Noise and vibration might be created if surface is not level. Adjust the feet when it is not level.
•When you are through with your exercise session, please press the stop button. Step down from the machine when the
machine comes to a complete stop.
Stepping off the unit while is running may lead to physical injuries.
•Unplug the power plug when the product is not in use.
This will prevent an unnecessary waste of electricity and may prevent fire.
•Do not run on the vibration plate when the product is in use.
The unit might get damaged.
•Elderly people and children should be attended or monitored when in using the machine.
Physical injuries might occur.
•Only one person should use the unit at a time.
The machine might get damaged.
•Before cleaning, remove any water particles using a dry cloth to prevent moisture from entering the machine. A micro
fiber cloth is highly recommended.
Water particles could weaken the insulation causing a fire and damage to the unit.
•Clean the surface of the machine using proper cleaners suitable for the material.
Wipe the surface with a dry cloth if a wet towel had been used to clean the surface.
•Clean and dry the machine before storing the machine for a long period..
Clean the surface with dry clothes before storing to prevent corrosion.
•Do not unplug and plug the power plug with wet hands.
It might lead to shock or electrocution
•Do not band the power cord and prevent the power cord from damage.
If the cord is ever damaged, replace it immediately. It might cause a fire.
•Do not install the machine in a wet place or near water.
It might lead to electrocution; the machine can also become corroded when used in wet place.
•Do not stack items on top of the plate.
•Do not sprinkle water or clean the machine using gasoline, benzene, thinner or chlorine.
There is danger of electrocution or fire. It also may damage the unit’s electronic circuits.
•Remove the power plug before cleaning
•If the machine creates smoke or burning smell, remove the power cord immediately and stop exercising.
•Do not disassemble, repair or modify the machine.

12 | P a g e
Non-compliance will lead to product damage or financial damage due to fire or malfunctioning of the machine and will
also void the warranty.
B .DURING OPERATE THE VIBRATION PLATE ■---------------------------------
1. If any discomforts or abnormalities with the VIBRATION PLATE arise, please stop using the product and consult a physician
immediately.
2. Do not use force against the machine. (Risk for injuries and malfunction might occur).
3. Do not exercise more than 10 minutes using the same pose or exercise. You may get muscular cramps.
C . AFTER USING THE VIBRATION PLATE ■--------------------------------
1. Please turn off the power after each use. Unplug the power cord if it will not be used for an extended period.
Health Cautions
Most adults from the physically fit to the sedentary can use the VibraTrim. While the following list of medical
conditions is not complete, we strongly advise that you consult with your physician before using the VibraTrim if any of
the following conditions applies to you. This does not mean that if you are suffering from any of the conditions on the
list, you could never use the VibraTrim. In a number of cases, it is highly recommended to integrate vibration training in
a treatment plan under medical advice of a doctor, specialist or physiotherapist.
Absolute Contraindications
Pregnancy
Active Cancer
Acute Inflammation
Recent Fracture
Current Blood Clots
Precautions*
Recent Surgery
Acute Thrombosis
Severe diabetes
Known neurological conditions
Migraines
Epilepsy
Pacemaker & Implantable Cardioverter Defibrillators
Acute hernia, discopathy & spondylolysis
Known retinal conditions
*Precautions means that a person with this condition should take them into consideration and see a health
professional prior to starting a program and be a bit more careful not to overdo it.
If you are experiencing other symptoms, brief or long-term conditions, or are on medication, consult your
physician before beginning a vibration therapy regimen.
W A R N I N G
This product and information contained in this manual is not intended as a substitute for a medical treatment. All
exercise carries with it some element of risk. To reduce the risk, everyone, particularly those over 35 or who have
known back, heart or blood pressure problems or any other medical illness or problem should be cleared by a
physician before beginning any exercise program. It is obvious, however, that even with such medical clearance;
the risk associated with exercise can never be reduced to zero. Follow all training and safety tips and instructions in
this manual. Keep children and pets away from equipment when in use.

13 | P a g e
INSTRUCTIONS
A. Storage
•Do not store the Vibration Plate:
oNear heat or open frame.
oDo not store the machine under direct sunlight or at places of high temperature.
oHarmful gas and dust, especially humidity’
oOutdoors
oIf the machine is not use for long period of time ,cover it with a piece of clean cloth to protect if
from dust .
B . SELF –MAINTENANCE
•Before cleaning, unplug the cord from the electrical outlet. Use mild soap and water.
•Using any corrosive cleanser is should be avoided at all costs. Do not use benzene or thinner to clean or
spray insecticide on the machine.
C. PROTECTION OF VIBRATION PLATE ■-------------------------------
•Operating temperature : 40 - 115°F
•Humidity : under 40-80%
•Do not coil the wire cord as it may cause malfunction to the machine.
•Do not use this machine in wet areas such as bathroom, swimming pool or spa.
•Do not use it where there is too much dust, oil, smoke or caustic gas.
•Avoid damaging the surface of the machine surface with heavy objects or by force.
. Product Specifications
Product Name
VibraTrim VT500
Input Voltage
100-120V; 60 Hz
Power Consumption
1000W Oscillation & 300W Spiral
Oscillation Amplitude
10mm
Oscillation Vibration Frequency
5Hz –14Hz
Horizontal Displacement
2mm
Vibration Frequency
15Hz –40Hz
Speed Level
60 Speed Levels per vibration type
Preset Program & Users
7 Preset Program
Display
Program, Time, Speed
Dimensions
Depth 35.5” x Width 28.3 Height 58.25”
Platform size
28” x 20.3”
Load Weight
400 Lbs.
Net Weight
148 Lbs.
Gross Weight
163 Lbs.

14 | P a g e
3 YEAR LIMITED WARRANTY
The VibraTrim equipment carries a manufacturer’s limited warranty granted by VibraTrim LLC. This limited warranty
covers manufacturing flaws and labor that is required during the warranty period. VibraTrim will, at its discretion, either
repair, rebuild or replace the faulty part or equipment in accordance with the terms set forth below. Warranty Terms This
owner’s limited warranty is only valid if the item is used in an environment approved by VibraTrim for that particular
model. VibraTrim distinguishes three operating environments:
1. Home. Only members of the family for whom the equipment is purchased use the equipment.
2. Professional. The equipment is used by a limited user group, the manner and environment of usage is similar to
home or controlled testing use, for example in schools, hotels, housing organizations, nursing homes, retirement
communities, companies, etc.
3. Commercial Fitness Center. The equipment is accessible without limitations by exercisers in a commercial
fitness center. The usage does not have to be controlled.
This owner’s limited warranty applies to VibraTrim VT500.
This owner’s warranty for the VibraTrim only applies to use of VibraTrim in the home or Professional use and is
not used by a person weighing more than 400 pounds.
This warranty covers the materials and parts needed to repair, rebuild or replace the equipment, at VibraTrim’s option, for
a period of three (3) years and the cost of labor needed to repair, rebuild or repair the equipment for a period of three years.
The warranty period commences from the date on which the original buyer purchases the equipment Warranty repairs will
not extend the warranty period.
Warranty Restrictions
This owner’s warranty only covers the following:
A. Flaws caused by materials or labor in the equipment that existed when the equipment was originally assembled.
B. Faults that occur in normal use as defined in the owner’s manual, and providing that VibraTrim’s instructions on
installation, maintenance and use have been followed.
C. The original purchaser of the equipment who holds an original proof of purchase.
This warranty does not extend to or cover any of the following:
A. Equipment or components that have been modified without the consent of VibraTrim LLC.
B. Faults resulting from natural wear and tear; use in conditions for which the equipment is not intended; corrosion;
damage incurred during loading or shipping; by accident, fire, flood, war or acts of God.
C. Maintenance activities, such as cleaning, lubricating or normal checking of parts; or installation procedures that
customers can do themselves and that do not require dismantling/reassembling the equipment.
D. Faults resulting from natural wear and tear; use in conditions for which the equipment is not intended; corrosion;
damage incurred during loading or shipping; by accident, fire, flood, war or acts of God.
E. Maintenance activities, such as cleaning, lubricating or normal checking of parts; or installation procedures that
customers can do themselves and that do not require dismantling/reassembling the equipment. Damage or
equipment failure caused by (i) electrical wiring not in compliance with applicable electrical codes, (ii) electrical
wiring not in compliance with the owner’s manual or (iii) electrical wiring that has not been maintained as
outlined in the owner’s manual.
F. Repairs performed by someone other than an authorized VibraTrim representative.
G. Repairs due to limitations or corrections in the equipment’s software.
H. Repairs to consumable or cosmetic items, e.g., grips, seals, labels or wheels.
I. Repairs performed on equipment missing a serial number or with a serial tag that has been altered or removed.
J. Service calls to correct installation of the equipment or instruct owners on how to use the equipment.
VibraTrim makes no express warranties or conditions beyond those stated in this owner’s warranty. VibraTrim disclaims
all other warranties and conditions express or implied, including without limitation implied warranties and conditions of
merchantability and fitness for a particular purpose. Some states (or provinces or jurisdictions) do not allow limitations
on implied warranties or conditions, so this limitation may not apply to the user or owner.
VibraTrim’s responsibility for malfunctions and defects in the equipment is limited to repair and replacement as set forth
in this owner’s warranty.
These warranties give the user or owner specific legal rights, and the user or owner may also have other rights, which
vary from state to state (or provinces or jurisdictions).
VibraTrim does not accept liability beyond the remedies set forth in this warranty statement or liability for incidental or
consequential damages. Some states (or provinces or jurisdictions) do not allow the exclusion or limitation of incidental
or consequential damages, so the preceding exclusion or limitation may not apply to the user or owner.
Despite continuous quality control efforts, faults or operating errors in equipment may result from individual
components. Delivering the complete piece of equipment for repair is often unnecessary, because the flaw can usually be
fixed by replacing just the faulty part. It is preferable that you make any inquiries, about the warranty, directly to your
VibraTrim retailer or to VibraTrim.

15 | P a g e
5 YEAR LIMITED WARRANTY.
VibraTrim also warrants the electrical motors for an additional 2 years with the same restrictions and exclusions as listed
above. This extended warranty does not cover the cost of labor or the pick-up, delivery, or freight charges involved with
repairs.
To arrange service for your VibraTrim, please contact customer service at servic[email protected] or visit us at
www.vibratrim.net

16 | P a g e
427 E Stewart St
Milwaukee, WI 53207
253-238-0675 or 414-207-4001
Table of contents
Other Vibratrim Fitness Equipment manuals