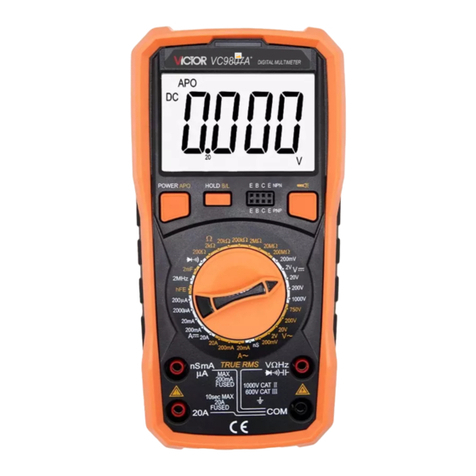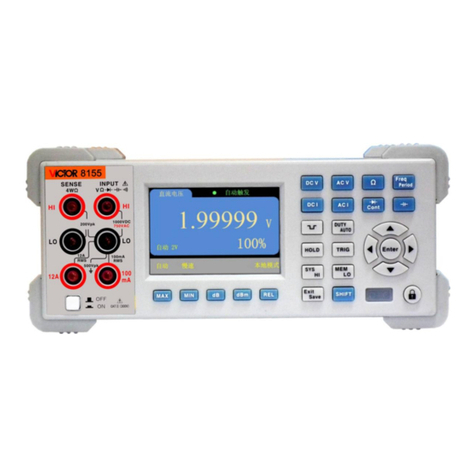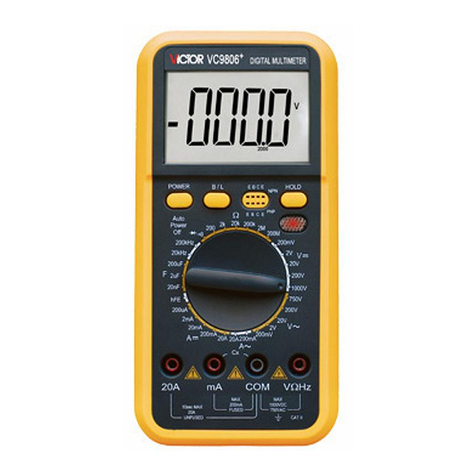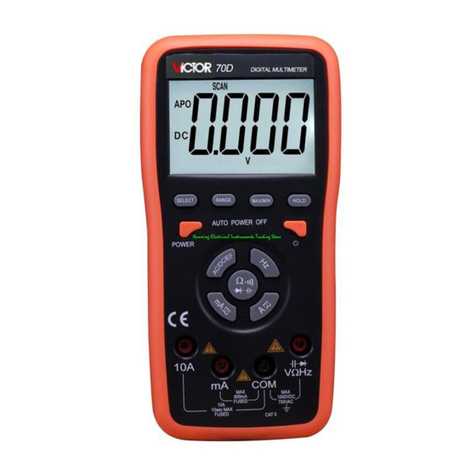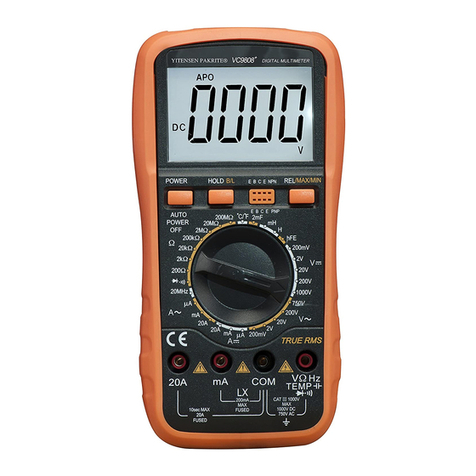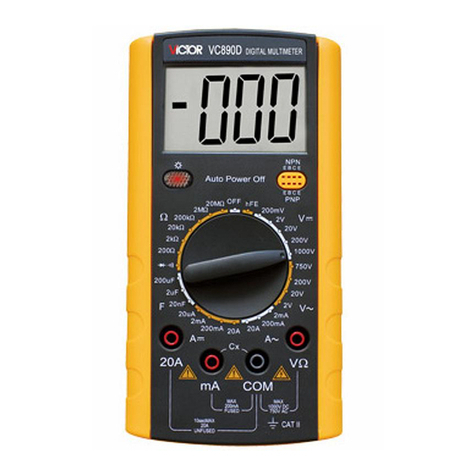
Before removing the circuit board note how the two wires connecting the
battery holder to the board are routed. They are routed through a slot in
the side of the battery compartment so they aren’t pinched when the rear
case half is screwed on and will need to be put back there during
reassembly.
Once those 4 screws have been removed lift up on the circuit board
where the yellow arrows in the picture are, and by using a slight rocking
motion remove the entire assembly. There will be a bit of force needed
as you are separating the front dial from its contact assembly which is
mounted on the circuit board. Take it slow and easy as if you use too
much force not only can you damage the circuit board but when the
pieces suddenly separate there are several parts that can go flying.
Once the circuit board is removed do not move the contact assembly
or the front dial!
If you turn the circuit board over you will clearly see the two fuses on it.
Both can easily be removed from their holders and replaced as needed.
Note that the fuses have different ratings so make sure you’re using the
correct replacement fuse.
When reassembling the meter you will need to press the contact
assembly back onto the front dial. As long as you haven’t moved either
the contact assembly or the dial this is easily accomplished.
