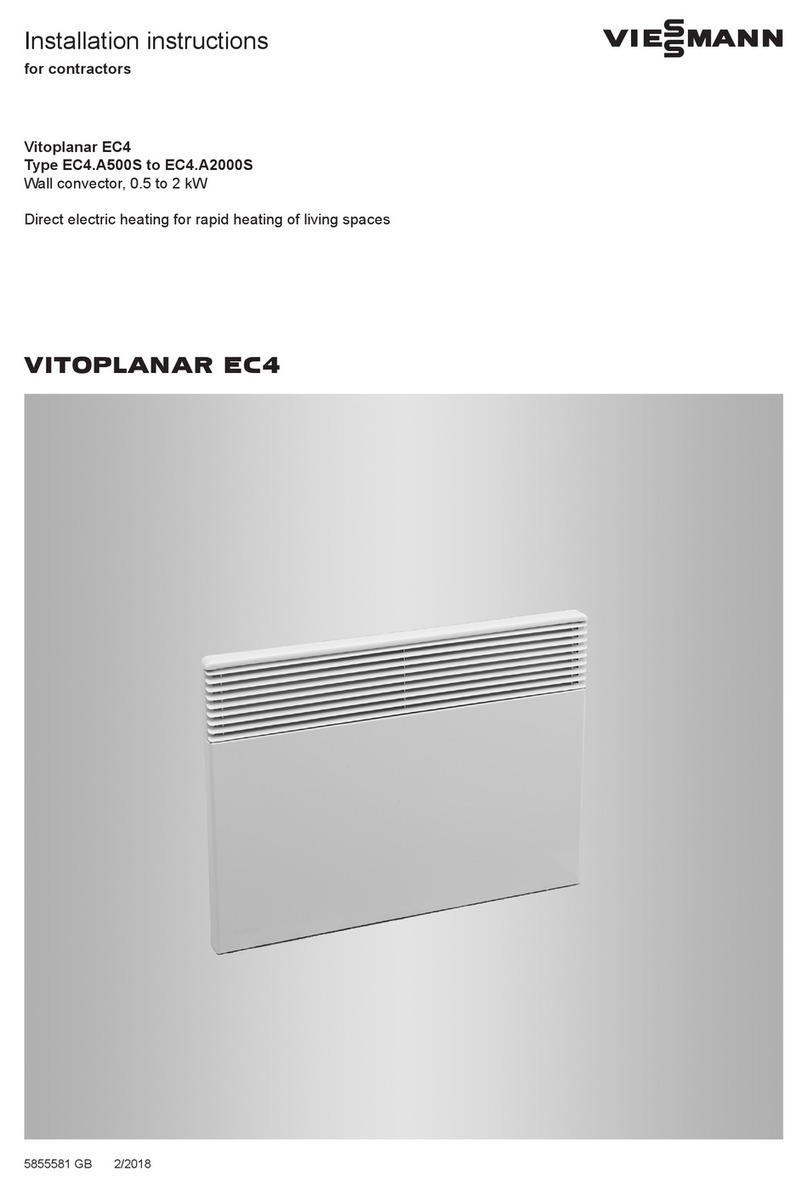
Viessmann Vitoplanar EC4 Series User manual
Operating instructions
for the system user
VIESMANN
Direct electric heating for rapid heating of living spaces
VITOPLANAR EC4
5855582 GB 2/2018 Please keep safe.

2
Please follow these safety instructions closely to
prevent accidents and material losses.
Safety instructions explained
Danger
This symbol warns against the risk of injury.
!Please note
This symbol warns against the risk of material
losses and environmental pollution.
Note
Details identified by the word "Note" contain additional
information.
Target group
These operating instructions are intended for users of
the appliance.
This appliance can also be operated by children
aged 8 and older, as well as by individuals with
reduced physical, sensory or mental faculties or those
lacking in experience and knowledge, provided such
individuals are supervised or have been instructed in
the safe use of this appliance and any risks arising
from it.
Keep children younger than the age of 3 away from the
appliance. Children between the ages of 3 and 8 may
only switch the appliance on and off if they are super-
vised or have been instructed in the safe use of the
appliance and have understood the resulting risks, pro-
vided that the appliance is placed or installed in its nor-
mal position of use. Children between the ages of
3 and 8 must not plug the appliance into a wall socket,
regulate the appliance, clean the appliance or carry out
maintenance.
!Please note
Supervise children in the proximity of the appli-
ance.
■Never permit children to play with the appli-
ance.
■Cleaning and user maintenance must never
be carried out by unsupervised children.
Danger
Incorrectly executed work on the appliance can
lead to life threatening accidents.
Work on electrical equipment may only be car-
ried out by a qualified electrician.
If there is a fire
Danger
Failure to observe the operating instructions
may result in a fire hazard.
The appliance must not be used in small rooms
inhabited by persons who cannot leave the room
independently, unless constant monitoring is
ensured.
Installation room requirements
!Please note
Impermissible ambient conditions can lead to
damage to the appliance (risk of overheating)
and to a fire hazard.
■Do not use the appliance in the immediate
vicinity of a bathtub, shower or swimming pool.
■Do not install the appliance directly below a
wall socket.
■The appliance must not be used in small
rooms inhabited by persons who cannot leave
the room independently, unless constant moni-
toring is ensured.
Safety instructions
Safety instructions
5855582

3
Auxiliary components, spare and wearing parts
!Please note
Components that were not tested with the appli-
ance may cause appliance damage, or may
affect its functions.
Installation or replacement work must only be
carried out by a qualified contractor.
Information on operation
Danger
If the surface of the appliance or the power
cable with the ON/OFF switch is damaged, there
is a risk of burns or electric shock.
The appliance must not be operated if damaged.
Switch off the appliance, unplug the standard
plug (if present) from the socket and notify a
qualified contractor.
Danger
The surface of the appliance can become very
hot and cause burns if prolonged contact is
made.
Do not leave children or vulnerable persons
unattended near the appliance.
!Please note
Impermissible use may result in damage to the
appliance (risk of overheating) and fire.
■Do not cover the appliance, even partially,
e.g. with a towel.
■Do not dry any objects on the appliance.
■Do not expose the appliance to mechanical
loads:
–No persons should lean against it
–No objects, e.g. furniture, should be leant
against it
Safety instructions
Safety instructions (cont.)
5855582

4
1. Introductory information Symbols ................................................................................................. 5
Intended use .......................................................................................... 5
Product information ................................................................................ 5
Permissible ambient conditions ............................................................. 6
■Clearance dimensions ........................................................................ 6
Commissioning ...................................................................................... 6
■Commissioning the appliance ............................................................. 6
2. Operation Summary of controls and indicators ...................................................... 7
How to use the controls ......................................................................... 7
■Locking the buttons ............................................................................ 7
■Unlocking the buttons ......................................................................... 7
3. Start-up/shutdown Switching the appliance on .................................................................... 8
Switching the appliance off .................................................................... 8
4. Room heating Selecting the operating mode ................................................................ 9
Setting the room temperature ................................................................ 9
Setting the temperature for reduced mode ............................................ 9
Day programs ........................................................................................ 9
■Selecting the day program for each day of the week ......................... 9
5. Further adjustments "Open window" function ......................................................................... 11
Setting the day and time ........................................................................ 11
6. What to do if... Appliance does not heat ........................................................................ 12
Radiated heat is insufficient ................................................................... 12
7. Maintenance Maintenance .......................................................................................... 13
Cleaning ................................................................................................. 13
8. Appendix Information on disposal .......................................................................... 14
■Disposal of packaging ........................................................................ 14
■Final decommissioning and disposal of the heater ............................. 14
Index
Index
5855582

5
Symbol Meaning
Reference to another document containing
further information
Warning of material losses and environ-
mental pollution
Intended use
The appliance is a direct heater suitable for a variety of
application scenarios.
The appliance is equipped with an ON/OFF switch and
a temperature controller, and is therefore also suitable
as a frost protection appliance.
It is intended exclusively for room heating.
Usage for a purpose other than room heating shall be
deemed inappropriate.
Intended use presupposes that a permanent installa-
tion in conjunction with permissible components
designed for this purpose has been carried out.
All other use is deemed inappropriate. Any resulting
losses are excluded from the manufacturer's liability.
Any usage beyond this must be approved by the man-
ufacturer in each individual case.
Intended use also includes adherence to maintenance
and inspection intervals.
Product information
Vitoplanar EC4
Type Output in kW
EC4.A500S 0.5
EC4.A1000S 1
EC4.A1500S 1.5
EC4.A2000S 2
Wall convector, pure white
■Electric direct heater for rapid heating of living
spaces such as cellars, toilets, bedrooms, bathrooms
and hobby rooms.
■The version is also suitable for bathrooms, as all
appliances are splashproof.
■The specially shaped air discharge grille ensures
that the heated air is discharged evenly and thus cre-
ates natural convection in the room.
■In addition, the heating element has a comparatively
low surface temperature, which reduces the trans-
port of dust.
■The electronic controller ensures that the required
temperature is maintained.
■The room temperature can be reduced by 3 K via an
external time switch.
■Connecting cable: 1.5 m, 2-pole + control cable
■Control range: 7 - 27 °C
■IP rating: IP 24
■Protection class: II
■Colour: Pure white
■Test mark: VDE, CE compliant.
Note
The product data corresponds to the EU regulations of
the directive on the environmentally sound design of
energy related products (ErP).
Introductory information
Symbols
5855582

6
Clearance dimensions
!Please note
If the appliance is operated without maintaining
the minimum clearances, flammable objects
may catch fire.
Observe the specified minimum clearances.
For safety reasons, the following minimum clearances
from furniture and flammable objects must be
observed:
■10 cm from the top cover
■10 cm from the side panels
■15 cm from the floor
■50 cm from the front (warm air discharge)
■The wall mounting bracket ensures a clearance of 22
mm at the back Fig. 1
Commissioning
Commissioning the appliance
!Please note
The surfaces of the appliance heat up during
operation! Touching them can cause burns. Fully
or partially covering the appliance can lead to a
fire hazard.
Do not cover the air intake or discharge aper-
tures of the appliance in whole or in part with
towels, net curtains, curtains, etc. or block them
with objects.
Do not touch the grille! Keep small children
away from the appliance!
!Please note
If the appliance is operated without being instal-
led correctly, it may be damaged.
The appliance may only be operated when
installed correctly.
Switch on the appliance.
Danger
If the surface of the appliance or the power
cable is damaged, there is a risk of burns or
electric shock.
The appliance must not be operated if damaged.
Switch off the appliance and notify a qualified
contractor.
Introductory information
Permissible ambient conditions
5855582

7
The controls are located at the top right.
Fig. 2
ADisplay
B"Heating mode" LED
C"Prog" LED
DIncrease temperature button/next
Decrease temperature button/back
EMMODE Operating mode button/confirm
Fig. 3 ON/OFF switch
1Heating
fNo heating
Note
The ON/OFF switch does not disconnect the appli-
ance from the power supply.
How to use the controls
Locking the buttons
Press and simultaneously.
"EC" flashes. The buttons are locked.
Note
If a button is pressed, "FF" is displayed.
Unlocking the buttons
Press and simultaneously.
Operation
Summary of controls and indicators
5855582

8
Danger
If the surface of the appliance or the power
cable with the ON/OFF switch is damaged, there
is a risk of burns or electric shock.
The appliance must not be operated if damaged.
Switch off the appliance and notify a qualified
contractor.
Turn on the appliance at the ON/OFF switch (switch
position 1). Then select the operating mode; see chap-
ter "Selecting the operating mode".
The appliance is ready for operation.
Switching the appliance off
Turn off the appliance at the ON/OFF switch (switch
position ).
Note
The ON/OFF switch does not disconnect the appli-
ance from the power supply.
Start-up/shutdown
Switching the appliance on
5855582

9
Operating modes
Operating mode Display Meaning
Standard mode Set temperature Heating with the
set temperature
Reduced mode "EC" Heating with
temperature re-
duced by 3 °C
Frost protection "HG" Heating with ap-
prox. 7 °C
Program "Prog" LED
lights up
Heating phases
are switched
over by day pro-
grams or by an
external time
switch.
See "Day pro-
grams"
Off "- -" No heating
Press MMODE repeatedly until the required operating
mode is displayed.
Setting the room temperature
Use / to select the required temperature.
Setting the temperature for reduced mode
1. Press MMODE repeatedly until "EC" is displayed.
Note
To display the reduced temperature, briefly press
or .
2. Press MMODE for 3 seconds.
"EC" flashes.
3. Use / to select the required temperature.
4. Confirm with MMODE.
Day programs
There are 3 fixed day programs "P1" to "P3", where
you can switch between reduced mode and standard
mode.
The fourth program "FP" is selected if the changeover
is to be carried out by an external time switch.
Display Standard mode
"P1" ■6:00 to 8:00
■17:00 to 23:00
"P2" ■6:00 to 8:00
■11:30 to 13:30
■17:00 to 23:00
"P3" ■8:00 to 23:00
"FP" Changeover by an external time switch
Selecting the day program for each day of the week
Note
After more than one hour without power, the settings
must be made again.
Note
During commissioning, the day and time must be set
before making these settings.
See "Setting the day and time".
Room heating
Selecting the operating mode
5855582

10
How the days of the week are shown
"LU" Monday
"MA" Tuesday
"ME" Wednesday
"JE" Thursday
"UE" Friday
"SA" Saturday
"dI" Sunday
1. Press MMODE repeatedly until the "Prog" LED
lights up.
2. Press MMODE for 3 seconds.
Programming mode is activated.
3. Use / to select the required day program.
4. Confirm with MMODE.
5. Repeat steps 3 and 4 for the other days.
Note
If no button is pressed for 15 seconds, the program-
ming unit returns to the temperature display.
Room heating
Day programs (cont.)
5855582

11
This function stops heating mode automatically if a
sudden drop in temperature is detected. "FE" is dis-
played.
To reactivate heating mode, press MMODE.
Activating/deactivating the function
Press MMODE for 10 seconds.
"F0" Function deactivated
"F1" Function activated
Setting the day and time
Note
After more than one hour without power, the settings
must be made again.
1. Press MMODE repeatedly until the "Prog" LED
lights up.
2. Press MMODE for 3 seconds.
The day is displayed.
3. Use / to select the current day.
4. Confirm with MMODE.
The hour is displayed.
5. Use / to select the current hour.
6. Confirm with MMODE.
The minutes are displayed.
7. Use / to select the current minutes.
8. Confirm with MMODE.
Further adjustments
"Open window" function
5855582

12
Cause Remedy
Appliance is switched off. Switch the appliance on.
Set temperature on the room thermostat is lower than
the actual temperature in the room.
Change the set temperature on the room thermostat.
Standard mode is not activated. Select the operating mode.
Fuse has blown or is faulty. Check fuse in domestic distribution board.
Radiated heat is insufficient
Cause Remedy
Objects between heater and person are obstructing ra-
diation.
Remove objects between heater and person.
Distance between heater and person too great. Reduce distance to the heater.
Appliance size is too small. Select appliance with higher output.
What to do if...
Appliance does not heat
5855582

13
The heater is maintenance-free.
Cleaning
!Please note
If the appliance is cleaned while hot, it may be
damaged.
Allow the heater to cool down completely before
cleaning.
!Please note
Incorrect cleaning agents (e.g. scouring agents)
may damage the surfaces of the appliance.
Only use suitable cleaners to clean the surfaces.
Clean the surfaces with a suitable cleaner.
Maintenance
Maintenance
5855582

14
Disposal of packaging
Your contractor will dispose of the packaging from your
Viessmann product.
DE: Packaging waste is channelled for recycling to a
certified disposal contractor in line with statutory
regulations.
AT: Packaging waste is channelled for recycling to a
certified disposal contractor in line with statutory
regulations. Use the ARA statutory disposal sys-
tem (Altstoff Recycling Austria AG, licence num-
ber 5766).
Final decommissioning and disposal of the heater
Viessmann products can be recycled. The heater does
not belong in the household waste.
Speak to your contractor about the correct disposal of
your old system.
421AA4912.A00
Appendix
Information on disposal
5855582

15
5855582

16
Your contact
Contact your local contractor if you have any questions about your system or wish to arrange maintenance or
repair work. You can find local contractors on the internet at www.viessmann.de.
Viessmann Limited
Hortonwood 30, Telford
Shropshire, TF1 7YP, GB
Telephone: +44 1952 675000
Fax: +44 1952 675040
E-mail: [email protected]
Viessmann Werke GmbH & Co. KG
D-35107 Allendorf
Telephone: +49 6452 70-0
Fax: +49 6452 70-2780
www.viessmann.com
5855582 Subject to technical modifications.
Other manuals for Vitoplanar EC4 Series
1
Table of contents
Other Viessmann Heater manuals

Viessmann
Viessmann VITOPLANAR EI2 User manual

Viessmann
Viessmann VITOPLANAR EI2 User manual

Viessmann
Viessmann EHE Operating instructions
Viessmann
Viessmann VITOPLANAR EI2 User manual
Viessmann
Viessmann VITOPLANAR EI2 Operating instructions

Viessmann
Viessmann VITOLADENS 300-T User manual

Viessmann
Viessmann VITOPLANAR EI2 User manual

Viessmann
Viessmann VITOPLANAR EI6 User manual

Viessmann
Viessmann VITOLADENS 300-T VW3B Operating instructions

Viessmann
Viessmann Vitoplanar EC4 Series User manual