IP Multimedia 1220 and 1230 Phone User Guide Page 6 of 8
12. Editing your directory
To edit a number in your directory:
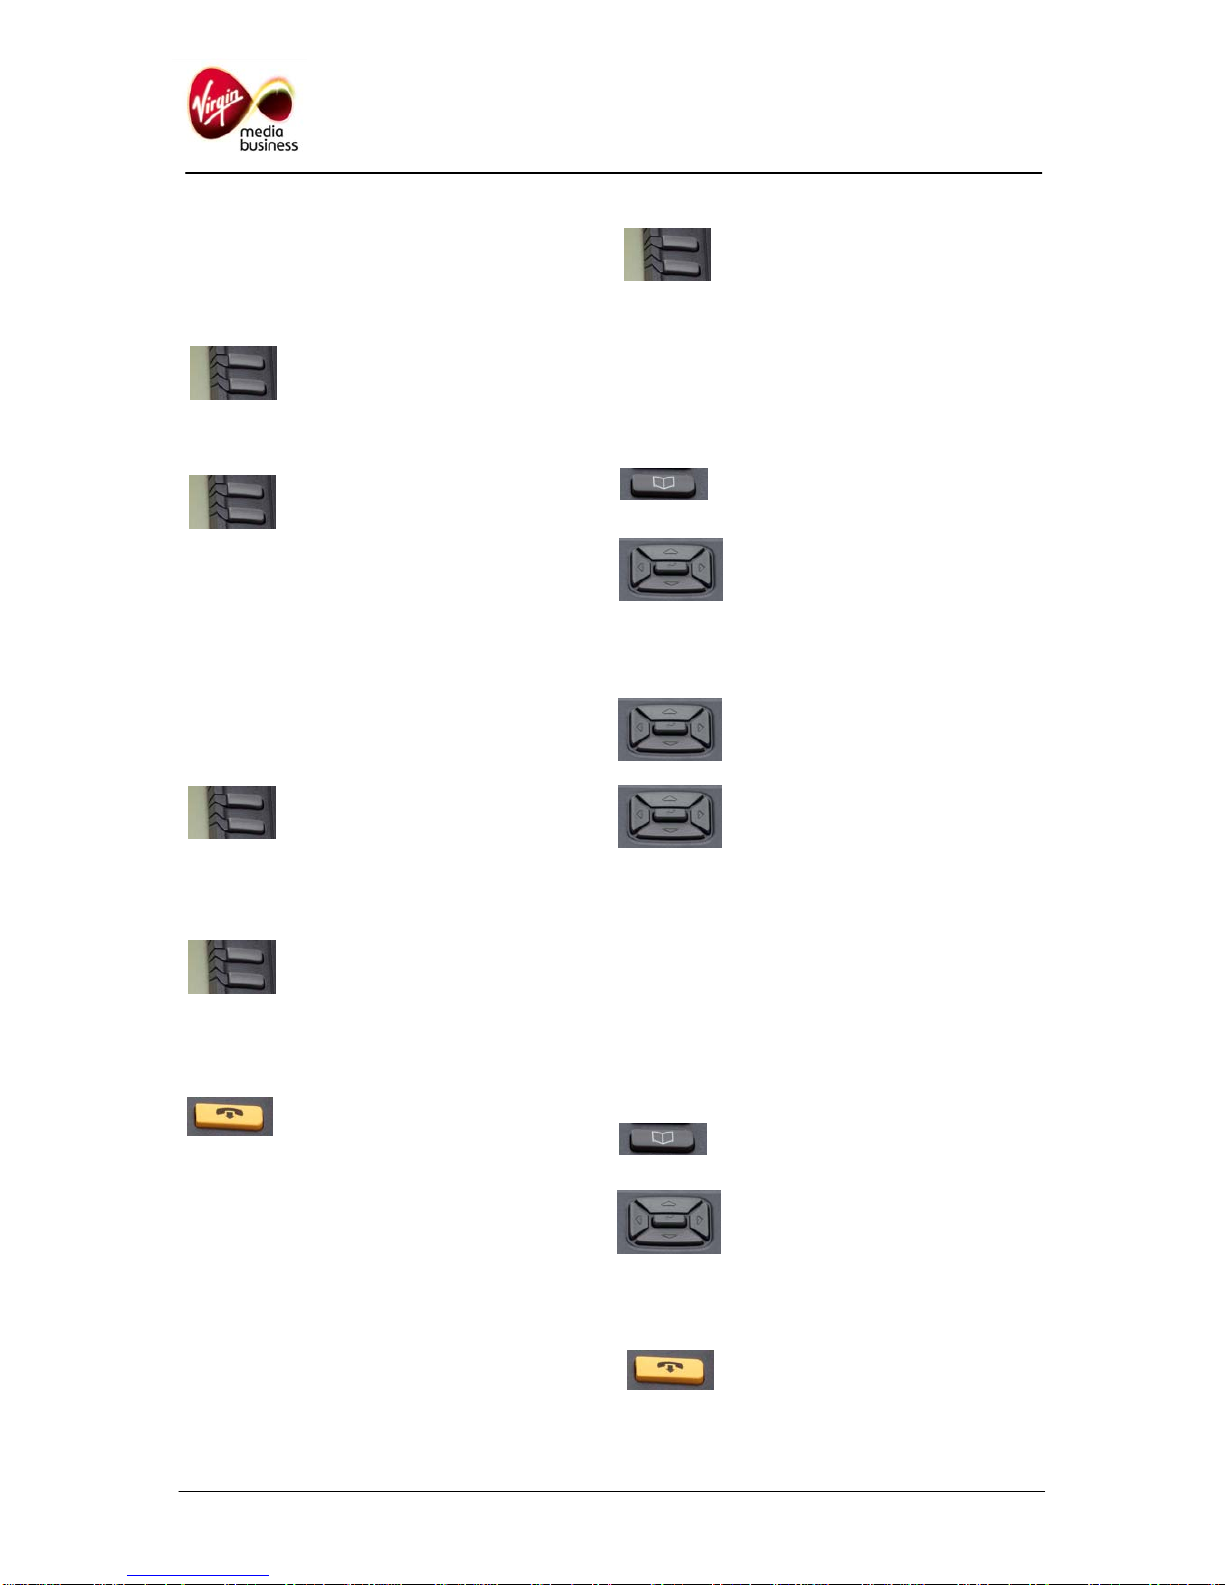
•Press the Personal Directory key
•Using the Menu Navigation keys,
scroll down to find the name and
number to edit. Press OK
•Use the Menu Navigation keys
again to scroll down to EDIT.
Press OK
•You will be prompted to edit the NUMBER,
SURNAME, FIRST NAME, and FEATURE
KEY FORMAT. Press OK.
13. Setting auto login
If there is a power failure, or the Local Area
Network (LAN) connection goes off, the phone
will be logged out. You can log back in manually
(see section 2), or you can set auto login:
•Press the Service or Menu key.
•Using the Menu Navigation keys
scroll down until you reach
USER. Press OK
•Scroll down to AUTO LOGIN. Press OK
•Scroll to ENABLED. Press OK.
•Press the Quit key.
14. Using Autodial feature buttons
You can programme and label any Autodial key:
•Press a spare Autodial key.
Enter the phone number and
press the key again.
•To label the key press MENU, FEATURE,
select the key position, then select LABEL.
•To use Autodial, lift the handset,
or press the line key, then press
the Autodial button.
15. Call Forward options
If you don’t have the Multimedia PC client
package (the client that supports Instant
Messaging, Video etc) you will need to use
FORWARD to divert calls when you are not
available. Multimedia package users should use
the ROUTES feature. There are three main types
of call forward – these are Immediate, On Busy
and On No Answer.
•Call Forward Immediate has a
labelled key. Press the key and
enter the destination as normally
dialled e.g. 91571 for voicemail.
Press the key again to make the
lamp go solid. To cancel the
feature press the key again and
the lamp will go out
•Call Forward on Busy does not have a
feature key. When enabled any calls when
you are busy will be redirected to your
chosen destination. To programme this, lift
the handset and dial *76 followed by the
destination number, including a 9 if
applicable. To cancel, lift the handset and dial
#76 Wait for two short beeps as confirmation
it is cancelled.
•Call Forward on No Answer (also known as
Call Forward Don’t Answer, or no reply) does
not have a feature key. When enabled any
calls that you don’t answer will be redirected
to your chosen destination. To programme
this, lift the handset and dial *77 followed by
the destination number e.g. 91571 for
voicemail. To cancel, lift the handset and dial
#77 Wait for two short beeps as confirmation
it is cancelled.
16. Leaving a message
Without logging into your own mailbox, dial:
08451 476245 (08451 IPMAIL), then enter the full
phone number of your colleague.
You can give this information to your caller so that
they can leave a message without disturbing you.