VisionAIR 1VAHL22M User manual

OIL FILLED HEATER
22” | 600 / 900 / 1500W
MODEL 1VAHL22M
OWNER’S MANUAL

2 3
CONTENTSCONTENTS (Continued)
Safety Guidelines ....................................................................................4-6
Product Diagram .........................................................................................6
Assembly Instructions.................................................................................7
Heater Operation.........................................................................................8
Important Safety Features ..........................................................................9
Care and Maintenance ..............................................................................10
IMPORTANT NOTE:
Read the manual carefully. Make sure to save this manual for future reference.
Illustrations in this manual are for explanatory purposes only, your actual
product may look slightly dierent.
CONSUMER PRODUCT INFORMATION
For your own records, please attach a copy of your sales receipt to this manual.
Also, write the store name/location and date purchased below:
Store Name: ___________________________________________________________
Location:______________________________________________________________
Date Purchased: _______________________________________________________
TECHNICAL DATA
Model: 1VAHL22M
Voltage: 120V~ / 60Hz
Watts: 600W / 900W / 1500W

4 5
SAFETY GUIDELINES
IMPORTANT SAFETY INSTRUCTIONS
This product is only suitable for well insulated spaces or occasional use.
WARNING: READ THIS OWNER’S MANUAL CAREFULLY BEFORE USE.
When using an electrical appliance, basic safety precautions should always be
observed, including the following:
WARNING: To reduce the risk of re. keep textiles, curtains, or any other
ammable material a minimum distance of 3 feet from the air outlet.
READ AND SAVE THESE INSTRUCTIONS
IMPORTANT INSTRUCTIONS
WARNING: To reduce the risk of re, electrical shock, or injury to person:
1. This appliance is not intended for use by persons (including children) with
reduced physical, sensory or mental capabilities, or lack of experience
and knowledge, unless they have been given supervision or instruction
concerning use of the appliance by a person responsible for their safety.
2. Children should be supervised to ensure that they do not play with the
appliance.
3. The product is for household use only.
4. Connect the appliance to single phase AC supply of the voltage specied
on the rating plate.
5. In order to avoid overheating, do not cover the heater.
6. Never leave the heater unattended while it is in use. Always turn the
product to the OFF position and unplug it from the electrical outlet when
not in use.
7. Extreme caution is necessary when any heater is used by or near children,
invalids or elderly person and whenever the heater is left operating and
unattended.
8. The heater must not be located immediately below an electrical socket-
outlet.
9. Do not run cord under carpeting and do not cover cord with throw rugs,
runners or the like. Arrange cord away from trac area and where it will
not be tripped over.
SAFETY GUIDELINES
10. Do not operate the heater with a damaged cord or plug, or after the heater
malfunctions, has been dropped, or damaged in any manner.
11. If the supply cord is damaged, it must be replaced by the manufacturer or
its service agent or a similarly qualied person to avoid a hazard.
12. Avoid the use of an extension cord as this may overheat and cause a risk
of re.
13. Use the heater in a well-ventilated area. Do not insert or allow objects to
enter any ventilation or exhaust opening. To prevent a possible re, do not
block air intakes or exhaust openings in any manner. Do not use on soft
surfaces, like a bed, where openings may become blocked. Use the heater
on at, dry surfaces only.
14. Do not place this heater near ammable materials, surfaces or
substances, as there may be a risk of re. Keep the above ammable
materials, surfaces or substances at least 1m from the front of the product
and keep them away from the sides and rear.
15. Do not use the heater in any areas where petrol, paint or other ammable
liquids are stored e.g. Garages or workshops as a hot, arcing or sparking
parts inside the heater.
16. Don’t use this heater in the immediate surroundings of a bath, a shower or
a swimming pool. Never locate the heater where it may fall into bathtub or
other water container.
17. Do not use this heater if it has been dropped.
18. Do not use if there are visible signs of damage to the heater.
19. Use this heater on a horizontal and stable surface, or x it to the wall, as
applicable.
20. This heater is hot when in use. To avoid burns and personal injury, do not
let bare skin touch hot surfaces. If provided, use handles when moving the
product.
21. Be sure that no other appliances are in use on the same electrical circuit
as your product as an overload can occur.
22. This heater is lled with a precise quantity of special oil.
23. Repair requiring opening of the oil container are only to be made by the
manufacturer or his service agent who should be contacted if there is an
oil leakage.
(Continued)
6 7
HEADLINE (Continued) ASSEMBLY INSTRUCTIONS
SAFETY GUIDELINES
24. Regulations concerning the disposal of oil when scrapping the appliance
have to be followed.
25. The heater should not be used in a room, of which the oor area is less
than 15 square feet.
26. The cord shouldn’t be placed nearby the hot surface of the appliance.
27. In order to avoid overheating, DO NOT cover the heater.
PRODUCT DIAGRAM
(Continued)
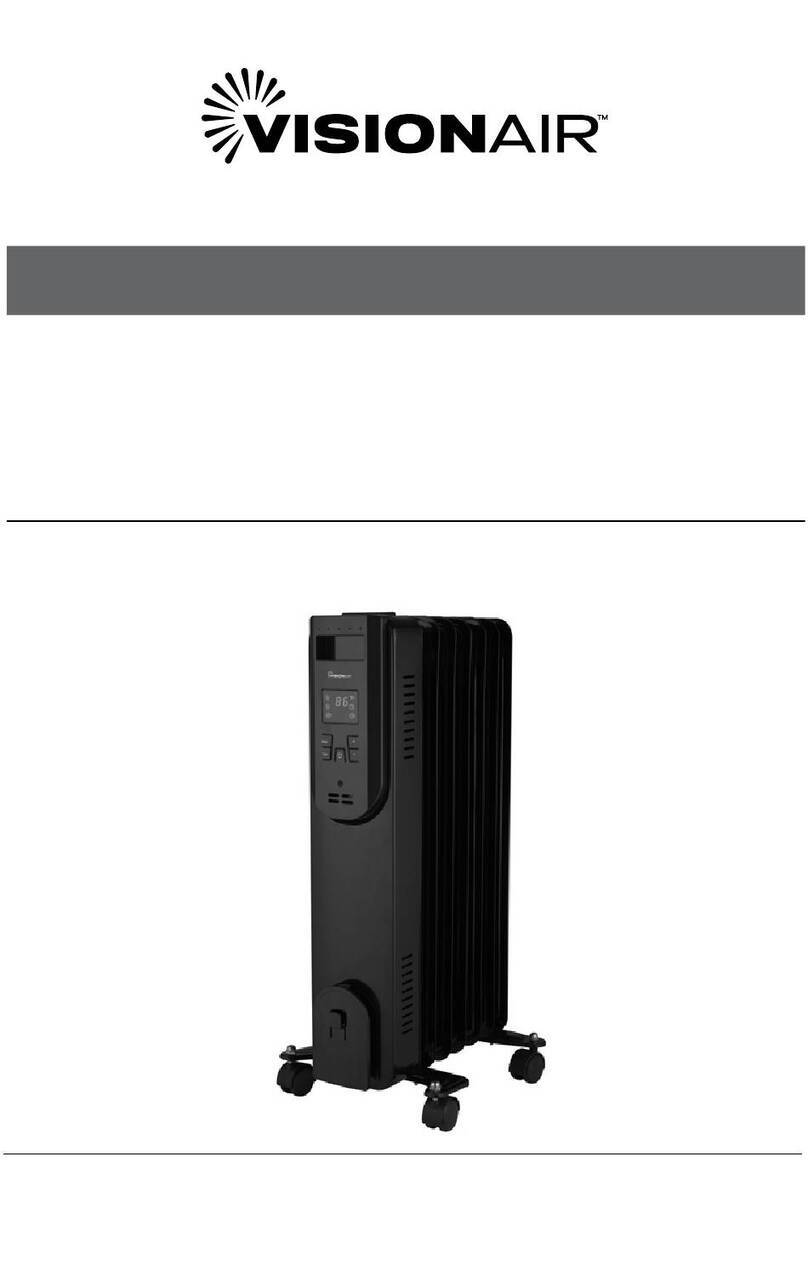
Handle
Thermostat Knob
Power Level
Switch
Cord Storage
Radiant
Fins
Castor
1. Turn the heater (A) upside down.
remove the Buttery Nuts from
the bolts (B). Then insert the
bolts (B) in “U” direction into the
heater (A).
2. Use the Buttery Nuts (E)
removed from Step 1 to secure
both pedals (D) to the bolts (B).
3. Remove the Nuts (C)
preassembled to the Casters
(F). Insert the top of Casters into
the holes on the Pedals (D). Use
the removed Nuts to secure the
Casters to the Nuts.
4. Turn the assembled unit upright.
Ensure the Castors are installed
correctly and level. Place the
heater only on a at and stable
surface. Placing the heater on
an incline can cause damage to
the heater and lead to hazardous
situations.
WARNING
DO NOT open or rell/change oil
ns. Oil ns are permanently sealed
and DO NOT require relling or oil
changing. Attempting to open ns
will damage the unit. This unit is
lled with a non-toxic mineral oil.

98
IMPORTANT SAFETY FEATURESHEATER OPERATION
Always operate the heater in the upright position, following all instructions and
recommendations listed in this manual.
HEATER LOCATION
Place the heater in the area of the room that is coldest.
HEATER CONNECTION
Plug heater directly into 120V, A.C., 60Hz outlet. Be sure the plug ts tightly
in outlet. A loose connection may cause overheating and damage to the plug
or heater. NOTE:To prevent over loading a circuit, do not plug the heater into a
circuit that is servicing other electrical needs.
HEATER START UP
1. To start the heater, press one or both power
switches from the OFF to the LOW or MED
heat mode positions. When both switches
are pressed, the heater will operate in HIGH
heat mode.
2. Turn the Thermostat Control counter clockwise
as far as it will go to the maximum (+) position.
POWER LEVEL SWITCHES
Low Switch = Low heat mode (600 watts)
Med Switch = Medium heat mode (900 watts)
Low + Med Switch = High heat mode (1500 watts)
SETTING THERMOSTAT
After heater has been turned on and the area has reached the desired
temperature, slowly rotate the Thermostat Control counter clockwise until the
heater shuts o (you should hear a faint “click”). By leaving the thermostat
at this setting, the heater will automatically maintain this area temperature.
To maintain a lower temperature,rotate the control further counter clockwise
toward the minimum (-) position. To maintain a higher temperature, rotate the
control clockwise toward the maximum (+) position.
The power indicator light, located in the Power Switch, lights when the heater
is switched on to tell you that the heater has power. The heater is equipped
with an automatic overheat protection device located inside the body of the
heater. If the heater is covered, or if the heater gets too hot for any reason, the
automatic overheat protection device will turn the heater o. The unit must be
reset to resume operation.T o reset the unit,turn both power switches to ”O”
(O) and unplug the heater. Wait for 10 minutes for the heater to cool down.
Plug the heater back in and restart. To prevent further automatic shut-o,
locate the heater far enough away from a wall or other object to allow for
sucient airow. Always place the heater on a smooth level surface. The heater
is also equipped with a safety tip-over switch to turn power o to the heater
when the Heater tips over.To resume heater functions simply stand heater
upright. With tip over protection, the heater will only operate when placed
upright on a level surface.

1110
CARE AND MAINTENANCE
CLEANING
CAUTION: Before cleaning the heater be sure to disconnect power cord and
allow the heater to cool completely.
The heater should be cleaned at least once a year to maintain proper
performance. Clean the outside surface with a damp cloth.
Allow heater to dry completely before use. Do not use harsh chemical or
abrasive cleaners.
WARNING: To prevent personal injury or heater malfunction, NEVER immerse
the heater in water.
CAUTION: Do not operate the heater without the grill in place. Do not use the
heater if it has malfunctioned or become damaged in any way.
REPAIR: Do not attempt to open the heater to clean or otherwise service the
inside.
STORAGE AND MOVEMENT
- Keep original carton for long term storage of the heater.
- Unplug and wrap the cord around the cord storage plate when heater is not
in use to avoid damage to cord and plug.
- To roll the heater on its casters, place two or three ngertips beneath the
top edge of the Pull Handle,and your thumb on top of the handle. Pull the
heater forward. The plastic handle won’t become hot during heater use as
will the metal ns and metal portion of the control box.
CAUTION: DO NOT pull on cord to roll the heater from one location to another.
DO NOT place hands on heater ns to roll heater unless heater is completely
cooled down after use.

833-950-1185 |support@visionairproducts.com
www.visionairproducts.com
4560 W. 160th Street
Cleveland, OH 44135
Printed in China | 0323_M029
Table of contents
Other VisionAIR Heater manuals

VisionAIR
VisionAIR 1VAHBB27 User manual

VisionAIR
VisionAIR 1VAHCU10 User manual

VisionAIR
VisionAIR 1VAHL24D User manual

VisionAIR
VisionAIR 1VAHW09 User manual

VisionAIR
VisionAIR 1VAHCF18 User manual

VisionAIR
VisionAIR 1VAHQ23 User manual

VisionAIR
VisionAIR 1VAHG7500 User manual

VisionAIR
VisionAIR 1VAHG5000 User manual

VisionAIR
VisionAIR 1VAHW152P User manual

VisionAIR
VisionAIR 1VAHCT23 User manual