VisionAIR 1VAHL24D User manual

DIGITAL OIL-FILLED
HEATER
24” | 600/ 900 / 1500W
MODEL 1VAHL24D
OWNER’S MANUAL

2 3
CONTENTSCONTENTS (Continued)
Safety Guidelines ....................................................................................4-6
Product Diagram .........................................................................................7
Assembly Instructions.................................................................................8
Instructions for Use .....................................................................................9
Operation...................................................................................................10
Care and Maintenance ..............................................................................11
Troubleshooting ........................................................................................11
IMPORTANT NOTE:
Read the manual carefully. Make sure to save this manual for future reference.
Illustrations in this manual are for explanatory purposes only, your actual
product may look slightly dierent.
CONSUMER PRODUCT INFORMATION
For your own records, please attach a copy of your sales receipt to this manual.
Also, write the store name/location and date purchased below:
Store Name: _______________________________________________________________
Location:__________________________________________________________________
Date Purchased: ___________________________________________________________
TECHNICAL DATA
Model: 1VAHL24D
Voltage: 120V~ / 60Hz
Watts: 600 / 900 / 1500W

4 5
SAFETY GUIDELINES
READ AND SAVE THESE INSTRUCTIONS
IMPORTANT INSTRUCTIONS
1. Carefully read the instructions before operating the unit
2. This appliance is for indoor use only.
3. Rating: This unit must be only connected to a 120V/60Hz grounded outlet.
4. Installation must be in accordance with regulations of the country where the
unit is used.
5. If you are in any doubt about the suitability of your electrical supply have it
checked and, if necessary, modied by a qualied electrician.
6. This heater has been tested and is safe to use. However, as with any electrical
appliance use it with care.
7.
Disconnect the power from the unit before dismantling, assembling or cleaning.
8. Avoid touching any moving parts within the appliance.
9. Never insert ngers, pencils or any other objects though the guard.
10. This appliance can be used by Children aged from 8 years and above and
persons with reduced physical, sensory or mental capabilities or lack of
experience and knowledge if they have been given supervision or instruction
concerning use of the appliance in a safe way and understand the hazards
involved.
11. Children shall not play with the appliance.
12. Cleaning and user maintenance shall not be carried out by children.
13. Children aged from 3 years and less than 8 years shall only switch on/o the
appliance provided it has been placed or installed in its intended normal
operating position and they have been given supervision or instruction
concerning use of the appliance in a safe way and understand the hazards
involved.
14. Children aged from 3 years and less than 8 years shall not plug in, regulate,
or clean the appliance or perform user maintenance.
15. Children under 3 years should be kept away unless continuously supervised.
16. Some parts of this product can become very hot and cause burns. Particular
attention has to be given where children and vulnerable people are present.
17. Do not clean the unit by spraying it or immersing it in water.
18. Never connect the unit to an electrical outlet using an extension cord. If an
outlet is not available, one should be installed by a qualied electrician.
19. Never operate this appliance if the unit, cord or plug is damaged. Ensure the
SAFETY GUIDELINES
power cord is not stretched, exposed to sharp object/edges, or routed under
the unit.
20.
Any service other than regular cleaning should be performed by an authorized
service representative. Failure to comply could result in a voided warranty.
21. Never use the plug as a switch to start and turn o the heater. Use the
provided power button located on the control panel.
22. Do not use an external timer.
23. Do not cover the appliance, or place items close to the unit which may restrict
airow, as this may present a re risk.
24. The heater must not be located immediately below a socket outlet.
25. Always place the unit on a dry and stable surface. Do not move or tilt the unit.
26. Avoid keeping the unit in direct sunlight for a long period of time.
27. The heater is designed to be used at temperatures above -4°F. If it is exposed
to temperatures below this, it must be allowed to warm above this level before
operation.
28. Do not attempt to repair, disassemble or modify the appliance. This unit
contains no user-serviceable parts.
29. Always unplug or disconnect the appliance from the mains power supply
when not in use, or when moving or cleaning it. Do not pull the cord to unplug
the heater.
30.
Keep the heater clean. Do not allow any object to enter the ventilation or
exhaust opening as this may cause electric shock, re, or damage to the heater.
31. Do not use the appliance for anything other than its intended use. It is
designed for domestic indoor use only.
32. There may be a trace of odor during the rst few minutes of initial use, or after
a period of storage. This is normal and will quickly disappear.
33. This appliance has hot and arching or sparking parts inside. Do not use it in
areas where gasoline, paint, or any ammable liquids are used or stored.
34. This appliance is not intended for use in bathrooms, laundry areas and
similar humid locations. Never locate this appliance where it may fall into a
bathtub or otherwise become exposed to water.
35. The remote may contain a battery, keep out of reach of small children. Seek
Medical advice if swallowed.
36. To prevent battery leakage: Remove the battery from the remote if exhausted
or before long periods of storage.
WARNING: To reduce the risk of re or electrical shock, DO NOT use this
(Continued)
6 7
HEADLINE (Continued) ASSEMBLY INSTRUCTIONS
SAFETY GUIDELINES
appliance with any solid-state Speed Control Device or any variable speed
controllers.
ENERGY SAVING AND UNIT SAFETY
PROTECTION TIPS
• Do not cover or restrict the airow. Do not use in dusty environment.
• For safety and maximum performance, the minimum distance from a wall or
objects should be 19.5 in.
PRODUCT DIAGRAM
Handle
Digital
Display
Screen
Control
Panel
Cord
Storage
with
Hook
Pedals
Mounting
Plates
Castors
PART DESCRIPTION QUANTITY
A Heater 1
B Bolts 2
C Nuts 4
D Pedals 2
EButtery Nuts 2
F Casters 4
/ Owners Manual 1
Oil
Filled
Fins
1. Turn the heater (A) upside down.
remove the Buttery Nuts from the
bolts (B). Then insert the bolts (B) in
“U” direction into the heater (A).
2. Use the Buttery Nuts (E) removed
from Step 1 to secure both pedals (D)
to the bolts (B).
3. Remove the Nuts (C) preassembled
to the Casters (F). Insert the top of
Casters into the holes on the Pedals
(D). Use the removed Nuts to secure
the Casters to the Nuts.
4. Turn the assembled unit upright.
Ensure the Castors are installed
correctly and level. Place the heater
only on a at and stable surface.
Placing the heater on an incline can
cause damage to the heater and lead
to hazardous situations.
WARNING
DO NOT open or rell/change oil ns.
Oil ns are permanently sealed and DO
NOT require relling or oil changing.
Attempting to open ns will damage the
unit. This unit is lled with a non-toxic
mineral oil.
(Continued)
9
(Continued)
8
CONTROL PANEL
The unit can be operated using the remote control or the control panel on the side
of the unit.
REMOTE CONTROL
The buttons on the remote allow the access to the same settings as the main
control panel.
Model: AAA/LR03
Voltage: DC 1.5V
Capacity: 1300mAh
This remote control uses two AAA /LR03 batteries (NOT INCLUDED)
WARNING: NEVER dispose of batteries in re. Failure to observe this precaution
may result in an explosion. Dispose of batteries at your local hazardous material
processing center or per local laws.
INSTRUCTIONS FOR USEINSTRUCTIONS FOR USE
CONTROL
BUTTONS
CONTROLS/DISPLAY FUNCTION/DESCRIPTION
ON/OFF Turns the heater ON or OFF.
Mode Selects between LOW, MED,
HIGH modes.
Temperature
Up Increases desired temperature.
Temperature
Down Decreases desired temperature.
Timer Sets hour value for the timer.
REMOTE CONTROL INSTRUCTION
Power Turns the heater ON or OFF.
Mode Selects between LOW, MED, HIGH modes.
Increases desired temperature.
Decreases desired temperature.
Timer Sets hour value for the timer.
>
>
POSITIONING THE HEATER
• Place the unit in an upright position on a at, stable and heat-resistant
surface.
•
Ensure that there are no ammable or heat-sensitive materials or substances
within 39.5 in. of the front and 19.5 in. of the rear and sides of the unit.
• Do not cover the heater.
CONNECTING THE HEATER
• Before inserting the plug into a suitable socket, make sure that the unit is
intact, properly assembled and that there is no signs of damage to the
appliance or its power cable.
• To avoid overloading a circuit, connect the unit only to a circuit where no
other equipment is connected.
•
When the power switch is in the OFF position, insert the plug into a grounded
socket and turn on the power.
DISPLAY SCREEN
HEAT
LEVEL
Low
Medium
High
Timer
Power

10 11
CLEANING AND MAINTENANCEOPERATION
TURNING ON/OFF
Turn the heater ON/OFF by pressing the “ON/OFF” button.
SELECTING A POWER LEVEL
Press the “HEAT” button repeatedly to select a Heat level between LOW, MEDIUM
and HIGH. The display will show the currently selected Heat level.
SETTING THE TEMPERATURE
The desired temperature can be set between 59°F and 95°F. Once the desired
temperature has been reached the unit will stop the heating function.
With the unit operating at the desired heat level use the + and - buttons to set the
desired temperature.
While the unit is heating, the thermometer symbol will ash.
When the room temperature is above the desired temperature the thermometer
symbol will be illuminated constantly.
TIMER BUTTON
The in-built timer will allow you to set the unit to turn on or turn o after a set
period of time. Please note, only one timer can be used at any time.
ON TIMER – The timer will turn on the unit automatically after the time set has
elapsed.
1. With the unit turned o, press the TIMER button, then set the number of hours’
time you desire the unit to start by repeatedly pressing the TIMER button.
2. Once the set time has elapsed, the unit will turn on automatically.
3. Press the POWER button before the time has elapsed and the unit will turn on
as normal and the timer will be canceled.
OFF TIMER – The timer will turn o the unit automatically after the time set has
elapsed.
1.
While the unit is operating, press the TIMER button then set the number of hours’
time you desire the unit to stop by repeatedly pressing the TIMER button.
2. Once the set time has elapsed, the unit will enter standby automatically.
3. Press the POWER button before the time has elapsed, the timer will be
canceled and the unit will turn o.
ATTENTION: Please shut o the unit and unplug from the mains before cleaning or
performing any maintenance.
CLEANING THE SURFACE
• Clean the heater with a duster or a soft wet cloth.
Do not use chemical solvents (such as benzene, alcohol or gasoline) as they
may cause irreversible damage. Make sure no water enters the control panel
or gaps in the casing.
• Do not run the unit until completely dry.
• Place the heater in its original box or cover to protect it from dust when not
in use.
• Store it in a cool dry place.
TROUBLESHOOTING
Do not repair or disassemble the unit by yourself, unauthorized repair attempts will
invalidate the warranty and may cause bodily harm.
PROBLEM POSSIBLE CAUSES SOLUTION
No Power
Power cord is unconnected. Connect the power cord.
There is no power from socket. Check socket is turned on.
The power switch on the rear
of the unit is turned o.
Ensure the power switch on the rear of
the unit is in the on position.
Odor emission
from unit
New unit. When the unit is
used for the rst time the fan
motor may produce and odor
which will dissipate within a
week of use.
No action required.
Strong
vibrations
and noise
Unit is not placed on a at
surface.
Place on a at surface. May put an
anti-vibration mat underneath.
Unit may be damaged. If the heater is damaged discontinue
use and contact the service center.
If the above solutions do not resolve the problem please contact the service center.

833-950-1185 |support@visionairproducts.com
www.visionairproducts.com
4560 W. 160th Street
Cleveland, OH 44135
Printed in China | 0323_M029
Table of contents
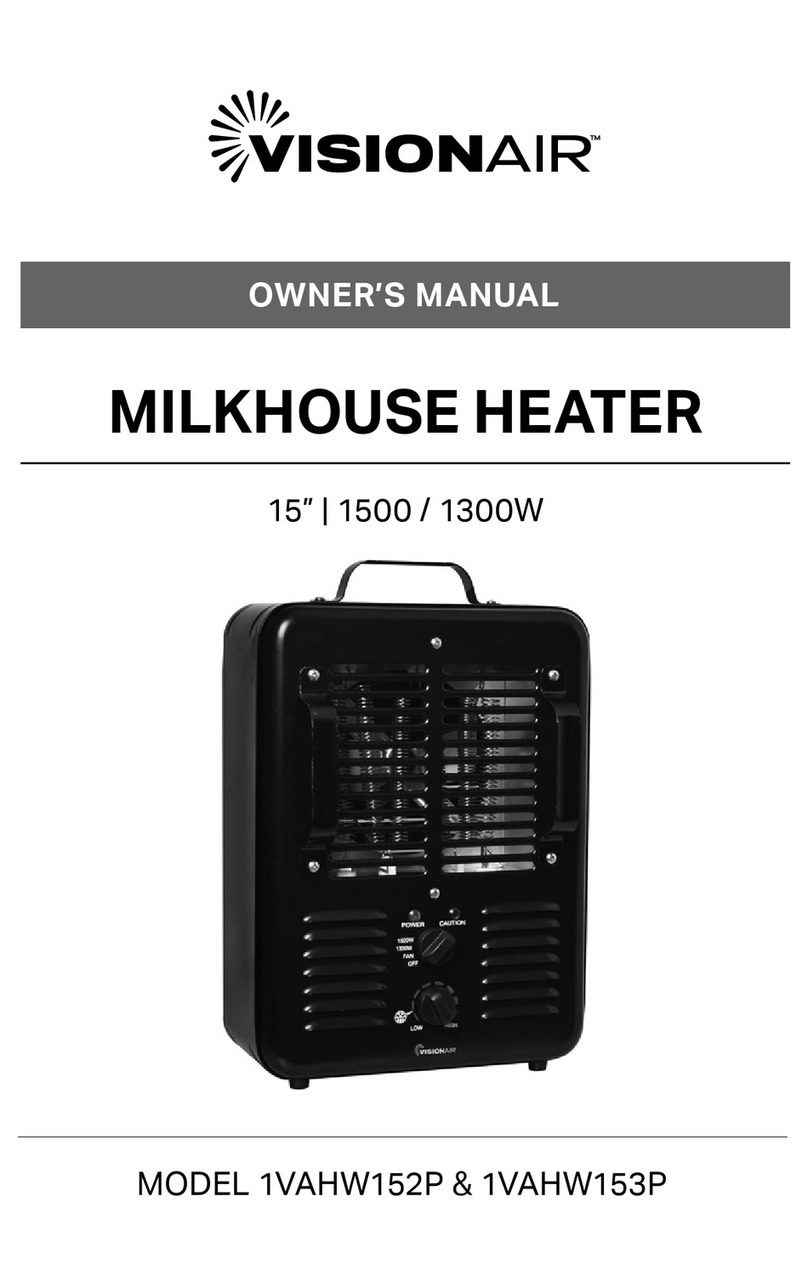
Other VisionAIR Heater manuals

VisionAIR
VisionAIR 1VAHQ18WG User manual

VisionAIR
VisionAIR 1VAHG7500 User manual

VisionAIR
VisionAIR 1VAHQ23 User manual

VisionAIR
VisionAIR 1VAHW09 User manual

VisionAIR
VisionAIR 1VAHG5000 User manual

VisionAIR
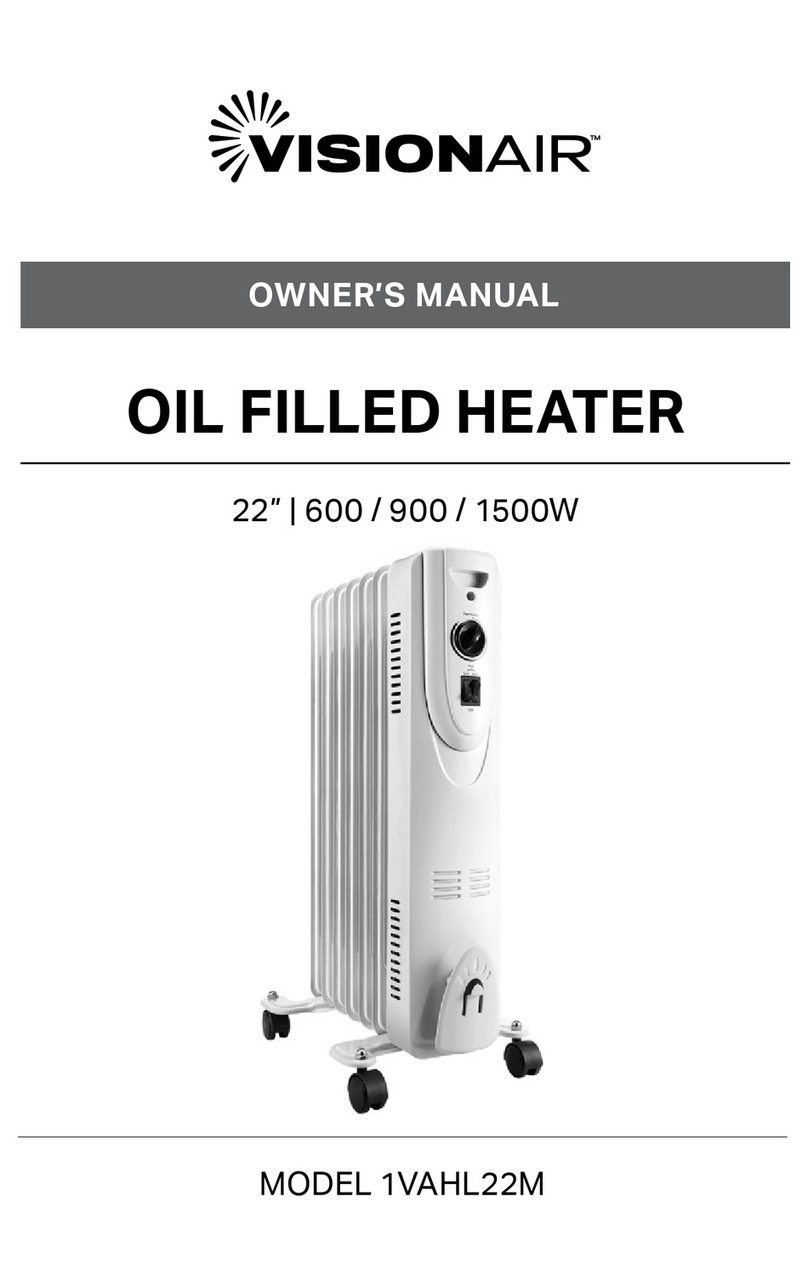
VisionAIR 1VAHL22M User manual

VisionAIR
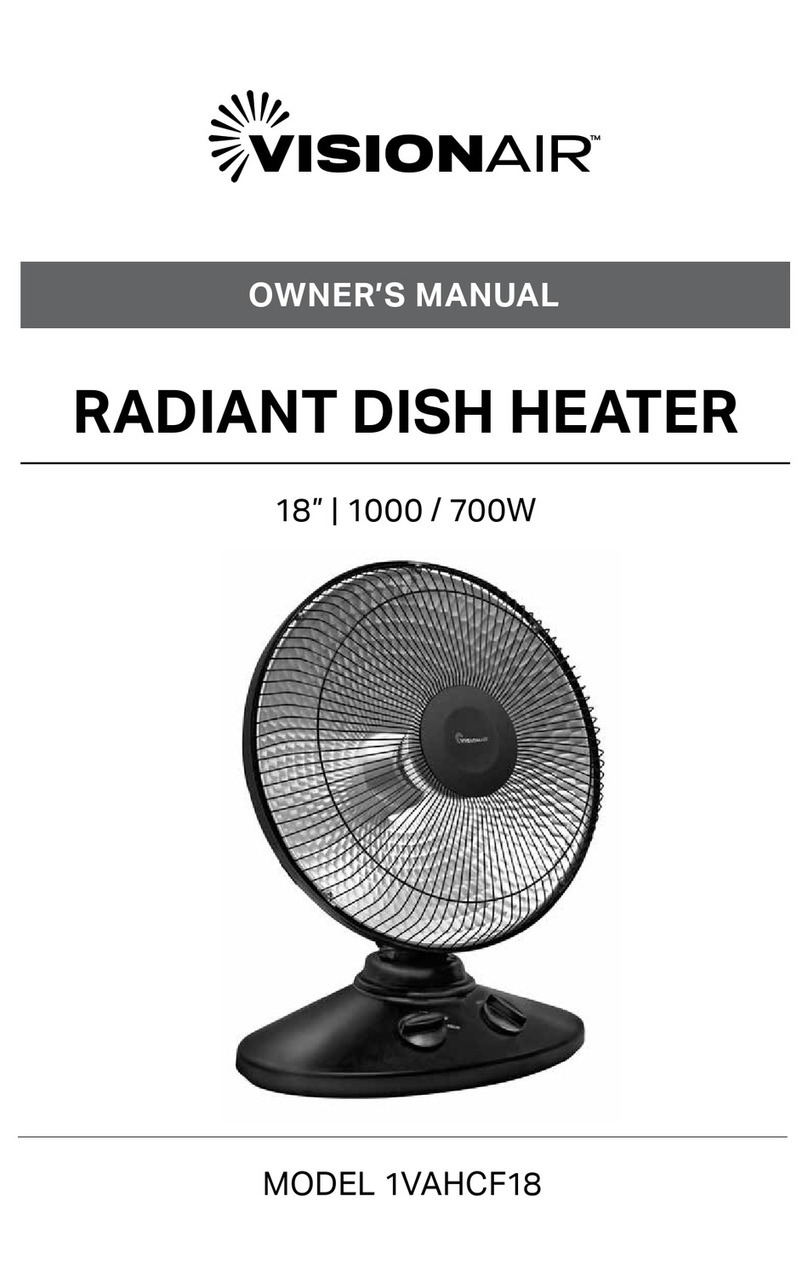
VisionAIR 1VAHCF18 User manual

VisionAIR
VisionAIR 1VAHW152P User manual

VisionAIR
VisionAIR 1VAHCT23 User manual

VisionAIR
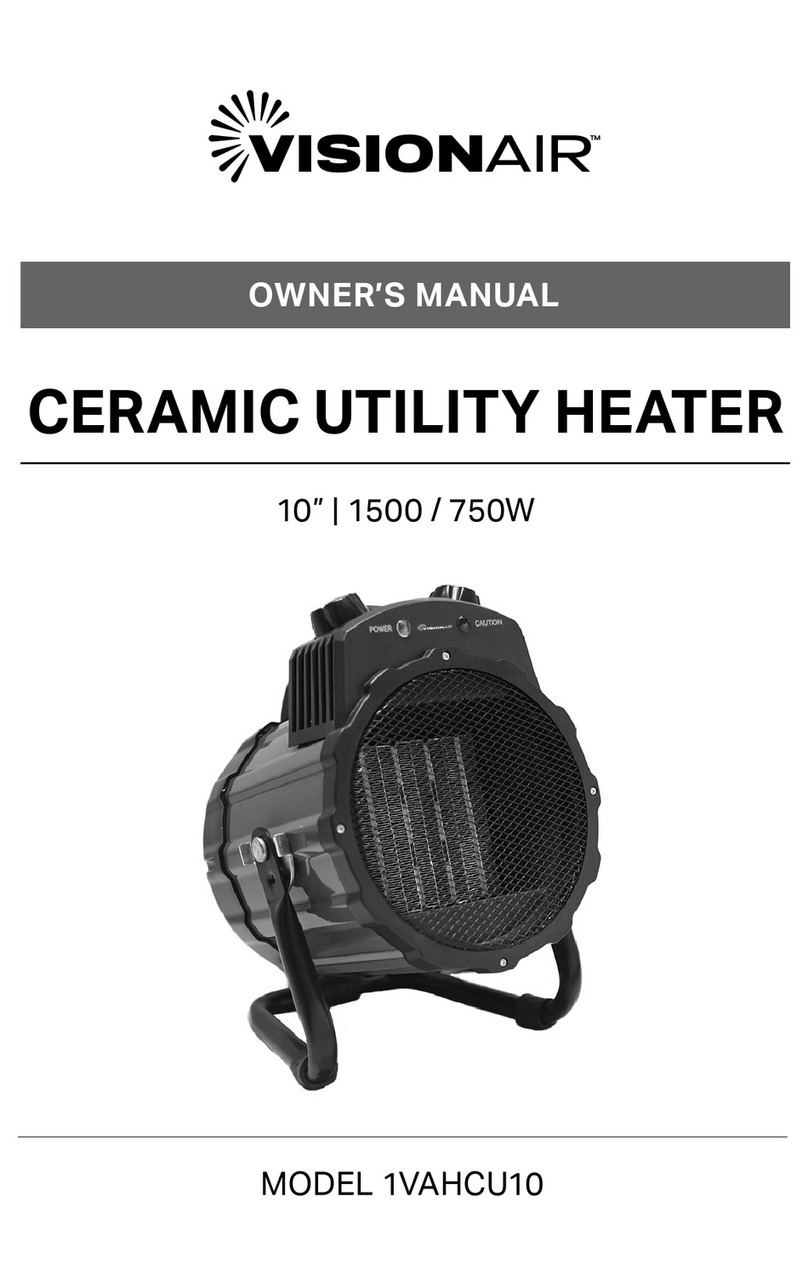
VisionAIR 1VAHCU10 User manual