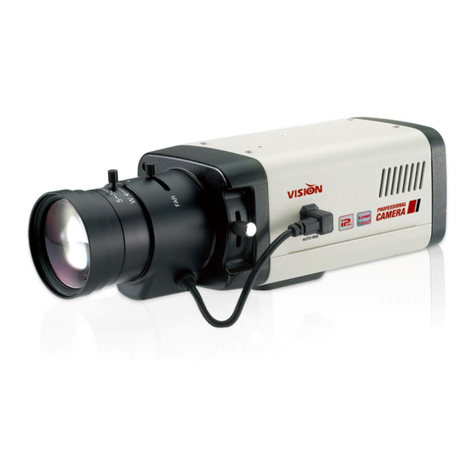
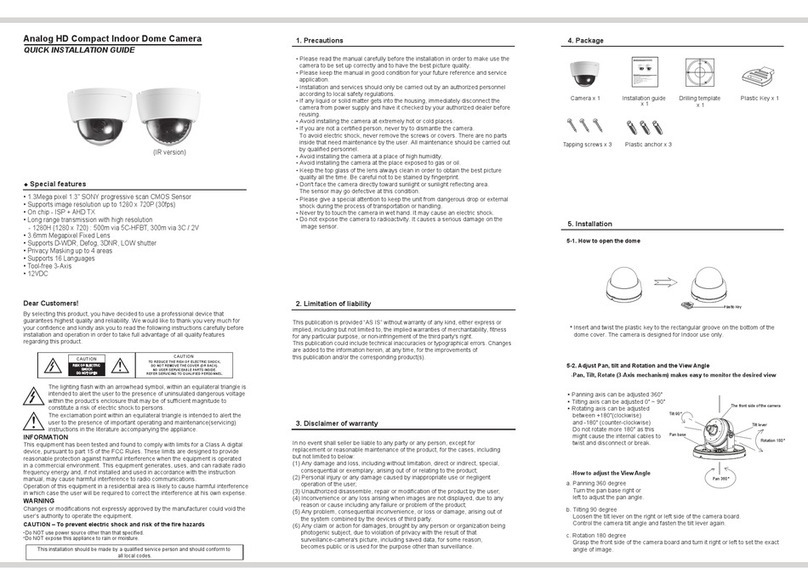
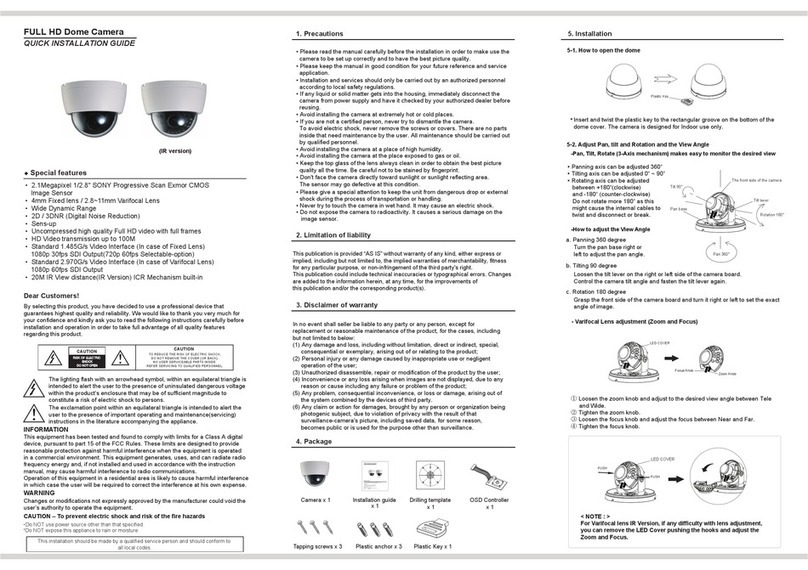
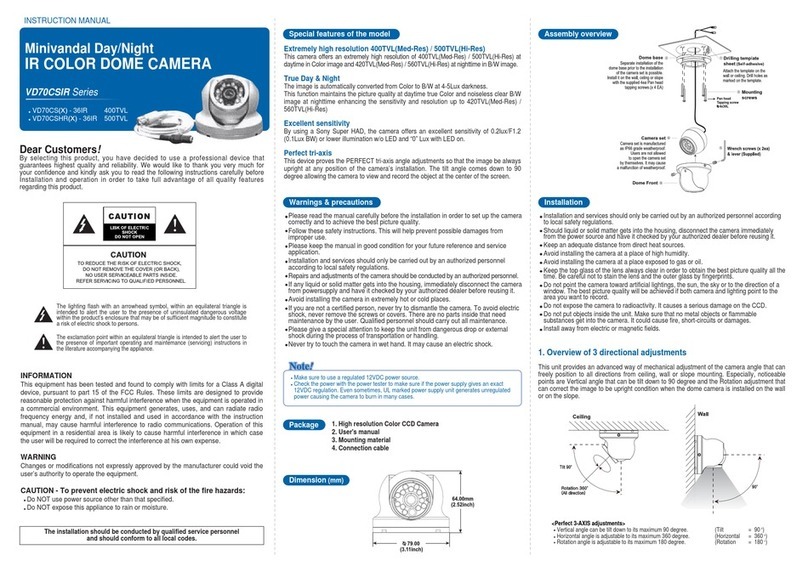
manuals.online logo
Brands
  1. Home
  2. •
  3. Brands
  4. •
  5. Visionhitech
  6. •
  7. Security Camera
  8. •
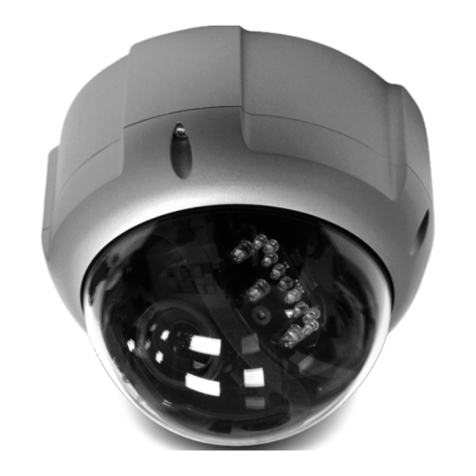
  9. Visionhitech VDA101S3-VFIR User manual

Visionhitech VDA101S3-VFIR User manual

Dear Customers!
The lighting flash with an arrowhead symbol, within an equilateral triangle is
intended to alert the user to the presence of uninsulated dangerous voltage
within the product’s enclosure that may be of sufficient magnitude to
constitute a risk of electric shock to persons.
INFORMATION
CAUTION – To prevent electric shock and risk of the fire hazards
This installation should be made by a qualified service person and should conform to
all local codes.
The exclamation point within an equilateral triangle is intended to alert the
user to the presence of important operating and maintenance(servicing)
instructions in the literature accompanying the appliance.
This equipment has been tested and found to comply with limits for a Class A digital
device, pursuant to part 15 of the FCC Rules. These limits are designed to provide
reasonable protection against harmful interference when the equipment is operated
in a commercial environment. This equipment generates, uses, and can radiate radio
frequency energy and, if not installed and used in accordance with the instruction
manual, may cause harmful interference to radio communications.
Operation of this equipment in a residential area is likely to cause harmful interference
in which case the user will be required to correct the interference at his own expense.
WARNING
Changes or modifications not expressly approved by the manufacturer could void the
user’s authority to operate the equipment.
Do NOT use power source other than that specified.
Do NOT expose this appliance to rain or moisture.
By selecting this product, you have decided to use a professional device that
guarantees highest quality and reliability. We would like to thank you very much for
your confidence and kindly ask you to read the following instructions carefully before
installation and operation in order to take full advantage of all quality features
regarding this product.
CAUTION
CAUTION
RISK OF ELECTRIC
SHOCK
DO NOT OPEN
TO REDUCE THE RISK OF ELECTRIC SHOCK,
DO NOT REMOVE THE COVER (OR BACK).
NO USER SERVICEABLE PARTS INSIDE.
REFER SERVICING TO QUALIFIED PERSONNEL.
3OHDVHUHDGWKHPDQXDOFDUHIXOO\EHIRUHWKHLQVWDOODWLRQLQRUGHUWRPDNHXVHWKH
camera to be set up correctly and to have the best picture quality.
3OHDVHNHHSWKHPDQXDOLQJRRGFRQGLWLRQIRU\RXUIXWXUHUHIHUHQFHDQGVHUYLFH
application.
,QVWDOODWLRQDQGVHUYLFHVVKRXOGRQO\EHFDUULHGRXWE\DQDXWKRUL]HGSHUVRQQHO
according to local safety regulations.
,IDQ\OLTXLGRUVROLGPDWWHUJHWVLQWRWKHKRXVLQJLPPHGLDWHO\GLVFRQQHFWWKH
FDPHUDIURPSRZHUVXSSO\DQGKDYHLWFKHFNHGE\\RXUDXWKRUL]HGGHDOHUEHIRUH
reusing.
$YRLGLQVWDOOLQJWKHFDPHUDDWH[WUHPHO\KRWRUFROGSODFHV
$YRLGLQVWDOOLQJWKHFDPHUDDWDSODFHRIKLJKKXPLGLW\
$YRLGLQVWDOOLQJWKHFDPHUDDWWKHSODFHH[SRVHGWRJDVRURLO
,I\RXDUHQRWDFHUWLILHGSHUVRQQHYHUWU\WRGLVPDQWOHWKHFDPHUD
To avoid electric shock, never remove the screws or covers. There are no parts
inside that need maintenance by the user. All maintenance should be carried out
by qualified personnel.
.HHSWKHWRSJODVVRIWKHOHQVDOZD\VFOHDQLQRUGHUWRREWDLQWKHEHVWSLFWXUH
quality all the time. Be careful not to be stained by fingerprint.
'RQWIDFHWKHFDPHUDGLUHFWO\WRZDUGVXQOLJKWRUVXQOLJKWUHIOHFWLQJDUHD
The sensor may go defective at this condition.
3OHDVHJLYHDVSHFLDODWWHQWLRQWRNHHSWKHXQLWIURPGDQJHURXVGURSRUH[WHUQDO
shock during the process of transportation or handling.
1HYHUWU\WRWRXFKWKHFDPHUDLQZHWKDQG,WPD\FDXVHDQHOHFWULFVKRFN
'RQRWH[SRVHWKHFDPHUDWRUDGLRDFWLYLW\,WFDXVHVDVHULRXVGDPDJHRQWKH
image sensor.
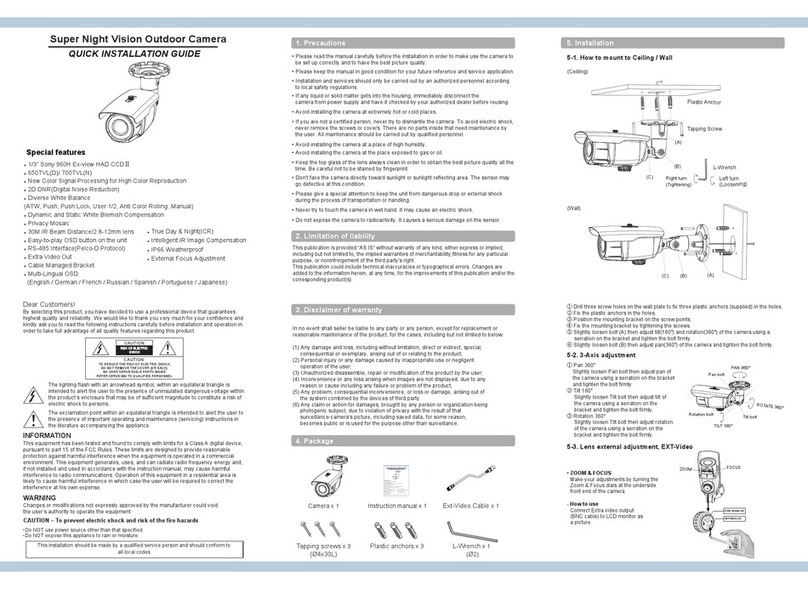
1. Precautions
QUICK INSTALLATION GUIDE
Vandal-proof Super-Res Dome Camera
◆
Special features
This publication is provided “AS IS” without warranty of any kind, either express or
implied, including but not limited to, the implied warranties of merchantability, fitness
IRUDQ\SDUWLFXODUSXUSRVHRUQRQLQIULQJHPHQWRIWKHWKLUGSDUW\VULJKW
This publication could include technical inaccuracies or typographical errors. Changes
are added to the information herein, at any time, for the improvements of
this publication and/or the corresponding product(s).
In no event shall seller be liable to any party or any person, except for
replacement or reasonable maintenance of the product, for the cases, including
but not limited to below:
(1) Any damage and loss, including without limitation, direct or indirect, special,
consequential or exemplary, arising out of or relating to the product;
(2) Personal injury or any damage caused by inappropriate use or negligent
operation of the user;
8QDXWKRUL]HGGLVDVVHPEOHUHSDLURUPRGLILFDWLRQRIWKHSURGXFWE\WKHXVHU
(4) Inconvenience or any loss arising when images are not displayed, due to any
reason or cause including any failure or problem of the product;
(5) Any problem, consequential inconvenience, or loss or damage, arising out of
the system combined by the devices of third party.
$Q\FODLPRUDFWLRQIRUGDPDJHVEURXJKWE\DQ\SHUVRQRURUJDQL]DWLRQEHLQJ
photogenic subject, due to violation of privacy with the result of that
VXUYHLOODQFHFDPHUDVSLFWXUHLQFOXGLQJVDYHGGDWDIRUVRPHUHDVRQ
becomes public or is used for the purpose other than surveillance.
2. Limitation of liability
3. Disclaimer of warranty
4. Package
5. Installation
Sticker x1
Torx Wrench x1 Plastic anchor x4
Extra Video output
x1
Tapping Screws x4
Manual x1
Camera x1
´6RQ\+'RXEOH6FDQ6XSHU+$'&&'้
+RUL]RQWDOUHVROXWLRQRIRYHU79/LQH
$XWR6FHQH5HFRJQLWLRQDQG6FHQH6HOHFWIXQFWLRQ
6XSHU:LGH'\QDPLF5DQJH:'5$75(;
&RD[LDOFRPPXQLFDWLRQ
''QRLVHUHGXFWLRQ
,52SWLPL]HU
0RWLRQGHWHFWLRQ
3RO\JRQSULYDF\PDVN
+/&+LJK/LJKW&RPSHQVDWLRQ
(=RRP[
'HIRJ$XWR
',6'LJLWDO,PDJH6WDELOL]HU
6(1683'LJLWDO6ORZ6KXWWHU Drilling Template
Surface Mount Base
7DSSLQJ6FUHZ[($
0DFKLQH6FUHZ[($
Flush Mount Base
&DPHUD$VV\
'RPH&RYHU$VV\
7RU[6FUHZ[($
Torx L-Wrench
BNC Female
for Video
Dual Power
(12V DC/24V AC)
56
Shield Cover
- Surface Mount
ྙPaste a Drilling Template on the ceiling or wall and drill screw points which will be
dome for installation.
ྚFix the Surface Mounting Base by using Tapping Screws provided.
ྛFix the Flush mount Base on Surface Mounting Base.
ྜTurn the camera Ass’y to the desired direction.
ྜྷTurn the dome and shied cover to the camera direction.
ྞFix the Dome Cover Ass’y to the Flush mount Base by using Torx Screw and
Torx L-Wrench.
QUICKINSTALLATION GUIDE
Vandal-proofSuper-Res Dome Camera
◆
Special features
´6RQ\+'RXEOH6FDQ6XSHU+$'&&'้
+RUL]RQWDOUHVROXWLRQRIRYHU79/LQH
$XWR6FHQH5HFRJQLWLRQDQG6FHQH6HOHFWIXQFWLRQ
6XSHU:LGH'\QDPLF5DQJH:'5$75(;
&RD[LDOFRPPXQLFDWLRQ
''QRLVHUHGXFWLRQ
,52SWLPL]HU
0RWLRQGHWHFWLRQ
3RO\JRQSULYDF\PDVN
+/&+LJK/LJKW&RPSHQVDWLRQ
(=RRP[
'HIRJ$XWR
',6'LJLWDO,PDJH6WDELOL]HU
6(1683'LJLWDO6ORZ6KXWWHU
5-1. Installation overview
141020-2S3
5. Installation 5. Installation 7. Dimension (mm)
6. Troubleshooting
If there are problems in operating, please refer to the checklist below.
If the problem persists, please contact the agent where this product is purchased.
8. Specification
uGGG
GU
{GGG
GGU
{GGG
GG
{GGGG
GSG
GGGGG
GGU
jGGGU
{GGG
U
yzT[_\G
GU
½GGwGGGGGGGGG
GGGGGGGGGGU
½GGwGGGGGGG
GGG}pklvGGGGG}pklvGGU
½GGpGGGGfGjGGGGSGU
½GGzGGGGGU
½GGpGGGGGGGGSGGG
GGGGU
½GGwGGGGGGGGGMG
GGGUOkGGGGGGGGSG
GGGslkGGGPGG
½GGhGGGGGGU
½GGpGGGGGSGGG^\ȳGVGoTGUG
GGGOwGGGP
½GGwGGGGGGGGGGG
GGGGGGGGU
½GGwGGGGG~GiGU
½GGwGGGGGGGGG
GGGGGGU
½GGwGGGGGyzT[_\GjGw
GGGGyzT[_\GU
½GGwGGGyzT[_\GjG
GGGGU
½GGyzT[_\GjGGG
½GG~GGGGGGGG
GGGGGGGGGGG
GGGGU
p jGpk ih|kGyh{l yl{Gwr{
luhisl
|hy{Gtvkl
pG WWX `]WW _TuvulTX
[_\GjGiGjGw yzT[_\GjGw
[_\R
[_\T
ORPjvuulj{pvuG{lytpuhsO{yRP
OTPjvuulj{pvuG{lytpuhsO{yTP
Problems Troubleshooting
* System Connection Diagram
Press the PWR button to turn on the remote.
The LED should be turned on. When the
LED blinks, Replace the battery.
Exit Auto Focus
- OSD Control: Press SET button to turn on
the OSD menu. Use the arrow buttons to
navigate through the menu.
OSD Right Arrow
(Foucs Far)
OSD Left Arrow
(Focus Near)
OSD Up Arrow
(Zoom IN)
OSD Down Arrow
(Zoom OUT)
- Motorized focus and zoom
FAR : Focus Far
FAR : Focus Near
TELE : Zoom IN
WIDE : Zoom Out
Make sure to use a butyl tape. (Do not use a sealing material on those parts)
ྙIt is useful to connect the cable ends from camera to the extension cable for
waterproof.
ྚConnect and tape the power cables (Power-Power/Ground-Ground).
ྛBind the power cables together with the tape. When DC-Jack is used, tape the
DC-DC joint.
ྜConnect and tape the RS485 cables (RS485+ซTRX+ /RS485- ซTRX-)
ྜྷTape the BNC-BNC joint.
a. Power cable
b. RS-485 : Same as above
c.Video output cable
(Red)
(Black)
* Caution
Please make sure to seal these places with a tape
tightly enough to prevent water smearing into the
cable.
A lot of actual damages are happening by doing
improper finish on the spot.
- How to use Coaxial Remote Controller
୔Tool-free 3-Axis mounting mechanism
Perfect Tri-axis!
Â3DQQLQJD[LVXSWRÛGHJUHH
Â7LOWLQJD[LVXSWRÛGHJUHH
Â5RWDWLRQD[LVXSWRÛGHJUHH
No need to use a tool for adjustment!
All adjustments are done quick and
easy by hand!
3DQÜ
Rotation Ü
Tilt Ü
5-2. 3-Axis Adjustment
5-3. Waterproof processing of cable end connection
< Option >
specifications are subject to change without prior notice.
*
Electrical
Image sensor
Effective Pixels NTSC : 976(H) x 494(V), PAL : 976(H) x 582(V)
H. Resolution 800TV Lines
Synchronizing system Internal
Scanning system NTSC : 525 Lines PAL : 625 Lines 2:1 Interlaced
Video output 1.0Vp-p Composite 75 Ohms
Gamma Correction 6WDQGDUGȖ 
Smear Effect 0.005%
S/N ratio More than 50dB (AGC OFF)
Scene Select function FULL AUTO / INDOOR / OUTDOOR / BACKLIGHT / ITS /
CUSTOM (OFF)
PICT ADJUST Brightness / Contrast / Sharpness / Hue / Color gain
EZOOM electronic zoom images to ON or OFF
DIS Digital Image Stabilizer function ON / OFF selection
PRIVACY MASK 15 EA Privacy mask setting
MOTION Detection 4 frames Monitoring frame function / 96EA Dead band setting
FLIP Top bottom / Left right / Rotation by 180 degrees
LCD / CRT Monitor type selection LCD / CRT
Camera ID character string of up to 26 characters on 2 lines
Language English / Spanish / Russian / Portuguese / German / French
/ Japanese
White pix mask white pixel detection (AUTO / MANUAL / DATA CLEAR)
Shutter / AGC Auto : 1/50[s] 1/60[s] ~ 1/100,000[s]
Manual / Fix : 6~44.8[dB] / 2 ~ 256 FLD
White balance 1,800K ~ 10,500K AUTO
ATW / PUSH / USER1 / USER2 / Manual / PUSH LOCK
HLC / BLC HLC / BLC / OFF control
WDR / ATR-EX WDR / ATR-EX / OFF control
DNR Adjusted to 0-6 steps
DAY / NIGHT AUTO / DAY / NIGHT
IR OPTIMIZER ON (AUTO, CENTER) / OFF
LENS Shading ON / OFF
DEFOG ON / OFF
Flickerless AUTO / ON / OFF
ANTI CR AUTO / ON / OFF
Lens 2.8-12mm VF Auto Iris Lens
IR Spectrum 850nm
IR Distance 30M
Day & Night ICR
Power Source 12VDC / 24VAC
Operating current 110mA / IR off
360mA / IR on
Operation Temperature -10℃to +50℃Humidity 0% to 90% RH
Measurement (mm) 153(D) x 122(H)
Weight (Approx. g) 1700g
Communication Coaxial Communication
MODEL
OSD
Lens
IR Illumination
Vandal-proof Super-Res Dome Camera
1/3" Sony 960H Double Scan Super HAD CCD Ⅱ
Ø23
Ø95
72 50
Ø153

Other Visionhitech Security Camera manuals

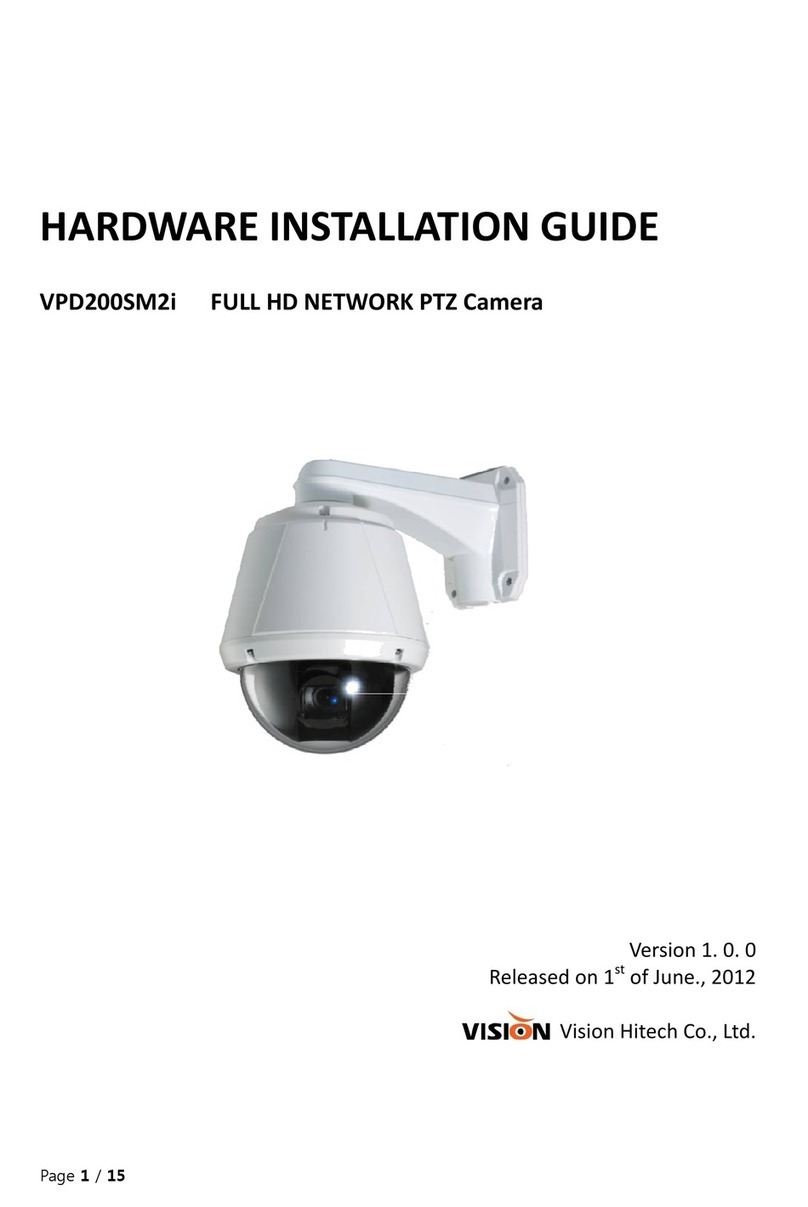
Visionhitech VPD200SM2i Manual

Visionhitech

Visionhitech VPD200SM2i Manual

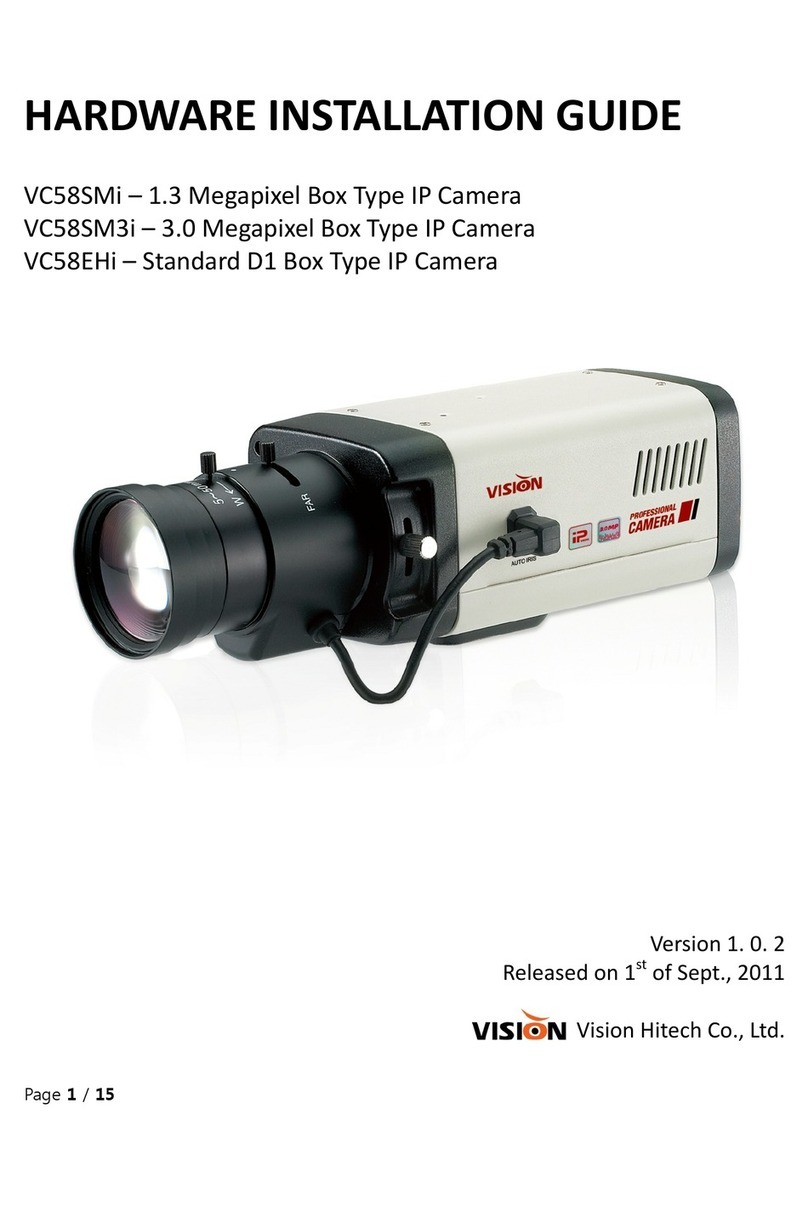
Visionhitech VC58SMi User manual

Visionhitech

Visionhitech VC58SMi User manual

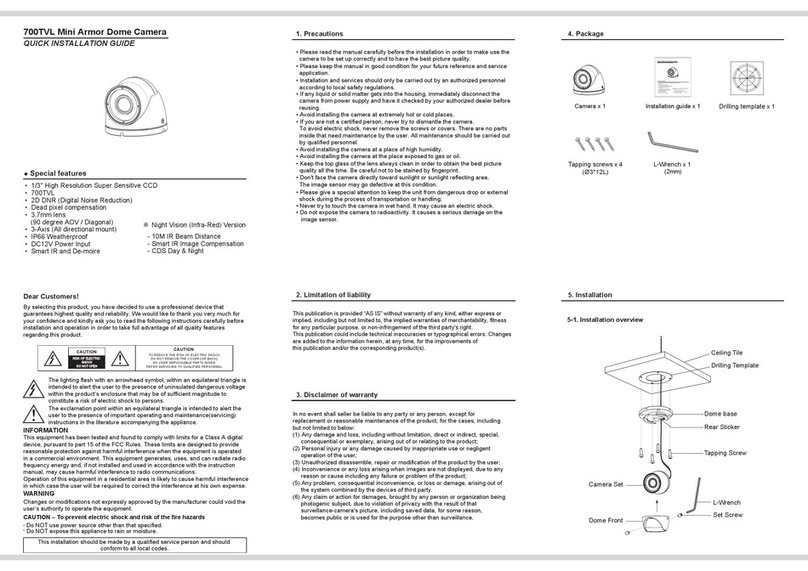
Visionhitech VDA30PN User manual

Visionhitech

Visionhitech VDA30PN User manual

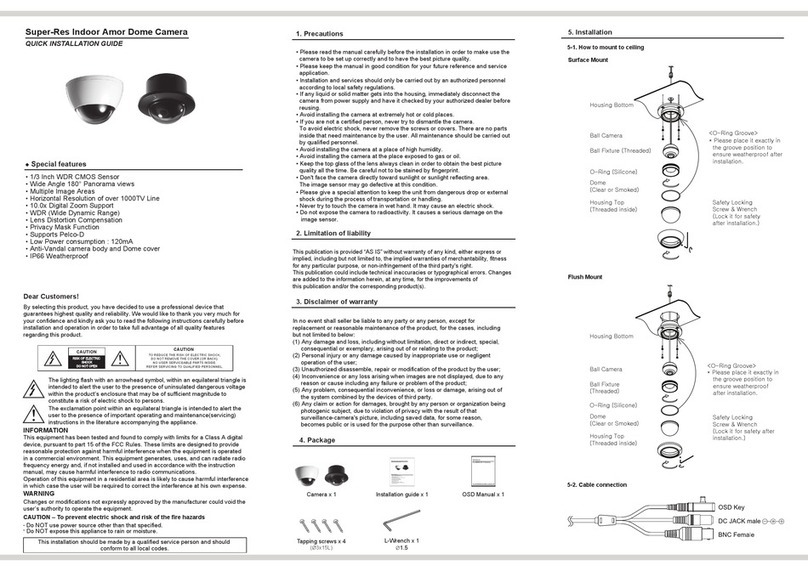
Visionhitech VD70S3 Series User manual

Visionhitech

Visionhitech VD70S3 Series User manual

Visionhitech VN6XSFHD2 User manual

Visionhitech

Visionhitech VN6XSFHD2 User manual

Visionhitech VB21S3 User manual

Visionhitech

Visionhitech VB21S3 User manual

Visionhitech VD120TH-12 User manual

Visionhitech

Visionhitech VD120TH-12 User manual

Visionhitech VD70CSHR-36IR User manual

Visionhitech

Visionhitech VD70CSHR-36IR User manual

Visionhitech VDA100EHi Manual

Visionhitech

Visionhitech VDA100EHi Manual

Visionhitech VC58EP-12 User manual

Visionhitech

Visionhitech VC58EP-12 User manual

Visionhitech VC56TH -12 User manual

Visionhitech

Visionhitech VC56TH -12 User manual

Visionhitech VA300 User manual

Visionhitech

Visionhitech VA300 User manual

Visionhitech VD101SMi Manual

Visionhitech

Visionhitech VD101SMi Manual

Visionhitech VN6XEH User manual

Visionhitech

Visionhitech VN6XEH User manual

Visionhitech VC58S User manual

Visionhitech

Visionhitech VC58S User manual

Visionhitech VC58EHi Manual

Visionhitech

Visionhitech VC58EHi Manual

Visionhitech VD80AHD User manual

Visionhitech

Visionhitech VD80AHD User manual

Visionhitech VQ29SFHD2 User manual

Visionhitech

Visionhitech VQ29SFHD2 User manual

Visionhitech VD80SFHD2-VF User manual

Visionhitech

Visionhitech VD80SFHD2-VF User manual

Visionhitech VD70CS(X) - 36IR User manual

Visionhitech

Visionhitech VD70CS(X) - 36IR User manual

Popular Security Camera manuals by other brands

Delta APTI-27V2-36W - 1080p 3.6 mm user manual

Delta

Delta APTI-27V2-36W - 1080p 3.6 mm user manual

i-PRO WV-S1536LT installation guide

i-PRO

i-PRO WV-S1536LT installation guide

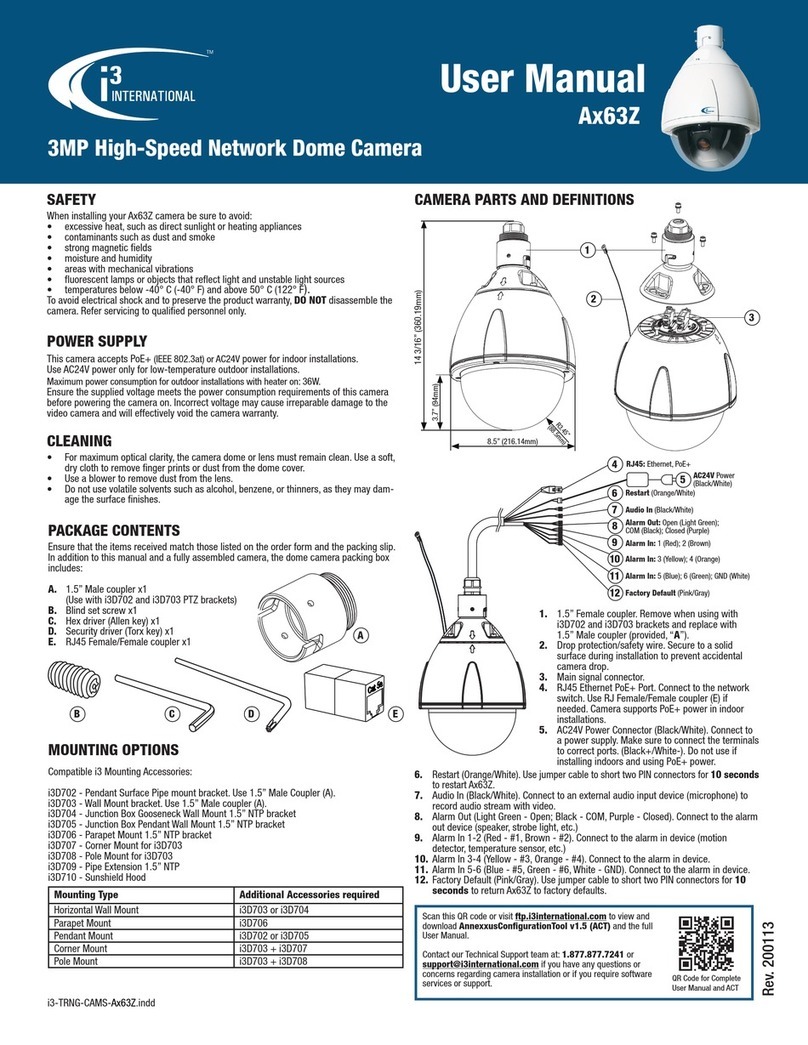
i3 International Ax63Z Series user manual

i3 International

i3 International Ax63Z Series user manual

HIK VISION DS-2DF1-77XY Technical manual

HIK VISION

HIK VISION DS-2DF1-77XY Technical manual

Elmo Vandal Resistant Dome Camera TND4204VX instruction manual

Elmo

Elmo Vandal Resistant Dome Camera TND4204VX instruction manual

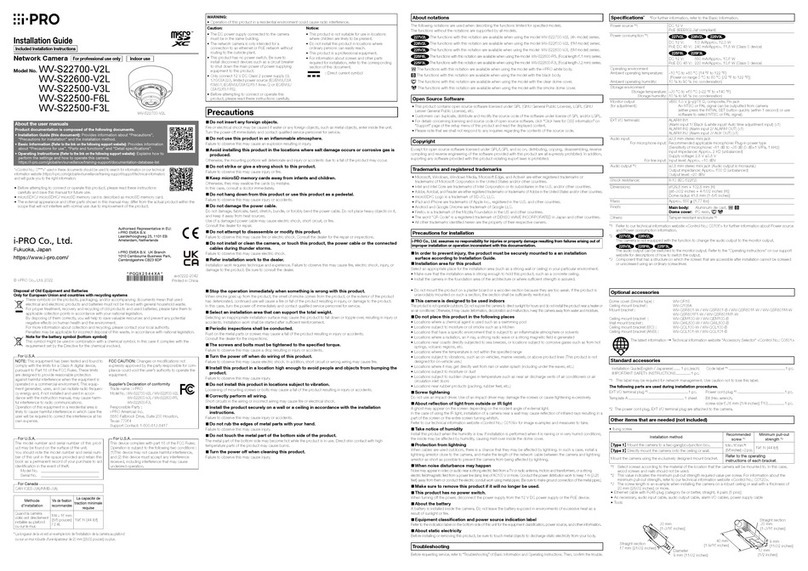
i-PRO WV-S22600-V2L installation guide

i-PRO

i-PRO WV-S22600-V2L installation guide

Abus TVAC19100C user guide

Abus

Abus TVAC19100C user guide

E-line ELI-EPTZ-27DN Operation manual

E-line

E-line ELI-EPTZ-27DN Operation manual

X-Vision XIR621 instruction manual

X-Vision

X-Vision XIR621 instruction manual

Delta OMEGA-PTZ-22P4-4P user manual

Delta

Delta OMEGA-PTZ-22P4-4P user manual

HIK VISION DS-2DE2103 user manual

HIK VISION

HIK VISION DS-2DE2103 user manual

HIK VISION UD.6L0201B2151A02 quick start guide

HIK VISION

HIK VISION UD.6L0201B2151A02 quick start guide

D-MAX DCC-500D manual

D-MAX

D-MAX DCC-500D manual

x-net Network Box Camera user guide

x-net

x-net Network Box Camera user guide

InMotion in51S3P2D28V22 quick start guide

InMotion

InMotion in51S3P2D28V22 quick start guide

X-Vision VIS430R Start guide

X-Vision

X-Vision VIS430R Start guide

HIK VISION H1T Series user manual

HIK VISION

HIK VISION H1T Series user manual

HIK VISION DS-2CD2712F-I Quick operation guide

HIK VISION

HIK VISION DS-2CD2712F-I Quick operation guide

manuals.online logo
manuals.online logoBrands
  • About & Mission
  • Contact us
  • Privacy Policy
  • Terms and Conditions

Copyright 2025 Manuals.Online. All Rights Reserved.