Vislink UltraDecoder User manual

VISLINK. Vislink House, 27 Maylands Avenue, Hemel Hempstead, Hertfords ire, HP2 7DE, United Kingdom.
Telep one: +44 (0)1442 431300 ● Facsimile: +44 (0)1442 431301 ● Email: sales@vislink.com ● Website: www.vislink.com
Company Registered in England no. 1910243 VAT registration no. 448 636 222
Registered Office: Marlboroug House, C arn am Lane, Hungerford, Berks ire, RG17 0EY
UltraDecoder
O
PERATORS
M
ANUAL

UltraDecoder Operators Manual
Contents
Issue : 3 (23/12/2015) i
Ref : ULTD-ASUM-7001 Copyrig t © Vislink plc
Contents
1.
Introduction ........................................................................................................................................ 1
2.
Read Me First ..................................................................................................................................... 2
3.
Quick Start Guide ............................................................................................................................. 3
3.1. Connectivity Configuration ................................................................................................................... 3
3.2. Input Configuration ................................................................................................................................. 3
3.3. Output Configuration .............................................................................................................................
4.
Specifications ...................................................................................................................................... 7
4.1. Physical ....................................................................................................................................................... 7
4.2. Inputs .......................................................................................................................................................... 7
4.3. Outputs ...................................................................................................................................................... 7
4.4. Remote Control/Monitoring ................................................................................................................. 7
4. . Performance .............................................................................................................................................. 7
.
Front Panel .......................................................................................................................................... 9
.1. Buttons ....................................................................................................................................................... 9
.2. Menu Screen.............................................................................................................................................. 9
.3. USB ............................................................................................................................................................ 10
6.
Rear Panel ......................................................................................................................................... 11
6.1. IP Video .................................................................................................................................................... 11
6.2. Ethernet Control ................................................................................................................................... 11
6.3. ASI In ......................................................................................................................................................... 12
6.4. Data ........................................................................................................................................................... 12
6. . USB ............................................................................................................................................................ 12
6.6. Eth. 1 ......................................................................................................................................................... 12
6.7. Eth. 2 ......................................................................................................................................................... 13
6.8. ASI Out ..................................................................................................................................................... 13
6.9. 3G SDI ...................................................................................................................................................... 13
6.10. 4K HDMI .................................................................................................................................................. 13
6.11. AC Power ................................................................................................................................................ 13
7.
IP Setup .............................................................................................................................................. 14
7.1. Basic .......................................................................................................................................................... 14
7.2. Web Browser control .......................................................................................................................... 14
7.3. IP Video In ............................................................................................................................................... 1
7.4. Complete Configuration ...................................................................................................................... 1
7. . Decoder Communications Recovery Procedure ........................................................................... 16
8.
Menu Navigation .............................................................................................................................. 18
8.1. Decoder Setup ........................................................................................................................................ 18
8.2. Unit Setup ................................................................................................................................................ 20
8.3. System ....................................................................................................................................................... 24
9.
Remote Control .............................................................................................................................. 29
9.1. SNMP ........................................................................................................................................................ 29
9.2. Web Browser ......................................................................................................................................... 30
10.
Appendices ........................................................................................................................................ 33
10.1. Appendix A – Upgrade Procedure .................................................................................................... 33
10.2. Appendix B – Maintenance & Fault Finding ..................................................................................... 3
10.3. Appendix C – Declarations of Conformity ..................................................................................... 36
10.4. Appendix D – Full Menu Tree ............................................................................................................ 38

UltraDecoder Operators Manual
Document Disclaimer
Issue : 3 (23/12/2015) ii
Ref : ULTD-ASUM-7001 Copyrig t © Vislink plc
Document Disclaimer
The information contained in this manual remains the property of Vislink and may not be used,
disclosed or reproduced in any other form whatsoever without the prior written permission of
Vislink.
Vislink reserves the right to alter the equipment and specification appertaining to the equipment
described in this manual without notification.

UltraDecoder Operators Manual
Document History
Issue : 3 (23/12/2015) iii
Ref : ULTD-ASUM-7001 Copyrig t © Vislink plc
Document History
Version Date Modification Firmware Version Valid From
(or greater)
1 26/11/2015 Initial release
2 14/12/2015 Added IP Setup and Decoder communications recovery
procedure
3 21/12/2014 Added Read Me First, Quick Start Guide and full Menu
Tree. Upgrade procedure modified. Miscellaneous
corrections.
AUTOBOOT P00016 Vt00

UltraDecoder Operators Manual
Introduction
Issue : 3 (23/12/2015) 1
Ref : ULTD-ASUM-7001 Copyrig t © Vislink plc
1. Introduction
Being the lightest in the world, the Vislink UltraDecoder is the new RU, half-rack width HEVC & 4K
UHD capable decoder. The product uses the latest advanced HEVC decoding techniques to offer up
to 50% bit rate reduction compared to H.264, resulting in the delivery of high quality video at low bit
rates.
Along with Vislink's UltraCoder this product provides a complete end to end HEVC & 4K UHD encode
and decode solution.
Full remote control can be made either by SNMP or by accessing the internal web server from a web
browser. A clear graphical routing page in the web-browser interface gives total control of all the
possible combinations. This common control page also contains links to all adjustable parameters of
the unit at a single click.
This manual provides information on the complete range available; note that not all options are
fitted at time of manufacture, and may require a return to factory for future hardware upgrades.
Purchases of additional licence keys to enable functions not initially ordered may be entered in the
field.
Firmware upgrades may be offered from time to time for the customer to download into the unit to
add additional features as they become available.

UltraDecoder Operators Manual
Read Me First
Issue : 3 (23/12/2015) 2
Ref : ULTD-ASUM-7001 Copyrig t © Vislink plc
2. Read Me First
The UltraDecoder is composed of two subsystems integrated within the chassis; a control assembly
and a decoder assembly. These subsystems communicate by ethernet using the four RJ45
connectors on the rear panel. Before the unit is powered on it is vital that these connectors are
configured in such a way that the subsystems can communicate. This can be acheived by either
linking Eth. to IP Video and Eth. 2 to Ethernet Control using the supplied cables or by connecting all
four to an external ethernet switch. This is shown in more detail in Chapter 7.
It is recommended that the initial configuration of the port addresses is done with the connections
made directly using the supplied cables.
If the unit is to be connected to an external network with more than one UltraDecoder unit present
then the default IP addresses of the ports must be changed prior to connection to the network in
order to prevent IP Address clashes.
In the case that an UltraDecoder is inadvertantly powered on without the correct network
connections in place then the control and decoder subsystems may loose communications. If this
happens then please follow the recovery procedure in Section 7.5.

UltraDecoder Operators Manual
Quick Start Guide
Issue : 3 (23/12/2015) 3
Ref : ULTD-ASUM-7001 Copyrig t © Vislink plc
3. Quick Start Guide
3.1. Connectivity Con iguration
It is recommended to configure the unit using the Web Interface. The procedure for configuring the
web interface is as follows:
•The direct Ethernet connections must first be made on the rear panel using the supplied
cables, as described in the previous section.
•The Ethernet Control port must then be configured with the appropriate IP Address, Mask
and Gateway to match your network settings. The settings for this can be found by selecting
Menu | System | Remote Interfaces | Ethernet Port from the front panel.
•The IP Video port can then be similarly configured by selecting Menu | Unit Setup | IP
Options | IP Port Setup if the IP Video port and Eth. are to be connected to your network,
or can be left as default if a direct connection is to be used. Note that if a direct connection
is used between the IP Video and Eth. ports then the unit can only be used in ASI input
mode.
•The unit can now be powered off and supplied cables safely removed. Be sure to connect
the Ethernet ports to your network before powering back on.
The Web Interface accessed using the IP address of the Ethernet Control port.
3.2. Input Con iguration
•To select the correct source signal for the decoder use the switches on the routing page
shown below to select either the ASI input or the IP input. Press “Accept Changes” to save.
Only one change can be made at a time.
•If the ASI input is selected then no further input configuration is required.

UltraDecoder Operators Manual
Quick Start Guide
Issue : 3 (23/12/2015) 4
Ref : ULTD-ASUM-7001 Copyrig t © Vislink plc
R
OUTING
T
AB
•If the IP input is selected then it is necessary to select a receiving port number on the IP | IP
Video In tab as shown below. The receiving address will be as configured for the IP Video
port in the previous section. The unit being used to transmit the IP Video must be
configured with matching settings.
•Once the system detects incoming ASI or IP then a tick will appear in the status box top in
the page header.

UltraDecoder Operators Manual
Quick Start Guide
Issue : 3 (23/12/2015) 5
Ref : ULTD-ASUM-7001 Copyrig t © Vislink plc
IP
V
IDEO
T
AB
3.3. Output Con iguration
•In the Decoder tab, as shown below, select the desired program number from the dropdown
list if the incoming ASI stream contains more than one program.
•Select the output video format. The decoder will automatically recognise the format of the
incoming ASI stream and will up-scale or down-scale to the selected format. Note that it is
important to select the same frame rate as the incoming ASI stream as this cannot be
changed by the decoder.
•If not already selected, change the Play control to Play.

UltraDecoder Operators Manual
Quick Start Guide
Issue : 3 (23/12/2015) 6
Ref : ULTD-ASUM-7001 Copyrig t © Vislink plc
D
ECODER
T
AB
Video should now be displayed if a monitor is connected to the HDMI (All formats) or SDI ports (HD
and SD only).

UltraDecoder Operators Manual
Specifications
Issue : 3 (23/12/2015) 7
Ref : ULTD-ASUM-7001 Copyrig t © Vislink plc
4. Speci ications
4.1. Physical
Feature Description
Dimensions 1RU alf-widt c assis x 350mm deep
Weig t 1.9kg approx. (4lbs)
Power Connector 3 pin IEC plug wit dual fusing
AC Supply 90-264V AC 50/60Hz @ <100VA
Temperature Range 0 to +50°C operating, -20°C to +70°C storage
Humidity 90% max. non-condensing
Data 15way D-Type female
Et ernet Control & IP Video RJ45
USB Ports Type A
3G SDI HD BNC
ASI connections BNC 75Ω
HDMI 2.0 (UHD) Type A
4.2. Inputs
Feature Description
IP Video 10/100/1000 Base-T Et ernet
ASI 75Ω to ISO/IEC 13818-2 188/204Bytes constant rate
4.3. Outputs
Feature Description
ASI 75Ω to ISO/IEC 13818-2 188/204Bytes constant rate
IP Video 10/100/1000 Base-T Et ernet
HDMI 4K (4096 x 2160) or Ultra-HD (3840 x 2160), HD or SD
3G SDI SMPTE 424M
4.4. Remote Control/Monitoring
Feature Description
USB For software upgrades
Remote Control 10/100Mb/s Web Browser/SNMP
IP Address (factory default) 192.168.2.6
Subnet Mask (factory default) 255.255.255.0
MAC Address 00.1D.65.nn.nn.nn (n will be unit specific)
4.5. Per ormance
4. .1. H.26
V
IDEO
F
ORMATS
,
R
ESOLUTION
&
B
ITRATES
Feature Description
4K UHD Main 10 8/10 bit 4.2.0 1.0 – 40.0Mb/s
HD Main 10 8/10 bit 4.2.0 1.0 – 20.0Mb/s
SD Main 4.2.0 0.5 – 6.0Mb/s

UltraDecoder Operators Manual
Specifications
Issue : 3 (23/12/2015) 8
Ref : ULTD-ASUM-7001 Copyrig t © Vislink plc
Feature Description
Formats
480i @ 29.97
576i @ 25
720p @ 50, 59.94 & 60
1080i @ 50, 59.94 & 60
1080p @ 23.98, 24, 25, 29.97, 30, 50, 59.94 & 60
UHD @ 23.98, 24, 25, 29.97, 30, 50, 59.94 & 60
4K @ 23.98, 24, 25, 29.97, 30, 50, 59.94 & 60
4. .2. A
UDIO
Feature Description
Decoder ISO 14496-3 2006 (HE-AAC) 4 pairs
Dolby E pass t roug
Outputs Embedded
4. .3. IP
V
IDEO
Feature Description
Type 10/100/1000 Base-T Et ernet
Protocol
IEEE802.3 Et ernet
Encapsulation for ASI – RTP (RFC2250), ARP, IPv4, IGMPv2/3,
TCP/UDP
FEC Pro-MPEG Forum Code of Practice #3 release 2 (CoP3)/
SMPTE 2022-2007 on output.

UltraDecoder Operators Manual
Front Panel
Issue : 3 (23/12/2015) 9
Ref : ULTD-ASUM-7001 Copyrig t © Vislink plc
5. Front Panel
5.1. Buttons
.1.1. M
ENU
Selecting this button will return the menu screen to the main operating level from any point (as long
as an item is not being edited).
.1.2. E
SCAPE
Selecting this button will return the menu screen to the level above the one being displayed if an
item is not being edited.
If an item is being edited, then this button will cancel the change being made and return to the
previously stored value.
.1.3. S
TATUS
Selecting this button will change the menu screen to display the Alarms screen. Pressing the button
again will return the display to the screen that was previously being viewed.
.1.3.1. A
LARM
LED
This LED will illuminate green when the system is operating as expected. If the system is generating
a warning, indicating that there is an issue to be aware of, the this LED will be illuminated in amber.
If the system is generating an error, then the LED will be illuminated red.
Details of the errors and warnings will be displayed in the Alarms screen, and which items are
displayed as alarms and their severity may be configured using the internal web interface.
.1.3.2. P
OWER
LED
This LED will be illuminated green when power is applied to the unit.
.1.4. N
AVIGATION
(
˄˅˂˃
)
These buttons are used to navigate up, down, left and right around the menu screens.
.1. . E
NTER
When editing an item this button will apply and store the selected value.
5.2. Menu Screen
The menu screen provides the facility to configure all aspects of the unit via the front panel buttons.
See Menu Navigation (section 8 below) for full details of the menus.

UltraDecoder Operators Manual
Front Panel
Issue : 3 (23/12/2015) 10
Ref : ULTD-ASUM-7001 Copyrig t © Vislink plc
5.3. USB
This connector provides the facility for upgrading the unit’s software via a USB memory stick, as well
as downloading and uploading the unit configuration.
Please see Appendix A – Upgrade Procedure (section 0. below) for details on how to perform an
upgrade.

UltraDecoder Operators Manual
Rear Panel
Issue : 3 (23/12/2015) 11
Ref : ULTD-ASUM-7001 Copyrig t © Vislink plc
6. Rear Panel
6.1. IP Video
This connector is used for IP encapsulated ASI transport streams.
This connector must be connected to rear panel Eth. port either by the supplied short Ethernet
cable if only ASI input mode is required or via a network switch if IP Input mode is required.
6.1.1. ASI
TO
IP
An IP encapsulated ASI stream may be output, which is configured via the IP Video Out menu found
under Unit Setup|IP Options|IP Video Out.
The IP address and port of the receiving device must be defined along with the source. Note that
the Destination Port values + 2 and +4 are used by the error correction function and if port
forwarding is used in the network all three ports must be forwarded.
Multiplexed ASI may also be streamed over a single IP path. These can be decoded separately at a
remote location using service names to extract the various services in the same manner as if it was a
direct ASI connection.
To cross networks, the IP video can be configured using the default gateway and sub-net mask setup
parameters, and the protocol used may be set to either RTP or UDP via the Encap option. Multicast
is also supported and is enabled by configuring the Destination IP address to a value in the multicast
address range 224.0.0.0 through 239.255.255.255 inclusive.
Approximately 80Mb/s total can be streamed over 00M Ethernet, dependent on the level of FEC
applied.
6.1.2. IP
TO
ASI
ASI may be de-encapsulated from an incoming RTP IP stream by selecting the appropriate port
number, as defined under the Unit Setup|IP Options|IP Video In menu. The external IP source must
have its destination address configured to match the value found under the IP Port Setup menu.
6.2. Ethernet Control
This connector is used for remote control of the unit via SNMP or a web browser.
An Ethernet cable must be connected to this socket with access to the Eth. 2 connection to ensure
correct operation of the unit.

UltraDecoder Operators Manual
Rear Panel
Issue : 3 (23/12/2015) 12
Ref : ULTD-ASUM-7001 Copyrig t © Vislink plc
6.3. ASI In
This 75Ω BNC is used to provide an ASI input to the decoder and/or video IP block.
6.4. Data
This connection is via a female 5way D-Type connector.
6.4.1. MPEG
D
ATA
This connection is for future use for extracting data from the MPEG stream. Data rates at 9600,
6200, or 38400 baud are supported. The format will be RS232.
Note that TX Data to external device may not be required.
6.4.2. S
TATUS
R
ELAY
A pair of ground free relay contacts are also provided on this connector, to provide a summary alarm
status of the UltraCoder. Normally this is configured at the factory for an open circuit indicating a
fail.
This configuration may be reversed by the use of internal status link on the control PCB.
Parameters that can set the relay can be controlled via the web interface on the Alarm Mask page,
found under the Unit settings.
6.4.3. P
IN
O
UTS
Pin Signal Description Remark
1 NC
2
NC
3
NC
4
NC
5
NC
6
NC
7 GND
8
NC
9
NC
10
NC
11
NC
12
NC
13
NC
14 Status Relay Relay contact opens on fault Internal link to swap NC/NO
15 Status Relay Relay contact opens on fault Internal link to swap NC/NO
6.5. USB
This USB connector is used for upgrading the internal decoder.
6.6. Eth. 1
This connector is used for inputing video into the decoder.

UltraDecoder Operators Manual
Rear Panel
Issue : 3 (23/12/2015) 13
Ref : ULTD-ASUM-7001 Copyrig t © Vislink plc
This connector must be connected to rear panel IP Video port either by the supplied short Ethernet
cable if only ASI input mode is required or via a network switch if IP Input mode is required.
6.7. Eth. 2
This connector is used by the control subsystem for configuring the decoder.
This connector is to be connected directly to the rear panel Ethernet Control port by the supplied
short ethernet cable or, if remote control of the UltraDecoder is required, then the connection must
be made via a network switch.
6.8. ASI Out
This 75Ω BNC is used to provide an ASI ouput which can be derived from the ASI In signal or ASI over
IP.
6.9. 3G SDI
These HD BNCs output 080P, 080i, 720P, or SD via industry standard 3G SDI interfaces.
Note that this output is disabled when 4K or Ultra-HD are active.
6.10. 4K HDMI
The HDMI connector outputs 4K (4096 x 2 60), 4K Ultra-HD (UHD at 3840 x 2 60), HD or SD to
broadcast or consumer displays.
6.11. AC Power
Power in the range of 90 – 264V AC is connected via 3 pin IEC connector. The total power
consumption is typically less than 00W.
Live and Neutral conductor fusing is employed. The two fuses integrated into the IEC connector
must be ceramic at T5A rating each.
External IEC mains lead must be un-plugged before removal of the lid – dangerous voltages
enclosed.

UltraDecoder Operators Manual
IP Setup
Issue : 3 (23/12/2015) 14
Ref : ULTD-ASUM-7001 Copyrig t © Vislink plc
7. IP Setup
The four Ethernet connections on the rear panel must be configured to one of the following four
variants in order to ensure correct operation of the unit.
Note that when configuring the IP addresses for the unit, Eth. and Eth. 2 are automatically
allocated addresses based on those used for the IP Video and Ethernet Control, as their addresses
plus one. For example, if IP Video is set to 92. 68.2.6, Eth. will be automatically set to
92. 68.0.7. Therefore, never assign consecutive address values to IP Video and Ethernet Control,
and ensure that the addresses plus one do not cause a conflict on any network the unit is connected
to.
Also, if changing from the default IP addresses whilst the unit is connected to a network, ensure that
only the decoder being configured is active as, if other units are also connected, their Eth. and Eth.
2 addresses will be set to the values being assigned on the target unit.
7.1. Basic
In this mode the unit is configured for front panel control only and may only receive video via the ASI
In connector. An Ethernet cable must be connected directly between the IP Video to Eth.
connectors and another cable connected directly between the Ethernet Control and Eth. 2
connectors.
7.2. Web Browser control
In this mode the unit is configured to only receive video via the ASI In connector, whilst allowing for
configuration via a web browser. An Ethernet cable must be connected directly between the IP
Video to Eth. connectors, and two additional cables must be connected between a network switch
and the Ethernet Control and the Eth. 2 connectors.

UltraDecoder Operators Manual
IP Setup
Issue : 3 (23/12/2015) 15
Ref : ULTD-ASUM-7001 Copyrig t © Vislink plc
7.3. IP Video In
In this mode the unit is configured so that it may receive video over IP, but without remote
configuration via a web. An Ethernet cable must be connected directly between the Ethernet
Control and Eth. 2 connectors, and additional cables must be connected between a network switch
and the IP Video and the Eth. connectors
7.4. Complete Con iguration
In this mode the unit is configured so that it may receive video over IP and be configure remotely via
a web browser. In this instance Ethernet cables must be connected between a network switch and
all four connectors. Different switches or VLANs can be used for the Control and IP Video so long as
the relevant ports can communicate as above.

UltraDecoder Operators Manual
IP Setup
Issue : 3 (23/12/2015) 16
Ref : ULTD-ASUM-7001 Copyrig t © Vislink plc
7.5. Decoder Communications Recovery Procedure
If communications to the internal decoder are lost, please perform the following steps to remedy
the fault.
•Connect Eth. to IP Video and Eth. 2 to Ethernet control using the supplied cables as per
section 7. .
•Copy onto a blank memory stick the file found here -ftp://ftp.vislink.com/Vislink
Products/Ultradecoder/Recovery/. The filename is 926 reset and is of length 0 Bytes.
•Power on the unit.
•When the unit has completed its boot process, on the front panel go to the
System|Presets|Restore Defaults menu and set the IP Defaults option to Yes. After about 20
seconds the unit will restart.
•Once fully re-started plug the memory stick in at the rear USB socket when the unit is
already running.
•Wait approximately 30 seconds, the alarm light should go from red to green, then remove
the memory stick and power cycle the unit.
•Wait for the unit to reboot and the Decoder Communications will be recovered.
•Finally on the front panel go to the System|Presets|Restore Defaults menu and set the
Restore Defaults option to Yes
•Power cycle the unit.
•Navigate to Unit Setup Menu | IP Options | IP Video output | Decoder IP Setup | Dest Port
•Press enter then enter again.
•The unit should now be functioning correctly.
•The unit will now be configured to use the default IP addresses as shown below in the screen
shot from the web interface.
Other manuals for UltraDecoder
2
Table of contents
Other Vislink Media Converter manuals
Popular Media Converter manuals by other brands
Rose electronics
Rose electronics CNV-USB-A2-7.1 Installation and operation manual
ADF Web
ADF Web HD67B08-2-B2 user manual

Audio Authority
Audio Authority 1385 user manual
Lika
Lika HSC60 quick start guide
Kyocera
Kyocera KM-2560 installation guide
Connection Technology Systems
Connection Technology Systems HET-100 SERIES user guide
Data Translation
Data Translation DT3152 Getting started manual
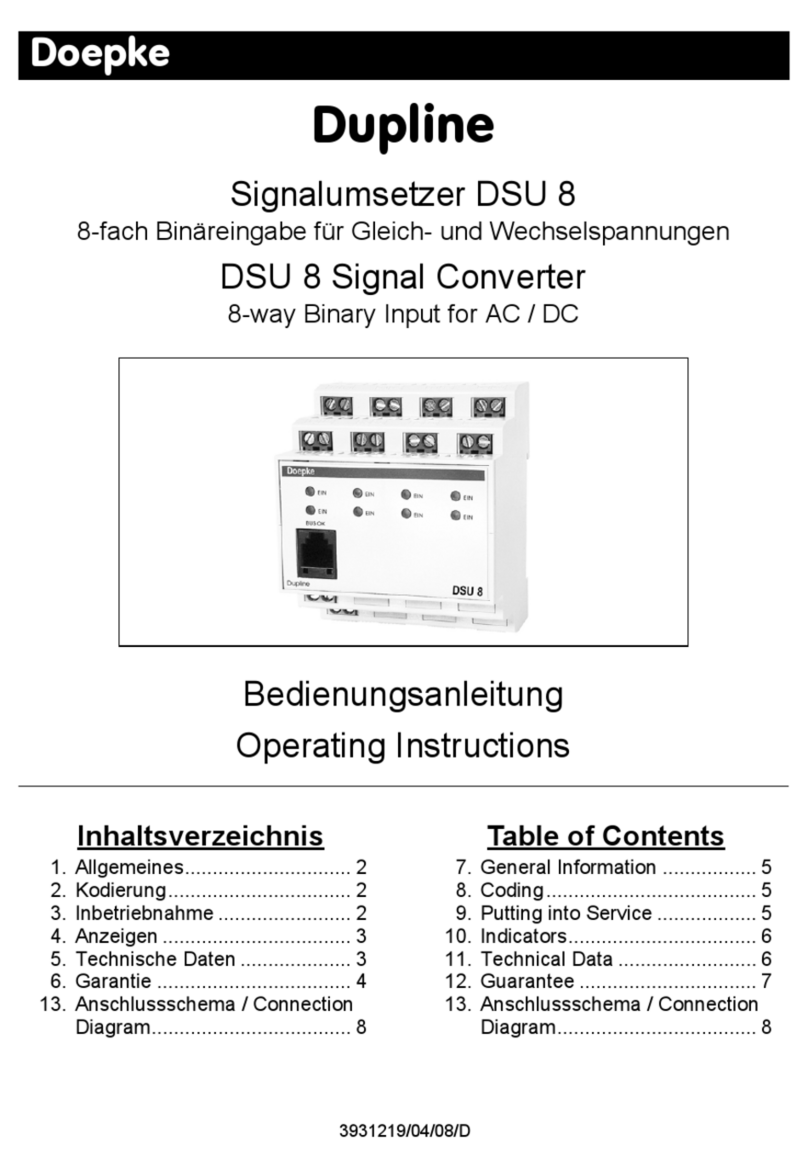
Doepke
Doepke Dupline DSU 8 operating instructions

Atlantic
Atlantic 63705079 manual
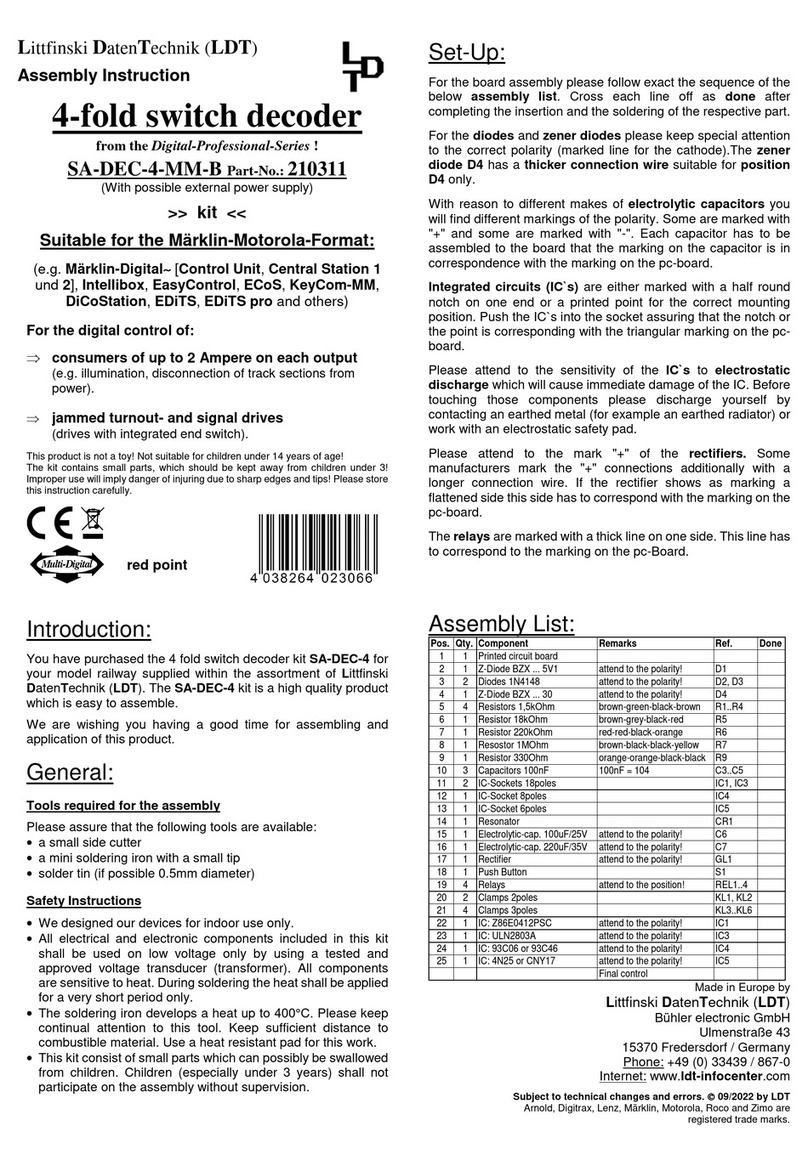
Littfinski Daten Technik
Littfinski Daten Technik SA-DEC-4-MM-B Assembly instruction

Schwaiger
Schwaiger HDMRCA 01 user guide
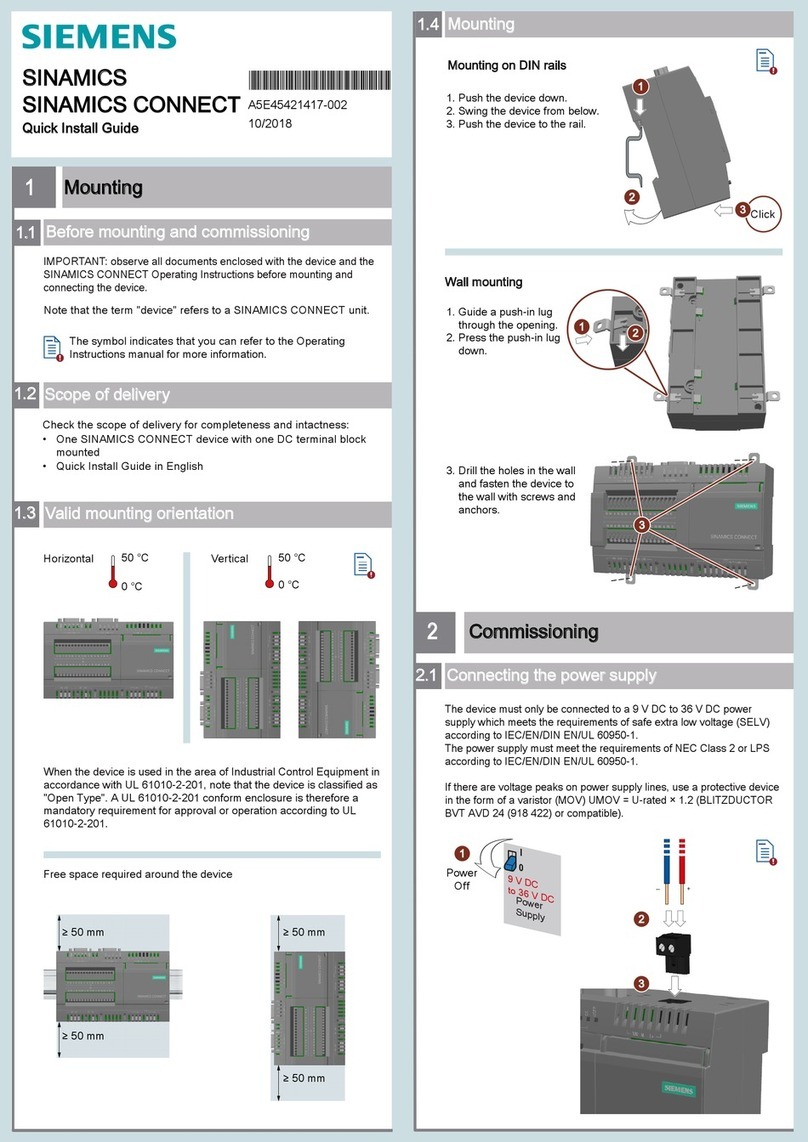
Siemens
Siemens SINAMICS Series Quick install guide
