Vivog 13036 User manual
VIVOG SAS
2 Rue de la Briaudière – CS 40001
37515 BALLAN-MIRE CEDEX – FRANCE
tel. +33 (0)2 47 73 38 38 - fax. +33 (0)2 47 73 38 48
email : [email protected]
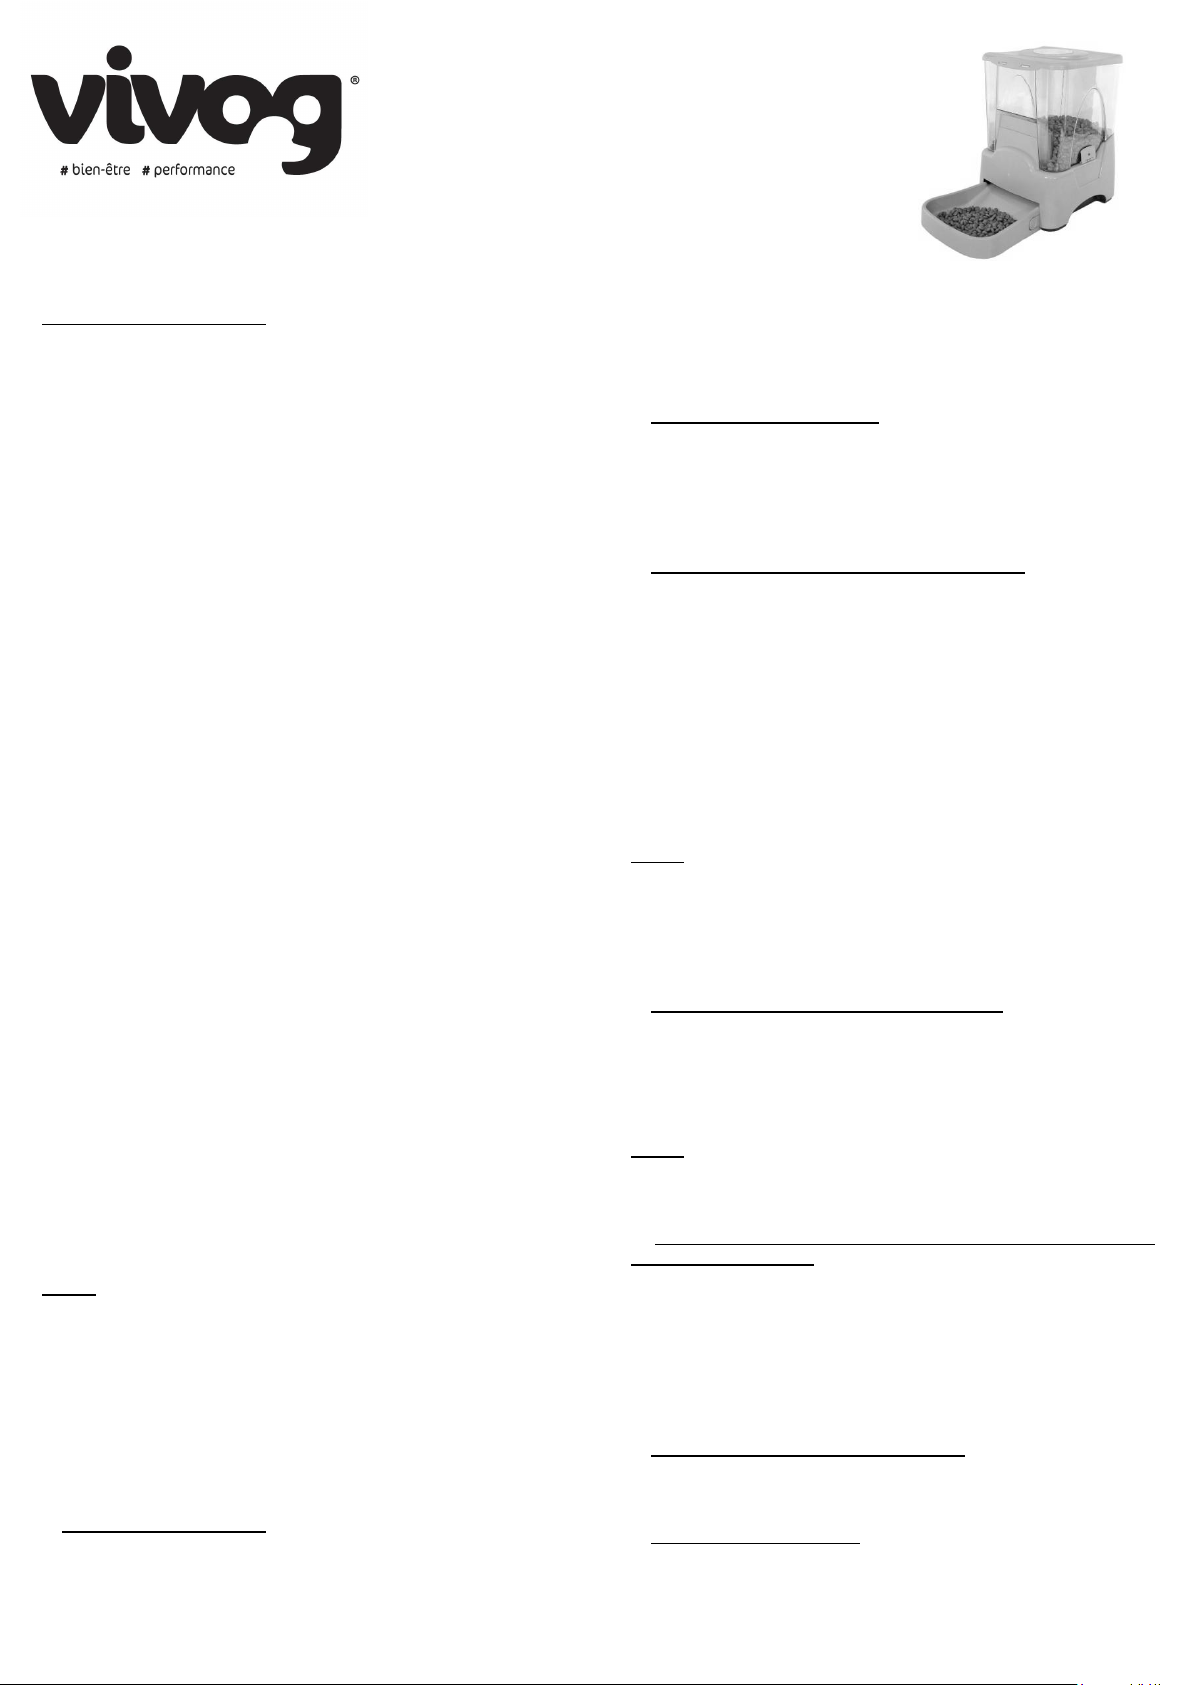
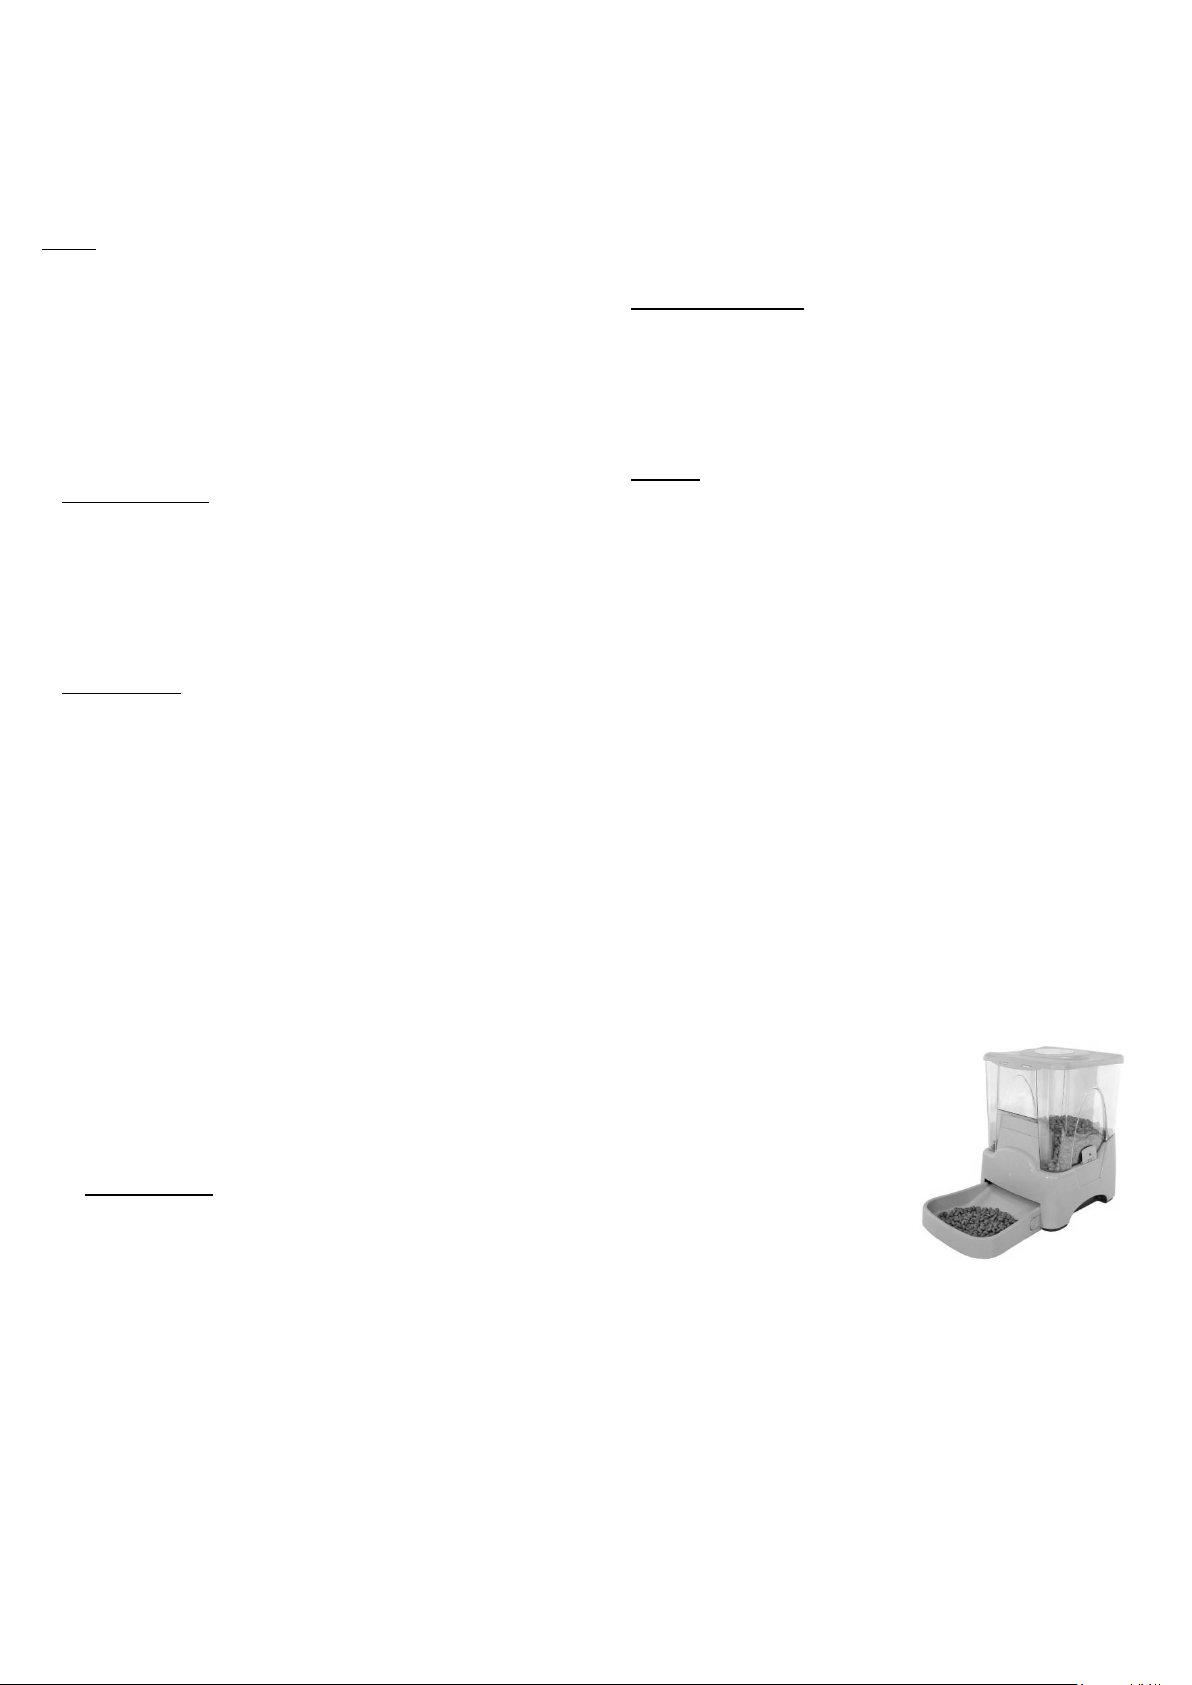
DISTRIBUTEUR AUTOMATIQUE DE CROQUETTES 13036
Notice d’utilisation et d’entretien
VEUILLEZ LIRE ATTENTIVEMENT CETTE NOTICE AVANT LA MISE EN SERVICE DE L’APPAREIL
Caractéristiques techniques :
- Dimensions externe (L x l x h) : 43 x 25 x 35.5 cm
- Système de fréquence de distribution avec portion réglable
- Anti-blocage de la trémie
- Détecteur de surcharge de la gamelle
- Grande capacité
- Fonctionne avec 4 piles LR20 (non fournies)
-Jusqu’à 90 doses de croquettes avec fonction anti-bourrage de la trémie
- Réservoir translucide pour vérifier le contenu
-Gamelle équipée d’un détecteur de surcharge et trémie démontable pour
un entretien facile
- Possibilité de régler la quantité de une demi à 5 gamelles
-Équipé d’une alarme sonore en fin de programme
-Enregistrement d’un message personnel
- Gère de 1 à 4 distributions par jour
-Équipé d’un couvercle avec système de verrouillage
TOUCHES
CLOCK : mise à l'heure et programmation heures de repas
TIMER : fait défiler les heures de repas enregistrées
VOL : règle la taille des portions
SET : confirme l'heure de repas rentré et permet d’avancer à la
prochaine programmation. Egalement utilisé avec VOL
START : débute l'horloge repas, achève la programmation de l'heure et
des heures repas
DAY : programmation des jours de repas
REC : enregistrement de votre message
PLAY : réécoute de votre message
MISE EN ROUTE
Ouvrir le compartiment des piles (en dessous).
Insérer 4 piles alcaline LR20 dans le compartiment (non fournis à
l’achat).
Fermer le compartiment et placer l'interrupteur sur ON.
Le tambour (à l'intérieur du distributeur) va maintenant tourner et se
placer sur position initiale.
Ensuite, vous entendrez 3 fois le message enregistré (s'il y en a un) et «
12:00 » clignote doucement sur l'écran.
Maintenant réglez l'heure afin que le distributeur fonctionne
correctement.
Lire le paragraphe « Régler l'heure » ci dessous pour régler l'heure.
Appuyez sur START pour finir le réglage de l'heure
Une fois terminé, l'écran va afficher l'heure du premier repas. Tous les
chiffres clignotent maintenant indiquant qu'aucune programmation de
repas n'est rentrée.
Le premier chiffre indique le numéro du repas.
Les 3ème et 4ème chiffres indiquent l'heure des repas.
Notes :
Les informations rentrées par défaut sont : Alarme repas : 0 jour.
Fréquence repas : 4, et volume repas et portion : 1.
Le distributeur vibre environ 15 secondes pendant la distribution de la
nourriture afin qu'elle s'écoule mieux dans le réservoir.
Si vous entendez un bip sonore et que le distributeur ne se met pas en
route, cela signifie que détecteur du plateau de réserve de nourriture
s'est déclenché. Vérifiez que l'endroit où arrive la nourriture n'est pas
obstrué. Ne placez pas et n'utilisez pas le distributeur en plein soleil car
le détecteur de plateau sera activé par les rayons solaires.
FONCTIONNEMENT
1) Programmation de l’heure
1: Appuyez sur CLOCK pour afficher l'heure : l'heure et l'icône heure
vont être enregistrée.
2: Appuyez et maintenez le SET jusqu'à ce que tous les chiffres
clignotent.
3: Appuyez sur CLOCK pour mettre l'heure.
4: Appuyez sur TIMER pour mettre les minutes.
5: Appuyez sur SET pour confirmer l'heure.
L'écran indique soit 12 soit 24 pour indiquer le mode.
6: Appuyez sur CLOCK pour changer entre mode 12 ou mode 24.
7: Appuyez sur START pour achever la programmation.
2) Programmation alarme-repas
1: Appuyez sur DAY pour afficher le jour de nourriture
2: Appuyez et maintenez longuement SET jusqu'à ce que les 1er et 2ème
chiffres clignotent.
3: Appuyez sur DAY pour indiquer la durée (en jours) désirée.
Pour nourrir continuellement, indiquez 0 pour le jour de nourriture.
4: Appuyez sur START pour terminer l'enregistrement.
3) Programmation des heures de repas et fréquence
1: Appuyez sur TIMER pour afficher les heures repas
2: Appuyez et maintenez longuement SET jusqu'à ce que les
3ème et 4ème chiffres clignotent. L'écran affiche ce qui sera la première
heure de repas.
3: Appuyer sur TIMER pour enregistrer l'heure de repas souhaitée.
4: Appuyez sur SET pour confirmer vos enregistrements et passer à la
prochaine heure de repas.
5: Appuyez sur START pour confirmer l'enregistrement ou
recommencer l'étape 4 si vous désirez enregistrer d'autres heures de
repas.
Le dernier numéro de repas affiché correspond au nombre de fois à
nourrir par jour. Le timer se met maintenant en marche automatiquement
et l'icône TIMER démarre.
Notes :
Si les 4 repas ont été programmés, le processus est terminé et la pendule
se met en route automatiquement. L'heure du prochain repas s'affiche
alors. Si seulement 1 repas a été programmé alors il n'y a pas d'affichage
d'heure de repas même si vous appuyez sur TIMER.
Les 4 heures de repas doivent être enregistrées par heures croissantes
sinon tous les repas ne seront pas distribués.
4) Programmation du volume/taille de la portion
1: Appuyez sur VOLpour afficher la taille/volume de la portion.
2: Appuyez et maintenez longuement SET jusqu'à ce que le 2ème chiffre
clignote.
3: Appuyez sur VOL pour enregistrer le volume désiré.
4: Appuyez sur START pour terminer l'enregistrement et confirmer le
volume sélectionné.
Notes :
Un volume repas de 1 correspond à 1/2 tasse de nourriture.
Le nombre 0 représente 10 portions L'équivalent donc de 5 tasses de
nourriture.
5) Fin de la programmation pour commencer la distribution de
nourriture automatique
1: Appuyez sur START pour commencer le programme.
La prochaine programmation de repas se met en marche en même temps
que l'icône TIMER clignote.
Notes :
Quand l'icône timer et que tous les nombres sur l'écran sont présents, le
programme est en marche.
Une fois que le programme nourriture est en marche, vous pouvez
l'arrêter en appuyant en même temps sur SET et START.
6) Pour nourrir manuellement votre animal
Appuyez une fois sur SET et VOL en même temps.
Un volume de nourriture seulement va être servi. Le programme
enregistré ainsi que la quantité ne seront pas changés.
7) Revoir les programmations
1: Appuyez sur TIMER pour visualiser les heures de repas. Ne seront
montrés que les numéros de repas enregistrés. Le premier chiffre
indique le numéro du repas. Les 3ème et 4ème chiffres indiquent l'heure
des repas.
2: Appuyez sur VOL une fois pour visualiser les portions et jours de
repas restant.
3: Appuyez sur DAY pour voir le nombre de jours de repas restant.
4: Appuyez sur CLOCK pour voir l'heure, l'icône « heure » est affiché
maintenant.
Si vous n'appuyez sur aucune touche pendant 8 secondes, l'écran
affichera la prochaine heure de repas et l'icône TIMER clignote.
Notes :
En appuyant sur TIMER pour circuler dans les heures de repas
rentrées vous verrez uniquement le nombre de repas que vous avez
enregistré.
Seulement la première heure de repas sera montrée si vous n'avez
enregistré qu'un repas.
Si l'icône timer clignote, cela signifie qu'une heure de repas arrive alors
que l'icône ne clignotant pas signifie que l'heure d'un repas vient de
passer.
Le volume et jour s'affichent sur le même écran : les 1er et 2ème chiffres
correspondent aux jours de repas restant et le 3ème chiffre correspond à
la taille de la portion.
8) Alarme Nourriture
Votre distributeur de nourriture a une alarme (un bip continu) afin de
vous avertir quand la programmation est terminée et que la nourriture
ne sera plus distribuée.
L'alarme se met en marche à 6h00 le jour suivant afin d'éviter de
déranger qui que ce soit dans la nuit.
Pour arrêter l'alarme : appuyer sur n'importe quelle touche.
Pour redémarrer le programme que vous aviez enregistré, appuyer
simplement sur START.
9) Notes générales
L'heure fonctionne en mode 12 heures ou mode 24 heures.
L'icône « PM »indique un fonctionnement en mode 12 heures.
Les jours de nourriture peuvent être changés à n'importe quel moment
mais la programmation précédente sera remplacée et le programme
recommence au jour 1.
L'heure et volume des repas peuvent être changés à n'importe quel
moment et la nouvelle programmation sera mémorisée pour le reste de
la ou des journées du programme.
Une fois que le programme a démarré, les journées enregistrées seront
déduites tous les jours à minuit jusqu'à la fin du programme. Ensuite
cela reviendra au nombre original de jours que vous avez enregistré.
Si l'icône TIMER n'apparaît pas et que tous les chiffres clignotent, cela
signifie qu'aucune programmation n'est enregistrée
Au contraire si l'icône TIMER apparaît et que tous les chiffres
apparaissent à l'écran, la programmation a commencé
Quand l'icône Clock apparaît, l'heure est enregistrée
Quand une lumière rouge clignote, les piles sont faibles et doivent être
remplacées.
Changez alors toutes les piles.
Si l'écran indique ERR, la porte pour libérer la nourriture n'est pas
bien fermée.
Nettoyer alors tout ce qui peut gêner la porte et nettoyez les charnières
de la porte avec une brosse avant de rappuyer sur ON pour réactiver.
Ne pas mettre de liquide dans l’appareil.
Nettoyage et Entretien
Le distributeur automatique de croquettes ne nécessite aucun
entretien particulier : laver à l’eau tiède, utiliser un chiffon
humide et un produit lavant doux.
Ne pas utiliser de produits non appropriés (ex. solvants, crèmes,
graisses, etc.).
Ne pas passer l’appareil sous l’eau.
Ne pas passer l’appareil au lave-vaisselle.
Garantie
La durée de la garantie par le fabricant est de 12 mois à partir de la
date d’achat de l’appareil, elle cesse à la fin de cette période même si
l’appareil n’a pas été utilisé. Il est donc recommandé de conserver les
documents prouvant l’achat (facture et emballage d’origine).
La garantie s’applique pour une utilisation normale et non intensive
de l’appareil avec un entretien régulier de l’appareil.
Sont garantis tous les remplacements ou réparations nécessaires par
suite de défauts de matières ou de fabrication.
Le remplacement ou la réparation des parties sujettes à l’usure
normale, sont donc exclus.
Une intervention éventuelle pendant la période de garantie ne
prolonge pas celle-ci.
La garantie n’est pas reconnue si l’appareil a été ouvert ou
endommagé par suite de négligence, inexpérience, transport.
Les remplacements ou réparations couverts par la garantie sont
effectués gratuitement en adressant directement l’appareil dans son
emballage d’origine avec sa preuve d’achat à :
VIVOG - GIRAULT SAS
4 Bd de Chinon - BP 40001 - 37515 BALLAN-MIRÉ CEDEX-
FRANCE.
tel. +33 (0)2 47 73 38 38 - fax. +33 (0)2 47 73 38 48
Les frais de transport sont à la charge de l’acheteur
AUTOMATIC DISPENSER 13036
Instructions for use, maintenance guidelines
PLEASE READ THESE INSTRUCTIONS CAREFULLY BEFORE USING THE MACHINE
Characteristics :
- External dimensions (L x l x h) : 43 x 25 x 35.5 cm
- Automatic pet feeder with adjustable portion size
- Feed bin with special anti-clog system
- Sensor prevents overfill of the food bowl
- Large capacity
- Operates with 4 LR20 batteries (not supplied)
- Up to 90 portions of kibble with anticlog feed bin
- Transparent container to check the contents
- Feed bowl equipped with an overfill sensor and the feed bin can be
dismantled for easy cleaning
- The quantity of feed can be adjusted from half to 5 bowls
- Warning tone indicates the end of the program
- A personalised message can be recorded. Handles up to 4 meals per day
- Cover includes lock mechanism
KEYS
CLOCK: setting the time and programming mealtimes
TIMER: scrolls through the recorded mealtimes
VOL: sets the portion size
SET: confirms the entered mealtime and proposes the entry of the next
programmed meal. Also used with VOL
START: starts the timer, concludes the setting of the clock and
mealtimes.
DAY: sets the days of the meals
REC: records your message
PLAY: plays back your message

START UP
Open the battery compartment (underneath).
Insert four LR20 alkaline batteries in the compartment (not supplied).
Close the compartment and turn the switch ON.
The drum (inside the feeder) will turn and set itself in the starting
position.
You will then hear the recorded message three times over (if one has
been recorded) and the time “12:00” will flash slowly on the screen.
Now you can set the clock so that the distributer functions correctly.
Read the paragraph “setting the clock” below to set the time.
Press START to finish setting the clock.
Once complete, the time of the first meal will be displayed on the
screen. All of the figures will now flash to indicate that no meals
have been programmed.
The first number indicates the meal number.
The 3rd and 4th numbers indicate the time of the meals.
Notes:
The default information is as follows: Meal alarm: 0 days.
Meal frequency: 4, and volume of the meal and portion: 1.
The feeder will vibrate for around 15 seconds whilst the food is being
distributed, to ensure that it flows out of the reservoir correctly.
If you hear a beep and the feeder does not start up, then the detector
on the food reserve tray has been triggered. Check that the outlet for
the food is not blocked. Do not place or use the feeder in full sun, as
the tray detector will be activated the sun's rays.
OPERATION
1) Setting the time
1: Press CLOCK to display the time: the time and clock icon will be
recorded.
2: Press and hold SET until all of the numbers flash.
3: Press CLOCK to set the time.
4: Press TIMER to enter the minutes.
5: Press SET to confirm the hour:
The screen will display either 12 or 24 to indicate the mode.
6: Press CLOCK to switch between 12 or 24 hour mode.
7: Press START to complete the programming.
2) Programming the meal alarm
1: Press DAY to display the day of feeding
2: Press and hold SET until the 1st and 2nd numbers flash.
3: Press DAY to indicate the desired duration (in days).
To feed ad lib, enter 0 for the day of feeding.
4: Press START to complete the setting.
3) Programming the mealtimes and frequency
1: Press TIMER to display the mealtimes
2: Press and hold SET until the 3rd and 4th numbers flash. The time of
the first meal will be displayed on the screen.
3: Press TIMER to record the desired mealtime.
4: Press SET to confirm your settings and move to the next mealtime.
5: Press START to confirm the setting or start over from step 4 if you
wish to enter other mealtimes.
The last meal number displayed corresponds to the number of meals
per day. The timer will then start automatically and the TIMER icon
will start up.
Notes:
If all 4 meals have been programmed, the process is complete and the
timer will start automatically. The time of the next meal will then be
displayed. If only 1 meal has been entered, the mealtime will not be
displayed even if you press TIMER.
The 4 mealtimes must be recorded in order (i.e. the earliest first)
otherwise one or more of the meals will not be distributed.
4) Setting the volume / size of the portion
1: Press VOL to display the portion size / volume.
2: Press and hold SET until the 2nd number flashes.
3: Press VOL to save the desired volume.
4: Press START to conclude the recording and confirm the selected
volume.
Notes:
One meal volume corresponds to 1/2 a cup of food.
“0” represents 10 portions, i.e. the equivalent of 5 cups of food.
5) End of programming to start automatic food distribution
1: Press START to start the programme.
The next programmed meal will start up and the TIMER icon will
flash.
Notes:
When the timer icon and all of the numbers on the screen are present,
the programme is running.
Once the feeding programme has started, you can stop it by pressing
both the SET and START buttons at the same time.
6) To feed your animal manually
Press the SET and VOL buttons at the same time.
One volume of food will be served. The recorded programme and the
quantity remain unchanged.
7) Preview the programs
1: Press TIMER to view the mealtimes. Only the numbers of the
recorded meals will be displayed. The first number indicates the meal
number. The 3rd and 4th numbers indicate the time of the meals.
2: Press VOL once to view the remaining number of portions and
days.
3: Press DAY to view the remaining number of days of meals.
4: Press CLOCK to view the time, the “clock” icon will be displayed.
If you do not press any keys for 8 seconds, the screen will display the
next mealtime and the TIMER icon will flash.
Notes:
By pressing TIMER to scroll through the entered mealtimes, you will
only be shown the number of meals that you have recorded.
Only the first mealtime will be shown if you have only entered one
meal.
If the timer icon flashes, it means that the mealtime is near, whilst if it
is not flashing then the mealtime has just passed.
The volume and day are displayed on the same screen: The 1st and 2nd
figures correspond to the remaining days of meals and the 3rd figure
corresponds to the size of the portion.
8) Food alarm
Your automatic feeder has an alarm (continuous beep) to warn you
when the program has come to an end and that the food will no longer
be distributed.
The alarm sounds at 6h00 the next day to avoid disturbing you during
the night.
To stop the alarm: press any key.
To restart the program that you have recorded, simply press START.
9) General notes
The time is displayed in either 12 hour or 24 hour mode.
The “PM” icon indicates operation in the 12-hour mode.
The days of feeding can be changed at any time, but the previous
program will be replaced and the program will start again from day 1.
The time and volume of the meal can be changed at any time and the
new program will be memorised for the remaining days of the
program.
Once the program has started, the days recorded will be deducted
every day at midnight until the end of the program. Then, it will return
to the original number of days that you have recorded.
If the TIMER icon does not appear and all the figures are flashing,
then no program has been recorded.
However, if the TIMER icon appears and all of the figures are
displayed on the screen, the program has started.
When the CLOCK icon appears, the time is recorded.
When a red light flashes, the battery is low and should be replaced.
All of the batteries should be changed at once.
If ERR is displayed on the screen, the door to release the food is not
properly shut.
Clean away anything that could be blocking the door and clean the
hinges of the door with a brush before pressing ON to reactivate the
device.
Do not put any liquid in the feeder.
Cleaning and Maintenance
The dispenser doesn’t require any maintenance: wash with tepid
water, use a damp cloth and a soft washing liquid.
Do not use inappropriate solvents and aggressive liquids (e.g. cream,
greases, etc.).
Do not turn in the dishwasher and on the water.
Guarantee
The dispenser is guaranteed for a period of 12 months from the date of
purchase, the guarantee terminates at this time even if the dispenser
has not been used. It is therefore advisable to keep the proof of
purchase (receipt and original packaging).
The guarantee is applicable for normal conditions of use and not
intensive, with regular maintenance of the dispenser.
The guarantee covers all mechanical and electrical manufacturing
defects.
The replacement or repairs of parts subjected to normal wear are
therefore excluded.
Any repairs made during the guarantee period do not result in a
prolongation of the latter.
The guarantee is not valid if the dispenser has been opened or
damaged as a result of negligence, inexperience, or during
transport.
The replacements or repairs covered by the guarantee are free of
charge by sending the dispenser directly, in its original packaging,
with proof of purchase to:
VIVOG SAS
2 Rue de la Briaudière - CS 40001
37515 BALLAN-MIRÉ CEDEX - FRANCE.
Tel.: +33 (0)2 47 73 38 38 –Fax. +33 (0)2 47 73 38 48
E-mail: [email protected]
Shipping costs are at the expense of the purchaser.
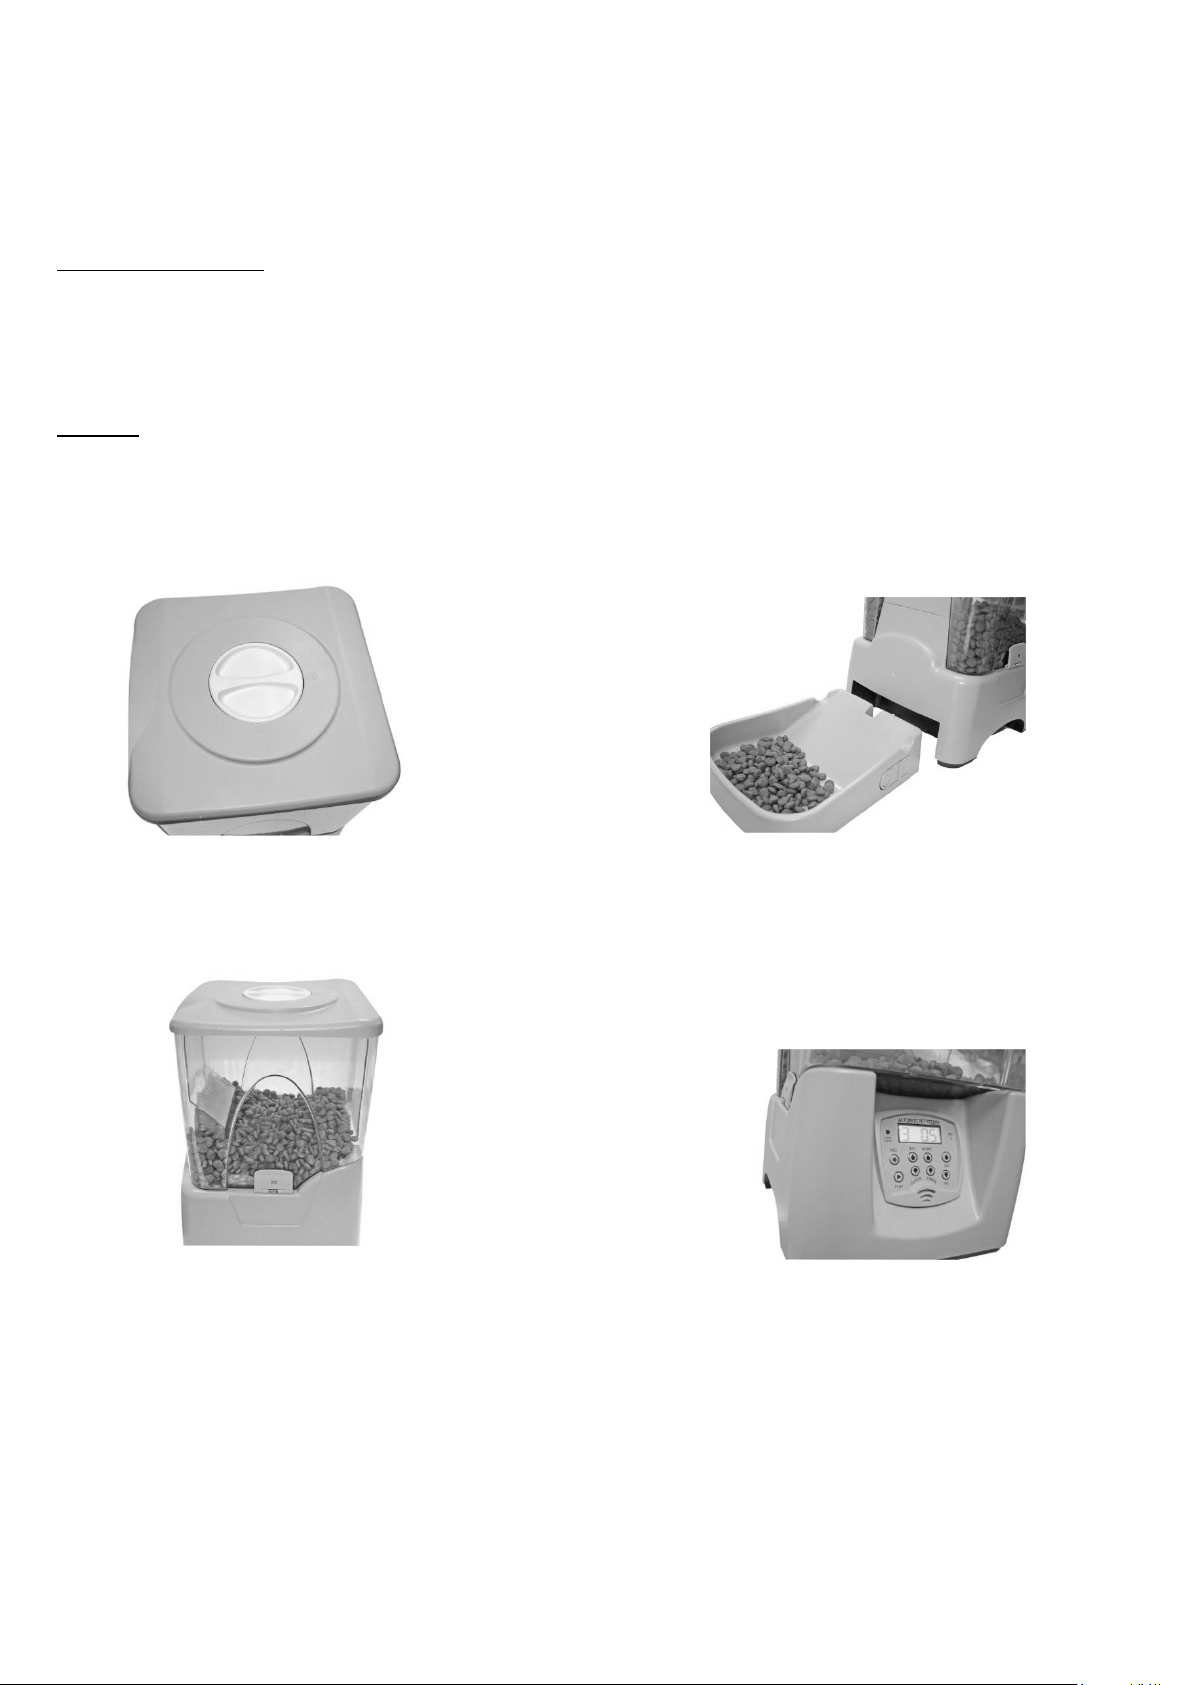
Couvercle avec système de verrouillage.
Cover includes lock mechanism.
Gamelle équipée d’un détecteur de surcharge et trémie
démontable pour un entretien facile.
Feed bowl equipped with an overfill sensor and the feed bin
can be dismantled for easy cleaning.
Jusqu’à 90 doses de croquettes avec fonction anti-bourrage
de la trémie.
Up to 90 portions of kibble with anticlog feed bin
Possibilité de régler la quantité de une demi à 5 gamelles,
Équipé d’une alarme sonore en fin de programme,
Enregistrement d’un message personnel,
Gère de 1 à 4 distributions par jour.
The quantity of feed can be adjusted from half to 5 bowls,
Warning tone indicates the end of the program,
A personalised message can be recorded,
Handles up to 4 meals per day.
Table of contents
Languages:
Other Vivog Pet Care Product manuals


