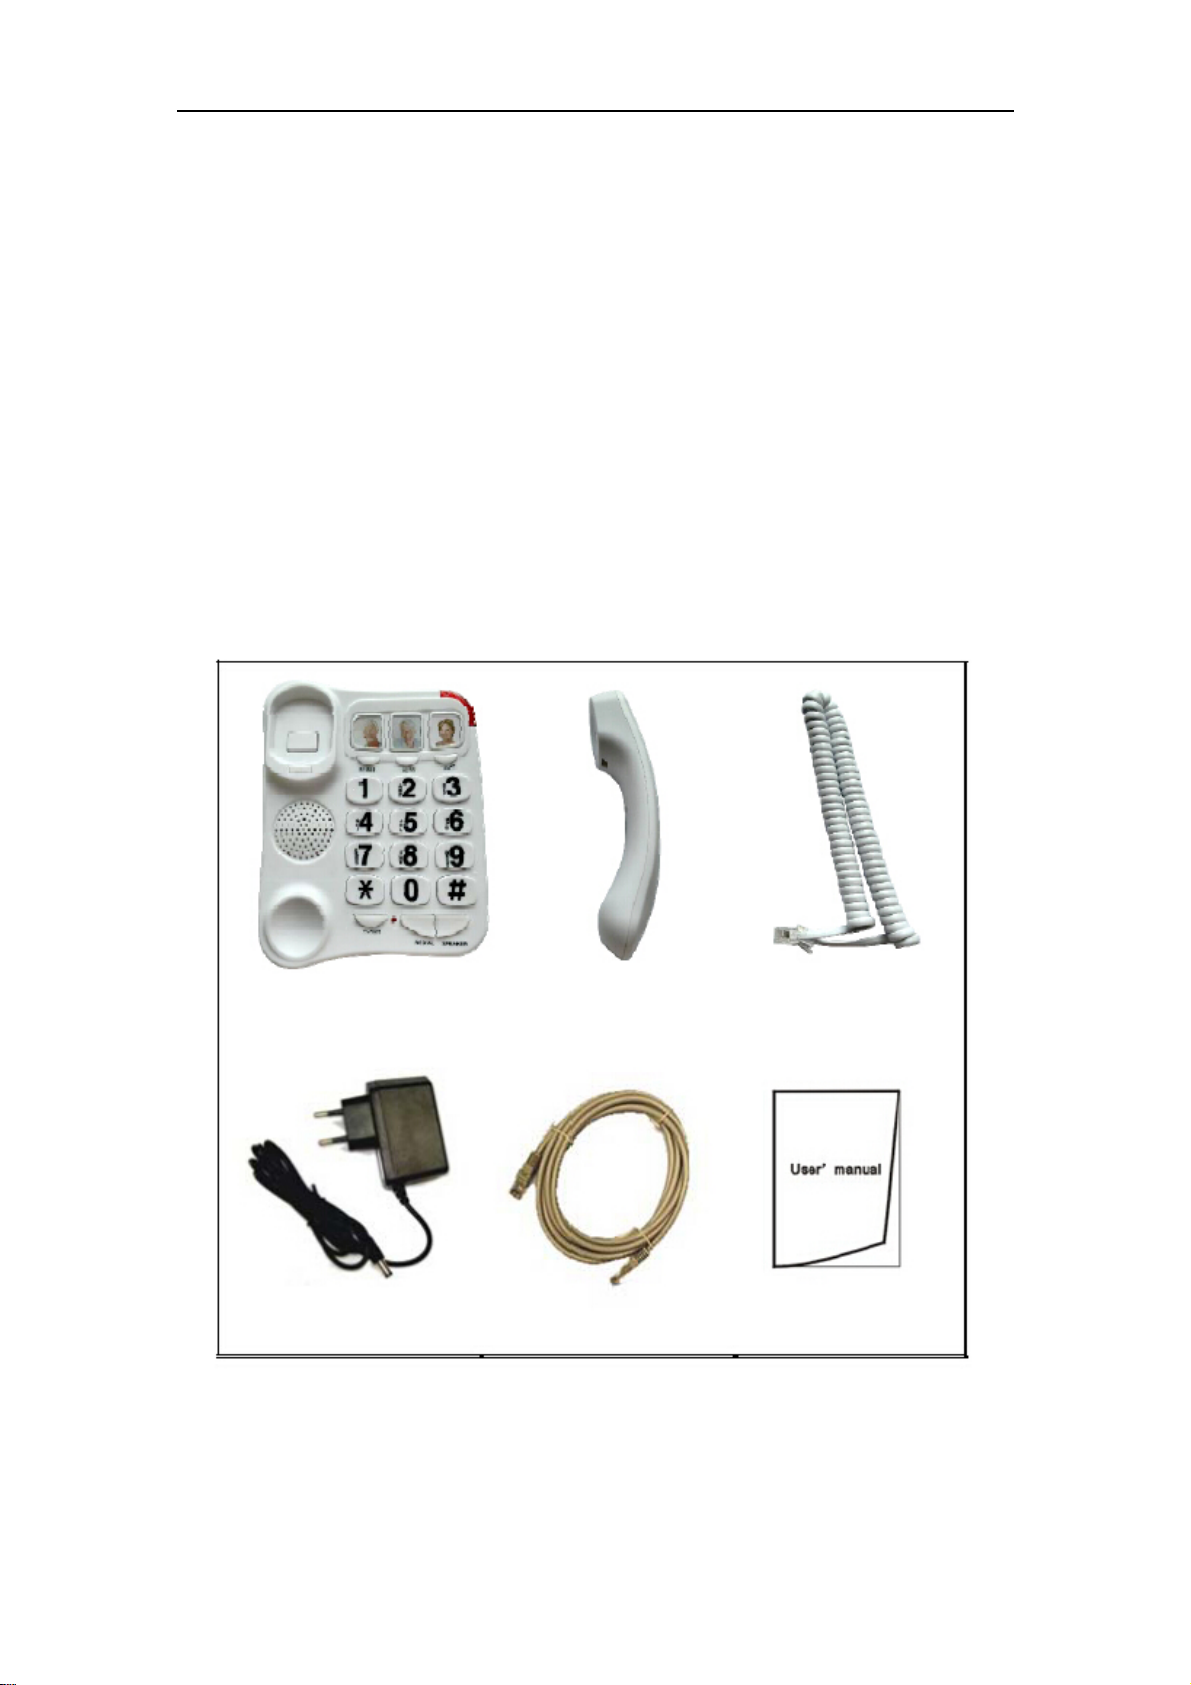
D312I VoIP User Manual V1.0
muted status, the 【USE LED】will blink, Press again the phone will resume to normal,
and 【USE LED】will also stop blink and resume to always on status.
Reset IVR
Pick up handset or press【SPEAKER】button, then press button【AUTO】and 【*】,
telephone will enter into the RESET IVR menu, you will hear “enter pin”, Input the default
reset pin “00000000”,then telephone will reboot.
Make a call
Normal Call
Pick up handset or press 【SPEAKER】button, then dial the desired numbers.
One Key Speed Dial Call
Pick up handset or press【SPEAKER】button, then press【M1 | M2 | M3】to quickly
call the stored user.
Two Key Speed Dial Call
Pick up handset or press 【SPEAKER】button, then press【AUTO】and 【0~9】to
quickly call the stored user.
Direct IP Call
Pick up handset or press 【SPEAKER】button, then dial desired IP address.
Note: star【*】key as the point.
For example: the IP address is 192.168.0.8, off hook dial 192*168*0*8 and dial 【#】
to send it or wait a moment it send automatic.
Transfer Call
For the call transfer, we use three phones to demo the operation; all these phones
register to the same server. (Phone A: D312I, phone B, C: also D312I or other IP phone)
Blind Transfer
IP phone A Call B, B answer the call, after this, phone A press【FLASH】button, then
B is held, and A get another dial tone, A input the number of C, and press【AUTO】button,
C will ring and A get the busy tone, by now, the blind transfer is successful.
Half Attend Transfer
IP phone A Call B, B answer the call, after this, A press 【FLASH】button, then B is
held, and A get another dial tone, A input the number of Phone C and then dial【#】to send
the number or wait for the timeout the number will be send automatic, after this , A get the
ring back tone , C is ringing , at this time C do not answer and A press 【AUTO】button.
A get busy tone and exit the call session, by now the Half Attend Transfer is successful.
Attend Transfer
IP phone A Call B, B answer the call, after this, A press 【FLASH】button, then B is
held, and A get another dial tone, A input the number of Phone C and then dial【#】to send
the number or wait for the timeout the number will be send automatic, after this, A get the
ring back tone, C is ringing , at this time C answer the call and A press 【AUTO】button. A
get busy tone and exit the call session, by now they Attend Transfer is successful.
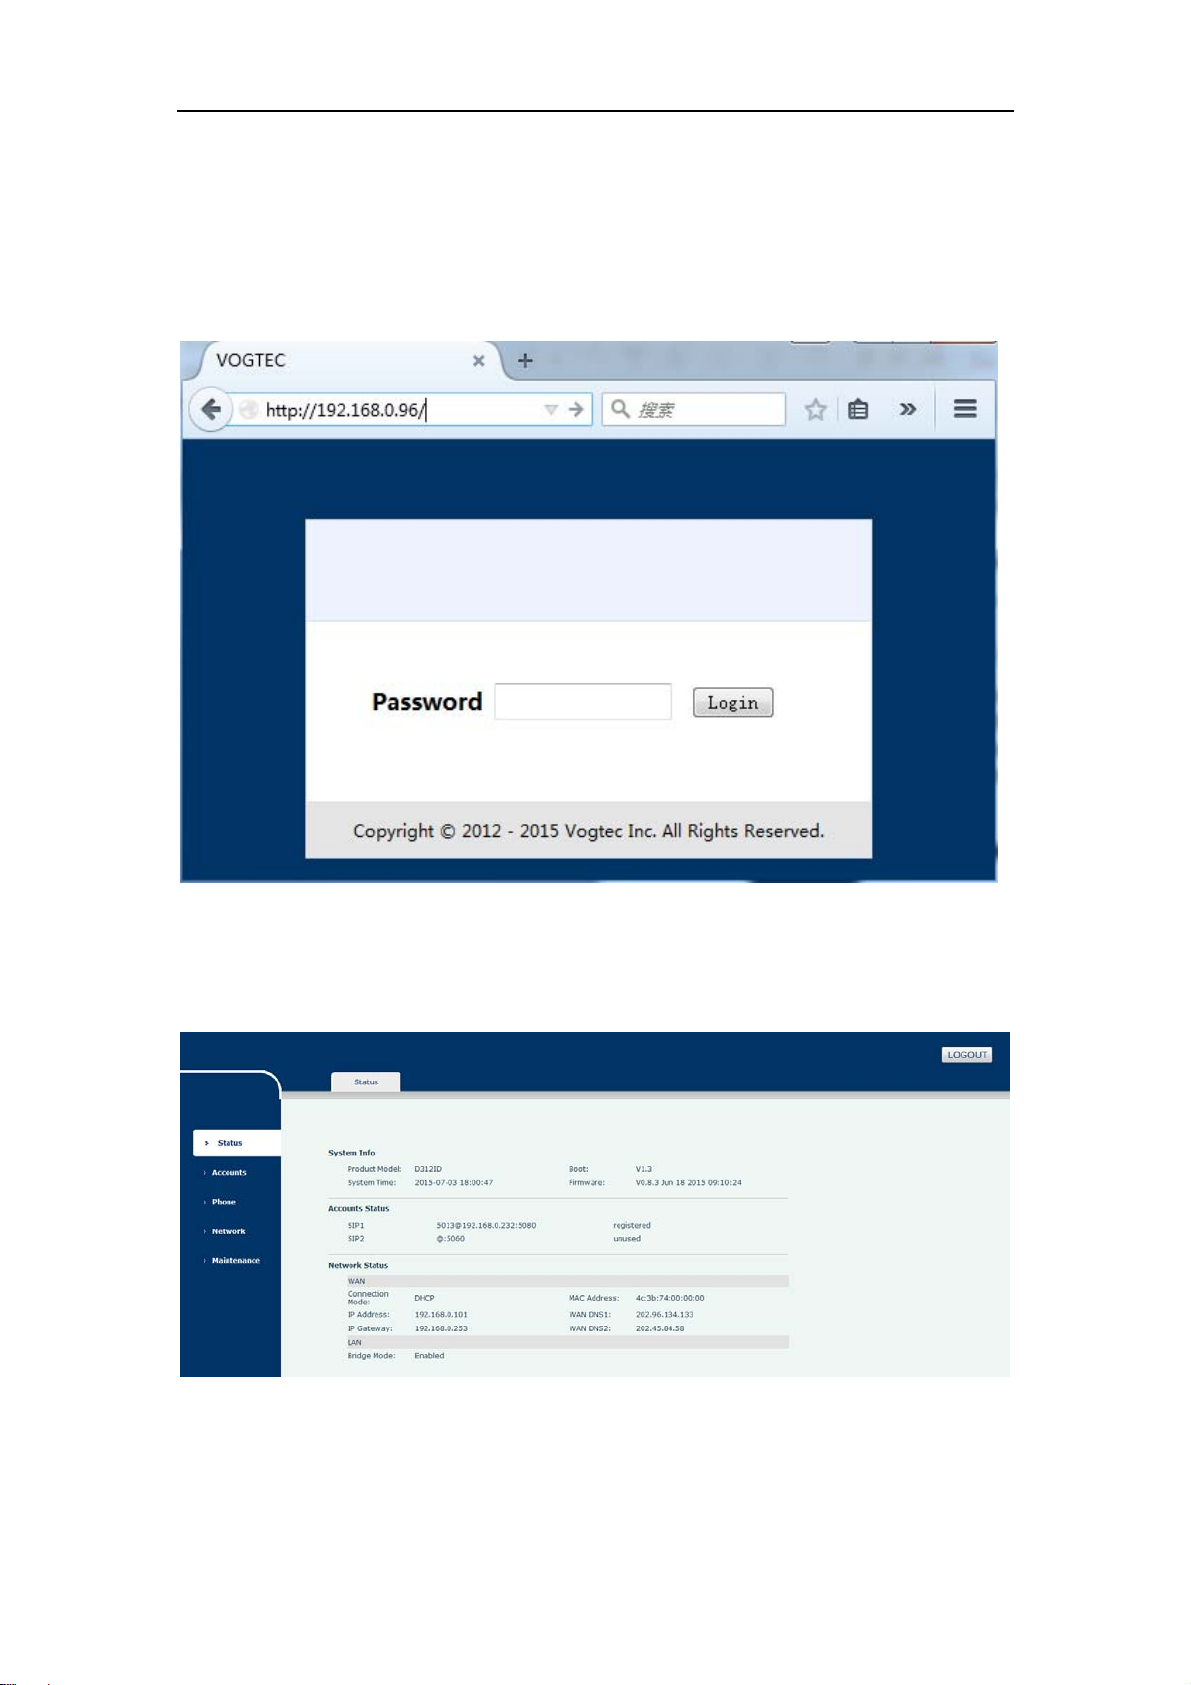
Configuring the D312I using a web browser