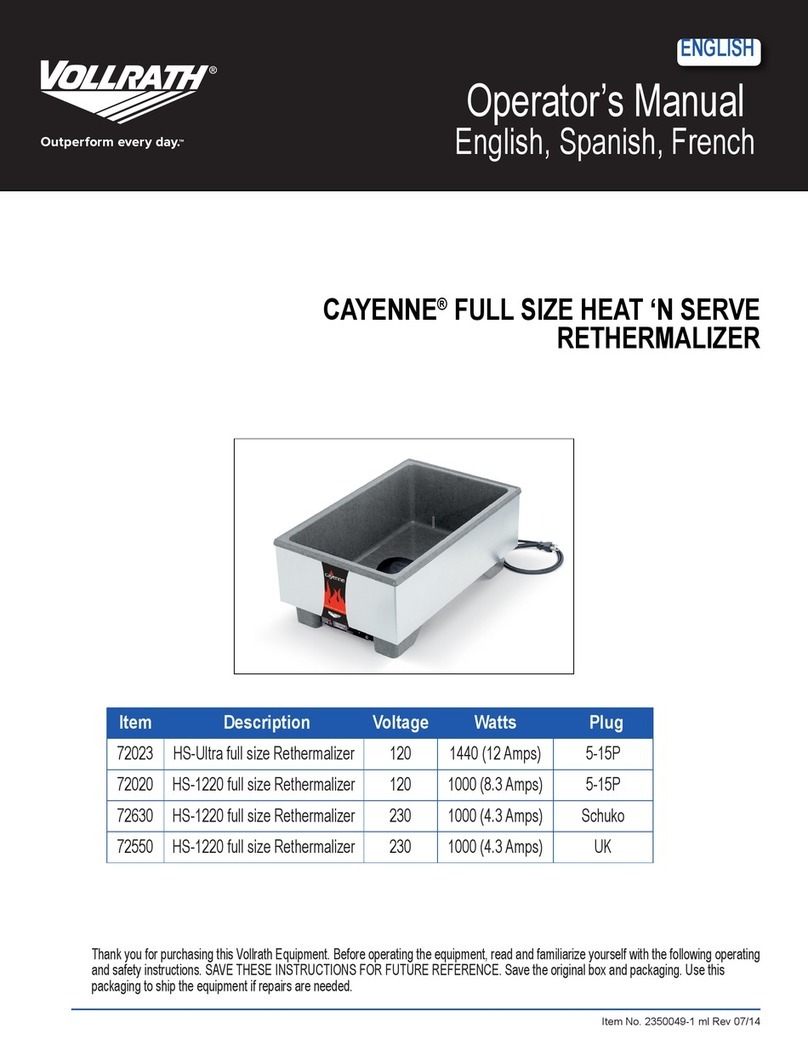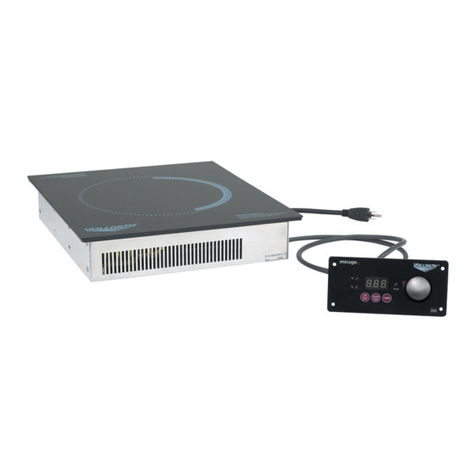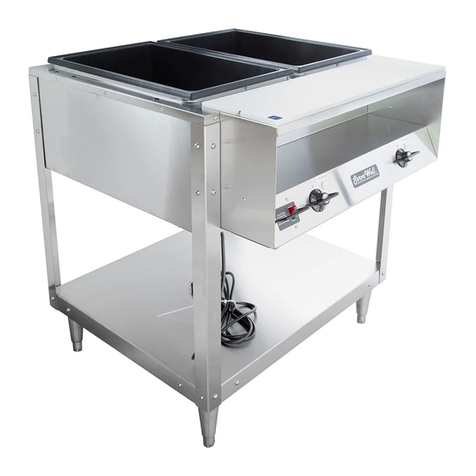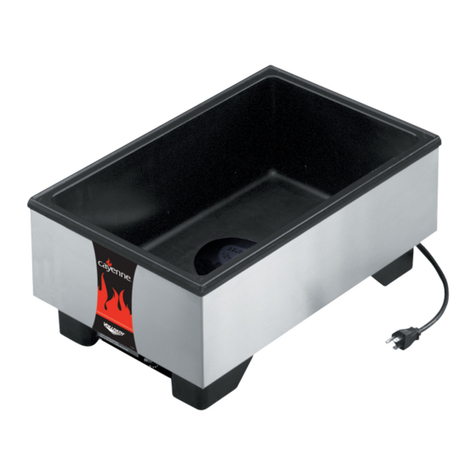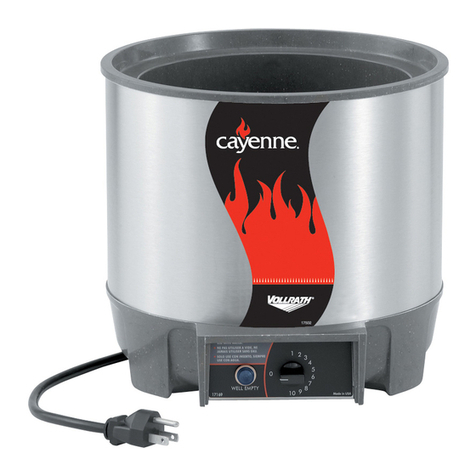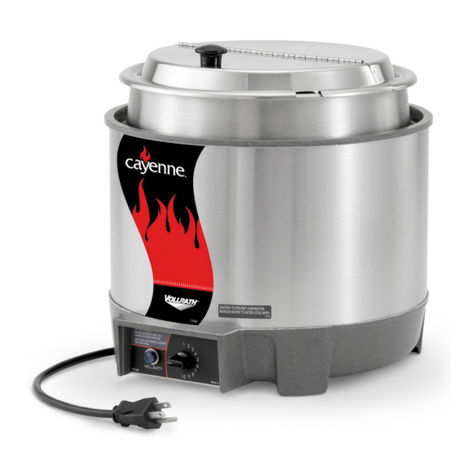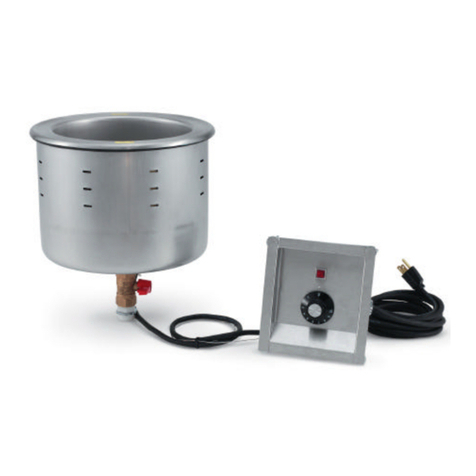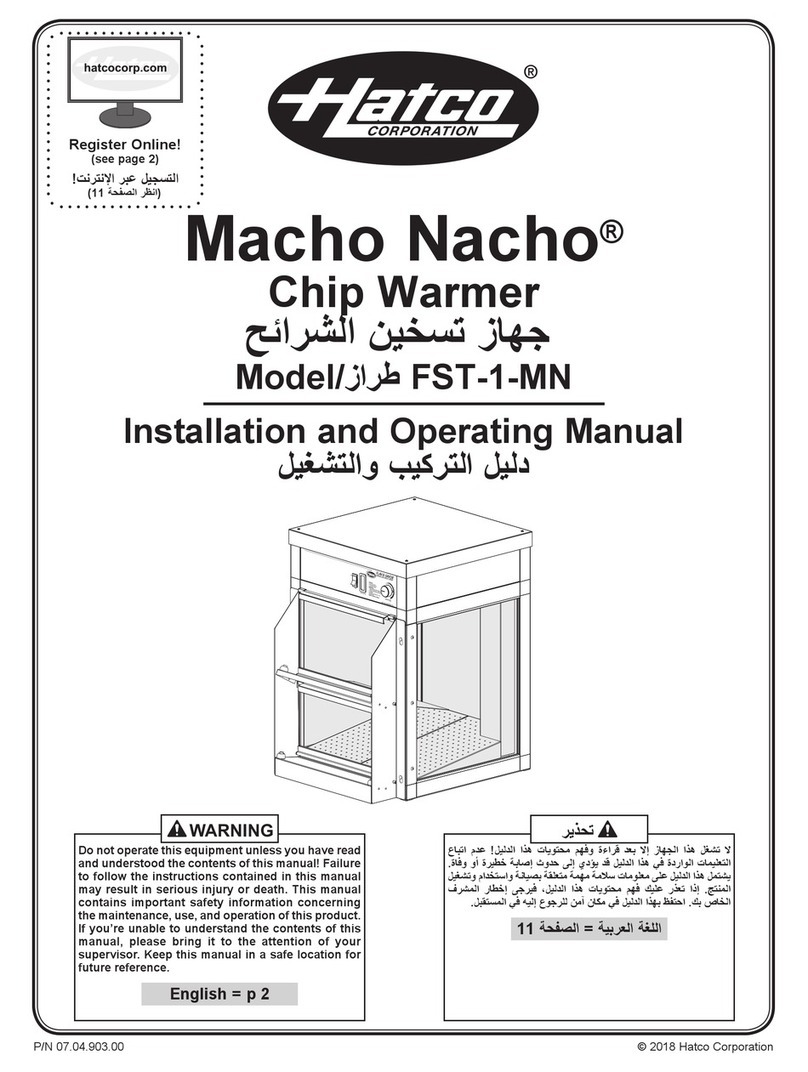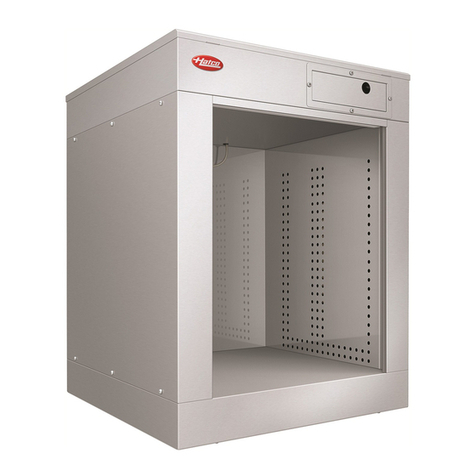
Countertop Warming and display
OperatOr’s Manual
oPeration
Keep water and other liquids from entering the
inside of the unit. Liquid inside the unit could cause
an electrical shock. Do not damaged power cord.
Do not over ll wells, pans or trays. Liquid could contact the
electrical components and cause a short circuit or an electrical
shock. Unplug unit before performing service, draining or removing
spillage pans and trays. Do not spray water or cleaning products.
Do not use a power cord that has been modied or damaged.
Do not touch hot food, liquid or heating surfaces
while equipment is heating or operating.
Hot surfaces, steam and food can burn skin. Allow the hot surfaces
to cool before handling. Do not drop or spill water onto the cooking
surface as it can spray or splatter.
1. Fill the well to the correct level water mark (F) with clean fresh water.
Correct level is about 1” (2.5 CM) of water. Do not over ll. See Figure 1.
2. Plug electrical power cord into a grounded outlet matching the nameplate
rated voltage.
1. Preheat the water in the wells by covering wells with empty food
containers or covers, and then turning the unit ON and setting the heat
control (B) to the maximum heat setting. Preheat for 15 minutes.
2. Place covered container(s) of chilled food product to be rethermalized
into equipment. See food safety precautionary note.
3. During the rethermalization process, monitor food temperatures closely
for food safety.
4. Reduce heat setting to a level that will maintain a safe holding
temperature and maintain food quality. See food safety precautionary
note.
ºº
1. Preheat the water in the wells by covering wells with empty food
containers or covers, and then turning the unit ON and setting the heat
control (B) to the maximum heat setting. Preheat for 15 minutes.
2. Place container of hot food product, above 140 °F (60 °C), into
preheated equipment.
3. Reduce heat setting to a level that will maintain a safe holding
temperature and maintain food quality. See food safety precautionary
note.
4. Maintain water level at or near water level mark. Periodically
(approximately 2 hours) remove the container of food and check the
water level. Add hot water if needed. Some models are equipped with a
low water indicator light (B) that illuminates when the water level is low.
1. Turn the heat control (B) to lowest setting, turn the power switch (A) to
the OFF position and unplug unit. When removing hot food containers
from unit use gloves, mitts or pot holders to protect hands.
2. Allow the unit and water to cool completely.
3. Place a suitable container directly under the drain valve (E) or over a
oor drain. Turn the open/close lever to the open position monitoring the
ow of liquid going into the container. Use caution to avoid spills that may
create a slippery condition. Turn open/close lever to the closed position
before the container is full. Dispose of the drained water. Repeat this
procedure if necessary.
4. Follow the CLEANING section of this manual.
Cleaning
To maintain the appearance and increase the service life, clean your
equipment daily.
Do not touch hot food, liquid or heating surfaces
while equipment is heating or operating.
Hot surfaces, steam and food can burn skin. Allow the hot surfaces
to cool before handling. Do not drop or spill water into the cooking
surface as it can spray or splatter.
1. Unplug the equipment.
2. Allow the equipment to cool completely before cleaning.
Keep water and other liquids from entering the
inside of the unit. Liquid inside the unit could cause
an electrical shock. Do not damaged power cord.
Do not over ll wells, pans or trays. Liquid could contact the
electrical components and cause a short circuit or an electrical
shock. Unplug unit before performing service, draining or removing
spillage pans and trays. Do not spray water or cleaning products.
Do not use a power cord that has been modied or damaged.

