INTRODUCTION
Read through all of the instructions before starting installation.
Notifications and warning texts are for your safety and to
minimise the risk of something breaking during installation.
Ensure that all tools stated in the instructions are available
before starting installation.
Certain steps in the instructions are only presented in the form
of images. Explanatory text is also given for more complicated
steps.
In the event of any problems with the instructions or the
accessory, contact your local Volvo dealer.
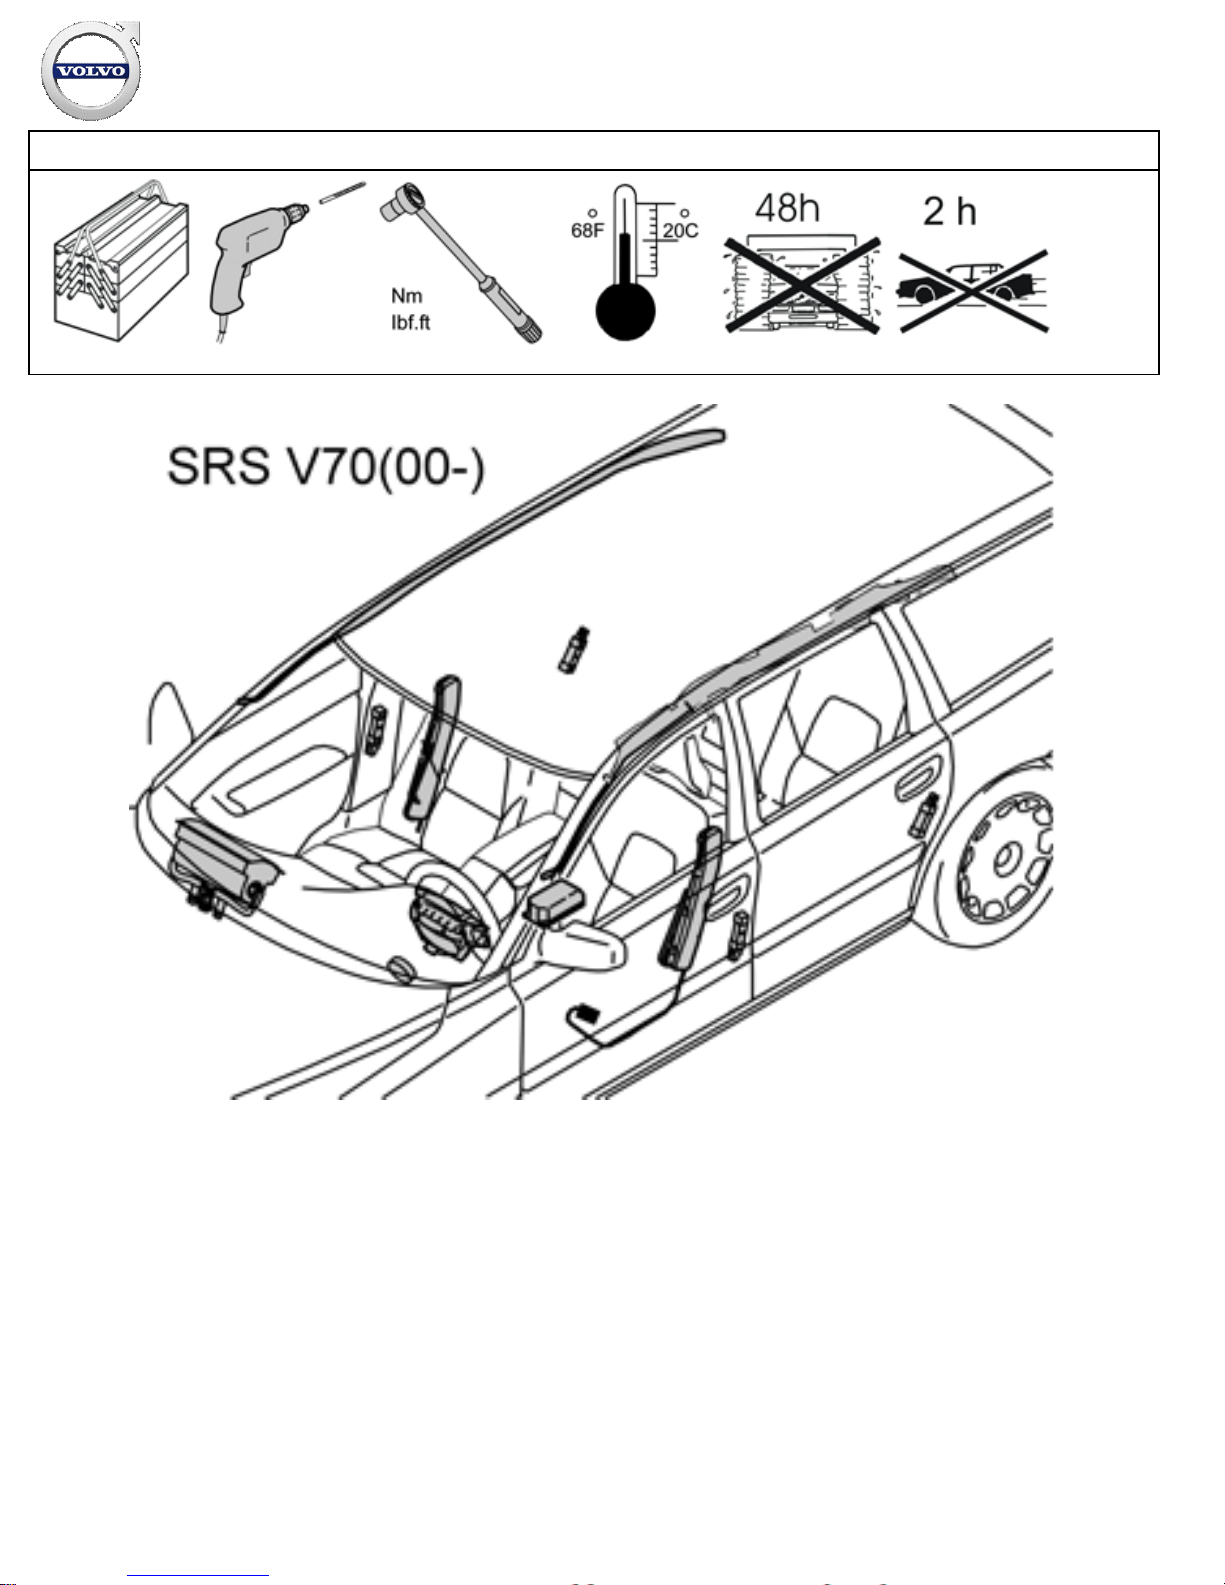
Note!
During installation the underlying surface must be kept at a
temperature of at least +15˚
C (59
˚
F).
Do not wash the car within 48 hours after installation is
completed.
Allow the car to remain inside for at least two hours after
installation is completed if outside temperature is less than
+15
˚
C (59
˚
F).
Steps 3-10 and 15-18 apply to cars without RTI, CD changer,
Digital Jukebox or SAT preparation in which the DIN cable
must then be routed from the radio to the Sirius control
module.
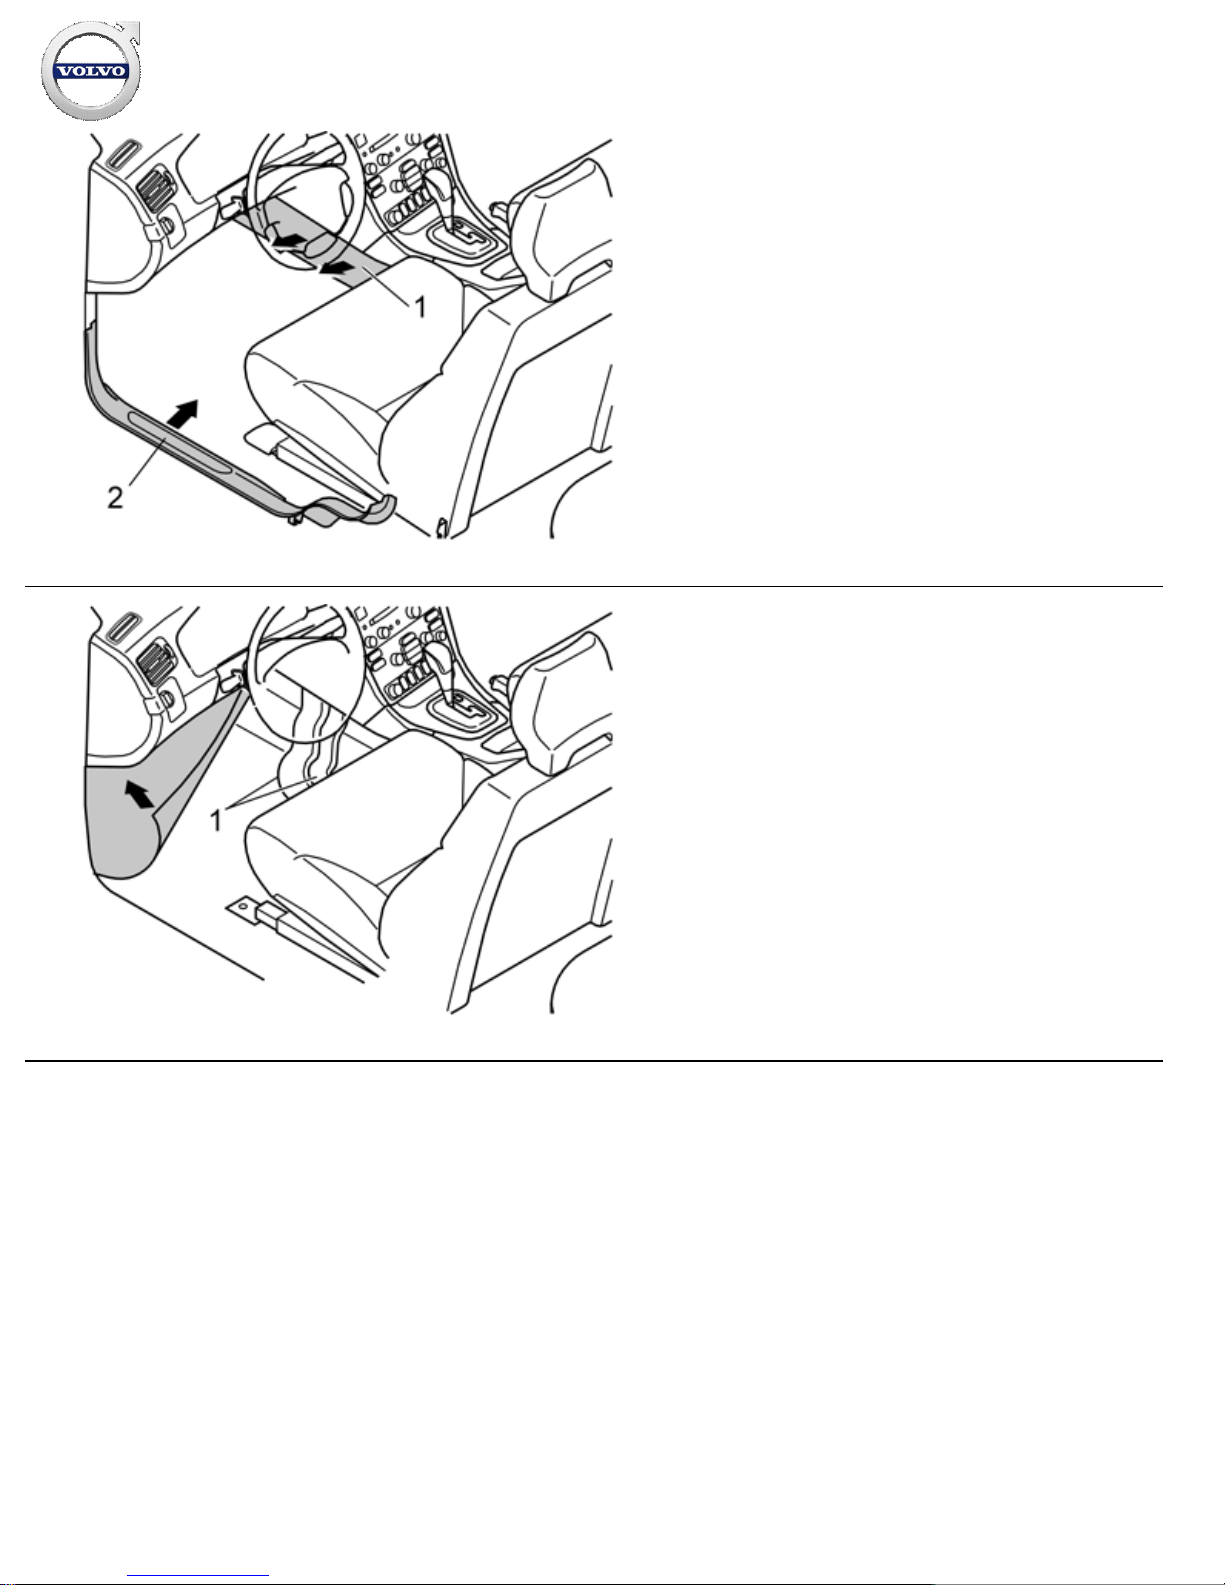
Preparations
1
Preparations
Move the left-hand front seat to its rear position.
Installation instructions, accessories
Volvo Car Corporation Gothenburg, Sweden