manuals.online logo
Brands
  1. Home
  2. •
  3. Brands
  4. •
  5. walser
  6. •
  7. Automobile Accessories
  8. •
  9. walser Kimi User manual

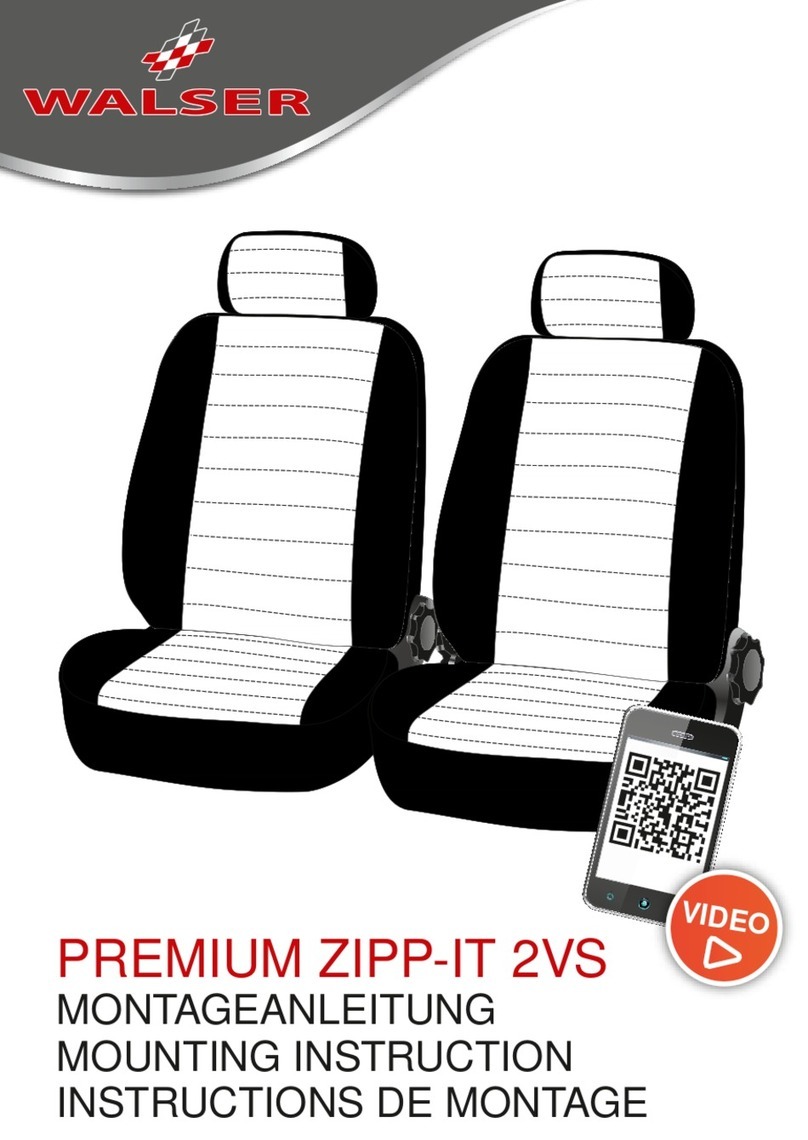
walser Kimi User manual

1
5
3 42
6 7 8
MONTAGEANLEITUNG
MOUNTING INSTRUCTIONS ::: INSTRUCTIONS DE MONTAGE ::: ISTRUZIONI DI MONTAGGIO
DE 1.+2. Heben Sie die Bank an, um die Flächen links und rechts mittels eines elastischen Gummibandes zu befestigen.
DE 5. Legen Sie das Mittelstück auf die Klettverschlüsse, um
den Spalt zwischen den Flächen abzudecken.
DE 6. Befestigen Sie die Flächen der Rückenlehne. Am bes-
ten beginnen Sie mit der Montage an der Kopfstütze.
DE 7.+8. Streifen Sie die Gummibänder über die Kopfstütze.
DE 3+4. Stecken Sie die Plastikteller in den Spalt zwischen Rückenlehne und Sitzäche.
EN 1.+2. Lift the bench to secure the left and right surfaces with an elastic rubber band.
EN 5. Place the center piece on the Velcro strips to cover the
gap between the surfaces.
EN 6. Attach the surfaces of the backrest. It is best to start
with the assembly on the headrest.
EN 7.+8. Slip the elastic bands over the headrest.
EN 3+4. Insert the plastic plate in the gap between the backrest and the seat.
FR 1.+2. Soulevez le banc pour xer les surfaces gauche et droite avec un élastique en caoutchouc.
FR 5. Placez la pièce centrale sur les bandes Velcro pour
couvrir l‘écart entre les surfaces.
FR 6. Fixez les surfaces du dossier. Il est préférable de com-
mencer par l‘assemblage sur l‘appui-tête.
FR 7.+8. Glissez les bandes élastiques sur l‘appui-tête.
FR 3+4. Insérez la plaque en plastique dans l‘espace entre le dossier et le siège.
IT 1.+2. Sollevare la panca per ssare le superci sinistra e destra con un elastico di gomma.
IT 5. Posiziona il pezzo centrale sulle strisce di velcro per
coprire lo spazio tra le superci.
IT 6. Attaccare le superci dello schienale. È meglio iniziare
con il montaggio sul poggiatesta.
IT 7.+8. Fai scivolare gli elastici sul poggiatesta.
IT 3+4. Inserire la piastra di plastica nella fessura tra lo schienale e il sedile.
10 11 12
13 14
WALSER GmbH
Radetzkystraße 114
6845 Hohenems
Österreich
www.walsergroup.com
www.walser-shop.com
DE 9.+10. Stecken Sie anschließend die Plastikteller in den Spalt zwischen Rückenlehne und Sitzäche.
DE 13.+14. Für die mittlere Kopfstütze ist ein separater Kopfstützenbezug beigelegt, den sie mittels Clip Verschluss einfach
befestigen können.
DE Beachten Sie unbedingt die Reihenfolge der Montageanleitung, um einen sicheren Halt der Auage sicherzustellen.
Prüfen Sie nach Fertigstellung, ob alle Ringe und Haken gut befestigt sind.
DE 11.+12. In der Mitte kann ein zusätzliches Teil durch Reißverschlüsse an beiden Lehnächen befestigt werden.
EN 9.+10. Then put the plastic plate in the gap between the backrest and the seat.
EN 9.+10. A separate headrest cover is included for the middle headrest, which you can easily attach using a clip fastener.
EN It is essential that you follow the order in the assembly instructions to ensure that the support is held securely.
Upon completion, check that all rings and hooks are securely attached.
EN 11.+12. In the middle, an additional part can be attached to both backrest surfaces with zippers.
FR 9.+10. Ensuite, placez la plaque en plastique dans l‘espace entre le dossier et le siège.
FR 9.+10. Une housse d‘appui-tête séparée est incluse pour l‘appui-tête central, que vous pouvez facilement attacher à l‘aide
d‘une attache à clip.
FR Il est essentiel que vous suiviez l‘ordre des instructions de montage pour vous assurer que le support est solidement maintenu.
Une fois terminé, vériez que tous les anneaux et crochets sont solidement xés.
FR 11.+12. Au milieu, une pièce supplémentaire peut être xée aux deux surfaces du dossier avec des fermetures à glissière.
IT 9.+10. Quindi inserire la piastra di plastica nella fessura tra lo schienale e il sedile.
IT 9.+10. Per il poggiatesta centrale è inclusa una fodera separata per il poggiatesta, che puoi attaccare facilmente utilizzando
una chiusura a clip.
IT È essenziale seguire l‘ordine nelle istruzioni di montaggio per assicurarsi che il supporto sia tenuto saldamente.
Al termine, controllare che tutti gli anelli e i ganci siano ssati saldamente.
IT 11.+12. Al centro, una parte aggiuntiva può essere ssata a entrambe le superci dello schienale con cerniere.
9

Other walser Automobile Accessories manuals
walser 16000 User manual

walser

walser 16000 User manual

walser 30968 User manual

walser

walser 30968 User manual

walser Perma Protect User manual

walser

walser Perma Protect User manual

walser 31016 User manual

walser

walser 31016 User manual

walser Proguard 100021 User manual

walser

walser Proguard 100021 User manual

walser 41049 (M) User manual

walser

walser 41049 (M) User manual

walser Perma Protect User manual

walser

walser Perma Protect User manual

walser 41024 User manual

walser

walser 41024 User manual

walser 16773 Carbon User manual

walser

walser 16773 Carbon User manual

walser 13733 User manual

walser

walser 13733 User manual

walser 41060 User manual

walser

walser 41060 User manual

walser 31030 (S) User manual

walser

walser 31030 (S) User manual

walser 41088 User manual

walser

walser 41088 User manual

walser ULTIMATE SPEED 273048 Installation and operating instructions

walser

walser ULTIMATE SPEED 273048 Installation and operating instructions

walser BASIC LINE User guide

walser

walser BASIC LINE User guide

walser 41047 User manual

walser

walser 41047 User manual
walser Crystalline User guide

walser

walser Crystalline User guide

walser 31088 User manual

walser

walser 31088 User manual

walser 16766 User manual

walser

walser 16766 User manual

walser KIDS EXPERTS Noemi User manual

walser

walser KIDS EXPERTS Noemi User manual

walser 30864 (S) User manual

walser

walser 30864 (S) User manual

walser Perma Protect SUV/VAN S User manual

walser

walser Perma Protect SUV/VAN S User manual

walser 31082 User manual

walser

walser 31082 User manual

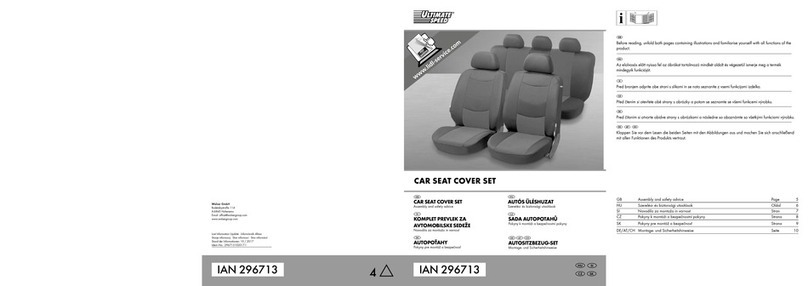
walser ULTIMATE SPEED 296713 Installation and operating instructions
walser

walser ULTIMATE SPEED 296713 Installation and operating instructions

Popular Automobile Accessories manuals by other brands

Thule Evo Raised Rail 710400 instructions

Thule

Thule Evo Raised Rail 710400 instructions

KW automotive 685 10 456 installation instructions

KW automotive

KW automotive 685 10 456 installation instructions

Metra Electronics 99-5850B installation instructions

Metra Electronics

Metra Electronics 99-5850B installation instructions

NanoCam Plus NANO CONNECT Smartview 72 quick start guide

NanoCam Plus

NanoCam Plus NANO CONNECT Smartview 72 quick start guide

Cellularline TOUCH MAG manual

Cellularline

Cellularline TOUCH MAG manual

Havis-Shields 1997-2007 Dodge Dakota Telescoping Computer Base... Install instructions

Havis-Shields

Havis-Shields 1997-2007 Dodge Dakota Telescoping Computer Base... Install instructions

Axxess XSVI-1731-NAV installation instructions

Axxess

Axxess XSVI-1731-NAV installation instructions

Blueant S1 user guide

Blueant

Blueant S1 user guide

curt 18410 installation manual

curt

curt 18410 installation manual

Polaris HK-338 quick start guide

Polaris

Polaris HK-338 quick start guide

Coastal MYGIG LOCKPICK PRO Installation and operation instructions

Coastal

Coastal MYGIG LOCKPICK PRO Installation and operation instructions

Blitz BZPDA2BL install guide

Blitz

Blitz BZPDA2BL install guide

LOYDS Smartfloor installation manual

LOYDS

LOYDS Smartfloor installation manual

Rightline Gear 100R20 instructions

Rightline Gear

Rightline Gear 100R20 instructions

QA1 CK1950 Assembly instructions

QA1

QA1 CK1950 Assembly instructions

Dometic PerfectView CAM 360 AHD operating manual

Dometic

Dometic PerfectView CAM 360 AHD operating manual

Webasto Thermo Top E Installation documentation

Webasto

Webasto Thermo Top E Installation documentation

iDataLink Maestro RR install guide

iDataLink

iDataLink Maestro RR install guide

manuals.online logo
manuals.online logoBrands
  • About & Mission
  • Contact us
  • Privacy Policy
  • Terms and Conditions

Copyright 2025 Manuals.Online. All Rights Reserved.