manuals.online logo
Brands
  1. Home
  2. •
  3. Brands
  4. •
  5. Watercool
  6. •
  7. Computer Hardware
  8. •
  9. Watercool HEATKILLER IV Pro User manual

Watercool HEATKILLER IV Pro User manual

1
1.
Einleitung
Der HEATKILLER® IV for Threadripper™
setzt
neue Maßstäbe i Bereich Leistung, Qualitä
t
und Montagefreundlichkeit. Bei d
essen
Entwicklung wurde konsequent au
f eine
perfekte Kühlung aller vier DIEs
ausgerichtet.
Eine farbige Montageanleitung i PDF
-
For at finden Sie i Servicebereich unserer
Ho epage unter www.watercool.de
Die Installation erfolgt auf eigene Gefahr.
Das Nichtbeacht
en der Montageanleitung
kann das Produkt
beschädigen. Die Fir a
Watercool überni t keinerlei Haftung bei
Beschädigungen an der Hardware.
1.
Introduction
The HEATKILLER® IV for Threadripper™
sets
new standards in perfor ance, quality and
installation si plicity.
It is perfectly designed
to cool all four DIEs under the heatspreader.
Coloured asse bly instructions are
provided as a PDF-file
in the service area of
our ho epage. www.watercool.de
Installation is at your own risk. The
Watercool Co pany accepts no liability for
any da ages caused to hardware and data. If
uncertain, hire a specialist to carry out the
odification or use our odification service.
HEATKILLER® IV
Pro for
Threadripper™
Montageanleitung /
Assembly Instructions
2
2
.
Before installation
If there is a CPU heat sink installed already,
re ove all belonging parts and all leftover
ther al paste.
Apply fresh ther al pa
ste prior to
installation of the new cooler.
The water block is installed di
rectly onto the
preexisting socket situation and screwed into
the original backplate. It is not necessary to
uninstall the ainboard or to access the
backside of the ainboard.
F
or additional infor ation on disasse bly
of the original heat sink and the ainboard
,
please check the corresponding anuals.
2
. Vorbereitung der
Installation
Sollte bereits ein CPU Kühler auf de
Mainboard verbaut sein, so uss dieser zuerst
sa t zugehörige Montage aterial entfernt
werden. Anschließend sollte die CPU von
verbliebener Wär eleitpaste befreit werden.
Vor Installation uss die CPU g
leich äßig
it einer Wär eleitpaste versehen werden.
Der Kühler wird direkt it der originalen
Backplate des Mainboards verschraubt. Ein
Zugang zur Mainboardrückseite oder eine
ko plette De ontage des Mainboards ist
daher nicht notwendig.
Weitere Infor at
ionen zur De ontage des
Kühlers und des Mainboards
entneh en Sie
bitte den jeweiligen Anleitungen.
3
3
.
Mounting the cooler
Install all ounting parts according to the
following sketch.
To ount the screws, a s all spring force
needs to be overco e. To get all four screws
in, do not tighten the before all four screws
are started.
When all four screws are started, tighten
the down in a crosswise pattern. Start with
screw nu ber 1, then 2, 3 and 4. Always
3
. Montage
des Kühlers
Montieren Sie alle Halterungsteile ge äß
der
nachfolgenden Zeichnung.
Bei Ansetzen der Schrauben uss eine
leichte Vorspannung der Feder überwunden
werden. Deswegen sollten vor
de
Festziehen sollten zuerst alle vier Schrauben
leicht angesetzt werden.
Ziehen Sie anschließend alle S
chrauben
gleich äßig über Kreuz fest. Geh
en Sie
hierbei
wie folgt vor: Erst Schraube 1, dann
Schraube
2, gefolgt von 3 und 4. Für einen
4
opti alen Anpressdruck sollten
die
Schrauben jeweils für eine volle
U drehung
weitergedreht werden.
Wiederholen Sie den
Vorgang bis
alle Schrauben fest angezogen
sind.
Das Montagesyste verfügt über einen
definierten Endanschlag. Ein Ü
berdrehen ist
da it nicht öglich.
4. Allgemeine Hinweise
Die Kühler der HEATKILLER® IV –
Serie
haben einen definierten Ein-
und Auslass. Der
Eingang befindet sich in der Mitte des Kühlers.
Wir e pfehlen de ineralisiertes bzw.
entionisiertes Wasser (destilliertes Wasser) als
Kühl ediu zu verwenden.
Die Acrylausführungen des Kühlers werden
it eine vorinstallierten RGB LED-
Stripe
ausgeliefert. Dieses kann an einen
4poligen
RGB Anschluss des Mainboards oder an eine
andere RG
B Steuerung angeschlossen
werden. Bitte auf die korrekte Polung des
Steckers achten. Der Pfeil uss Richtung 12V
Pin zeigen.
screw the in one co plete turn before
switching to the next screw. Repeat this until
they are all fully tightend.
The ounting solution co es with a
defined stop. It is not possible to overtighten
the screws. For opti al ounting pressure,
tighten all screws till you reach the stop.
4. General information
The HEATKILLER® IV -
series has defined
intakes and outlets. The intake is in the center
of the cooler.
The use of de ineralized or deionized water
(distilled water) is highly reco ended.
The versions with an acrylic top co e with a
preinstalled RGB LED strip. Connect this strip
to an RGB header on the ainboard or a third-
party RGB controller. Make sure to plug it in in
the correct polarity. The arrow on the
connector has to go on the 12V-
Pin.

Other Watercool Computer Hardware manuals

Watercool HEATKILLER GPU-X GTX570 V2 LT User manual

Watercool

Watercool HEATKILLER GPU-X GTX570 V2 LT User manual

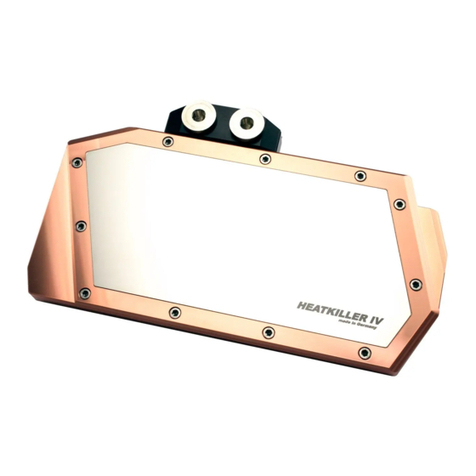
Watercool HEATKILLER IV User manual

Watercool

Watercool HEATKILLER IV User manual

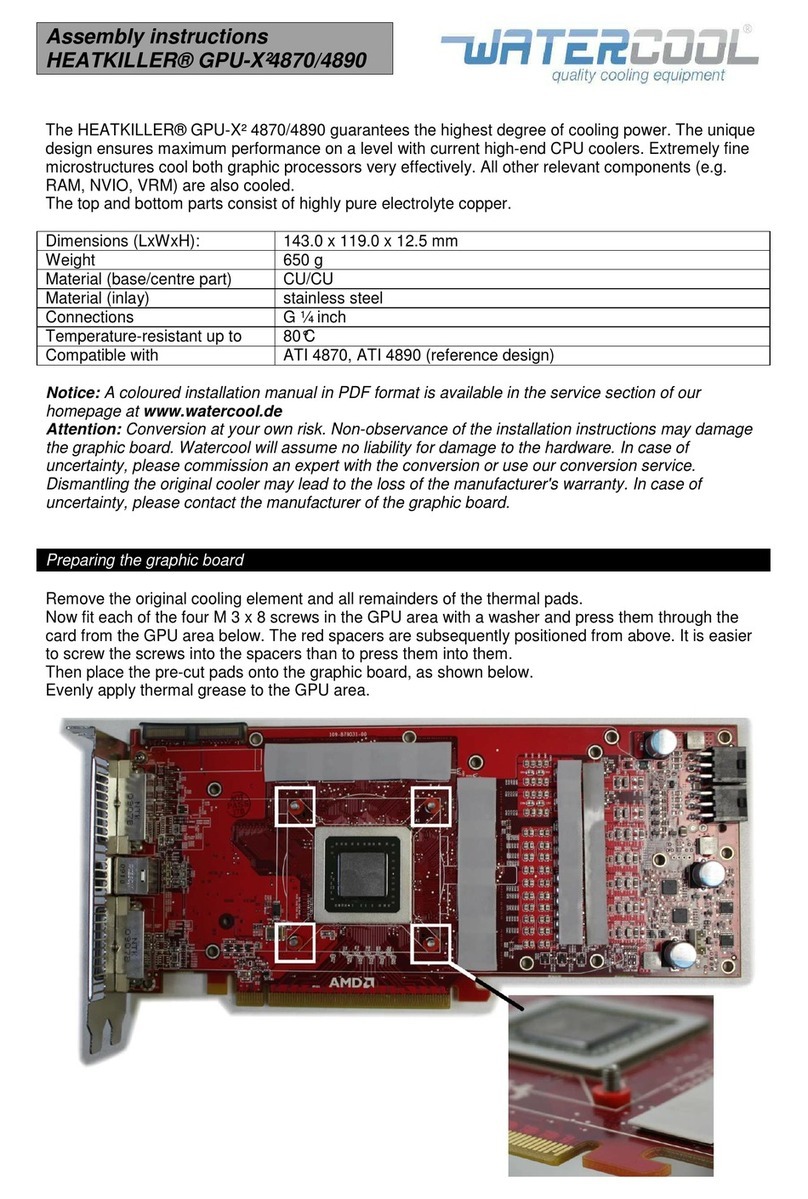
Watercool HEATKILLER GPU-X2 4870 User manual

Watercool

Watercool HEATKILLER GPU-X2 4870 User manual

Watercool HEATKILLER GPU-X3 GTX 670 User manual

Watercool

Watercool HEATKILLER GPU-X3 GTX 670 User manual

Watercool Heatkiller GPU-X2 Series User manual

Watercool

Watercool Heatkiller GPU-X2 Series User manual

Watercool HEATKILLER GPU-X3 Core Series User manual

Watercool

Watercool HEATKILLER GPU-X3 Core Series User manual

Watercool HEATKILLER GPU-X3 GTX 560 User manual

Watercool

Watercool HEATKILLER GPU-X3 GTX 560 User manual

Watercool HEATKILLER V VGA Series User manual

Watercool

Watercool HEATKILLER V VGA Series User manual

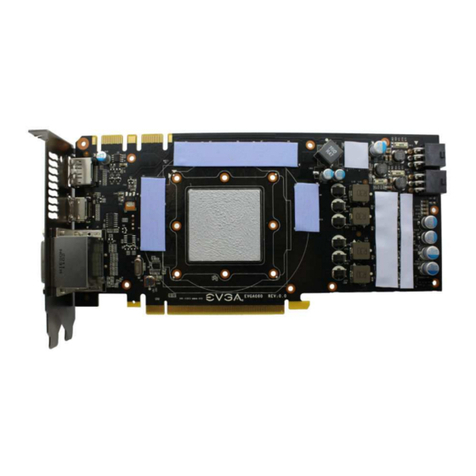
Watercool HEATKILLER MB-X ASUS RAMPAGE IVBlack Edition User manual
Watercool

Watercool HEATKILLER MB-X ASUS RAMPAGE IVBlack Edition User manual

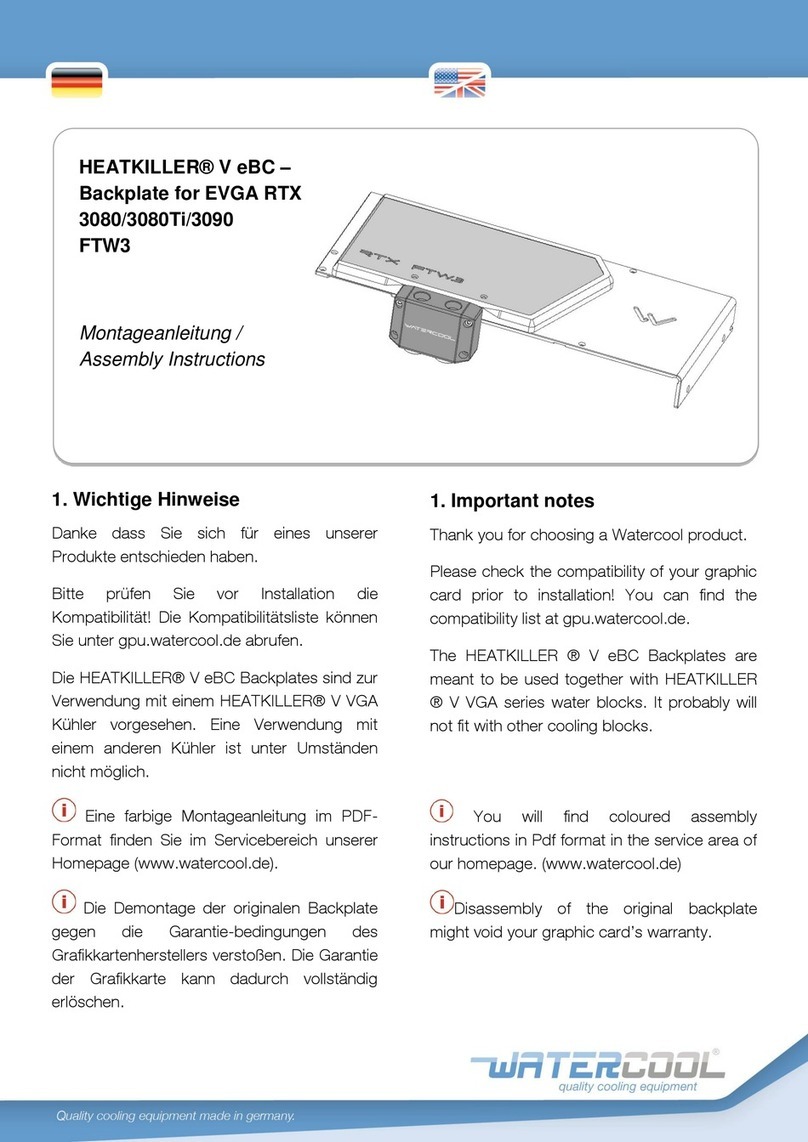
Watercool HEATKILLER V eBC User manual

Watercool

Watercool HEATKILLER V eBC User manual

Watercool HEATKILLER GPU-X3 5970 User manual

Watercool

Watercool HEATKILLER GPU-X3 5970 User manual

Watercool HEATKILLER IV VGA Series User manual

Watercool

Watercool HEATKILLER IV VGA Series User manual

Watercool HEATKILLER V VGA Series User manual
Watercool

Watercool HEATKILLER V VGA Series User manual

Watercool HEATKILLER IV VGA Series User manual

Watercool

Watercool HEATKILLER IV VGA Series User manual

Popular Computer Hardware manuals by other brands

AVR ATMEGA328 manual

AVR

AVR ATMEGA328 manual

Antec Mini P180 White user manual

Antec

Antec Mini P180 White user manual

Data Translation DT351 user manual

Data Translation

Data Translation DT351 user manual

Commell CMB-673 installation guide

Commell

Commell CMB-673 installation guide

ALSEYE Halo 3 Fan Set manual

ALSEYE

ALSEYE Halo 3 Fan Set manual

HYCON HY16F19X Series user manual

HYCON

HYCON HY16F19X Series user manual

H3C SecPath M9000 NSQM1ADEDFGA0 Manua

H3C

H3C SecPath M9000 NSQM1ADEDFGA0 Manua

EK-Quantum Momentum MSI Z590 Carbon D-RGB user guide

EK-Quantum

EK-Quantum Momentum MSI Z590 Carbon D-RGB user guide

Supero Supero SMT IPMI user guide

Supero

Supero Supero SMT IPMI user guide

EVOC ec3-1813cld2na manual

EVOC

EVOC ec3-1813cld2na manual

Analog Devices AD73360L manual

Analog Devices

Analog Devices AD73360L manual

Galil Motion Control CDS-3310 user manual

Galil Motion Control

Galil Motion Control CDS-3310 user manual

Quatech DSPXP-100 user manual

Quatech

Quatech DSPXP-100 user manual

National Instruments NAT7210 Reference manual

National Instruments

National Instruments NAT7210 Reference manual

Yamaha MY16-EX owner's manual

Yamaha

Yamaha MY16-EX owner's manual

AXIOMTEK CEM881 Quick installation guide

AXIOMTEK

AXIOMTEK CEM881 Quick installation guide

AMX AXU-CA10 Specifications

AMX

AMX AXU-CA10 Specifications

National Instruments PXI-8186 user manual

National Instruments

National Instruments PXI-8186 user manual

manuals.online logo
manuals.online logoBrands
  • About & Mission
  • Contact us
  • Privacy Policy
  • Terms and Conditions

Copyright 2025 Manuals.Online. All Rights Reserved.