manuals.online logo
Brands
  1. Home
  2. •
  3. Brands
  4. •
  5. Weather Guard
  6. •
  7. Automobile Accessories
  8. •
  9. Weather Guard 238 Instruction manual

Weather Guard 238 Instruction manual

ASSEMBLY AND INSTALLATION INSTRUCTIONS
Conduit Carrier 6" Extension - Model 238
BOLT KIT
Bolt Kit #32-0236 is provided with
your extension. Check this bolt kit
to be sure the following parts are
included:
Quan. Description
10 1/4-20 x 3/4" Hex Hd. Bolt
20 1/4" Flat Washer
10 1/4-20 Nylon Lock Nut
WARNING
This product is only intended for, and only safe for, transporting
tubing, pipe and conduit. It is the responsibility of the user to
secure these materials to the rack before transporting. Any mod-
ifications made to this product, or use of this product for any
other purpose than its intended use, could create a hazardous
condition that can cause serious personal injury or property
damage.
Part No. 24-2380 REV. B ECN 5315 05/13
TOOLS REQUIRED
•7/16" Open or Box End Wrench (2)
•Razor knife or scissors
PARTS LIST
•Conduit Carrier Extension
•Weatherstripping (bulk)
IMPORTANT
BEFORE YOU BEGIN
Read these instructions and
warnings completely before
installation.
1
If you have any questions, please give us a call.Call Toll Free 1-800-456-7865
WeatherGuard®productsareprotectedbyoneormoreofthefollowingpatentsortrademarks:
U.S.-842268,1661625,1663369;Canada-282725;U.K.-1400720;otherpatentspending.
KNAACKLLC
420 E. TERRA COTTA AVENUE - CRYSTAL LAKE, ILLINOIS, 60014 - 815-459-6020
©1991KnaackLLC
-NOTICE-
Any modification or unintended use of this product shall immediately void all manufacturers warranties.
Manufacturer disclaims all liability for injuries to persons or property resulting from any modification to, or
unintended use of this product.
INSTALLATIONINSTRUCTIONS
If installing this extension accessory on
a newly purchased Model 237 Conduit
Carrier, go directly to step A.
1. Loosen the front hold down strap on
your 237 Conduit Carrier where it fas-
tensontothecrossmember.
2. Support both front and rear conduit
carrier sections where they will part.
Removenutsandboltsholdingthetwo
halves and set them aside for reuse
later.
3. Cut sealing gaskets from Bulk
Weatherstrippingandattach to exten-
sion end. One carrier end should al-
ready have weatherstrip in place.
4. Insert extension between carrier
halvesandreinstallpreviouslyremoved
nutsandbolts.
5. Slide front half of carrier back to
meetfront of extensionand bolt to-
gether.
6. Refasten front carrier hold down
strap and your job is complete.
A. When adding this extension to your
conduit carrier during initial assembly,
insert between the front and rear
halves and fasten during Step 6 of the
Model237 instructionsheet.
Note - It is normal for the product to
get a dull gray color due to oxida-
tion.
1/4-20 x 3/4"
HexHd.Bolt
1/4"Flat
Washer
Extension
Weatherstrip
1/4-20
Nut
1/4"Flat
Washer
Part No. 24-2380 REV. B ECN 5315 05/13
2

Other Weather Guard Automobile Accessories manuals
Weather Guard ASRC001 User manual

Weather Guard

Weather Guard ASRC001 User manual
Weather Guard 234-3-01 User manual

Weather Guard

Weather Guard 234-3-01 User manual

Weather Guard 96111-3-02 User manual

Weather Guard

Weather Guard 96111-3-02 User manual

Weather Guard 1175 02 Series User manual

Weather Guard

Weather Guard 1175 02 Series User manual

Weather Guard 1345-52-02 User manual

Weather Guard

Weather Guard 1345-52-02 User manual

Weather Guard ITEMIZER 314 Instruction manual

Weather Guard

Weather Guard ITEMIZER 314 Instruction manual

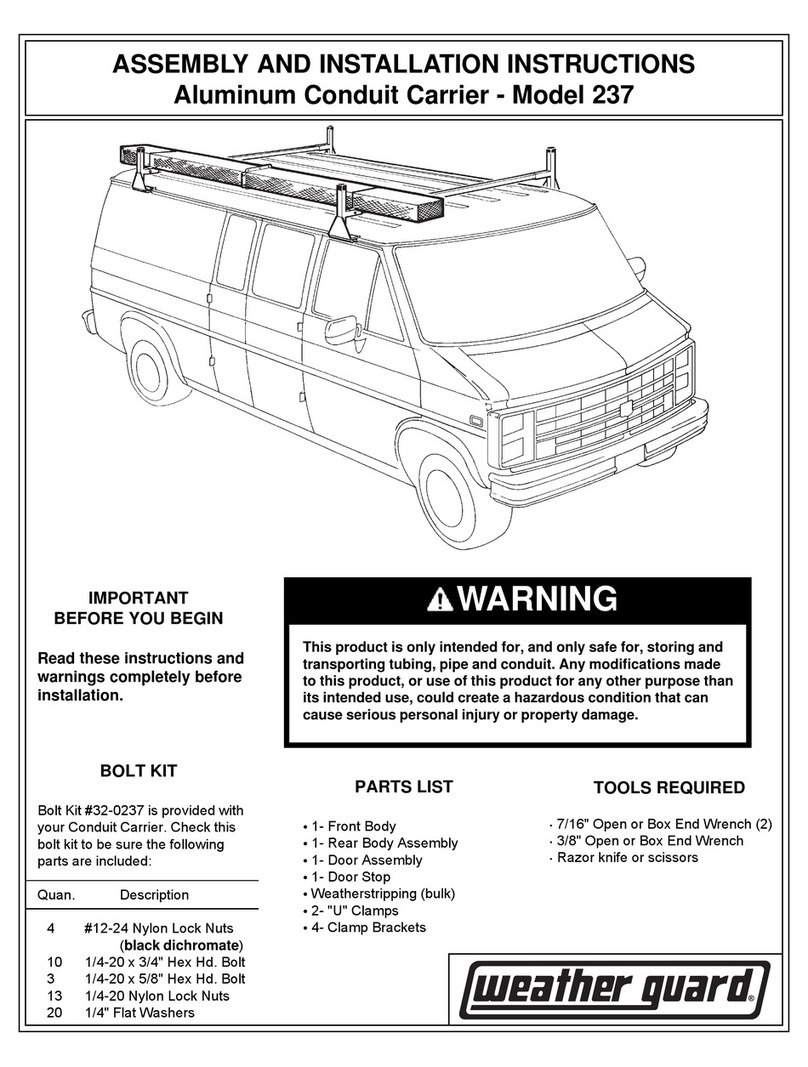
Weather Guard 237 Instruction manual

Weather Guard

Weather Guard 237 Instruction manual

Weather Guard PowerSync User manual

Weather Guard

Weather Guard PowerSync User manual

Weather Guard 9444-3-01 User manual

Weather Guard

Weather Guard 9444-3-01 User manual
Popular Automobile Accessories manuals by other brands

Magneti Marelli AC161 Installation instruction

Magneti Marelli

Magneti Marelli AC161 Installation instruction

FDI uEZ GUI Start here

FDI

FDI uEZ GUI Start here

JCROffroad JT Install instructions

JCROffroad

JCROffroad JT Install instructions

Rostra VOXXElectronics 250-1930 owner's guide

Rostra

Rostra VOXXElectronics 250-1930 owner's guide

TOP VEHICLE TECH GR3FORD5 installation manual

TOP VEHICLE TECH

TOP VEHICLE TECH GR3FORD5 installation manual

Safe Fleet PRIME DESIGN AR-2000-BLK manual

Safe Fleet

Safe Fleet PRIME DESIGN AR-2000-BLK manual

Skoda Fabia Combi 5J Fitting instructions

Skoda

Skoda Fabia Combi 5J Fitting instructions

Camcar 40077 Al Mounting instructions

Camcar

Camcar 40077 Al Mounting instructions

Camcar 40089 AL Mounting instructions

Camcar

Camcar 40089 AL Mounting instructions

Impac Tradesman 2000 installation manual

Impac

Impac Tradesman 2000 installation manual

DVB OFFROAD BRSB-01 installation manual

DVB

DVB OFFROAD BRSB-01 installation manual

Safari Snorkel SS385HF installation guide

Safari Snorkel

Safari Snorkel SS385HF installation guide

ULTIMATE SPEED 279746 Assembly and Safety Advice

ULTIMATE SPEED

ULTIMATE SPEED 279746 Assembly and Safety Advice

SSV Works DF-F65 manual

SSV Works

SSV Works DF-F65 manual

ULTIMATE SPEED CARBON Assembly and Safety Advice

ULTIMATE SPEED

ULTIMATE SPEED CARBON Assembly and Safety Advice

Witter F174 Fitting instructions

Witter

Witter F174 Fitting instructions

WeatherTech No-Drill installation instructions

WeatherTech

WeatherTech No-Drill installation instructions

TAUBENREUTHER 1-336050 Installation instruction

TAUBENREUTHER

TAUBENREUTHER 1-336050 Installation instruction

manuals.online logo
manuals.online logoBrands
  • About & Mission
  • Contact us
  • Privacy Policy
  • Terms and Conditions

Copyright 2025 Manuals.Online. All Rights Reserved.