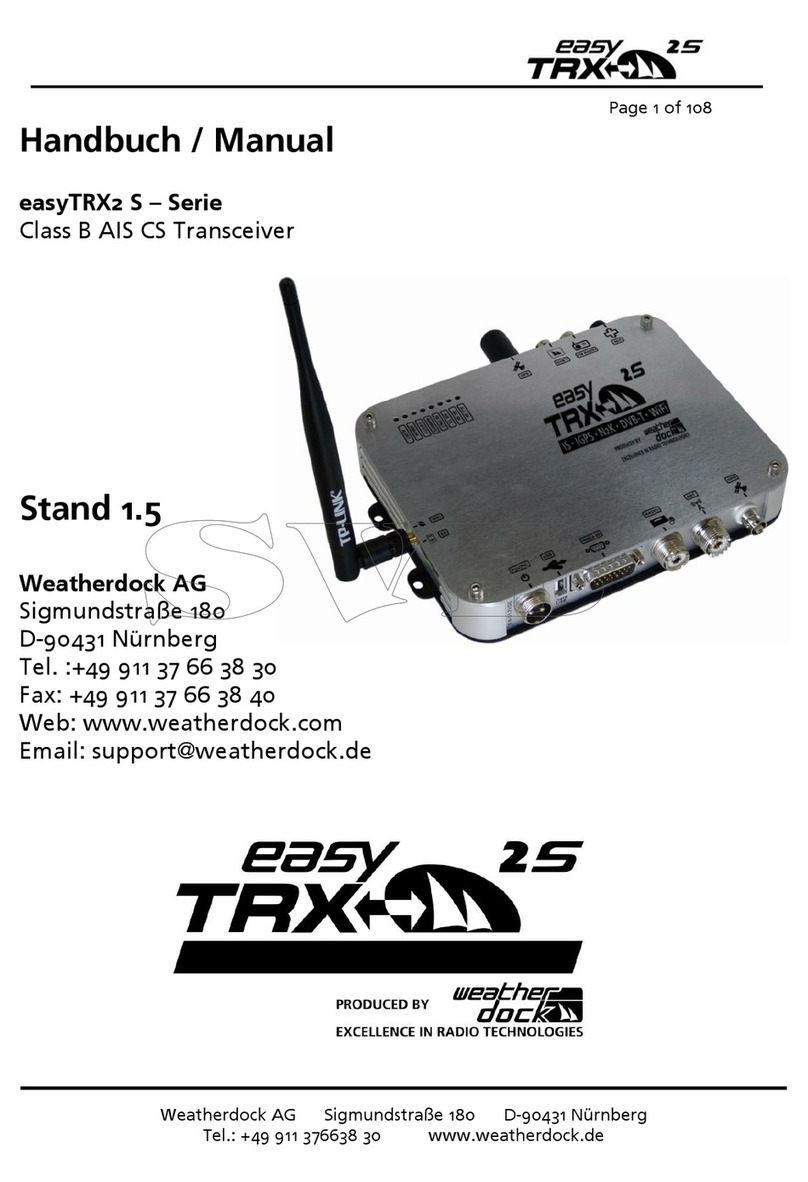
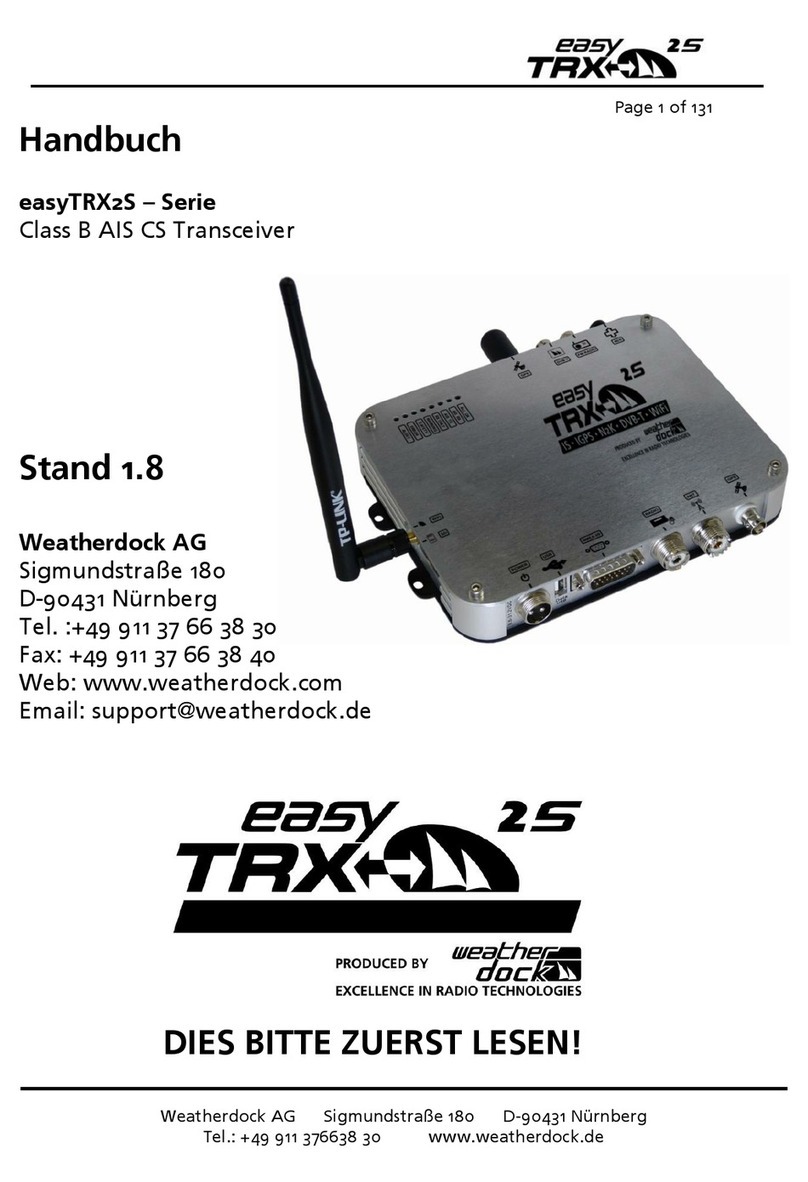
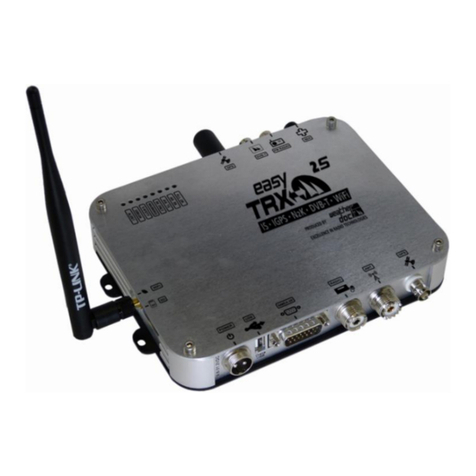
Weatherdock EasyTRX 3 User manual

Weatherdock AG Seite 1
www.easyAIS.com
AIS Class B SOTDMA
User Guide
V1
Englisch

Weatherdock AG Seite 2
www.easyAIS.com
1References
1.1 General Warning
All marine automatic identification system (AIS) units utilize a satellite based system such as the
global positioning satellite (GPS) network or the global navigation satellite system (GLONASS)
network to determine position. The accuracy of these networks is variable and is affected by
factors such as the antenna positioning, how many satellites are used to determine a position
and how long satellite information has been received for. Therefore it is desirable wherever
possible to verify both your vessels AIS derived position data and other vessels AIS derived
position data with visual or radar based observations.
The easyTRX3 software is intended for use as an installation and configuration tool. The
application is not a navigation tool and should not be used as such.
1.2 Licensing (MMSI) for AIS Class B
Important: in most countries the operation of an AIS unit is included under the vessels marine
VHF license provisions. The vessel on to which the AIS Class B unit is installed must therefore
possess a current VHF radiotelephone license for the AIS Class B unit which lists the AIS system
and the vessel call sign and MMSI number. Please contact the relevant authority in your country
for more information. In accordance with our policy of continual development and product
improvement the easyTRX3 hardware and software may be upgraded from time to time and
future versions of the easyTRX3 may therefore not correspond exactly with this manual. When
necessary, upgrades to the product will be accompanied by updates or addenda to this manual.
Please take time to read this manual carefully and to understand its contents fully so that you
can install and operate your AIS system correctly.
Information contained in this manual is liable to change without notice. Weatherdock AG
disclaims any liability for consequences arising from omissions or inaccuracies in this manual and
any other documentation provided with this product.
1.3 Warnings and Precautions
It is the sole responsibility of the owner/operator of the ship to command the vessel safely and to
be in full control of all operating conditions during the entire travel time. By mistaken conduct
of the operator of a ship equipped with a device from the easyTRX3 product line if the operator
does pay undivided attention to operation and surrounding condition damage or personal injury
may be caused in the event of an accident.
1.4 Application Federal Network Agency
The official application form for the usage of an AIS Class B Transceiver in Germany can be
downloaded at the German Federal Network Agency’s homepage. Please follow this link:
https://www.bundesnetzagentur.de/SharedDocs/Downloads/DE/Sachgebiete/Telekommunikation/
Unternehmen_Institutionen/Nummerierung/TechnischeNummern/SeeBinnenschifffahrtsfunk/Antr
agNummernzuteilungSportschifffahrt.pdf

Weatherdock AG Seite 3
www.easyAIS.com
1.5 Approval Number BSH
BSH/4542/001/4323246/18
1.6 Revision Level
Stand 1.0, Author: MK, 02/2019
1.7 Restrictions
There are no known restrictions for the usage of the easyTRX3 in EU countries.
2Index of Abbreviations
Abbreviations
CPA
Closest point of approach
LAN
Local area network
NMEA
National Marine Electronics Association
SSID
Service set identifier device
VHF
Very High Frequency
VSWR
voltage standing wave ratio
WiFi
wireless fidelity -connect to a network by
radio
GNSS
global navigation satellite system
MSSI
Maritime mobile service identity
HDOP
horizontal dilution of precision

Weatherdock AG Seite 4
www.easyAIS.com
3Pictures/Sketches Overview
Figure: 1 Box content ............................................................................................................7
Figure: 2 Connectors ............................................................................................................ 9
Figure: 3 Connection possibilites and cable colours...........................................................10
Figure: 4 CPA Alert...............................................................................................................11
Figure: 5 Anchor Alert connection sketch.......................................................................... 12
Figure: 6 RX only................................................................................................................. 12
Figure: 7 External signal generator connection sketch...................................................... 13
Figure: 8 Base connection by USB for programming......................................................... 14
Figure: 9 Feature functionality while connected by USB for programming ..................... 14
Figure: 10 directory information of internal storage of the easyTRX3.............................. 15
Figure: 11 start screen.......................................................................................................... 16
Figure: 12 Connection screen programming software....................................................... 17
Figure: 13 data flow screen connection software .............................................................. 17
Figure: 14 Basic setup screen programming software........................................................18
Figure: 15 Basic setup screen programming software2...................................................... 19
Figure: 16 Advance setting screen programming software...............................................20
Figure: 17 Advance setting screen programming software 2............................................. 21
Figure: 18 Distance Filter screen programming software ..................................................23
Figure: 19 Save screen progamming software ...................................................................24
Figure: 20 AIS transmitter settings programming software..............................................25
Figure: 21 AIS transmitter settings programming software 2............................................25
Figure: 22 Long-range settings programming tool............................................................26
Figure: 23 "Older" plotter settings programming tool .....................................................26
Figure: 24 CPA settings programming tool ........................................................................27
Figure: 25 CPA settings programming tool 2 .....................................................................28
Figure: 26 Anchor Alert settings programming tool .........................................................29
Figure: 27 Anchor Alert settings programming tool 2.......................................................30
Figure: 28 Memory setting programming tool .................................................................. 31
Figure: 29 directory information of internal storage of the easyTRX3 for “Log_Data”...32
Figure: 30 Memory setting programming tool 2 ...............................................................33
Figure: 31 easyTRX3 external Mass Storage Device no longer mounted...........................33
Figure: 32 Formatting of internal memory programming tool .........................................34
Figure: 33 Diagnostic screen programming tool ................................................................35
Figure: 34 Diagnostic screen programming tool................................................................36
Figure: 35 GPS Status screen programming tool................................................................39
Figure: 36 Sent data screen programming tool ................................................................ 40
Figure: 37 Received data screen programming tool .......................................................... 41
Figure: 38 Factory reset screen programming tool............................................................42
Figure: 39 Pin-code page programming tool.....................................................................43
Figure: 40 Firmware update screen programming tool.................................................... 44
Figure: 41 WiFi connection screen programming tool.......................................................45
Figure: 42 WiFi connection screen programming tool 2................................................... 46

Weatherdock AG Seite 5
www.easyAIS.com
Table of Content
1References .............................................................................................................2
1.1 General Warning...................................................................................................2
1.2 Licensing (MMSI) for AIS Class B ...........................................................................2
1.3 Warnings and Precautions....................................................................................2
1.4 Application Federal Network Agency ..................................................................2
1.5 Approval Number BSH ..........................................................................................3
1.6 Revision Level........................................................................................................3
1.7 Restrictions ............................................................................................................3
2Index of Abbreviations .........................................................................................3
3Pictures/Sketches Overview.................................................................................. 4
4Scope of Delivery - what is in the box? ................................................................7
5Brief description of the product “easyTRX3”...................................................... 8
6Unique selling standard features of the AIS Class B easyTRX3........................... 8
7Connectors ........................................................................................................... 9
7.1 Standard............................................................................................................... 9
7.2 Options................................................................................................................. 9
7.3 External Switches ................................................................................................ 10
CPA Alert.........................................................................................................11
Anchor Alert ...................................................................................................11
RX only ........................................................................................................... 12
External signal generator .............................................................................. 13
8Preparations ........................................................................................................ 14
8.1 Via USB Connection to PC/MAC/Laptop ............................................................. 15
Connection..................................................................................................... 16
Basic Setup .....................................................................................................18
Advanced Settings .........................................................................................20
8.1.3.1 Interfaces........................................................................................................ 21
8.1.3.2 Baud rates of NMEA0183 Ports...................................................................... 21
Distance Filter ................................................................................................22
AIS-Transmitter ..............................................................................................24
Long-range AIS / Satellite AIS........................................................................26
Alarm on Plotter ............................................................................................26
CPA Alert........................................................................................................27
Anchor Alert ..................................................................................................28
Internal Memory............................................................................................30

Weatherdock AG Seite 6
www.easyAIS.com
Diagnostics .....................................................................................................35
8.1.11.1 Status..............................................................................................................36
GNSS ...............................................................................................................38
8.1.12.1 Data................................................................................................................39
8.2 WiFi Connection to a Laptop..............................................................................45
8.3 WiFi Connection and App via mobile terminal device...................................... 46
Functionality via App.....................................................................................52
8.3.1.1 Transmitter.....................................................................................................52
8.3.1.2 Long-Range AIS/Satellite AIS .........................................................................52
8.3.1.3 Data Routing/Data Configuration.................................................................53
8.3.1.4 Target Filtering ..............................................................................................56
8.3.1.5 Flash Memory.................................................................................................57
8.3.1.6 Diagnostics .................................................................................................... 58
8.3.1.7 Anchor Alarm.................................................................................................63
8.3.1.8 CPA Alarm......................................................................................................65
8.3.1.9 Sent Data........................................................................................................67
9Modular Built-up................................................................................................ 69
9.1 IS - integrated VHF antenna splitter.................................................................. 69
9.2 IGPS –integrated GPS antenna.......................................................................... 69
9.3 N2K –integrated NMEA2000 module ............................................................... 69
9.4 WiFi - integrated WiFi module (optional) ..........................................................70
9.5 DVBT - integrated frequency splitter for TV signal and FM radio (optional) ...70
10 Installation of the easyTRX3 aboard...................................................................70
11 Technical Data..................................................................................................... 71
12 Circuit diagram proposal ....................................................................................73
13 Troubleshooting..................................................................................................74
14 Error Codes/Warning Codes................................................................................75
15 Maintenance .......................................................................................................76
16 Contact and support information ......................................................................76
17 License agreement ..............................................................................................76
18 Warranty .............................................................................................................77
19 Warning............................................................................................................... 77
20 Notices.................................................................................................................78

Weatherdock AG Seite 7
www.easyAIS.com
4Scope of Delivery - what is in the box?
AIS Class B easyTRX3
Connection Cable 18-pins / Power (ca. 200 cm)
Connection Cable easyTRX3 to VHF Radio (ca. 100 cm)
USB Cable (ca. 180 cm)
Quick Instruction
User Guide (internal storage)
Programming Software for Windows® PC und Apple® Mac
(internal Storage)
WiFi - Antenna (depending on product variant)
DVB-T2 Cable pack (depending on product variant)
Figure: 1 Box content

Weatherdock AG Seite 8
www.easyAIS.com
5Brief description of the product “easyTRX3”
The easyTRX3 is an approved AIS Class B SOTDMA transceiver, designed and manufactured
by Weatherdock AG in Germany
The unit easyTRX3 does have a lot of advantages against the existing competition products,
which are available in the market, which are the integrated splitter to use the existing VHF
antenna and the integrated GPS. Moreover, there are a lot of additional modules which can
be simply added to the unit.
(See details under: chapter 9 –Modular Built-up)
6Unique selling standard features of the AIS Class B
easyTRX3
The “USP´s” which are added in addition to the normal Class B AIS transponder features:
Integrated GPS antenna and GPS processor (No need for external GPS Antenna!)
Integrated VHF radio splitter. Just connect the easyTRX3 to the existing VHF antenna
from the VHF radio.
Additional USB-Port
NMEA 0183
NMEA 2000
4800, 38400 or 115200 baud rates select with software
Operating display with 8 LEDs
CPA-Alarm even without plotter connected
Anchor-Alarm even without plotter connected
Enlarged voltage input 10-32V DC
Internal storge for Blackbox employment
Multiplexer integrated
AIS-S.A.R.T. Alarm trigger, even without plotter connected
72 channel GNSS for GPS, Glonass, (number of concurrent GNDSS: 2)

Weatherdock AG Seite 9
www.easyAIS.com
7Connectors
7.1 Standard
Integrated VHF antenna splitter with connection plug for VHF antenna (SO239) and adapter
cable to VHF radio (TNC)
External GPS antenna (BNC)
USB Port (Mini-B)
NMEA2000 Output port (MicroC)
Three equal NMEA0183 ports for IN/OUT
7.2 Options
Depending on the product variant there are additional plugs for:
WiFi (SMA if option is added for then enclosed antenna)
DVB-T2 (BNC) and FM-Radio (BNC)
LAN (RJ45)
Figure: 2 Connectors

Weatherdock AG Seite 10
www.easyAIS.com
7.3 External Switches
Figure: 3 Connection possibilites and cable colours

Weatherdock AG Seite 11
www.easyAIS.com
CPA Alert
To keep the daily usage of this functionality as easy as possible, you can connect an external
switch and an external signal generator (e.g. a horn, see chapter 7.3.4).
External Switch
Out of the 18-pin cable harness please connect cables
“16 / Orange_White / Switch+ (CPA)” and
“17 / Black_White / Switch-“
with the corresponding pole of your switch. According to your software settings you are able to
activate or deactivate this CPA functionality.
Figure: 4 CPA Alert connection sketch
Anchor Alert
To keep the daily usage of this functionality as easy as possible, you can connect an external
switch and an external signal generator (e.g. a horn, see chapter 7.3.4).
External Switch
Out of the 18-pin cable harness please connect cables
“14 / Blue_White / Switch+ (Anchor)” and
“17 / Black_White / Switch-“
with the corresponding pole of your switch. According to your software settings you are able to
activate or deactivate this Anchor alert functionality.

Weatherdock AG Seite 12
www.easyAIS.com
Figure: 5 Anchor Alert connection sketch
RX only
External Switch
Out of the 18-pin cable harness please connect cables
“13 / Brown_White / Switch+ (RXonly)” and
“17 / Black_White / Switch-“
with the corresponding pole of your switch. According to your software settings you are able to
activate or deactivate this functionality.
Figure: 6 RX only

Weatherdock AG Seite 13
www.easyAIS.com
External signal generator
Out of the 18-pin cable harness please connect cable “18 / Red_White / Alert OUT-“ with the
corresponding pole of the signal generator. Due to the already given power supply of the
easyTRX3 via cable “2 / Black / Ground-“ and “1 / Red / 12V DC / 24V DC +” you just have to
connect the signal generator “+” pole to the power supply to close the circuit.
Figure: 7 External signal generator connection sketch

Weatherdock AG Seite 14
www.easyAIS.com
8Preparations
Configuration and Programming of the easyTRX3 can be done at home easily. You just have to
connect the USB cable, which is contained in the box, to your computer. There is no need for an
external power supply of the easyTRX3 for the programming of the unit. Power is given via USB.
Please note the following hint:
The easyTRX3 is not able to receive or transmit AIS data during USB
connection. GPS and WiFi will also do not work.
Figure: 8 Base connection by USB for programming
Functionality
5v DC USB
12/24V DC
5v DC
12/24V DC
Access to PDF User Guide
Access to programming software
Read-out of the stored AIS data
AIS Transmitting
AIS Receiving
N2K Functionality
GPS
WiFi
Figure: 9 Feature functionality while connected by USB for programming

Weatherdock AG Seite 15
www.easyAIS.com
Access to the internal storage of the easyTRX3 is only possible via USB cable connection.
Important:
As soon as you want to use the WiFi functionality of your easyTRX3, you definitely need 12V DC
or 24V DC power supply. It is not possible to run WiFi with only USB connection.
Programming-Software for easyTRX3
With the basic settings you are able to create the fundamental assumption to use the easyTRX3
within the AIS technology.
There are different ways how to program:
8.1 Via USB Connection to PC/MAC/Laptop
To program your specific vessel data, please connect the USB cable with your computer.
Windows Explorer or iOS Finder will automatically rout the easyTRX3 as an external mass storage
device (MSD).
In the folder which fits most to your computer system you will find the “.exe” file of the
programming tool software.
Figure: 10 directory information of internal storage of the easyTRX3
Please copy this file on your computer and install the software locally. After starting the
software you will see the start screen.

Weatherdock AG Seite 16
www.easyAIS.com
Figure: 11 start screen programming software
Click on “Connection”, to select and to establish the connection with the easyTRX3.
Connection
The connection via USB cable is pre-selected by default.
Select the COM-Port where the USB cable is plugged. Maybe you have to press the “re-fresh”
button if the right port is not in the drop-down-list.
Once you have chosen the right COM-port, please press “connect”. Now the connection is
established. In the lower window you can see incoming data rows.

Weatherdock AG Seite 17
www.easyAIS.com
Figure: 12 Connection screen programming software
Figure: 13 data flow screen connection software
The software automatically switches over to “Basic Setup”.

Weatherdock AG Seite 18
www.easyAIS.com
Basic Setup
Here you can enter your static vessel data for transmission into the AIS system.
As an example, here “WD MK”, is used as ship name and call sign as well as a random MMSI
number.
Figure: 14 Basic setup screen programming software
Ship name
Call Sign
MMSI (if you already having a MMSI for VHF radio, this MMSI is now used for the entire
ship
Attention:
otransmission is only possible with entered MMSI number
oonly one MMSI can be used (no way of entering a second, different MMSI)
As confirmation you have to enter your MMSI number a second time
Select your type of vessel from the drop-down-list
define the position of your GPS source aboard by entering data into the cells A/B/C/D
After you are finished please press „Save Settings”
As a confirmation a new window is popping-up which you can close by pressing „OK”.

Weatherdock AG Seite 19
www.easyAIS.com
Figure: 15 Basic setup screen programming software2
With these few settings your AIS Class B unit easyTRX3 is now ready for receiving and
transmitting AIS data.
As default you can connect your chart plotter via NMEA0183 connection with 38400 baud data
rate at NMEA1 OUT or NMEA2 OUT.
In case that you additional want to connect a VHF radio, please take NMEA3 OUT which is pre-
set on 4800 baud data rate as default.
If you want to integrate the easyTRX3 into your NMEA2000 board net, let’s go. AIS and GPS data
are forwarded via N2K OUT.
In the event that these basic settings are 100% fitting your situation, please press “Connections”
for disconnection and shut down the program afterwards.
In chapter 10 you will find information about “Installation”.
If you have to change the default-settings to fit your situation, please press “Advanced”.

Weatherdock AG Seite 20
www.easyAIS.com
Advanced Settings
Within this part of the programming software you will get a view into the possible deeper
settings for special customization of the easyTRX3 unit.
After pressing “Advanced” you first see the following screen with sub-chapters for advanced
settings
Interfaces
AIS-Transmitter
CPA
Anchor
Flash-Memory
As followed you see the default settings for „interfaces”.
Figure: 16 Advance setting screen programming software
Table of contents
Other Weatherdock Transceiver manuals