manuals.online logo
Brands
  1. Home
  2. •
  3. Brands
  4. •
  5. Weber mt
  6. •
  7. Construction Equipment
  8. •
  9. Weber mt CR 3 Operating and installation instructions

Weber mt CR 3 Operating and installation instructions

1
SERVICE INFORMATION
Repair manual, exciter CR 3 from 2008
Last update September 2016
2
SERVICE INFORMATION
Repair manual, exciter CR 3 from 2008
Introduction
Carefully read the repair manual all the way through before starting work. Carefully follow all
instructions and always execute the described activities in the specied sequence.
The safety requirements prescribed for repair tasks must be complied with to prevent personal
injury and / or material damage.
Do not make any unauthorized changes or conversions to the soil compactor. Any liability is
excluded for damage due to changes or conversions to the soil compactor. To ensure safe and
reliable operation, only use original Weber spare parts.
The pictograms that are explained in more detail below provide you with important information.
Consequently strictly comply with these instructions in the repair manual.
Warning against irritants or materials hazardous to health
Warning against a hazardous place
Warning against a suspended load
Wear ear protection
General regulation
Environmental protection
Hard hat
Safety shoes
Protective gloves
3
SERVICE INFORMATION
Repair manual, exciter CR 3 from 2008
Unscrew the fastening screws of the exciter
housing cover.
Remove the O-ring.
Loosen the vent screw on the cylinder cover.
Remove the fastening screws of the cylinder cover.
Do not reuse the O-ring.
Do not reuse parts!
Do not reuse screws and Nordlock lock rings!
Dismantling
4
SERVICE INFORMATION
Repair manual, exciter CR 3 from 2008
Screw the hex screw M8 x 40mm into the
cylinder cover.
Force off the cylinder cover and expose the
operating piston.
Unscrew the fastening screws of the cover.
Remove the paper seal.
Paper seal must be replaced!
5
SERVICE INFORMATION
Repair manual, exciter CR 3 from 2008
Screw hex screws M8 x 40 mm into the cover.
Remove the fastening screw of the V-belt pulley.
The fastening screw has a though-bore (used to vent
the exciter).
Paper seal must be replaced!
Force off the cover and remove the paper seal.
6
SERVICE INFORMATION
Repair manual, exciter CR 3 from 2008
Screw hex screws M8 x 40 into the V-belt pulley
and force off the V-belt pulley.
Unscrew the fastening screws of the cover.
Screw hex screws M8 x 40 mm into the cover.
Force off the cover and remove the paper seal.
Paper seal must be replaced!
7
SERVICE INFORMATION
Repair manual, exciter CR 3 from 2008
Unscrew the fastening screws of the cover.
Screw hex screws M8 x 40 mm into the cover.
Force off the cover and remove the paper seal.
Paper seal must be replaced!
Loosen the lock ring on the adjusting eccentric shaft
and take it out.
8
SERVICE INFORMATION
Repair manual, exciter CR 3 from 2008
Take the washer and spring out of the adjusting
eccentric shaft.
Unscrew the headless set screw for the fastening
of the straight pin.
The washer could be pushed out by the spring
after loosening the lock ring.
The set screw is bonded in.
Loosen the straight pin with one punch and
remove it.
It is easiest to take the straight pin out of the
exciter housing after the shafts have been
removed.
Pull the adjusting bolt out of the adjusting
eccentric shaft.
9
SERVICE INFORMATION
Repair manual, exciter CR 3 from 2008
Remove the lock ring.
Remove the lock ring of the piston.
Carefully knock the piston down from the adjusting
bolt with a soft face hammer.
Knock the adjusting bolt out of the bearings with
a single punch.
10
1
2
3 4
6
5
7
8
SERVICE INFORMATION
Repair manual, exciter CR 3 from 2008
1 Straight pin
2 Adjusting bolt
3 Deep-groove ball bearing
4 + 5 Lock rings
6 + 7 Piston and piston seal
8 Lock screw
Place the mounting sleeve on the adjusting
eccentric shaft to knock the opposite bearing
out of the exciter housing.
Cylindrical roller bearing falls onto the oor plate
when knocked out.
Take the adjusting eccentric shaft out of the
exciter housing.
11
SERVICE INFORMATION
Repair manual, exciter CR 3 from 2008
Place the mounting sleeve on the xed
eccentric shaft to knock the opposite bearing
out of the exciter housing.
Cylindrical roller bearing falls onto the oor plate
when knocked out.
Take the xed eccentric shaft out of the exciter
housing.
Place the mounting sleeve on the cylindrical roller
bearing and knock it out of the exciter housing with
the soft face hammer.
12
SERVICE INFORMATION
Repair manual, exciter CR 3 from 2008
Place the xed eccentric shaft in a vice and remove
the bearing ring with a bearing puller.
Remove the second bearing ring of the xed
eccentric shaft with the bearing puller.
Remove the bearing ring of the adjusting eccentric
shaft with bearing puller.
Remove the lock ring.
13
SERVICE INFORMATION
Repair manual, exciter CR 3 from 2008
Use a soft face hammer to knock the adjusting
eccentric shaft out of the adjusting bush.
Remove the lock ring.
Knock the ball bearing out of the adjusting bush
with a single punch.
Adjusting bush with dismounted ball bearing.
14
SERVICE INFORMATION
Repair manual, exciter CR 3 from 2008
Assembly
Insert the ball bearing in the adjusting bush and use
the mounting sleeve and soft face hammer to knock
it into the adjusting bush.
Mount the lock ring of the ball bearing.
Mount the bearing ring on the adjusting
eccentric shaft with the mounting sleeve
and soft face hammer.
Use the soft face hammer to drive the adjusting
eccentric shaft into the adjusting bush.
15
SERVICE INFORMATION
Repair manual, exciter CR 3 from 2008
Mount the lock ring of adjusting eccentric shaft.
Mount the adjusting eccentric shaft to the stop.
Mount the inner bearing ring.
Mount the bearing ring on the xed eccentric shaft
with the mounting sleeve and soft face hammer.
Mount the xed eccentric shaft with the mounting
sleeve to the stop.
16
SERVICE INFORMATION
Repair manual, exciter CR 3 from 2008
Knock the cylindrical roller bearing into the exciter
housing with the mounting sleeve.
Insert the xed eccentric shaft.
When mounting the xed eccentric shaft ensure
that the orientation is correct. The xed eccentric
shaft is always mounted on the side of the plate
that has the fastening hole for the running gear
safeguard.
On the other side, use the mounting sleeve to
knock the second cylindrical roller bearing of the
xed eccentric shaft into the exciter housing.
Mount the cover with a new paper seal. Also remove
the shaft seal ring from the cover and replace it with
a new one.
Paper seal 020013269
Shaft seal ring 025017047
17
SERVICE INFORMATION
Repair manual, exciter CR 3 from 2008
Place the V-belt pulley on the xed eccentric shaft.
The fastening screw must have a through-bore.
It is used to vent the exciter.
Fasten the V-belt pulley with the vent screw.
Use the mounting sleeve to knock the cylindrical
roller bearing of the adjusting eccentric shaft into
the exciter housing.
18
SERVICE INFORMATION
Repair manual, exciter CR 3 from 2008
Insert the adjusting eccentric shaft.
On the other side, use the mounting sleeve to knock
the second cylindrical roller bearing of the adjusting
eccentric shaft into the exciter housing.
When inserting the adjusting eccentric shaft
ensure that the gears are mounted in such
a manner that the markings are aligned.
Mount the bearing of the adjusting bolt with a soft
face hammer.
19
SERVICE INFORMATION
Repair manual, exciter CR 3 from 2008
Secure the bearing with the lock ring.
Mount the piston seal of the piston.
The open side of the piston seal must, as shown,
point up during assembly.
Knock the adjusting bolt into the piston with a soft
face hammer.
Mount the lock ring of the piston.
20
SERVICE INFORMATION
Repair manual, exciter CR 3 from 2008
Introduce the adjusting bolt into the adjusting
eccentric shaft.
Insert the straight pin into the adjusting bush.
When mounting the straight pin ensure that the
milled surface points away from the gear.
Knock the straight pin into the adjusting bush so that
it is ush.
Apply Loctite 270 to the headless set screw to secure
straight pin before assembling.

Other manuals for CR 3

1

Other Weber mt Construction Equipment manuals
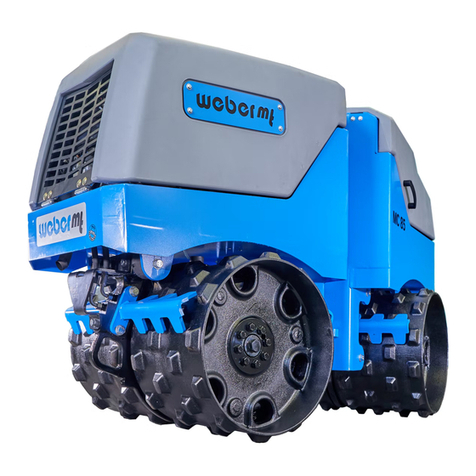
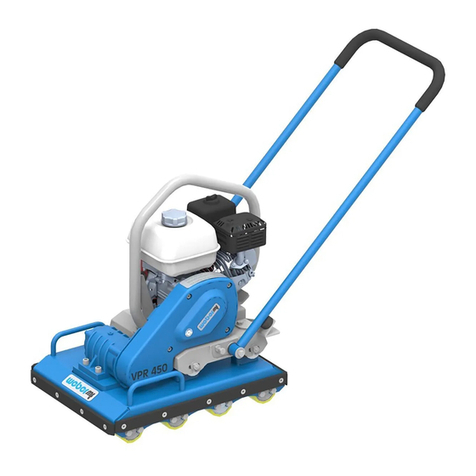
Weber mt VPR 450 Operating instructions

Weber mt

Weber mt VPR 450 Operating instructions

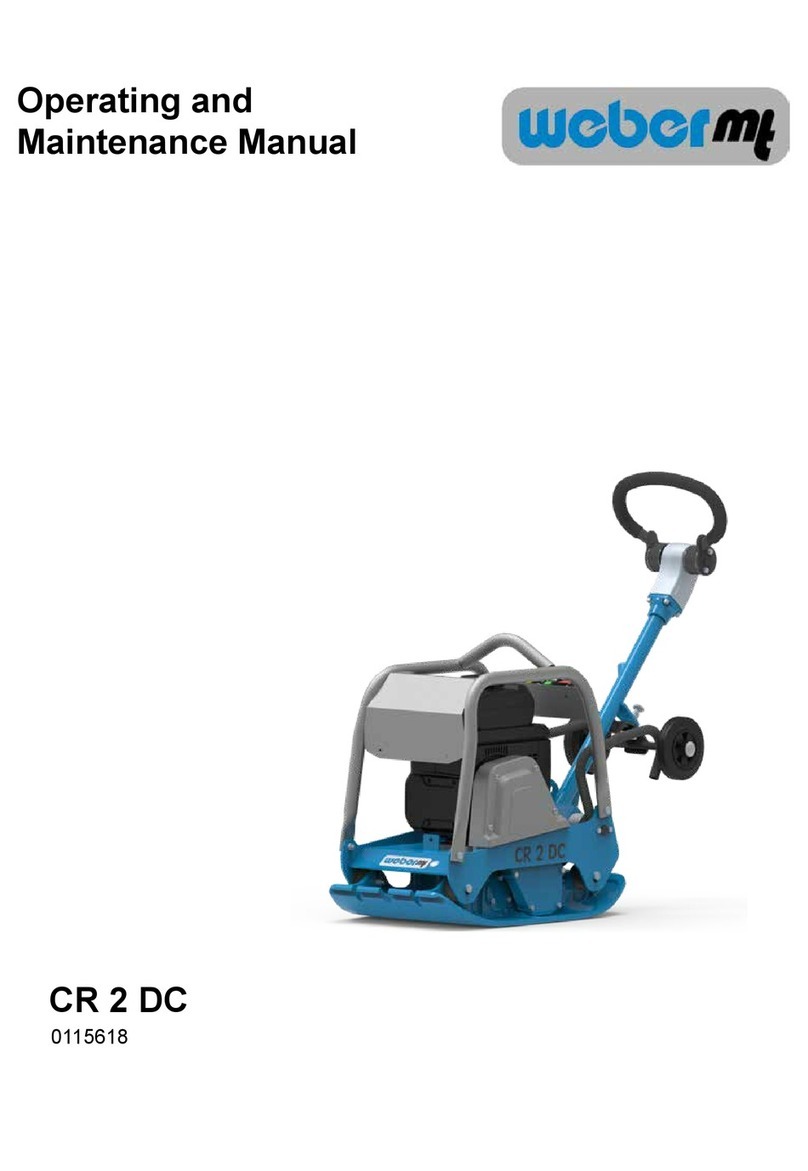
Weber mt CR 2 DC Operating instructions

Weber mt

Weber mt CR 2 DC Operating instructions

Weber mt CR 8 MDM Operating instructions

Weber mt

Weber mt CR 8 MDM Operating instructions

Weber mt CR 5 Operating instructions

Weber mt

Weber mt CR 5 Operating instructions

Weber mt DVH 550 L - 2 Operating instructions

Weber mt

Weber mt DVH 550 L - 2 Operating instructions

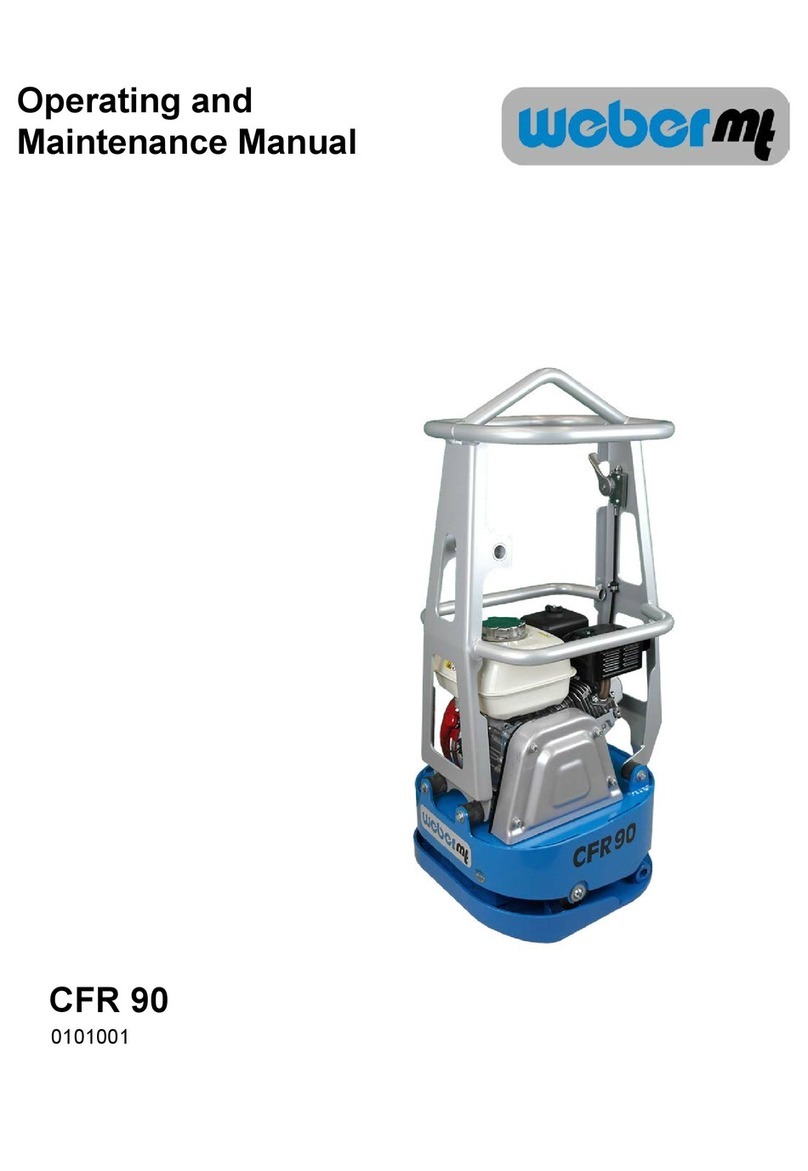
Weber mt CFR 90 Operating instructions

Weber mt

Weber mt CFR 90 Operating instructions

Weber mt IVURplus 40 D Operating instructions

Weber mt

Weber mt IVURplus 40 D Operating instructions

Weber mt CFR 90 DC Operating instructions

Weber mt

Weber mt CFR 90 DC Operating instructions

Weber mt MC 85 Operating instructions

Weber mt

Weber mt MC 85 Operating instructions
Weber mt CF 1 Setup guide

Weber mt

Weber mt CF 1 Setup guide

Weber mt CF 3 R Operating instructions

Weber mt

Weber mt CF 3 R Operating instructions

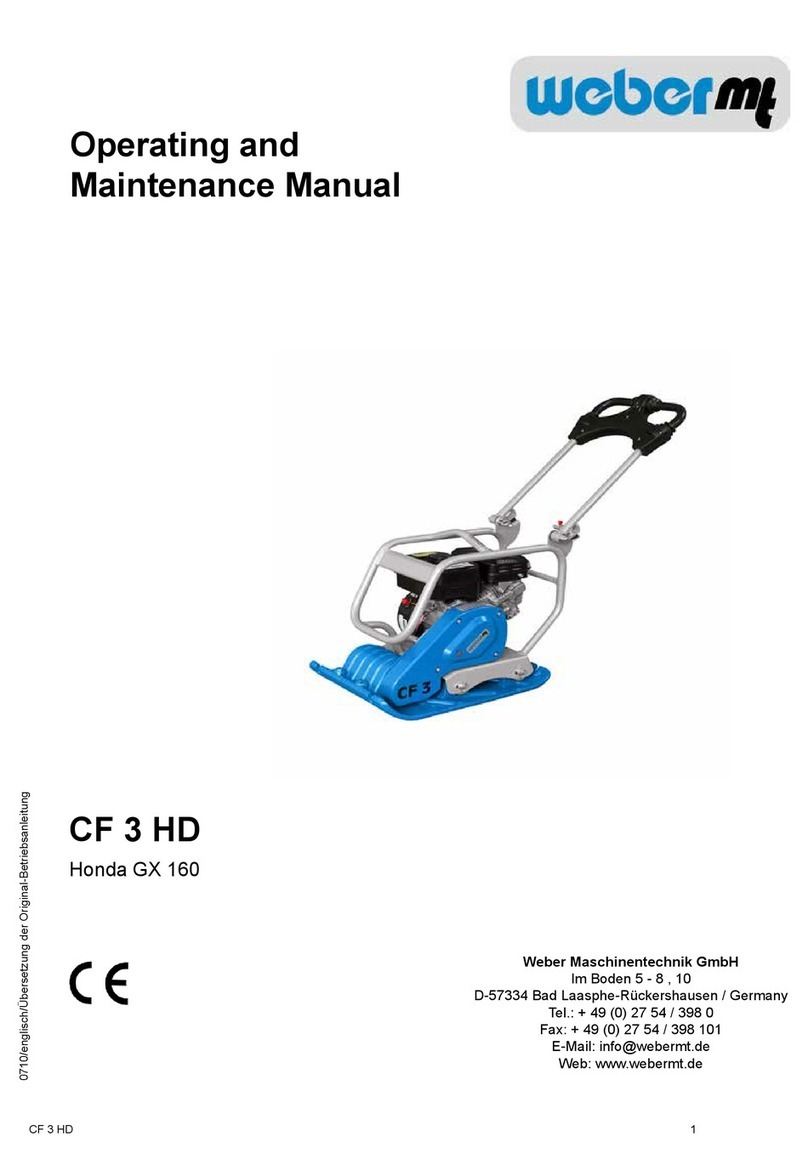
Weber mt CF 3 HD Operating instructions
Weber mt

Weber mt CF 3 HD Operating instructions

Popular Construction Equipment manuals by other brands

Vestil WTJ-2 Series instruction manual

Vestil

Vestil WTJ-2 Series instruction manual

Tadano GR-1600XL-2 manual

Tadano

Tadano GR-1600XL-2 manual

Greenlee 881-MBT instruction manual

Greenlee

Greenlee 881-MBT instruction manual

Avantco A21506 Operator's manual for Attachment

Avantco

Avantco A21506 Operator's manual for Attachment

Avantco A36111 Operator's manual for Attachment

Avantco

Avantco A36111 Operator's manual for Attachment

Avantco A36304 Operator's manual for Attachment

Avantco

Avantco A36304 Operator's manual for Attachment

Avantco A34076 Operator's manual

Avantco

Avantco A34076 Operator's manual

Lumberjack ECM550 operating manual

Lumberjack

Lumberjack ECM550 operating manual

Ditch Witch FX30 Service manual

Ditch Witch

Ditch Witch FX30 Service manual

PennyHydraulics SwingLift KJ operating & maintenance manual

PennyHydraulics

PennyHydraulics SwingLift KJ operating & maintenance manual

Festo ELFC operating instructions

Festo

Festo ELFC operating instructions

Valken TB-500 operating manual

Valken

Valken TB-500 operating manual

Mauldin 690-G Operation manual

Mauldin

Mauldin 690-G Operation manual

Dynapac CA600 Operation manual

Dynapac

Dynapac CA600 Operation manual

Case 1150M Service manual

Case

Case 1150M Service manual

stellar labs 13500 owner's manual

stellar labs

stellar labs 13500 owner's manual

BN Products DBS-16H Operating/safety instructions

BN Products

BN Products DBS-16H Operating/safety instructions

SaMASZ KWT 550 Operator's manual

SaMASZ

SaMASZ KWT 550 Operator's manual

manuals.online logo
manuals.online logoBrands
  • About & Mission
  • Contact us
  • Privacy Policy
  • Terms and Conditions

Copyright 2025 Manuals.Online. All Rights Reserved.