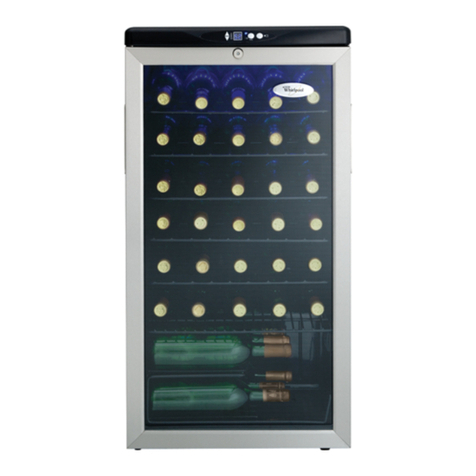
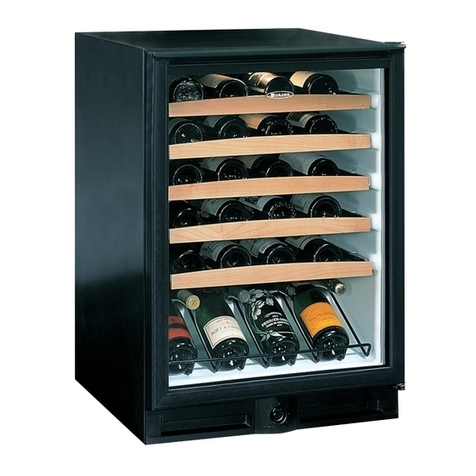
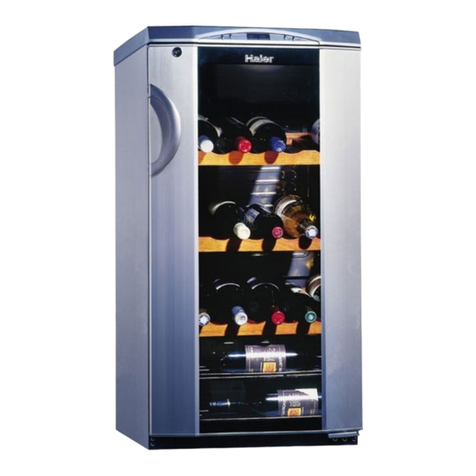
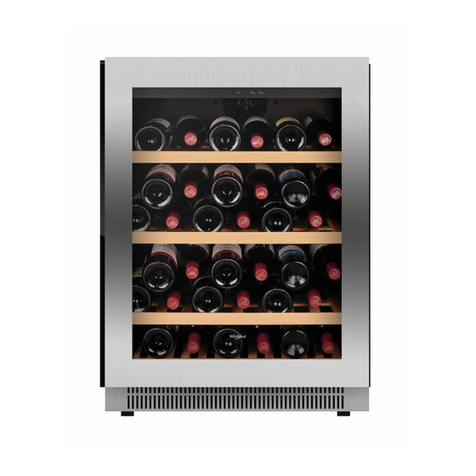
Whirlpool WWC287BLS - Wine Cooler User manual

WINE CELLAR
Use & Care Guide
or assistance 1-800-263-2629,
or visit our website at...
www.whirlpool.com or www.whirlpoolappliances.ca
CAVE À VIN
Guide d’utilisation
et d’entretien
Pour assistance, composez le 1-800-263-2629.
ou visitez notre site web à
www.whirlpoolappliances.ca
WWC287BLS
F
CONSERVADOR DE VINOS
Guía para uso y cuidado
Para asistencia llame al 1-800-263-2629,
o visite nuestros sitios web...
www.whirlpool.com ó www.whirlpoolappliances.ca
Table of Contents ...............................................2
Table des matières .............................................2
Índice................................................................21

2
TABLE OF CONTENTS
WINE CELLAR SAFETY.................................................................2
Proper Disposal of Your Old Wine Cellar ....................................3
INSTALLATION INSTRUCTIONS..................................................3
Location Requirements................................................................3
Electrical Requirements ...............................................................3
Unpack the Wine Cellar ...............................................................4
Wine Cellar Doors ........................................................................4
Door Closing.................................................................................5
WINE CELLAR USE........................................................................6
Normal Sounds ............................................................................6
Using the Control .........................................................................6
Lock..............................................................................................6
Wine Racks ..................................................................................6
Stocking the Wine Cellar..............................................................6
Lighting the Wine Cellar ...............................................................7
WINE CELLAR CARE.....................................................................7
Cleaning........................................................................................7
Vacation and Moving Care...........................................................8
TROUBLESHOOTING ....................................................................8
ASSISTANCE OR SERVICE...........................................................9
WARRANTY ..................................................................................10
TABLE DES MATIÈRES
SÉCURITÉ DE LA CAVE À VIN....................................................11
Mise au rebut de votre vieille cave à vin....................................11
INSTRUCTIONS D’INSTALLATION.............................................12
Exigences d'emplacement.........................................................12
Spécifications électriques ..........................................................12
Déballage de la cave à vin .........................................................13
Portes de la cave à vin...............................................................13
Fermeture de la porte.................................................................15
UTILISATION DE LA CAVE À VIN ...............................................15
Sons normaux ............................................................................15
Utilisation de la commande........................................................15
Verrouillage.................................................................................16
Casiers à vin ...............................................................................16
Entreposage dans la cave à vin .................................................16
Éclairage de la cave à vin...........................................................17
ENTRETIEN DE LA CAVE À VIN..................................................17
Nettoyage ...................................................................................17
Précautions à prendre pour les vacances
et avant un déménagement .......................................................17
DÉPANNAGE.................................................................................18
ASSISTANCE OU SERVICE.........................................................19
GARANTIE.....................................................................................20
WINE CELLAR SAFETY
You can be killed or seriously injured if you don't immediately
You can be killed or seriously injured if you don't follow
All safety messages will tell you what the potential hazard is, tell you how to reduce the chance of injury, and tell you what can
happen if the instructions are not followed.
Your safety and the safety of others are very important.
We have provided many important safety messages in this manual and on your appliance. Always read and obey all safety
messages.
This is the safety alert symbol.
This symbol alerts you to potential hazards that can kill or hurt you and others.
All safety messages will follow the safety alert symbol and either the word “DANGER” or “WARNING.”
These words mean:
follow instructions.
instructions.
DANGER
WARNING
IMPORTANT SAFETY INSTRUCTIONS
WARNING:
To reduce the risk of fire, electric shock, or injury when using your wine cellar, follow these basic precautions:
SAVE THESE INSTRUCTIONS
Plug into a grounded 3 prong outlet.
Do not remove ground prong.
Do not use an adapter.
Do not use an extension cord.
Disconnect power before servicing.
Replace all parts and panels before operating.
Remove doors from your old wine cellar.
Use nonflammable cleaner.
Keep flammable materials and vapors, such as gasoline,
away from wine cellar.
Use two or more people to move and install wine cellar.

3
Proper Disposal of Your Old Wine Cellar
IMPORTANT: Child entrapment and suffocation are not problems
of the past. Junked or abandoned wine cellars are still dangerous
– even if they will sit for “just a few days.” If you are getting rid of
your old wine cellar, please follow these instructions to help
prevent accidents.
Before You Throw Away Your Old Wine Cellar:
Take off the door.
Leave the racks in place so that children may not easily climb
inside.
INSTALLATION INSTRUCTIONS
Location Requirements
To ensure proper ventilation for your wine cellar, allow for a 5"
(127 mm) space between the back of the beverage center and
the wall. When installing your beverage center next to a fixed
wall, leave 13¹⁄₄" (33.7 cm) minimum clearance on the hinge side
to allow for the door to swing open.
NOTE:
It is recommended that you do not install the wine cellar
near an oven, radiator, or other heat source. Do not install
in a location where the temperature will fall below 55°F
(13°C). For best performance, do not install the wine
cellar behind a cabinet door.
It is recommended that you install the wine cellar in a
location that allows the door to have a greater than 45°
opening. A limited door swing will keep the shelves from
sliding out as intended and may lead to damaging the
door gasket.
The rough cabinet opening must be on a level floor and at
least 24" (60 cm) deep and 12¹⁄₂" (31.75 cm) wide.
Electrical Requirements
Before you move your wine cellar into its final location, it is
important to make sure you have the proper electrical
connection.
Recommended grounding method
A 115 Volt, 60 Hz., AC only, 15– or 20–amp fused, grounded
electrical supply is required. It is recommended that a separate
circuit serving only your wine cellar be provided. Use an outlet
that cannot be turned off by a switch. Do not use an
extension cord.
NOTE: Before performing any type of installation or cleaning
unplug wine cellar or disconnect power.
WARNING
Suffocation Hazard
Remove door from your old wine cellar.
Failure to do so can result in death or brain damage.
WARNING
Explosion Hazard
Keep flammable materials and vapors, such as
gasoline, away from wine cellar.
Failure to do so can result in death, explosion, or fire.
5" (12.17 cm)
13¹⁄₄" (33.66 cm)
Electrical Shock Hazard
Plug into a grounded 3 prong outlet.
Do not remove ground prong.
Do not use an adapter.
Do not use an extension cord.
Failure to follow these instructions can result in death,
fire, or electrical shock.
WARNING

4
Unpack the Wine Cellar
Remove the Packaging
Remove tape and glue residue from surfaces before turning
on the wine cellar. Rub a small amount of liquid dish soap
over the adhesive with your fingers. Wipe with warm water
and dry.
Do not use sharp instruments, rubbing alcohol, flammable
fluids, or abrasive cleaners to remove tape or glue. These
products can damage the surface of your wine cellar. For
more information, see “Wine Cellar Safety.”
Dispose of/recycle all packaging materials.
Clean Before Using
After you remove all of the packaging materials, clean the inside
of your wine cellar before using it. See the cleaning instructions in
“Wine Cellar Care.”
Wine Cellar Doors
TOOLS NEEDED: #2 Phillips screwdriver; adjustable wrench
IMPORTANT: All graphics referenced in the following instructions
are included later in this section after “Final Steps.” The graphics
shown are for a right-hand swing door (hinges factory installed on
the right).
Remove Door and Hinges
1. Unplug wine cellar or disconnect power.
2. Place the wine cellar on its back.
3. Unscrew the two leveling legs, one from the bottom hinge on
the right hand side and one from the left hand side of the
cabinet. See Graphic 4 and 5.
4. Remove the 3 screws from the bottom hinge and remove the
bottom hinge. See graphic 3.
NOTE: Keep the hinge in a safe place in the event the wine
cellar door needs to be returned to its original door swing.
5. Remove the door by pulling it downward and off the top pin
and set aside.
6. Remove the 2 plastic screw caps located on the top of the
hinge cover. See Graphic 2.
7. Remove the screws holding the hinge cover to the top hinge
and remove the top hinge cover. See Graphic 2.
8. Remove the 3 screws from the top hinge and remove the top
hinge. See Graphic 2.
Reverse Door Swing (optional)
1. Remove the plastic door pin cap from the top left side of the
door and reinstall it on the right side of the door.
2. Remove the 3 plastic screw caps from the top left side of the
cabinet and transfer them to the top right side of the cabinet.
See Graphic 1.
3. Install the top hinge on the left side of the cabinet and secure
with the 3 screws.
4. Install the hinge cover over the top hinge using the 2 screws.
5. Install the 2 plastic screw caps on the hinge cover.
6. Insert the top corner of the door into the top hinge pin and
reinstall the door on the wine cellar.
7. Using the left side bottom hinge supplied with your wine
cellar, insert the hinge pin into the bottom of the door. See
Graphic 6.
8. Align the hinge holes with the holes in the cabinet and secure
with 3 screws.
9. Install the leveling leg that was in the right bottom hinge into
the left bottom hinge. See Graphic 4.
10. Install the leveling leg that was on the left side of the wine
cellar onto the right side. See Graphic 5.
Final Steps
1. Check the alignment of the door and the door seals.
2. Check to see that the door lock slides easily into the lock
chamber.
3. Tighten all hinge screws.
4. Return the wine cellar to its upright position and wait
60 minutes before reconnecting the power.
5. Plug in wine cellar or reconnect power.
WARNING
Excessive Weight Hazard
Use two or more people to move and install wine cellar.
Failure to do so can result in back or other injury.
When Moving Your Wine Cellar:
Your wine cellar is heavy. When moving the wine cellar for
cleaning or service, be sure to protect the floor. Always pull
the wine cellar straight out when moving it. Do not wiggle
or “walk” the wine cellar when trying to move it, as floor
damage could occur.
WARNING
Excessive Weight Hazard
Use two or more people to move and install wine cellar.
Failure to do so can result in back or other injury.
Electrical Shock Hazard
Plug into a grounded 3 prong outlet.
Do not remove ground prong.
Do not use an adapter.
Do not use an extension cord.
Failure to follow these instructions can result in death,
fire, or electrical shock.
WARNING
5
Door Closing
Door Closing
Your wine cellar has two leveling legs. If your wine cellar seems
unsteady or you want the door to close more easily, adjust the
wine cellar’s tilt using the instructions below.
1. Plug into a grounded 3 prong outlet.
A. Plastic Screw Caps
1
A
Top Hinge
A. Hinge Cover Screw Caps
B. Hinge Cover Screws
C. Hinge Cover
D. Top Hinge Screws
E. Top Hinge
F. Hinge Pin
C
A
B
D
E
F
2
Right Bottom Hinge
A. Washers
B. Hinge Pin
C. Bottom Hinge
D. Bottom Hinge Screws
C
A
B
D
3
Left Bottom Hinge
(provided)
A. Washers
B. Hinge Pin
C. Bottom Hinge
D. Bottom Hinge Screws
C
A
B
D
6
Leveling Leg
5Leveling Leg
for Bottom Hinge
4
Electrical Shock Hazard
Plug into a grounded 3 prong outlet.
Do not remove ground prong.
Do not use an adapter.
Do not use an extension cord.
Failure to follow these instructions can result in death,
fire, or electrical shock.
WARNING
Other manuals for WWC287BLS - Wine Cooler
1
Table of contents
Languages:
Other Whirlpool Wine Cooler manuals

Whirlpool
Whirlpool WUW35X15DS User manual

Whirlpool
Whirlpool ARZ000W User manual

Whirlpool
Whirlpool CAVE VIN WWC4589BLS User manual

Whirlpool
Whirlpool WWC287BLS - Wine Cooler User manual

Whirlpool
Whirlpool WUB35X24HZ User manual

Whirlpool
Whirlpool WWC359BLS User manual

Whirlpool
Whirlpool ARC 229 Reference guide

Whirlpool
Whirlpool WUW35X15DS User manual

Whirlpool
Whirlpool ARC 1800 User manual

Whirlpool
Whirlpool ARC1400 User manual