manuals.online logo
Brands
  1. Home
  2. •
  3. Brands
  4. •
  5. Whittier Wood
  6. •
  7. Indoor Furnishing
  8. •
  9. Whittier Wood 1671DUET User manual

Whittier Wood 1671DUET User manual

P.O. Box 2827
Eugene, OR 97402 USA
Production Code:
VN 08/18
Model #
1671DUET
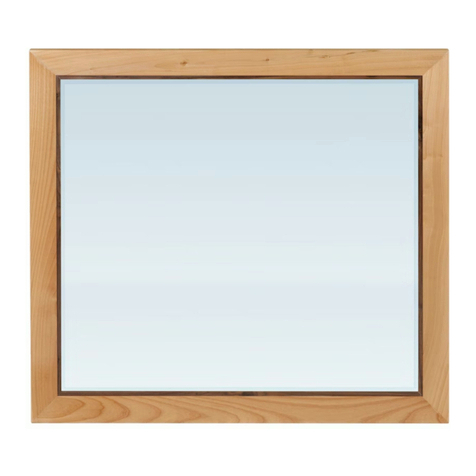
Addison Rectangular Mirror
DUET finish
Assembly Instructions
IMPORTANT NOTES:
Wood can be susceptible to changing color over time when exposed to
strong sunlight. Use window shades, drapes or blinds to protect your
furniture. To help the surface age evenly and avoid dark and light
spots, periodically move items to expose the entire surface to an even
amount of light so it may develop a uniform patina.
For normal household use only. Not recommended for commercial use.
Handle the mirror with care. Glass is fragile.
Before you begin your project, completely read the Assembly
Instructions.
WARNING
Drilling, sawing, sanding or machining wood products can expose you to
wood dust, a substance known to the state of California to cause cancer.
Avoid inhaling wood dust or use a dust mask or other safeguards for
personal protection.
For more information go to: www.p65warnings.ca.gov/wood
This product can expose you to chemicals, including formaldehyde,
which are known to the State of California to cause cancer.
For more information go to: www.p65warnings.ca.gov/furniture
DESIGN SUBJECT TO CHANGE WITHOUT NOTICE.
CUSTOMER SERVICE
If you ever have questions about your furniture, please do not hesitate to contact us. In the unlikely event you need a
replacement part; we can make those parts available through an authorized Whittier Wood Furniture dealer. If you
cannot order replacement parts through your dealer, please contact our customer service department.
Hours: Our friendly customer service staff can be reached:
Monday-Friday 8:00 a.m. to 5:00 p.m. (Pacific Time).
You may leave a message 24 hours a day, seven days a week.
Customer Service: 800-653-3336 • Outside the U.S.: 541-687-0213
Fax: 541-687-2060• Email: info@whittierwood.com
Thank you for allowing us to help you furnish your
home. We are certain you will be delighted with
your new furniture for many years to come.
1671DUET Addison Rectangular Mirror
Parts List
1671DUET —Page 2 —08/18
Please identify the parts and check that quantities received match those on this list.
If you need to replace a part, refer to the following letter and part name.
Part
Description
Quantity
A
Mirror Assembly
1
B
Mirror Frame
1
C
Mirror (attached)
1
D
Mirror Retainer (attached)
4
E
Mirror Support
2
F
#6 x 3/4" Brass Flat Head Screw (inserted)
4
G
#6 x 5/8" Philtruss Screw (inserted)
12
H
#8 x 1-3/4" Pan Head Screw
2
I
#7 x 1-1/2" Black Pan Head Screw
4
J
M4 x 41mm Machine Screw
4
K
Velvet Pad 50 x 50mm
3
L
Mirror Wall Bracket
2
(1 attached)
1671DUET Addison Rectangular Mirror
Assembly Instructions
1671DUET —Page 3 —08/18
Tools Required: Phillips Screwdriver, Tape Measure, Pencil
You have the option of attaching your Mirror to the wall or to selected Addison Dressers. To
attach your Mirror to the wall, follow steps 1 –4. To attach the Mirror horizontally to a
compatible Addison Dresser, follow steps 5 –9.
1. Decide if you want your Mirror to hang either vertically or horizontally. If you want it to hang
vertically, remove the Mirror Wall Bracket (L) and line it up to the predrilled holes on the short
side of the Mirror Frame (B) as in Figure 1. Attach with four #6 x 3/4" Flat Head Screws (F).
2. Determine where you want the bottom of your mirror to end and draw a faint pencil line on the
wall. For a vertical placement, use a tape measure and measure up 44-3/4" from that mark.
Draw a faint line. For a horizontal placement, measure up 34-1/2". Draw a faint line. The top line
is where you attach the Mirror Wall Bracket (L). If you like, you can erase the faint bottom pencil
mark. See Figures 2 and 2a.
Vertical Wall Mount
Wall
Horizontal Wall Mount
Fig. 2
Fig. 2a
Wall
34-1/2"
44-3/4"
Fig. 1
B
L
F
x 4
1671DUET Addison Rectangular Mirror
Assembly Instructions
1671DUET —Page 4 —08/18
3. Locate two studs in the wall behind the space where you want to hang your Mirror. Affix the
Mirror Wall Bracket (L) into the studs with two #8 x 1-3/4" Pan Head Screws (H). If you cannot
locate two studs, purchase the proper wall attachment hardware for your type of wall and secure
the bracket. See Figure 3.
4. NOTE: The Mirror Wall Bracket (L) angles out at the top. When you hang your Mirror, the
bracket that is attached to the back of the Mirror fits over the angled part of the Mirror Wall
Bracket (L). See Figure 4.
Mirror Wall
Brackets (L)
(back view)
Wall
Stud
Mirror Wall
Bracket (L)
(side view)
Wall
Fig. 4
Mirror Wall
Bracket (L)
(back view)
Fig. 3
Wall
L
H
L
H
x 1
x 2
1671DUET Addison Rectangular Mirror
Assembly Instructions
1671DUET —Page 5 —08/18
5. To attach the Mirror to an Addison Dresser, remove the Mirror Wall Bracket (L) that is attached
to the Mirror Frame (B) as shown in Figure 5. Keep these Mirror Wall Brackets (L) and the four
#6 x 3/4" Flat Head Screws (F) if in the future, you will want to mount the Mirror to the wall.
Note: to attach the Mirror either horizontally or vertically to Dresser Model #s 1237, 1238, or
1239 see steps 6-10. To attach vertically onto dresser Model # 1236 see steps 11- 12
6. To attach the Mirror horizontally to dresser model #1237, 1238, 1239 use the predrilled outer
holes in the back as noted in Figure 6.
Use outer holes for 1671
mirror
Dresser
(1239)
Fig. 6
Horizontal Mount
F
x 4
Fig. 5
B
L
F
1671DUET Addison Rectangular Mirror
Assembly Instructions
1671DUET —Page 6 —08/18
7. Using the predrilled holes on the back of the Dresser as guides, attach the two Mirror Supports
(E) with four M4 x 41 Machine Screws (J).
For Dresser (#1237 & #1239), The upper screws will be inserted into the 3rd hole from the top
and the lower screws will be inserted into the 2nd hole from the bottom of the Mirror Supports.
See Figures 7 and 7a.
For Dresser (#1238), The upper screws will be inserted into the 3rd hole from the top and the
lower screws will be inserted into the 1st hole from the bottom of the Mirror Supports. See
Figures 7b and 7c.
J
x 4
(Back view)
E
J
J
Fig. 7
J
3rd hole from the top
2nd hole from the bottom
Fig. 7a
Horizontal Mount
Dresser
(1237 & 1239)
(Back view)
E
J
J
Fig. 7b
J
3rd hole from the top
1st hole from the bottom
Fig. 7c
Horizontal Mount
Dresser
(1238)
1671DUET Addison Rectangular Mirror
Assembly Instructions
1671DUET —Page 7 —08/18
8. Vertical Mount Option
Using the predrilled holes on the back of the Dresser as guides, attach the two Mirror Supports
(E) with four M4 x 41 Machine Screws (J).
For Dresser (#1237 & #1239), The upper screws will be inserted into the 3rd hole from the top
and the lower screws will be inserted into the 2nd hole from the bottom of the Mirror Supports.
See Figures 8 and 8a.
For Dresser (#1238), The upper screws will be inserted into the 3rd hole from the top and the
lower screws will be inserted into the 1st hole from the bottom of the Mirror Supports. See
Figures 8b and 8c.
J
x 4
(Back view)
E
J
J
Fig. 8
J
3rd hole from the top
2nd hole from the bottom
Fig. 8a
Vertical Mount
Dresser
(1237 & 1239)
(Back view)
E
J
Fig. 8b
J
3rd hole from the top
1st hole from the bottom
Fig. 8c
Vertical Mount
Dresser
(1238)
J
1671DUET Addison Rectangular Mirror
Assembly Instructions
1671DUET —Page 8 —08/18
9. Peel off the backing on the Velvet Pads (K) and apply them to the bottom of the Mirror Assembly
(A). See Figures 9 and 9a.
10. Place the Mirror on top of the Dresser and attach it to the Mirror Supports (E) with four
#7 x 1-1/2" Black Pan Head Screws (I). See Figures 10 and 10a.
Fig. 10
Vertical Mirror
I
x 4
I
I
I
I
I
I
Fig. 10a
Horizontal Mirror
K
K
K
Fig. 9
A
Vertical Mirror
Horizontal Mirror
Fig. 9a
K
K
K
A
1671DUET Addison Rectangular Mirror
Assembly Instructions
1671DUET —Page 9 —08/18
11. To attach the Mirror vertically to #1236 Dresser, use the predrilled holes in the back of the
dresser as guides. See Figures 11 and 11a. Attach the two Mirror Supports (E) with four M4 x
41 Machine Screws (J). The upper screws will be inserted into the 3rd hole from the top and the
lower screws will be inserted into the 2nd hole from the bottom of the Mirror Supports . See
Figures 11 and 11a.
12. Peel off the backing on the Velvet Pads (K) and apply them to the bottom of the Mirror Assembly
(A). See Figure 12. Place the Mirror on top of the Dresser and attach it to the Mirror Supports
(E) with four #7 x 1-1/2" Black Pan Head Screws (I). See Figure 12a.
K
K
K
A
Fig. 12
Fig. 12a
I
I
x 4
I
Dresser
(1236)
Vertical Mount
J
x 4
J
(Back view)
E
J
Fig. 11
3rd hole from the top
2nd hole from the bottom
Fig. 11a
J

Other Whittier Wood Indoor Furnishing manuals
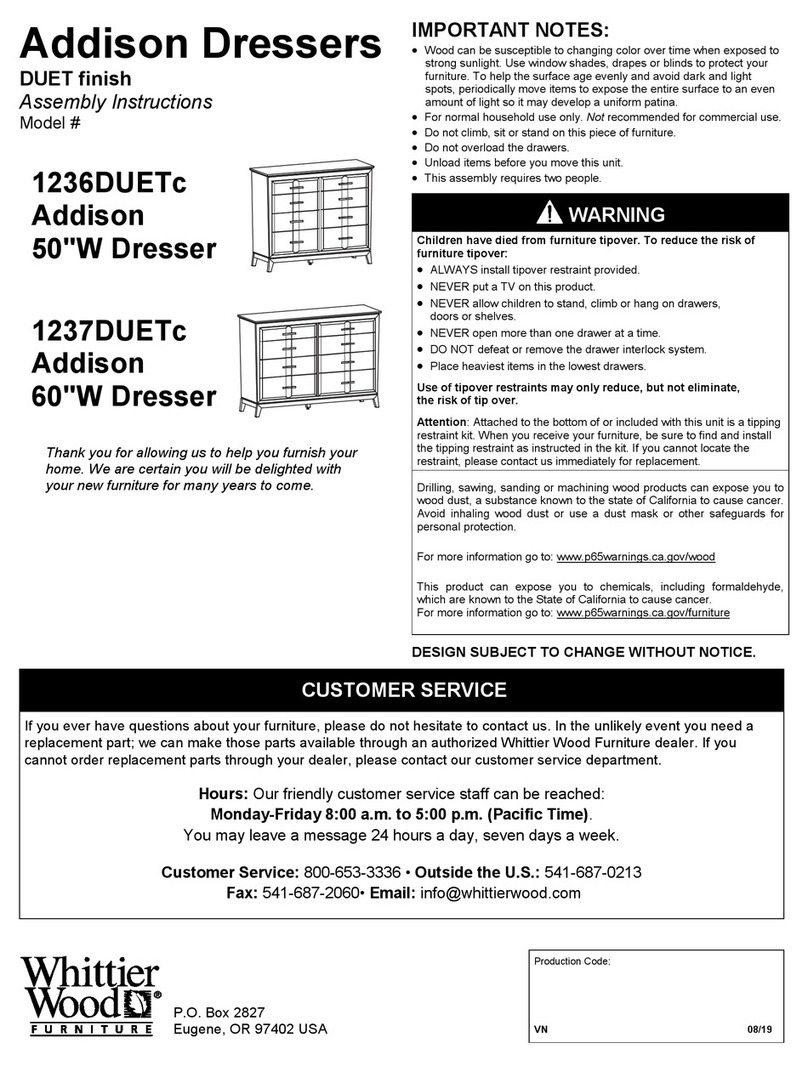
Whittier Wood 7137GDRC User manual

Whittier Wood

Whittier Wood 7137GDRC User manual

Whittier Wood 731W User manual

Whittier Wood

Whittier Wood 731W User manual

Whittier Wood McKenzie 1553AEGAC User manual

Whittier Wood

Whittier Wood McKenzie 1553AEGAC User manual

Whittier Wood McKenzie 3500GACd User manual

Whittier Wood

Whittier Wood McKenzie 3500GACd User manual

Whittier Wood 1550AEGAC User manual

Whittier Wood

Whittier Wood 1550AEGAC User manual

Whittier Wood 3529DUET User manual

Whittier Wood

Whittier Wood 3529DUET User manual

Whittier Wood 2901AFGAC User manual

Whittier Wood

Whittier Wood 2901AFGAC User manual

Whittier Wood 1220LSOc User manual

Whittier Wood

Whittier Wood 1220LSOc User manual

Whittier Wood 1504GBCH User manual

Whittier Wood

Whittier Wood 1504GBCH User manual

Whittier Wood 1555AEGSP User manual

Whittier Wood

Whittier Wood 1555AEGSP User manual

Whittier Wood 1119RGB User manual

Whittier Wood

Whittier Wood 1119RGB User manual

Whittier Wood 3510GAC User manual

Whittier Wood

Whittier Wood 3510GAC User manual

Whittier Wood 3455CAFa User manual

Whittier Wood

Whittier Wood 3455CAFa User manual

Whittier Wood 1134AFGSPa User manual

Whittier Wood

Whittier Wood 1134AFGSPa User manual

Whittier Wood 4506AFGMS User manual

Whittier Wood

Whittier Wood 4506AFGMS User manual

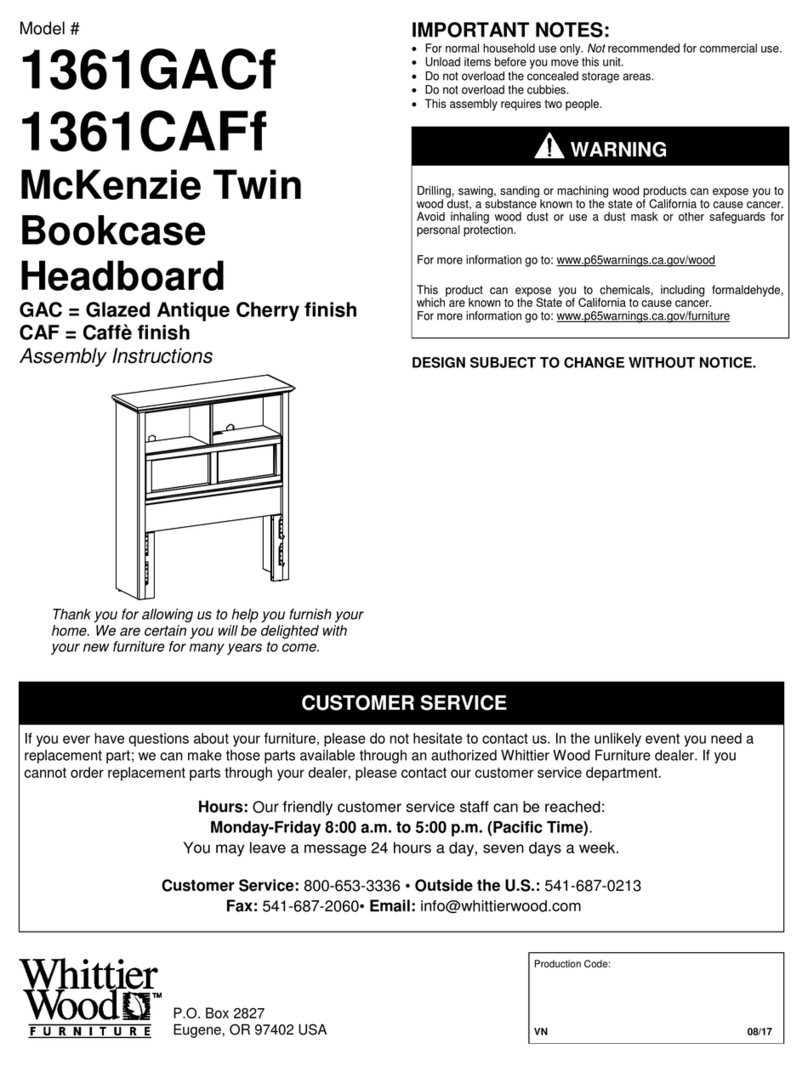
Whittier Wood Addison 1237DUETc User manual
Whittier Wood

Whittier Wood Addison 1237DUETc User manual

Whittier Wood McKenzie Alder 1614a User manual

Whittier Wood

Whittier Wood McKenzie Alder 1614a User manual

Whittier Wood 1500AUF User manual

Whittier Wood

Whittier Wood 1500AUF User manual

Whittier Wood 1374GACf User manual

Whittier Wood

Whittier Wood 1374GACf User manual

Whittier Wood 1100FST User manual

Whittier Wood

Whittier Wood 1100FST User manual

Whittier Wood 1877GBCHa User manual

Whittier Wood

Whittier Wood 1877GBCHa User manual

Whittier Wood 1460AFGSP User manual

Whittier Wood

Whittier Wood 1460AFGSP User manual
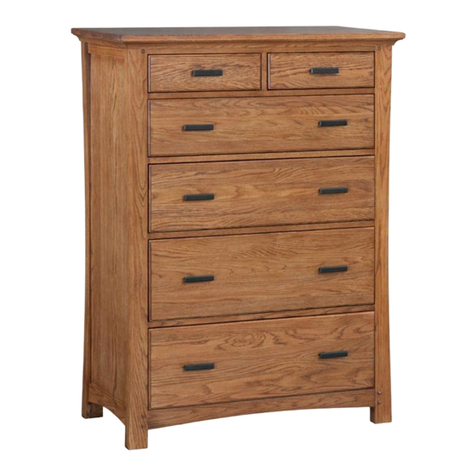
Whittier Wood McKenzie Bookcase King Headboard User manual

Whittier Wood

Whittier Wood McKenzie Bookcase King Headboard User manual

Whittier Wood 1186RGBa User manual

Whittier Wood

Whittier Wood 1186RGBa User manual

Popular Indoor Furnishing manuals by other brands

Coaster 110101 Assembly instructions

Coaster

Coaster 110101 Assembly instructions

Atlantic queen Assembly instructions

Atlantic

Atlantic queen Assembly instructions

SAUTHON easy Hello HW161A Technical manual

SAUTHON easy

SAUTHON easy Hello HW161A Technical manual

aspenhome I248-360T-SLT-1 Assembly instructions

aspenhome

aspenhome I248-360T-SLT-1 Assembly instructions

Discovery Telecom Driftwood 4105R Assembly instructions

Discovery Telecom

Discovery Telecom Driftwood 4105R Assembly instructions

Sanus EFAB manual

Sanus

Sanus EFAB manual

Vivo DESK-E-P48KB instruction manual

Vivo

Vivo DESK-E-P48KB instruction manual

Coaster 721531 Assembly instructions

Coaster

Coaster 721531 Assembly instructions

Crack ENSOR BC 70117G-S5V quick start guide

Crack

Crack ENSOR BC 70117G-S5V quick start guide

BSi COLOSSAL PLUS operating instructions

BSi

BSi COLOSSAL PLUS operating instructions

New Classic Furniture PRAIRIE POINT D058B-22 Assembly instructions

New Classic Furniture

New Classic Furniture PRAIRIE POINT D058B-22 Assembly instructions

Rauch Carlsson 91661.2340 Assembly instructions

Rauch

Rauch Carlsson 91661.2340 Assembly instructions

Sedus swing up Instructions for use

Sedus

Sedus swing up Instructions for use

Arthur Berndt Rabia 17 Assembly instructions

Arthur Berndt

Arthur Berndt Rabia 17 Assembly instructions

Pulaski Furniture P053145 Assembly instructions

Pulaski Furniture

Pulaski Furniture P053145 Assembly instructions

Sedus mastermind high desk Assembly instructions

Sedus

Sedus mastermind high desk Assembly instructions

Zenith WW2026 Mounting instructions

Zenith

Zenith WW2026 Mounting instructions

RH Focus user guide

RH

RH Focus user guide

manuals.online logo
manuals.online logoBrands
  • About & Mission
  • Contact us
  • Privacy Policy
  • Terms and Conditions

Copyright 2025 Manuals.Online. All Rights Reserved.