manuals.online logo
Brands
  1. Home
  2. •
  3. Brands
  4. •
  5. Whittier Wood
  6. •
  7. Indoor Furnishing
  8. •
  9. Whittier Wood 2319GACc User manual

Whittier Wood 2319GACc User manual

P.O. Box 2827
Eugene, OR 97402 USA
Production Code:
VN 02/17
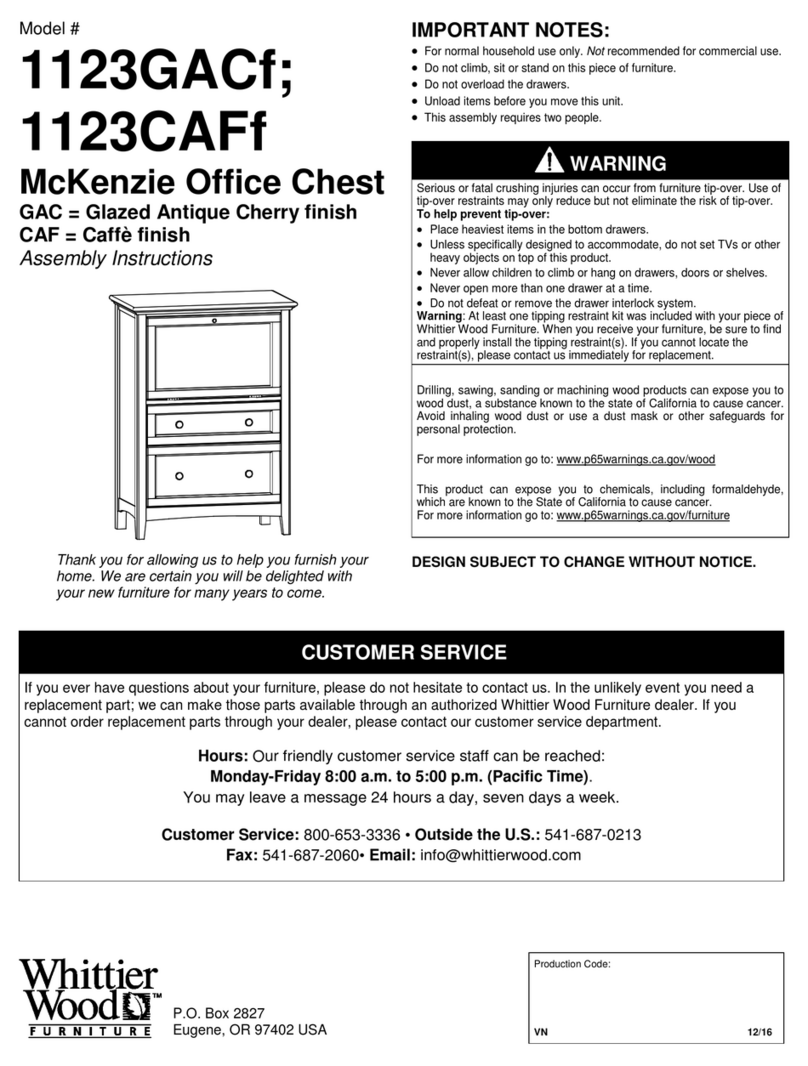
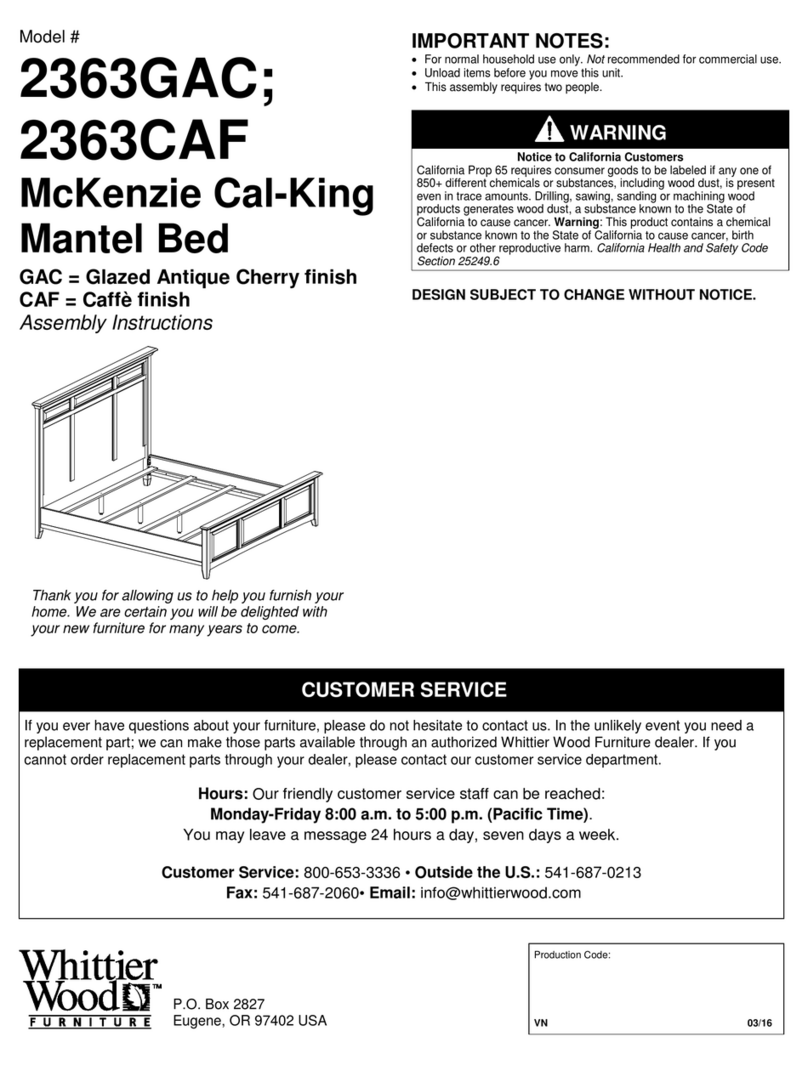
Model #
2319GACc;
2319CAFc
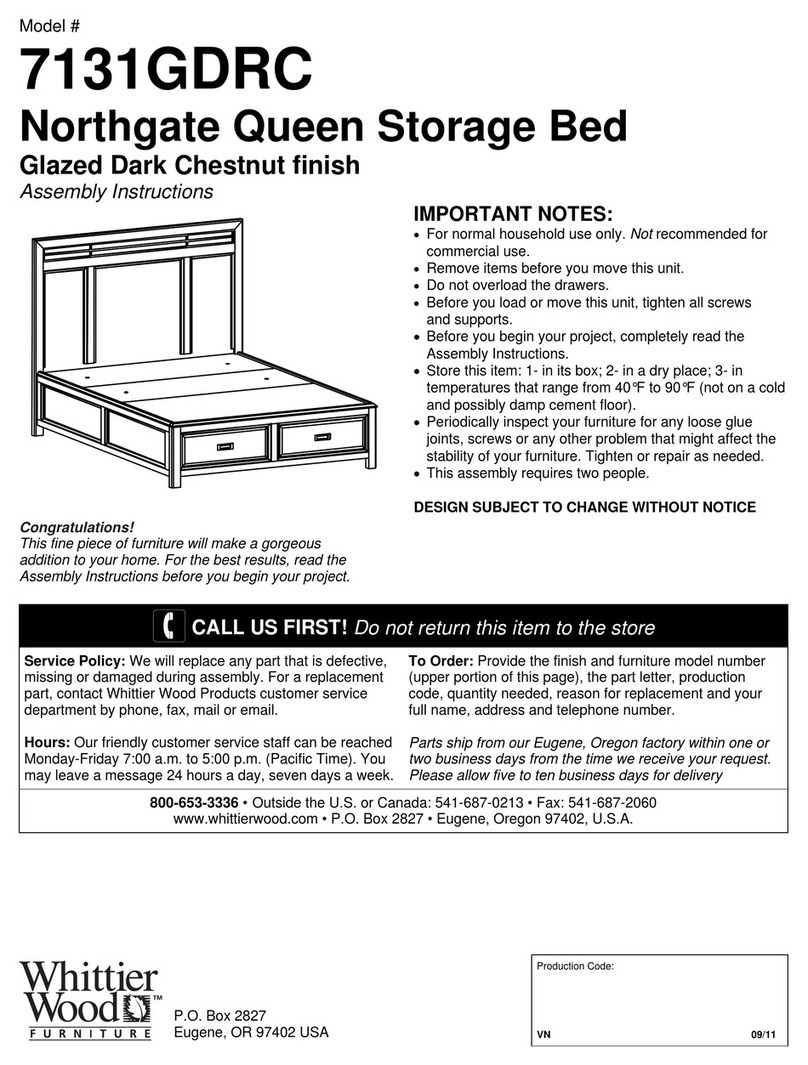
McKenzie King
Mantel Storage Bed
GAC = Glazed Antique Cherry finish
CAF = Caffè finish
Assembly Instructions
IMPORTANT NOTES:
•For normal household use only. Not recommended for commercial use.
•Remove items before you move this unit.
•Do not overload the drawers.
•This assembly requires two people.
WARNING
Drilling, sawing, sanding or machining wood products can expose you to
wood dust, a substance known to the state of California to cause cancer.
Avoid inhaling wood dust or use a dust mask or other safeguards for
personal protection.
For more information go to: www.p65warnings.ca.gov/wood
This product can expose you to chemicals, including formaldehyde,
which are known to the State of California to cause cancer.
For more information go to: www.p65warnings.ca.gov/furniture
DESIGN SUBJECT TO CHANGE WITHOUT NOTICE.
CUSTOMER SERVICE
If you ever have questions about your furniture, please do not hesitate to contact us. In the unlikely event you need a
replacement part; we can make those parts available through an authorized Whittier Wood Furniture dealer. If you
cannot order replacement parts through your dealer, please contact our customer service department.
Hours: Our friendly customer service staff can be reached:
Monday-Friday 8:00 a.m. to 5:00 p.m. (Pacific Time).
You may leave a message 24 hours a day, seven days a week.
Customer Service: 800-653-3336 • Outside the U.S.: 541-687-0213
Fax: 541-687-2060• Email: [email protected]
Thank you for allowing us to help you furnish your
home. We are certain you will be delighted with
your new furniture for many years to come.
2319GACc; 2319CAFc McKenzie King Mantel Storage Bed
Parts List
2319GACc_2319CAFc — Page 2 — 02/17
Please identify the parts and check that quantities received match those on this list.
If you need to replace a part, refer to the following letter and part name.
1318GACe; 1318CAFe Pedestal Kit (x2)
Part
Description
Quantity
E
#8 x 1-1/4" Black Screw (inserted)
30
Id
Pedestal Kit
1
J
Small Drawer Box (assembled)
2
Kd
Large Drawer Box (assembled)
1
L
Small Drawer Face (attached)
2
Md
Large Drawer Face (attached)
1
Ne
#8 x 1-1/2" Machine Screw Tuscan (installed)
3
O
Knob (attached)
3
Pd
Deckboard
1
Q
20" Drawer Slides (installed)
3 sets
T
#8 x 2" Black Screw (inserted)
12
YD
#6 x 1/2" Philtruss Screw (inserted)
18
YE
#6 x 3/4" Philtruss Screw (inserted)
18
YL
#8 x 7/8" Black Lo-Profile Screw (inserted)
20
ZP
#8 x 1" Black Screw (inserted)
16
ZQ
Left Bracket (attached)
2
ZR
Right Bracket (attached)
2
ZX
#8 x 1-5/8" Black Screw (inserted)
16
2319GACc; 2319CAFc McKenzie King Mantel Storage Bed
Parts List
2319GACc_2319CAFc — Page 3 — 02/17
2320GACa; 2320CAFa
King Mantel Headboard/Footboard Kit (x1)
Part
Description
Quantity
Aa
Headboard Assembly
1
B
Footboard Assembly
1
Rb
Center Deckboard
1
YH
Top Assembly
1
YI
#8 x 1-1/4" Pan Head Screw
6
(4 inserted)
YJ
Cam Connector (inserted)
2
YK
Cam Housing
2
ZP
#8 x 1" Black Screw (inserted)
32
ZQ
Left Bed Bracket (attached)
4
ZR
Right Bed Bracket (attached)
4
ZX
#8 x 1-5/8" Black Screw (inserted)
4
2319GACc; 2319CAFc McKenzie King Mantel Storage Bed
Parts List
2319GACc_2319CAFc — Page 4 — 02/17
2321Wc
King Mantel Assembly Kit (x1)
Part
Description
Quantity
Da
Trestle With T-Nuts
7
E
#8 x 1-1/4" Black Screw
45
(9 inserted)
F
1/4" x 1-3/4" Hex Bolt
26
H
1/4" Flat Washer
26
Ua
Assembled Foot
3
W
Adjustable Glide (installed)
3
YD
#6 x 1/2" Philtruss Screw
8
YG
90
o
Bracket
2
YM
#10 x 3/4" Pan Head Screw (inserted)
12
ZU
1/4" T-Nut (inserted)
28
ZY
Foot Bracket (attached)
3
2319GACc; 2319CAFc McKenzie King Mantel Storage Bed
Assembly Instructions
This assembly requires two people.
2319GACc_2319CAFc — Page 5 — 02/17
Tools Required: Phillips screwdriver, 7/16" open end or box end wrench and Tape measure
1. Remove the Center Deckboard (Rb) from the back of the Headboard (Aa) and place to the side.
See Figure 1.
2. NOTE: READ CAM INSTRUCTIONS NOW BEFORE YOU BEGIN THE FOLLOWING STEP.
Insert Cam Housings (YK) into the two pre-drilled holes on the Headboard Assembly (Aa) as
shown in Figure 2. Lower Top Assembly (YH) so that the Cam Connectors (YJ) fit into the
housings (YK) tighten the cam housings as indicated in the Cam-lock System instructions. See
Figures 2 and 2a.
Fig. 2
Aa
YH
YK
x 2
YK
YK
Fig. 2a
YK
YJ
Fig. 1
Shipping Straps
Rb
Aa
2319GACc; 2319CAFc McKenzie King Mantel Storage Bed
Assembly Instructions
This assembly requires two people.
2319GACc_2319CAFc — Page 6 — 02/17
3. Attach the Top Assembly (YH) to the Headboard Assembly (Aa) by inserting two #8x1-1/4" Pan
Head Screws (YI) into the predrilled holes in the block that is attached to the Headboard
Assembly (Aa). See Figures 3 and 3a.
4. Place both Pedestals (Id) approximately 79" apart as shown in Figure 4.
Fig. 4
79"
Id
Id
Fig. 3
YI
x 2
Fig. 3a
YI
2319GACc; 2319CAFc McKenzie King Mantel Storage Bed
Assembly Instructions
This assembly requires two people.
2319GACc_2319CAFc — Page 7 — 02/17
5. To attach the Footboard (B) to the Pedestal Assembly (Id), align the Brackets and slide the
Pedestal Assembly down on to the Footboard (B). See Figures 5 and 5a.
6. Repeat step five for the left side.
Fig. 6
Id
Fig. 6a
Fig. 5
Id
B
Fig. 5a
2319GACc; 2319CAFc McKenzie King Mantel Storage Bed
Assembly Instructions
This assembly requires two people.
2319GACc_2319CAFc — Page 8 — 02/17
7. Align the Brackets on both sides and slide the Pedestal/Footboard assembly down on to the
Headboard (Aa). See Figure 7.
Fig. 7
Aa
2319GACc; 2319CAFc McKenzie King Mantel Storage Bed
Assembly Instructions
This assembly requires two people.
2319GACc_2319CAFc — Page 9 — 02/17
8. Open the drawers. Face the Footboard and stand in between the first and second braces.
Place a Trestle with T-Nuts (Da) on the outside surfaces of the first upper left and right braces
so that the T-Nuts (ZU) sit near the top. See Figure 5a. Line up the upper edges of the trestle
and braces so they are nearly flush. Insert two 1/4" x 1-3/4" Hex Bolts (F) and Washers (H) and
tighten. Repeat for the second upper brace.
Place a Trestle with T-Nuts (Da) on the outside surface of the second lower brace so that
the T-Nuts (ZU) sit near the bottom. Line up the bottom edges of the trestle and braces so they
are nearly flush. Insert two 1/4" x 1-3/4" Hex Bolts (F) and Washers (H) and tighten.
See Figures 8 and 8a.
Fig. 8
Da
First brace
Second brace
Da
F
H
F
H
x 6
x 6
Footboard
Headboard removed for illustration purposes.
Fig. 8a
H
F
Brace
Da
2319GACc; 2319CAFc McKenzie King Mantel Storage Bed
Assembly Instructions
This assembly requires two people.
2319GACc_2319CAFc — Page 10 — 02/17
9. Face the Headboard and stand in between the third and fourth braces. Place a Trestle with
T-Nuts (Da) on the outside surfaces of the third upper left and right braces so the T-nuts sit
near the top. See Figures 6 and 6a. Line up the upper edges of the trestle and braces so they
are nearly flush. Insert two 1/4" x 1-3/4" Hex Bolts (F) and Washers (H) and tighten.
Place a Trestle with T-Nuts (Da) on the outside surface of the third left and right lower braces
so that the T-nuts sit near the bottom. Line up the bottom edges of the trestle and braces so
they are nearly flush. Insert two 1/4" x 1-3/4" Hex Bolts (F) and Washers (H) and tighten.
See Figures 9 and 9a.
Repeat for the fourth braces.
Fig. 9
Fourth brace
Third brace
Da
F
F
H
x 8
x 8
Fig. 9a
H
F
Brace
H
Trestle with T-Nuts (Da)
Da
2319GACc; 2319CAFc McKenzie King Mantel Storage Bed
Assembly Instructions
This assembly requires two people.
2319GACc_2319CAFc — Page 11 — 02/17
10. NOTE: There are blocks mounted on the back side of the Footboard to support the end of
the pedestal eliminating the need for an Assembled Foot in this position where it would
be easily visible. Do not attach an Assembled Foot in the position near the footboard.
Facing the Headboard, place two Assembled Feet (Ua) on the inside faces of the third and
fourth upper and lower Trestles. Attach with Washers (H) and 1/4" x 1-3/4" Hex Bolts (F).
See Figures 10 and 10a.
Fig. 10
Ua
F
H
x 8
x 8
Fig. 10a
H
Fourth set
of Trestles
Third set
of Trestles
Trestle with T-Nuts (Da)
H
Ua
F
Ua
F
2319GACc; 2319CAFc McKenzie King Mantel Storage Bed
Assembly Instructions
This assembly requires two people.
2319GACc_2319CAFc — Page 12 — 02/17
11. NOTE: There are blocks mounted on the back side of the Footboard to support the end of
the pedestal eliminating the need for an Assembled Foot in this position where it would
be easily visible. Do not attach an Assembled Foot in the position near the footboard.
Facing the Footboard, place an Assembled Foot (Ua) on the inside of the second set of Trestles
and attach with four Washers (H) and four 1/4" x 1-3/4" Hex Bolts (F). See Figures 11 and 11a.
Place your bed in its final position. Adjust all three Glides (W) found at the bottoms of the
Assembled Feet so that the Glides just touch the floor.
IMPORTANT: Make sure the Glides touch the floor and carry weight.
Fig. 11
F
H
x 4
x 4
Fig. 11a
Second set
of Trestles
H
H
Ua
F
F
W
2319GACc; 2319CAFc McKenzie King Mantel Storage Bed
Assembly Instructions
This assembly requires two people.
2319GACc_2319CAFc — Page 13 — 02/17
12. Facing the Footboard, attach the Pedestal Assembly to the Footboard with a 90º Bracket (YG)
and four #6 x 1/2" Philtruss Screws (YD). Repeat for the other side. See Figures 12 and 12a.
Fig. 12
Fig. 12a
YG
YD
YG
YD
x 2
x 8
2319GACc; 2319CAFc McKenzie King Mantel Storage Bed
Assembly Instructions
This assembly requires two people.
2319GACc_2319CAFc — Page 14 — 02/17
13. To make sure the bed is square, measure the distance between opposing corners. If one of the
measurements is larger, tap on a footboard leg until the measurement is equal. See Figure 13.
14. Place the Deckboards (Pd) as shown in Figure 14 and secure with twenty-four #8x1-1/4" Black
Screws (E). There should be a small gap between each deckboard.
Fig. 14
E
E
x 24
Pd
Fig. 13
2319GACc; 2319CAFc McKenzie King Mantel Storage Bed
Assembly Instructions
This assembly requires two people.
2319GACc_2319CAFc — Page 15 — 02/17
15. Place the Center Deckboard (Rb) as shown in Figure 15 and secure with twelve #8 x 1-1/4"
Black Screws (E).
If you need to readjust the center feet, remove the Center Deckboard, adjust the glides and
reattach the deckboard.
Fig. 15
E
E
x 12
Rb
CAM - LOCK SYSTEM INSTRUCTIONS
P.O. Box 2827
Eugene, OR 97402 USA
Toll Free: 800
-653-3336
Ph: 541
-687-0213
Fax: 541
-687-2060
www.whittierwood.com
Page 1 of 1
Rev. 01/13
NOTE: To avoid scratching the surface of the
wood, assemble the unit and place face-down
on a clean, protected surface.
12
1
2
3
4
5
6
7
8
9
10
11
Optimum
tightness
Face of
Cam Housing
Correct way to tighten
your Cam-Lock system.
Cam Connector
Shoulder must be
flush with the surface
of the wood.
DO NOT embed
the shoulder into the wood!
1. Insert the Cam Housing so the arrow faces the Cam
Connector. To achieve tension and holding power,
you MUST TURN the Cam Housing clockwise at
LEAST 1/4 turn to the 9:00 position. Turning the
Cam Housing between 1/4 and 1/2 turn should be
enough to ensure rigid tension. Tension should be
initiated as soon as 10:00. You should receive
optimum tightness at 11:00. IF this does not occur,
tighten or loosen the Cam Connector to achieve
proper tension.
2. You may need extra tension if:
A. The Cam Connector was screwed in deeper or
not as deep as if should.
B. If the furniture is repeatedly assembled and
disassembled.
C. If you place a heavy load in the unit.
To achieve extra tension,tighten the Cam
Connector between the 11:00 and 12:00
positions.
Shelf
Side Panel
Cam
Connector
Cam
Housing
Install the Cam
Housing so the
arrow is directly
over the bolt.
Lock the Cam
Housing with:
Phillips
Screwdriver
Slotted
Screwdriver

This manual suits for next models

1

Other Whittier Wood Indoor Furnishing manuals

Whittier Wood 3529DUET User manual

Whittier Wood

Whittier Wood 3529DUET User manual

Whittier Wood 3535DUET User manual

Whittier Wood

Whittier Wood 3535DUET User manual
Whittier Wood Stonewood 1746RGBb User manual

Whittier Wood

Whittier Wood Stonewood 1746RGBb User manual

Whittier Wood 5618RGB User manual

Whittier Wood

Whittier Wood 5618RGB User manual

Whittier Wood 2116AST User manual

Whittier Wood

Whittier Wood 2116AST User manual

Whittier Wood Extension Table User manual

Whittier Wood

Whittier Wood Extension Table User manual

Whittier Wood Ellison Queen Adjustable Headboard Platform Bed... User manual

Whittier Wood

Whittier Wood Ellison Queen Adjustable Headboard Platform Bed... User manual

Whittier Wood 2403AFGAC User manual

Whittier Wood

Whittier Wood 2403AFGAC User manual

Whittier Wood McKenzie Bookcase King Headboard User manual

Whittier Wood

Whittier Wood McKenzie Bookcase King Headboard User manual

Whittier Wood McKenzie 3497AFGACa User manual

Whittier Wood

Whittier Wood McKenzie 3497AFGACa User manual

Whittier Wood Shaker Table User manual

Whittier Wood

Whittier Wood Shaker Table User manual

Whittier Wood 1200AFVCL User manual

Whittier Wood

Whittier Wood 1200AFVCL User manual

Whittier Wood 1333GACd User manual

Whittier Wood

Whittier Wood 1333GACd User manual

Whittier Wood 1509 User manual

Whittier Wood

Whittier Wood 1509 User manual

Whittier Wood 1504GBCH User manual

Whittier Wood

Whittier Wood 1504GBCH User manual

Whittier Wood 2386GAC User manual

Whittier Wood

Whittier Wood 2386GAC User manual

Whittier Wood 2074AUF User manual

Whittier Wood

Whittier Wood 2074AUF User manual

Whittier Wood 4651AFDHa User manual

Whittier Wood

Whittier Wood 4651AFDHa User manual

Whittier Wood 2168AFCAFd User manual

Whittier Wood

Whittier Wood 2168AFCAFd User manual

Whittier Wood 5196AFGMS User manual

Whittier Wood

Whittier Wood 5196AFGMS User manual

Whittier Wood 2000AEGACa User manual

Whittier Wood

Whittier Wood 2000AEGACa User manual

Whittier Wood 1356AFGAC User manual

Whittier Wood

Whittier Wood 1356AFGAC User manual

Whittier Wood Addison 2018DUET User manual

Whittier Wood

Whittier Wood Addison 2018DUET User manual

Whittier Wood 1317AFGAC User manual

Whittier Wood

Whittier Wood 1317AFGAC User manual

Popular Indoor Furnishing manuals by other brands

Oeuf Classic Crib Instructions for safe use

Oeuf

Oeuf Classic Crib Instructions for safe use

Signature Design by Ashley 10028211 Assembly instructions

Signature Design by Ashley

Signature Design by Ashley 10028211 Assembly instructions

BGS technic 8388 manual

BGS technic

BGS technic 8388 manual

PicnicTable WOCT001-01-280422 Assembly instructions

PicnicTable

PicnicTable WOCT001-01-280422 Assembly instructions

POVISON TS1050WS installation instructions

POVISON

POVISON TS1050WS installation instructions

Steren STV-320 instruction manual

Steren

Steren STV-320 instruction manual

Hülsta now! flexx PASSEPARTOUT Assembly instruction

Hülsta

Hülsta now! flexx PASSEPARTOUT Assembly instruction

Forte MADRANO MEGV521L Assembling Instruction

Forte

Forte MADRANO MEGV521L Assembling Instruction

decortie NUN COFFEE TABLE Assembly instructions

decortie

decortie NUN COFFEE TABLE Assembly instructions

Oeuf PERCH BUNK 1PB-C-01 Assembly instruction

Oeuf

Oeuf PERCH BUNK 1PB-C-01 Assembly instruction

Triarch 32772/19 Assembly instructions

Triarch

Triarch 32772/19 Assembly instructions

Add-A-Motor 80 owner's manual

Add-A-Motor

Add-A-Motor 80 owner's manual

Sharkoon SKILLER SGS20 manual

Sharkoon

Sharkoon SKILLER SGS20 manual

Platan KACPER NEW Assembly instructions

Platan

Platan KACPER NEW Assembly instructions

BDI TANAMI 7109 instructions

BDI

BDI TANAMI 7109 instructions

YOTRIO Mainstays Palmerton Landing Bar... Assembly instructions

YOTRIO

YOTRIO Mainstays Palmerton Landing Bar... Assembly instructions

Bindertek Dealer Solutions 2-Tier Lockfile Assembly instructions

Bindertek Dealer Solutions

Bindertek Dealer Solutions 2-Tier Lockfile Assembly instructions

Homelegance Quinby 1525-6 Assembly instruction

Homelegance

Homelegance Quinby 1525-6 Assembly instruction

manuals.online logo
manuals.online logoBrands
  • About & Mission
  • Contact us
  • Privacy Policy
  • Terms and Conditions

Copyright 2025 Manuals.Online. All Rights Reserved.