manuals.online logo
Brands
  1. Home
  2. •
  3. Brands
  4. •
  5. Whittier Wood
  6. •
  7. Indoor Furnishing
  8. •
  9. Whittier Wood 193W User manual

Whittier Wood 193W User manual

P.O. Box 2827
Eugene, OR 97402 USA
Service Policy: We will replace any
parts which are defective, missing or
damaged during assembly. Please contact
Whittier Wood Products customer service
department directly (by phone, fax, mail or
email) for replacement parts.
Hours: Our friendly customer service staff
can be reached Monday-Friday 7:00 a.m. to
5:00 p.m. (Pacific Time). A message can be
left 24 hours a day, 7 days a week.
To Order: Provide the complete furniture
model number, part letter, production code,
quantity needed, reason for replacement
and your full name and address along with
a telephone number in case we need to
contact you.
Parts ship from our Eugene, Oregon factory
within 1 or 2 business days from the time
we receive the request. Please allow 5-10
business days for delivery.
Outside U.S. or Canada: 541-687-0213
Fax: 541-687-2060 • Email: info@whittierwood.com
Mail: P.O. Box 2827 • Eugene, Oregon 97402, U.S.A.
193W
Portland
Pedestal Base
4/05
Production Code:
Read both the Assembly Instructions and Finishing
Hints completely before beginning.
Store the parts: 1) in their box; 2) in a dry place; 3) in
temperatures ranging from 40° to 90°. (Not on a cold,
possibly damp, cement floor.)
Inspect your furniture periodically for any loose glue
joints or screws, or any other problem which may
be affecting the stability of your furniture. Tighten or
repair as needed.
For normal household use only.
recommended for commercial use.
Congratulations!
This fine piece of furniture will make a handsome
addition to your home. For the best results, start by
reading both the Assembly Instructions and
Finishing Hints before you begin your project.
Do not climb, sit or stand on this piece of
furniture.
Assembly Instructions
TOP SOLD
SEPARATELY
403W
Large
Traditional
Table Base
PAGE 2 — 193W/403W
193W/403W Pedestal Base — Parts
BEFORE BEGINNING ASSEMBLY,
check that the quantities of the parts received match those on the parts list below.
I — 3/8" Nut — Qty. 4
HARDWARE
J — 1/2" x 2¼" Dowel
— Qty. 4
G — 3/8" x 4½" Hanger Bolt — Qty. 4
K — T-Nut — Qty. 4
L — Adjustable Glide
— Qty. 4
D — #12 x 2" Pan
Head Screw — Qty. 8
E — 5/16" x 3" Lag Bolt
— Qty. 4
F — Flat Washer —
Qty. 4
H — Curved Washer
— Qty. 4
A — 193W Foot — Qty. 4
A — 403W Foot — Qty. 4 B — 403W Pedestal —
Qty. 1
B — 193W Pedestal —
Qty. 1
C — Top Support — Qty. 1
193W/403W — PAGE 3
193W/403W Pedestal Base
ASSEMBLY INSTRUCTIONS
TOOLS REQUIRED:
Phillips Screwdriver, 5/32" Drill Bit, Drill, Adjustable Wrench or 9/16" & 1/2" Open End or
Box End Wrenches, Hammer, and Wood Glue.
We recommend using a Phillips bit on a variable speed drill.
This will make assembly easier and will eliminate the need for pre-drilling.
FIG. 2
A
G
J
GLUE ALL
DOWELS IN
THIS STEP.
BOX-END
OPEN-END
TO ATTACH THE FEET TO PEDESTAL:
2) Glue a Dowel (J) into the upper hole in the end of each foot (A).
Screw the Hanger Bolts (G) into the pilot holes in the end of the Feet (A) as shown in FIGURE 2.
Rubbing a little soap on the threads will help them go in more easily.
For the 193W leave approximately 1½" of the Hanger Bolt (G) exposed from the end of the foot.
For the 403W leave approximately 2" of the Hanger Bolt (G) exposed from the end of the foot.
To avoid damaging the threads of the hanger bolt when screwing it in, use a pair of vise grips
on the area where the lag threads and machine threads meet or use the “double nut” method as
shown below.
DOUBLE NUT METHOD
With the “Double Nut” method, you lock two nuts together (turning them in opposite directions)
and then use a 9/16" or adjustable wrench on the outside nut to screw the bolts in.
TO ATTACH TOP SUPPORT TO PEDESTAL:
1) Spread a thin film of glue on top of the Pedestal (B) before attaching the Top Support (C). To
screw the Top Support to the Pedestal, start all four 5/16 x 3" Lag Bolts (E) and Flat Washers (F)
into the Pedestal as shown in FIGURE 1.
Rubbing a little soap on the threads will help the screws go in more easily. Use a 1/2" or adjustable
wrench to tighten the screws firmly. Over-tightening could strip the wood. If you do strip the wood
in the Pedestal, spread some glue on a small wedge of wood or some wooden match sticks and
pound into the stripped hole. Allow this to dry several hours, then tighten the screws solidly.
BOX-END
OPEN-END
FIG. 1
E
E
E
E
C
FIG. 3
L
A
K
3) Screw the T-Nut (K) onto the Adjustable
Glides (L) as shown in FIGURE 3. Cover the
bottom of the Glide with a cloth to protect
from damage and lightly hammer them into
the Feet (A). Do not try to pull the Glides out
after you have them in place.
FF
PAGE 4 — 193W/403W
4) Glue Dowels (J) in upper holes and put the Hanger Bolts (G) through the lower holes in the base
of the Pedestal. Put a Curved Washer (H) and 3/8" Hex Nut (I) over the Hanger Bolt and tighten
firmly with a 9/16" box-end or open-end wrench. See FIGURES 4 and 4A.
FIG. 4
J
G
FIG. 4A
HI
B
A
G
A
BOX-END
OPEN-END
GLUE ALL
DOWELS IN
THIS STEP.
7) Put the #12 x 2" Pan Head Screws (D) in the holes of the Top Support (C) and tap them lightly
with a hammer to center punch or mark the screw locations on the bottom side of the table top.
NOTE: The use of a variable speed drill with a Phillips bit will speed assembly and eliminate the
need for drilling pilot holes. Apply firm steady pressure on the screw.
8) Move the table base away and use a 5/32" drill bit (or smaller) to drill the eight pilot holes marked
in Step 7 (drilling the pilot holes is not necessary if you are using a variable speed drill with a
Phillips bit). Drill the holes 3/4" deep. To prevent accidentally drilling through the table top, mark
the drill bit with a piece of tape 3/4" from the end.
9) Put the table base back into position and tighten all screws solidly into the table top. Rubbing a
little soap on the threads will help the screws go in more easily.
10) When in the final location, rotate the adjustable glides to level the unit.
TOP SUPPORT (C)
SITS AT A 90° ANGLE
TO THE GRAIN OF
THE TABLE TOP
TO ATTACH THE TABLE TOP TO BASE:
5) After finishing all sides of the top, (with a
minimum of one coat of sanding sealer,
varnish, polyurethane, lacquer or the
equivalent) put the table top face down on
a flat surface. Protect the table top with a
piece of carpet or cardboard to prevent
possible marring.
6) Center the base on the top. It is important to
make sure the direction of the wood grain in
the Top Support (C) is placed at a right angle
(opposite) to the direction of the wood grain
of the table top (see FIGURE 6). This will
prevent possible warping of the table top.
TOP
(Sold Separately)
C
FIG. 6

This manual suits for next models

1

Other Whittier Wood Indoor Furnishing manuals
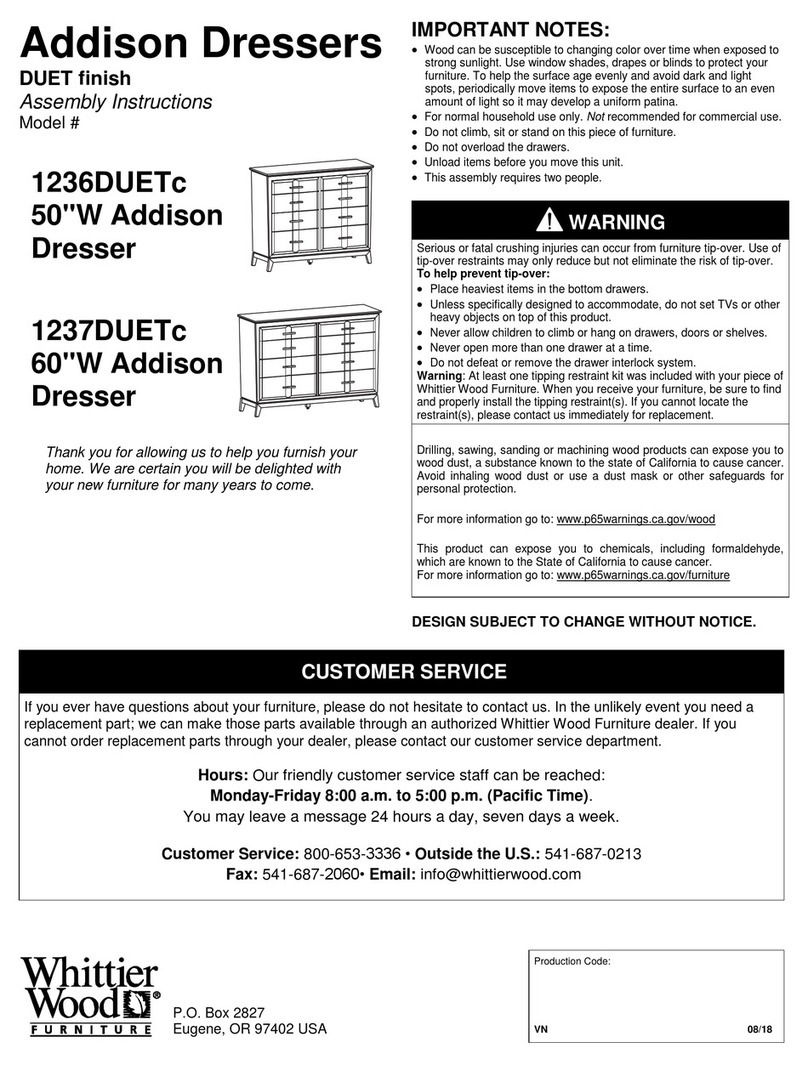
Whittier Wood 2006DUETa User manual

Whittier Wood

Whittier Wood 2006DUETa User manual

Whittier Wood 1190RGBa User manual

Whittier Wood

Whittier Wood 1190RGBa User manual

Whittier Wood 1306CAFd User manual

Whittier Wood

Whittier Wood 1306CAFd User manual

Whittier Wood 7031GDRC User manual

Whittier Wood

Whittier Wood 7031GDRC User manual

Whittier Wood 1130GACg User manual

Whittier Wood

Whittier Wood 1130GACg User manual

Whittier Wood 1524AEGAC User manual

Whittier Wood

Whittier Wood 1524AEGAC User manual

Whittier Wood 623Wa User manual

Whittier Wood

Whittier Wood 623Wa User manual

Whittier Wood 1554AEGAC User manual

Whittier Wood

Whittier Wood 1554AEGAC User manual
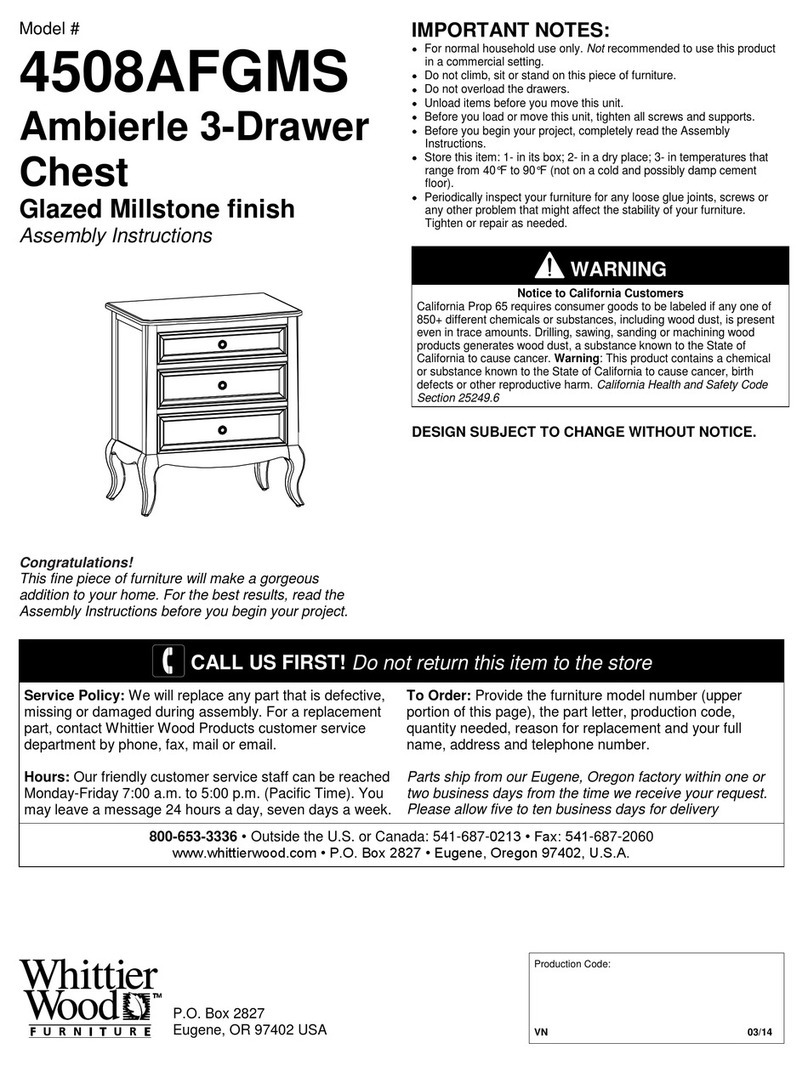
Whittier Wood 7000GDRC User manual

Whittier Wood

Whittier Wood 7000GDRC User manual

Whittier Wood 1242DUETa User manual

Whittier Wood

Whittier Wood 1242DUETa User manual

Whittier Wood 2386GAC User manual

Whittier Wood

Whittier Wood 2386GAC User manual

Whittier Wood 1200AFVCL User manual

Whittier Wood

Whittier Wood 1200AFVCL User manual

Whittier Wood 4506AFGMS User manual

Whittier Wood

Whittier Wood 4506AFGMS User manual

Whittier Wood 1116DUETc User manual

Whittier Wood

Whittier Wood 1116DUETc User manual

Whittier Wood 1877GBCHa User manual

Whittier Wood

Whittier Wood 1877GBCHa User manual

Whittier Wood 3460CAFb User manual

Whittier Wood

Whittier Wood 3460CAFb User manual

Whittier Wood 2376GAC User manual

Whittier Wood

Whittier Wood 2376GAC User manual

Whittier Wood 1375GACh User manual

Whittier Wood

Whittier Wood 1375GACh User manual

Whittier Wood 1221AFLSOc User manual

Whittier Wood

Whittier Wood 1221AFLSOc User manual

Whittier Wood 1112RGBa User manual

Whittier Wood

Whittier Wood 1112RGBa User manual

Whittier Wood 2084GAC User manual

Whittier Wood

Whittier Wood 2084GAC User manual

Whittier Wood 1670DUET User manual

Whittier Wood

Whittier Wood 1670DUET User manual

Whittier Wood 1370GACl User manual

Whittier Wood

Whittier Wood 1370GACl User manual

Whittier Wood 1316GACf User manual

Whittier Wood

Whittier Wood 1316GACf User manual

Popular Indoor Furnishing manuals by other brands

Next 984335 Assembly instructions

Next

Next 984335 Assembly instructions

SANTA LUCIA HOMY Night manual

SANTA LUCIA

SANTA LUCIA HOMY Night manual

New Classic Furniture ORION U1769-30P2 Assembly instructions

New Classic Furniture

New Classic Furniture ORION U1769-30P2 Assembly instructions

ZEITRAUM RAIL Café Assembly instruction

ZEITRAUM

ZEITRAUM RAIL Café Assembly instruction

IKEA MATÄLSKARE quick start guide

IKEA

IKEA MATÄLSKARE quick start guide

Comfort Products 50-2401WN Operation manual

Comfort Products

Comfort Products 50-2401WN Operation manual

JSI SWISH installation instructions

JSI

JSI SWISH installation instructions

TIMBER ART DESIGN FC 895017 Assembly instructions

TIMBER ART DESIGN

TIMBER ART DESIGN FC 895017 Assembly instructions

Target Windham Assembly instructions

Target

Target Windham Assembly instructions

Friant Tiles installation manual

Friant

Friant Tiles installation manual

Crosley CF3028 manual

Crosley

Crosley CF3028 manual

Rauch Holmes M2468 Assembly instructions

Rauch

Rauch Holmes M2468 Assembly instructions

Wójcik MADRAS PRO-016-3201 manual

Wójcik

Wójcik MADRAS PRO-016-3201 manual

LDI Spaces Safco 4214 Assembly instructions

LDI Spaces

LDI Spaces Safco 4214 Assembly instructions

Global Industrial 436965WN Assembly instructions

Global Industrial

Global Industrial 436965WN Assembly instructions

Next PARIS LUX 367456 Assembly instructions

Next

Next PARIS LUX 367456 Assembly instructions

Itatiaia IP1-40 Assembly instruction

Itatiaia

Itatiaia IP1-40 Assembly instruction

Costco 155-A293-093-316 Assembly instructions

Costco

Costco 155-A293-093-316 Assembly instructions

manuals.online logo
manuals.online logoBrands
  • About & Mission
  • Contact us
  • Privacy Policy
  • Terms and Conditions

Copyright 2025 Manuals.Online. All Rights Reserved.