manuals.online logo
Brands
  1. Home
  2. •
  3. Brands
  4. •
  5. Whittier Wood
  6. •
  7. Indoor Furnishing
  8. •
  9. Whittier Wood Cascade 1854GBCHa User manual

Whittier Wood Cascade 1854GBCHa User manual

P.O. Box 2827
Eugene, OR 97402 USA
Production Code:
VN 07/13
Model #
1854GBCHa
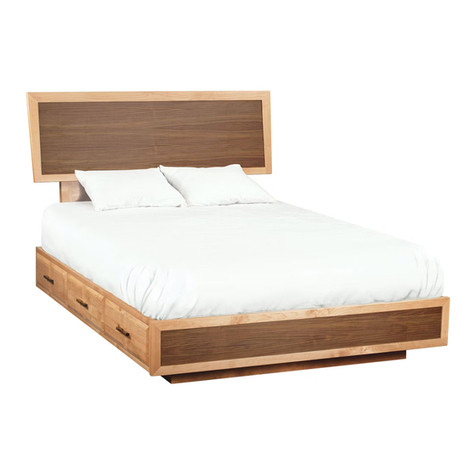
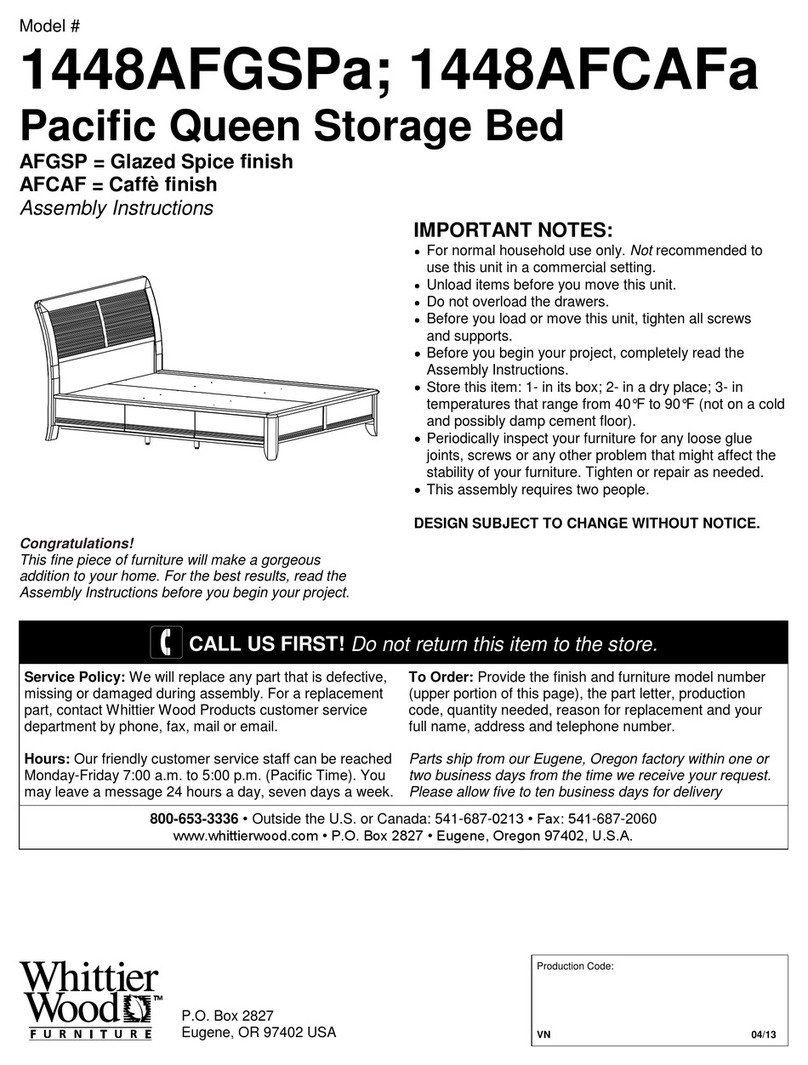
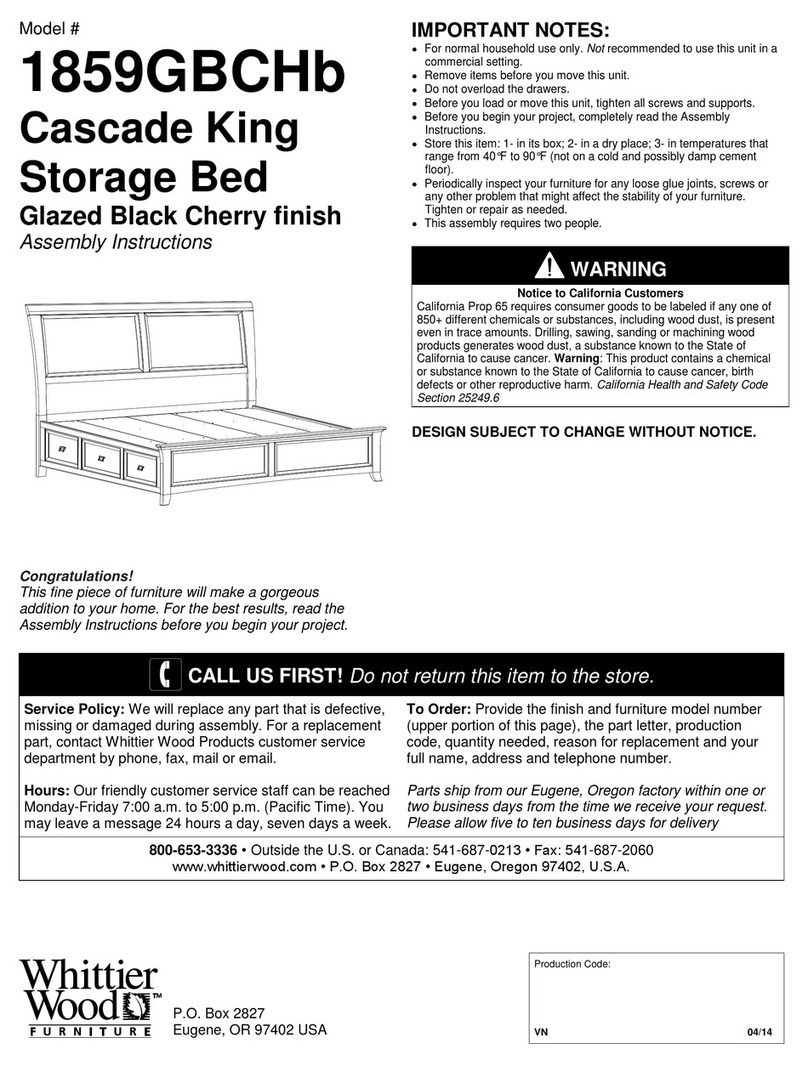
Cascade Queen Storage Bed
Glazed Black Cherry finish
Assembly Instructions
Congratulations!
This fine piece of furniture will make a gorgeous
addition to your home. For the best results, read the
Assembly Instructions before you begin your project.
IMPORTANT NOTES:
For normal household use only. Not recommended for commercial use.
Remove items before you move this unit.
Do not overload the drawers.
Before you load or move this unit, tighten all screws and supports.
Before you begin your project, completely read the Assembly
Instructions.
Store this item: 1- in its box; 2- in a dry place; 3- in temperatures that
range from 40°F to 90°F (not on a cold and possibly damp cement
floor).
Periodically inspect your furniture for any loose glue joints, screws or
any other problem that might affect the stability of your furniture.
Tighten or repair as needed.
This assembly requires two people.
WARNING
Notice to California Customers
California Prop 65 requires consumer goods to be labeled if any one of
850+ different chemicals or substances, including wood dust, is present
even in trace amounts. Drilling, sawing, sanding or machining wood
products generates wood dust, a substance known to the State of
California to cause cancer. Warning: This product contains a chemical
or substance known to the State of California to cause cancer, birth
defects or other reproductive harm. California Health and Safety Code
Section 25249.6
DESIGN SUBJECT TO CHANGE WITHOUT NOTICE.
CALL US FIRST! Do not return this item to the store
Service Policy: We will replace any part that is defective,
missing or damaged during assembly. For a replacement
part, phone, fax, mail or email your request to the Whittier
Wood Products customer service department.
Hours: Our friendly customer service staff can be reached
Monday-Friday 7:00 a.m. to 5:00 p.m. (Pacific Time). You
may leave a message 24 hours a day, seven days a week.
To Order: Provide the finish and furniture model number
(upper portion of this page), the part letter, production
code, quantity needed, reason for replacement and your
full name, address and telephone number.
Parts ship from our Eugene, Oregon factory within one or
two business days from the time we receive your request.
Please allow five to ten business days for delivery
800-653-3336 •Outside the U.S. or Canada: 541-687-0213 • Fax: 541-687-2060
www.whittierwood.com • P.O. Box 2827 • Eugene, Oregon 97402, U.S.A.
1854GBCHa Cascade Queen Storage Bed
Parts List
1854GBCHa —Page 2 —07/13
Please identify the parts and check that quantities received match those on this list.
If you need to replace a part, refer to the following letter and part name.
1857GBCHa Headboard/Footboard Kit (x1)
Part
Description
Quantity
A
Headboard Assembly
1
Ba
Footboard Assembly
1
C
Trestle With T-Nuts
7
D
Assembled Foot
3
E
Foot Bracket (attached)
3
F
Adjustable Glide (installed)
3
G
#8 x 20mm Pan Head Screw (inserted)
24
H
Left Bracket (attached)
4
I
Right Bracket (attached)
4
J
1/4" x 1-3/4" Hex Bolt
26
K
Washer
26
M
#6 x 1/2" Philtruss Screw
8
N
#8 x 1" Black Screw (inserted)
32
O
#8 x 1-1/4" Black Screw
33
(9 inserted)
P
#8 x 1-5/8" Black Screw (inserted)
4
Q
#8 x 1-3/4" Pan Head Screw (inserted)
2
R
1/4" T-Nut (inserted)
28
ZG
90oBracket
2
1854GBCHa Cascade Queen Storage Bed
Parts List
1854GBCHa —Page 3 —07/13
1856GBCHa Pedestal Kit (x2)
Part
Description
Quantity
H
Left Bracket (attached)
2
I
Right Bracket (attached)
2
M
#6 x 1/2" Philtruss Screw (inserted)
18
N
#8 x 1" Black Screw (inserted)
16
O
#8 x 1-1/4" Black Screw (inserted)
30
P
#8 x 1-5/8" Black Screw (inserted)
16
Sa
Pedestal Assembly
1
T
Small Drawer Box (assembled)
2
Ua
Large Drawer Box (assembled)
1
V
Small Drawer Face (attached)
2
Wa
Large Drawer Face (attached)
1
Xa
Deckboard
1
Y
Drawer Pull (attached)
3
ZA
#8 x 1-1/4" Machine Screw (installed)
6
ZB
Drawer Slides (installed)
3 sets
ZD
#6 x 3/4" Philtruss Screw (inserted)
18
ZE
#8 x 2" Black Screw (inserted)
12
ZF
#8 x 7/8" Lo-Profile Screw (inserted)
20
1854GBCHa Cascade Queen Storage Bed
Assembly Instructions
1854GBCHa —Page 4 —07/13
This assembly requires two people
Tools Required: Phillips screwdriver, 7/16" open end or box end wrench and Tape measure
1. Remove the Trestles (C) and Assembled Feet (D) from the back of the Footboard (Ba) and
place them off to the side. See Figure 1.
2. Place both Pedestals (Sa) approximately 63" apart as shown in Figure 2.
Fig. 2
63"
Sa
Sa
Fig. 1
Shipping Straps
Ba
C
D
D
D
1854GBCHa Cascade Queen Storage Bed
Assembly Instructions
1854GBCHa —Page 5 —07/13
3. To attach the Footboard (Ba) to the Pedestal Assembly (Sa), align the Brackets and slide the
Pedestal Assembly down on to the Footboard (Ba). See Figures 3 and 3a.
4. Repeat step three for the left side.
Fig. 4
Sa
Fig. 4a
Fig. 3
Sa
Ba
Fig. 3a
1854GBCHa Cascade Queen Storage Bed
Assembly Instructions
1854GBCHa —Page 6 —07/13
5. Align the Brackets on both sides and slide the Pedestal/Footboard assembly down on to the
Headboard (A). See Figure 5.
Fig. 5
A
1854GBCHa Cascade Queen Storage Bed
Assembly Instructions
1854GBCHa —Page 7 —07/13
6. Open the drawers. Face the Footboard and stand in between the first and second braces.
Place a Trestle with T-Nuts (C) on the outside surfaces of the first upper left and right braces so
that the T-Nuts (R) sit near the top. See Figure 6. Line up the upper edges of the trestle and
braces so they are nearly flush. Insert two 1/4" x 1-3/4" Hex Bolts (J) and Washers (K) and
tighten. Repeat for the second upper brace. See Figure 6a.
Place a Trestle with T-Nuts (C) on the outside surface of the second lower brace so that
the T-Nuts (R) sit near the bottom. Line up the bottom edges of the trestle and braces so they
are nearly flush. Insert two 1/4" x 1-3/4" Hex Bolts (J) and Washers (K) and tighten.
See Figures 6 and 6a.
Fig. 6
C
First brace
Second
brace
C
J
K
J
K
x 6
x 6
Footboard
Headboard removed for illustration purposes.
Fig. 6a
K
J
Brace
1854GBCHa Cascade Queen Storage Bed
Assembly Instructions
1854GBCHa —Page 8 —07/13
7. Face the Headboard and stand in between the third and fourth braces. Place a Trestle with
T-Nuts (C) on the outside surfaces of the third upper left and right braces so the T-nuts sit near
the top. See Figures 7 and 7a. Line up the upper edges of the trestle and braces so they are
nearly flush. Insert two 1/4" x 1-3/4" Hex Bolts (J) and Washers (K) and tighten. Repeat for the
fourth brace.
Place a Trestle with T-Nuts on the outside surface of the third left and right lower braces so that
the T-nuts sit near the bottom. Line up the bottom edges of the trestle and braces so they are
nearly flush. Insert two 1/4" x 1-3/4" Hex Bolts (J) and Washers (K) and tighten. See Figures 7
and 7a.
Repeat for the fourth brace.
Fig. 7
Fourth brace
Third
brace
C
J
J
K
x 8
x 8
Fig. 7a
K
J
Brace
K
Trestle with T-Nuts (C)
C
1854GBCHa Cascade Queen Storage Bed
Assembly Instructions
1854GBCHa —Page 9 —07/13
8. NOTE: There are blocks mounted on the back side of the Footboard to support the end of
the pedestal eliminating the need for a Assembled Foot in this position where it would be
easily visible. Do not attach a Assembled Foot in the position near the footboard.
Facing the Headboard, place two Assembled Feet (D) on the inside faces of the third and fourth
upper and lower Trestles. Attach with Washers (K) and 1/4" x 1-3/4" Hex Bolts (J). See Figures
8 and 8a.
Fig. 8
D
J
K
x 8
x 8
Fig. 8a
K
J
Fourth set of Trestles
Third
set
of
Trestles
D
K
D
J
Trestle with T-Nuts (C)
1854GBCHa Cascade Queen Storage Bed
Assembly Instructions
1854GBCHa —Page 10 —07/13
9. NOTE: There are blocks mounted on the back side of the Footboard to support the end of
the pedestal eliminating the need for a Assembled Foot in this position where it would be
easily visible. Do not attach a Assembled Foot in the position near the footboard.
Facing the Footboard, place a Assembled Foot (D) on the inside of the second set of Trestles
and attach with four Washers (K) and four 1/4" x 1-3/4" Hex Bolts (J). See Figures 9 and 9a.
Adjust all three Glides (F) found at the bottoms of the Assembled Feet so that the Glides just
touch the floor.
IMPORTANT: Make sure the Glides touch the floor and carry weight.
Fig. 9
J
K
x 4
x 4
Fig. 9a
Second set
of Trestles
K
J
F
K
D
J
1854GBCHa Cascade Queen Storage Bed
Assembly Instructions
1854GBCHa —Page 11 —07/13
10. Facing the Footboard, attach the Pedestal Assembly to the Footboard with a 90º Bracket (ZG)
and four #6 x 1/2" Philtruss Screws (M). Repeat for the other side. See Figures 10 and 10a.
11. This step requires two people. Place the bed at its final destination. If needed,
adjust center feet.
Fig. 10
Fig. 10a
ZG
M
ZG
M
ZG
M
x 2
x 8
1854GBCHa Cascade Queen Storage Bed
Assembly Instructions
1854GBCHa —Page 12 —07/13
12. To make sure the bed is square, measure the distance between opposing corners. If one of the
measurements is larger, tap on a footboard leg until the measurement is equal. See Figure 12.
13. Place the Deckboards (Xa) as shown in Figure 13. There should be a small gap between each
deckboard. Secure with #8x1-1/4" Black Screws (O).
If at some time you need to adjust the center feet, remove a deckboard, adjust the glides and
reattach the deckboard.
Fig. 13
Xa
O
x 24
O
Fig. 12

Other Whittier Wood Indoor Furnishing manuals
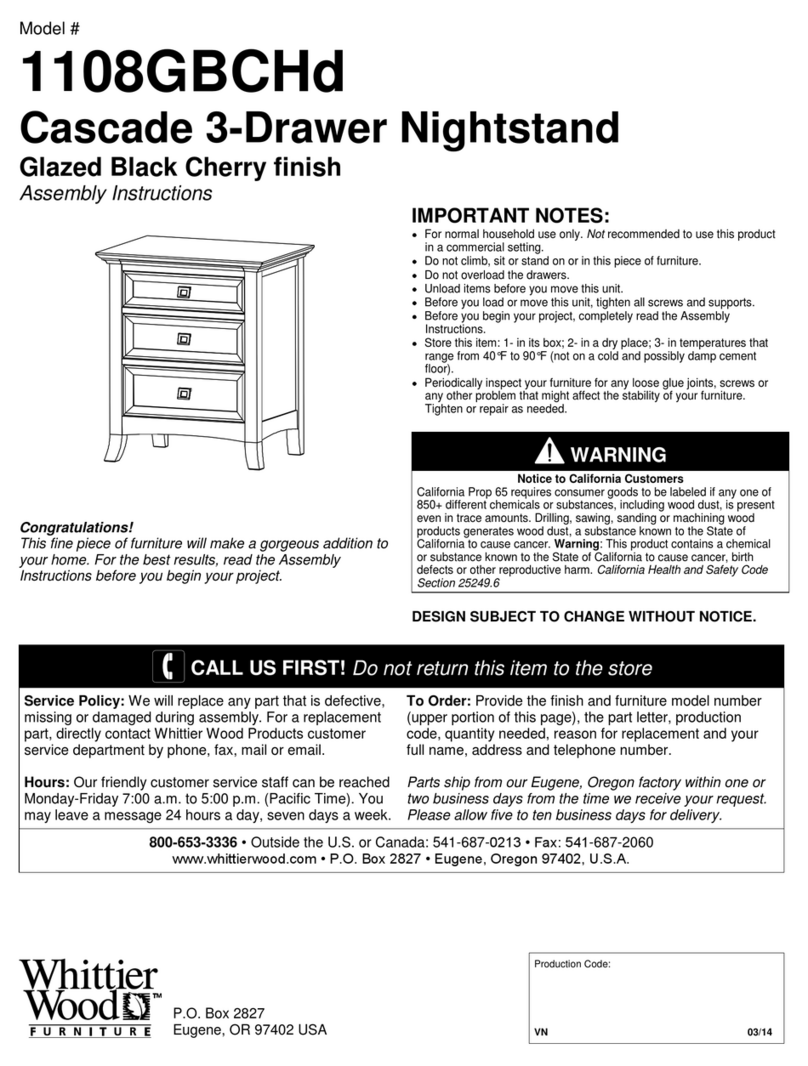
Whittier Wood 7137GDRC User manual

Whittier Wood

Whittier Wood 7137GDRC User manual

Whittier Wood 2376FST User manual

Whittier Wood

Whittier Wood 2376FST User manual

Whittier Wood Stayton 3460AFCAF User manual

Whittier Wood

Whittier Wood Stayton 3460AFCAF User manual

Whittier Wood Addison 1237DUETc User manual

Whittier Wood

Whittier Wood Addison 1237DUETc User manual

Whittier Wood 1150GBCH User manual

Whittier Wood

Whittier Wood 1150GBCH User manual

Whittier Wood 1555AEGSP User manual

Whittier Wood

Whittier Wood 1555AEGSP User manual

Whittier Wood 4508AFGMS User manual

Whittier Wood

Whittier Wood 4508AFGMS User manual

Whittier Wood 1357GACa User manual

Whittier Wood

Whittier Wood 1357GACa User manual

Whittier Wood 2393GAC User manual

Whittier Wood

Whittier Wood 2393GAC User manual

Whittier Wood 3510GAC User manual

Whittier Wood

Whittier Wood 3510GAC User manual

Whittier Wood 2098DUET User manual

Whittier Wood

Whittier Wood 2098DUET User manual

Whittier Wood 2906AUF User manual

Whittier Wood

Whittier Wood 2906AUF User manual

Whittier Wood 5201AFGMS User manual

Whittier Wood

Whittier Wood 5201AFGMS User manual

Whittier Wood 1995DUET User manual

Whittier Wood

Whittier Wood 1995DUET User manual

Whittier Wood 3524DUETa User manual

Whittier Wood

Whittier Wood 3524DUETa User manual

Whittier Wood 4519AFDH User manual

Whittier Wood

Whittier Wood 4519AFDH User manual

Whittier Wood 1112RGBa User manual

Whittier Wood

Whittier Wood 1112RGBa User manual

Whittier Wood Shaker Table User manual

Whittier Wood

Whittier Wood Shaker Table User manual

Whittier Wood 4861AFGMS User manual

Whittier Wood

Whittier Wood 4861AFGMS User manual

Whittier Wood 2333GACa User manual

Whittier Wood

Whittier Wood 2333GACa User manual

Whittier Wood 1262AFLSOa User manual

Whittier Wood

Whittier Wood 1262AFLSOa User manual

Whittier Wood 3502GACb User manual

Whittier Wood

Whittier Wood 3502GACb User manual

Whittier Wood McKenzie 1113GACa User manual

Whittier Wood

Whittier Wood McKenzie 1113GACa User manual

Whittier Wood McKenzie Alder 1614a User manual

Whittier Wood

Whittier Wood McKenzie Alder 1614a User manual

Popular Indoor Furnishing manuals by other brands

Regency LWMS3015 Assembly instructions

Regency

Regency LWMS3015 Assembly instructions

Furniture of America CM7751C Assembly instructions

Furniture of America

Furniture of America CM7751C Assembly instructions

Safavieh Furniture Estella CNS5731 manual

Safavieh Furniture

Safavieh Furniture Estella CNS5731 manual

PLACES OF STYLE Ovalfuss Assembly instruction

PLACES OF STYLE

PLACES OF STYLE Ovalfuss Assembly instruction

Trasman 1138 Bo1 Assembly manual

Trasman

Trasman 1138 Bo1 Assembly manual

Costway JV10856 manual

Costway

Costway JV10856 manual
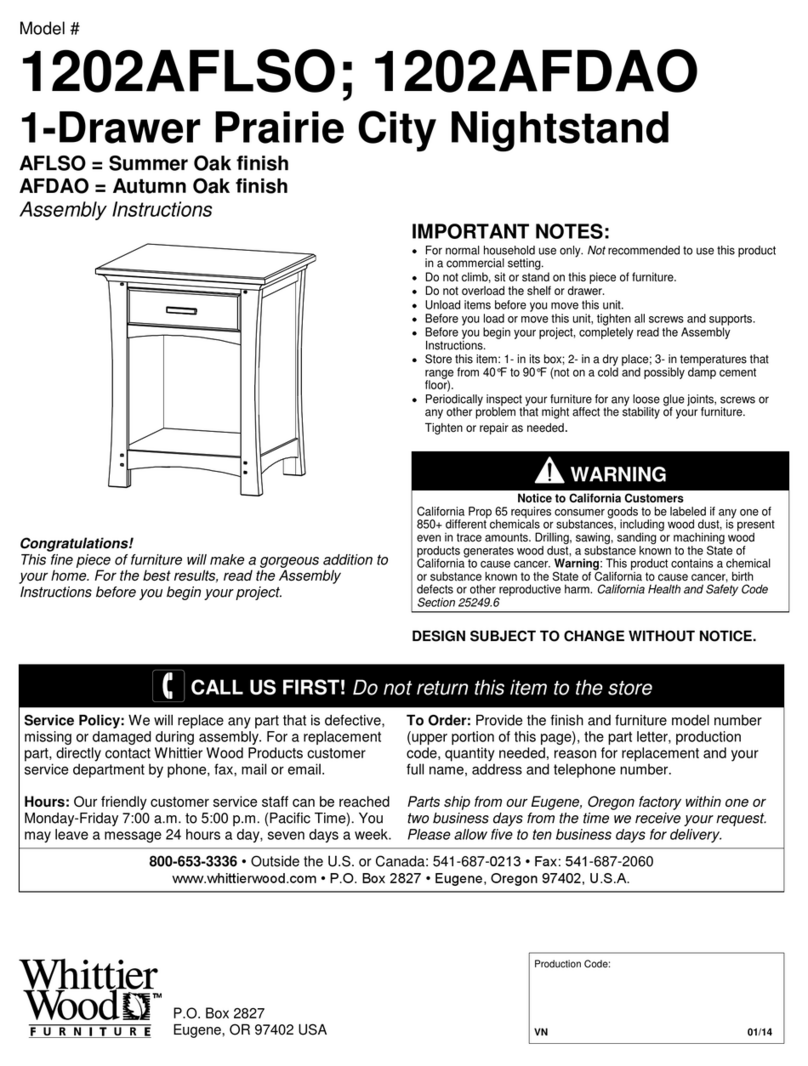
moss DESIGN Caisson Credenza Assembly instructions

moss DESIGN

moss DESIGN Caisson Credenza Assembly instructions

Aquaglide FULL DECK 15.0 owner's manual

Aquaglide

Aquaglide FULL DECK 15.0 owner's manual

AREBOS AR-HE-SW30 user manual

AREBOS

AREBOS AR-HE-SW30 user manual

Till-Hilft Fulda 87005.330 Assembly instructions

Till-Hilft

Till-Hilft Fulda 87005.330 Assembly instructions

Twoey Outside 2010 quick start guide

Twoey Outside

Twoey Outside 2010 quick start guide

Hettich Easys 200 operating instructions

Hettich

Hettich Easys 200 operating instructions

The bedboss RELAX 404 Series owner's manual

The bedboss

The bedboss RELAX 404 Series owner's manual

Oeseder Möbelindustrie Bern 991 720 Assembly instructions

Oeseder Möbelindustrie

Oeseder Möbelindustrie Bern 991 720 Assembly instructions

Costway HW68469 user manual

Costway

Costway HW68469 user manual

Next ALIX A27743 Assembly instructions

Next

Next ALIX A27743 Assembly instructions

BROSA Hans Assembly guide

BROSA

BROSA Hans Assembly guide

Prodigg MINIKA PBA015T-FUR installation manual

Prodigg

Prodigg MINIKA PBA015T-FUR installation manual

manuals.online logo
manuals.online logoBrands
  • About & Mission
  • Contact us
  • Privacy Policy
  • Terms and Conditions

Copyright 2025 Manuals.Online. All Rights Reserved.