manuals.online logo
Brands
  1. Home
  2. •
  3. Brands
  4. •
  5. Whittier Wood
  6. •
  7. Indoor Furnishing
  8. •
  9. Whittier Wood Ellison Queen Adjustable Headboard Platform Bed... User manual

Whittier Wood Ellison Queen Adjustable Headboard Platform Bed... User manual

P.O. Box 2827
Eugene, OR 97402 USA
Production Code:
VN 04/19
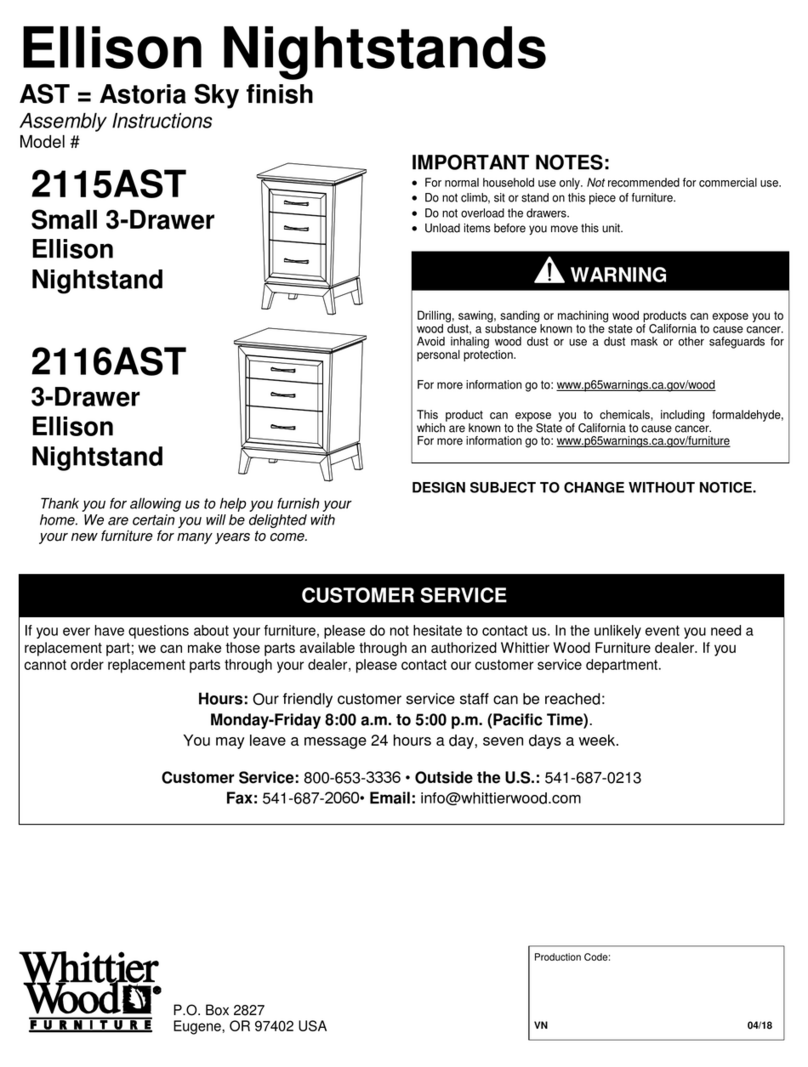
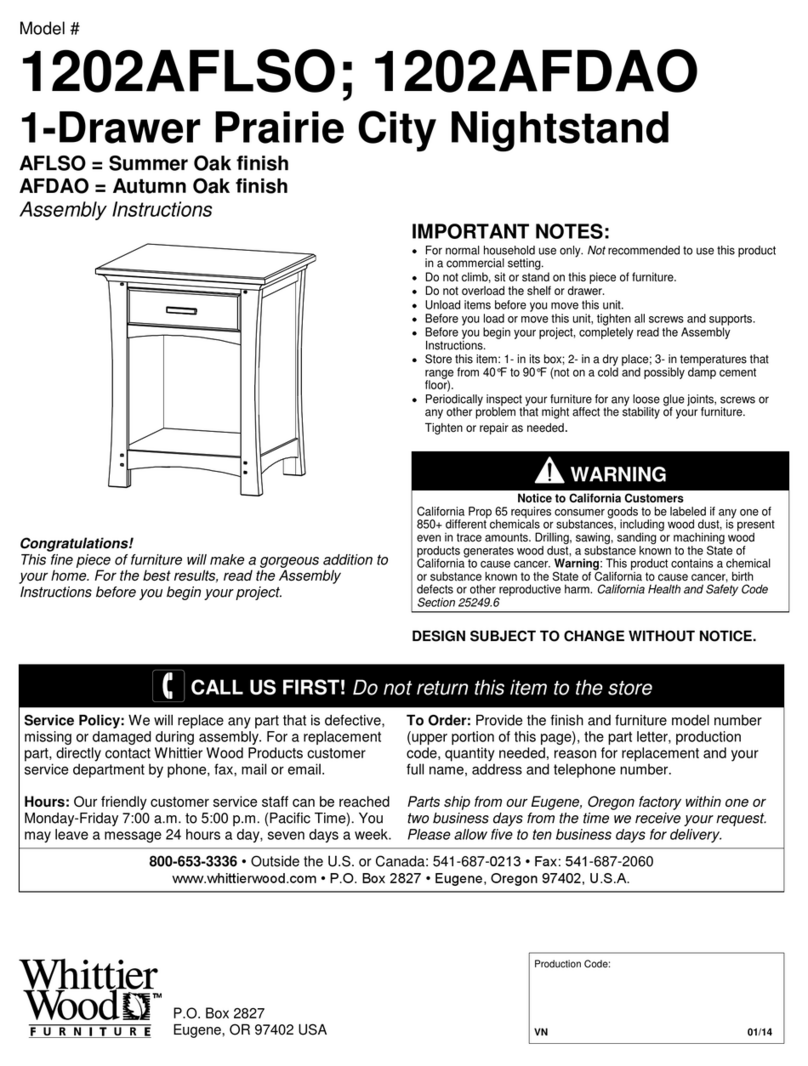
Ellison Adjustable Headboard Platform Beds
AST = Astoria Sky finish
Assembly Instructions
Model #
IMPORTANT NOTES:
For normal household use only. Not recommended for commercial use.
Remove items before you move this unit.
This assembly requires two people.
This item has a total maximum combined weight limit of
850 lbs. inclusive of foundation and people. An optional center foot
assembly is included to increase the limit to approximately 1,200 lbs.
WARNING
Drilling, sawing, sanding or machining wood products can expose you to
wood dust, a substance known to the state of California to cause cancer.
Avoid inhaling wood dust or use a dust mask or other safeguards for
personal protection.
For more information go to: www.p65warnings.ca.gov/wood
This product can expose you to chemicals, including formaldehyde,
which are known to the State of California to cause cancer.
For more information go to: www.p65warnings.ca.gov/furniture
DESIGN SUBJECT TO CHANGE WITHOUT NOTICE.
CUSTOMER SERVICE
If you ever have questions about your furniture, please do not hesitate to contact us. In the unlikely event you need a
replacement part; we can make those parts available through an authorized Whittier Wood Furniture dealer. If you
cannot order replacement parts through your dealer, please contact our customer service department.
Hours: Our friendly customer service staff can be reached:
Monday-Friday 8:00 a.m. to 5:00 p.m. (Pacific Time).
You may leave a message 24 hours a day, seven days a week.
Customer Service: 800-653-3336 • Outside the U.S.: 541-687-0213
Fax: 541-687-2060• Email: info@whittierwood.com
3900ASTa
Ellison Queen Adjustable
Headboard Platform Bed
Thank you for allowing us to help you furnish your
home. We are certain you will be delighted with
your new furniture for many years to come.
3904ASTa
Ellison King Adjustable
Headboard Platform Bed
3907ASTa
Ellison Cal-King Adjustable
Headboard Platform Bed
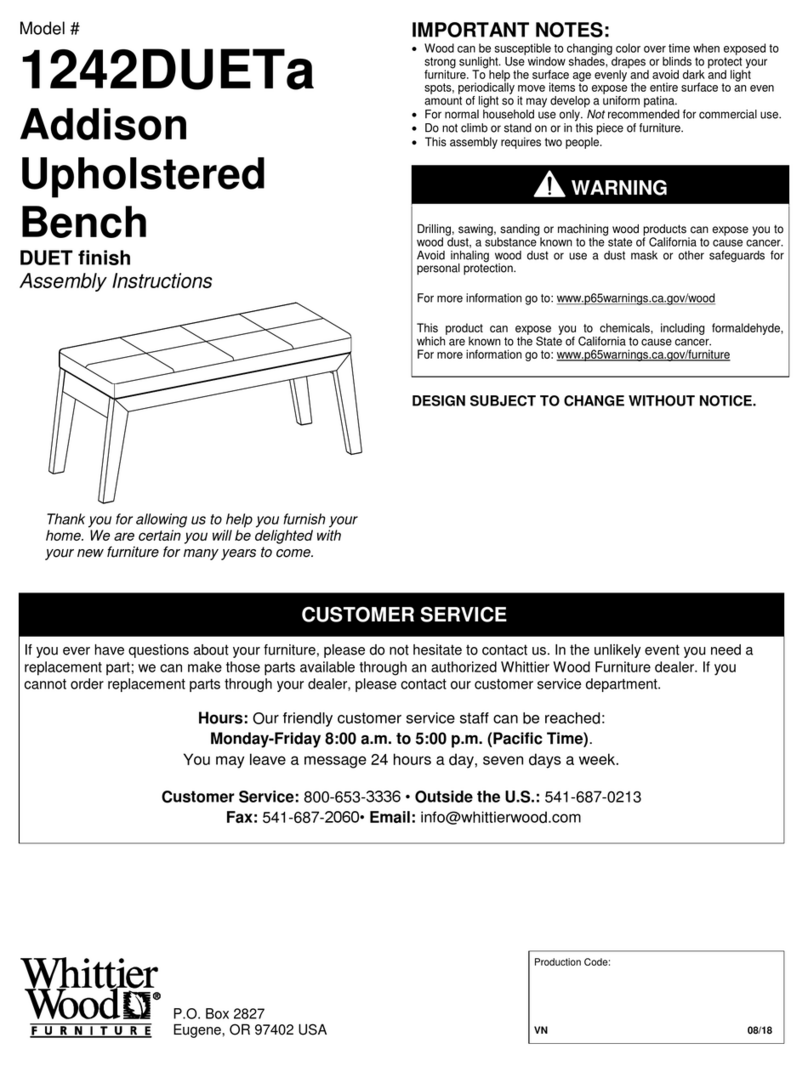
3900ASTa Ellison Queen Adjustable Headboard Platform Bed
3904ASTa Ellison King Adjustable Headboard Platform Bed
3907ASTa Ellison Cal-King Adjustable Headboard Platform Bed
Parts List
3900ASTa_3904ASTa_3907ASTa —Page 2 —04/19
Please identify the parts and check that the quantities received match those on this list. If you need
to replace a part, refer to the model number, part letter and name.
3901AST Ellison Queen Adjustable Platform Headboard Kit (x1)
3905AST Ellison King Adjustable Platform Headboard Kit (x1)
3908AST Ellison Cal-King Adjustable Platform Headboard Kit (x1)
Part
Description
Quantity
A
Headboard Assembly
1
B
18mm Flat Washer
8
C
1/4" x 20mm Insert Nut (inserted)
4
D
1/4" x 22mm Hex Bolt
4
E
1/4" x 35mm Hex Bolt
4
F
5/16" x 14mm Insert Nut (inserted)
4
G
5/16" x 35mm Hex Bolt (inserted)
4
H
Headboard L Bracket
2
I
Z Hex Wrench 5mm (attached to the right leg)
1
Please note this Assembly Instruction is for all three beds. Please identify the bed part
number when ordering parts.
3900ASTa Ellison Queen Adjustable Headboard Platform Bed
3904ASTa Ellison King Adjustable Headboard Platform Bed
3907ASTa Ellison Cal-King Adjustable Headboard Platform Bed
Parts List
3900ASTa_3904ASTa_3907ASTa —Page 3 —04/19
3902ASTa Ellison Queen Platform Kit (x1)
3906ASTa Ellison King Platform Kit (x1)
3909ASTa Ellison Cal-King Platform Kit (x1)
Part
Description
Quantity
Ja
End Platform Assembly
1
Ka
Headboard Platform Assembly
1
L
#8 x 1-1/8" Lo-Profile Screw (inserted)
12
M
#8 x 1-3/4" Pan Head Screw (inserted)
12
N
#8 x 1-5/8" Black Screw (inserted)
33
O
1/4" T-Nut (inserted)
48
P
Wood Dowel (inserted)
2
3900ASTa Ellison Queen Adjustable Headboard Platform Bed
3904ASTa Ellison King Adjustable Headboard Platform Bed
3907ASTa Ellison Cal-King Adjustable Headboard Platform Bed
Parts List
3900ASTa_3904ASTa_3907ASTa —Page 4 —04/19
3903ASTa
Ellison Queen/King/Cal-King Platform Connector Kit (x1)
Part
Description
Quantity
B
18mm Flat Washer
44
D
1/4" x 22mm Hex Bolt
24
E
1/4" x 35mm Hex Bolt
20
Q
Foot Assembly
4
R
#6 x 3/4" Brass Flat Head Screw (Inserted)
24
S
Wool Felt Pad/Glide (Attached)
5
T
Metal Foot Bracket (Attached)
4
U
1500mm Channel
4
V
Center Foot Assembly
1
W
#8 x 1-1/4" Black Screw (inserted)
4
X
#8 x 2" Black Screw (inserted)
5
3900ASTa Ellison Queen Adjustable Headboard Platform Bed
3904ASTa Ellison King Adjustable Headboard Platform Bed
3907ASTa Ellison Cal-King Adjustable Headboard Platform Bed
Assembly Instructions
This assembly requires two people.
3900ASTa_3904ASTa_3907ASTa —Page 5 —04/19
Tools Required: Phillips screwdriver, 7/16" open end or box end wrench.
Tool Provided: Z shaped Hex Wrench attached to the back right leg of the Headboard. See
Figure 7b.
NOTE: Remove this instruction from the Headboard Kit carton. Place Headboard and attached
hardware kit to the side (possibly in another room) to allow space for assembling the platform
portion of the bed. Open the #3903 Platform Connector Kit, which attaches the two Platforms
together.
1. Open and unfold the Platform Kit carton in the approximate location where the bed will be
placed. This will help protect the flooring and the faces of the platform components. Place the
Headboard Platform Assembly (Ka) face down in the approximate location where the headboard
will be located with the inside edge facing the End Platform Assembly (Ja). Align the Dowels (P)
in the edge of the Headboard Platform Assembly (Ka) with the holes in the edge of the End
Platform Assembly (Ja) see Figures 1 and 1a.
Fig. 1
Ka
Ja
Fig. 1a
Unfolded
Platform
carton
P
3900ASTa Ellison Queen Adjustable Headboard Platform Bed
3904ASTa Ellison King Adjustable Headboard Platform Bed
3907ASTa Ellison Cal-King Adjustable Headboard Platform Bed
Assembly Instructions
This assembly requires two people.
3900ASTa_3904ASTa_3907ASTa —Page 6 —04/19
2. Slide the two sections together so that the flat edges touch as shown in Figure 2. Using the
hardware from the #3903 Connector Kit, place the 1500mm Channels (U) on the Platform and
align over the predrilled holes in the platform. Attach the Channels (U) with 1/4" X 22mm Hex
Bolts (D) and 18mm Flat Washers (B). See Figures 2 and 2a.
Fig. 2
U
B
Fig. 2a
D
U
B
D
x 24
x 24
Hardware bag step 2
3900ASTa Ellison Queen Adjustable Headboard Platform Bed
3904ASTa Ellison King Adjustable Headboard Platform Bed
3907ASTa Ellison Cal-King Adjustable Headboard Platform Bed
Assembly Instructions
This assembly requires two people.
3900ASTa_3904ASTa_3907ASTa —Page 7 —04/19
3. Place the Foot Assemblies (Q) onto the Platform Assembly so that the holes in the metal
brackets align over the predrilled holes. The legs should angle outward toward the corner of the
platform. Attach the Foot Assemblies (Q) with 1/4" X 35mm Hex Bolts (E) and 18mm Flat
washers (B). See Figures 3 and 3a.
Fig. 3
E
Fig. 3a
B
Q
B
E
x 16
x 16
Hardware bag step 3
3900ASTa Ellison Queen Adjustable Headboard Platform Bed
3904ASTa Ellison King Adjustable Headboard Platform Bed
3907ASTa Ellison Cal-King Adjustable Headboard Platform Bed
Assembly Instructions
This assembly requires two people.
3900ASTa_3904ASTa_3907ASTa —Page 8 —04/19
4. The attachment of the Center Foot Assembly (V) is optional if there is no need for extra support
beyond the 850 lbs. weight limit. The addition of the foot will reduce the flex built into the design
of the bed and provide more support. To attach the Center Foot Assembly (V) align the block
over the four holes in the Headboard Platform Assembly (Ka). Attach with 1/4" X 35mm Hex
Bolts (E) and 18mm Flat washers (B). See Figures 4 and 4a.
Fig. 4
E
Fig. 4a
B
V
B
E
x 4
x 4
Hardware bag step 4
3900ASTa Ellison Queen Adjustable Headboard Platform Bed
3904ASTa Ellison King Adjustable Headboard Platform Bed
3907ASTa Ellison Cal-King Adjustable Headboard Platform Bed
Assembly Instructions
This assembly requires two people.
3900ASTa_3904ASTa_3907ASTa —Page 9 —04/19
5. CAUTION NEEDED: Flip the Platform Assembly over onto the feet. Use extreme care not
to bump into light fixtures, ceiling fans, walls, ceiling, or other objects in the room. Protect the
corners of the Platform. Do not apply force to the Foot Assemblies. Carefully slide the Platform
carton out from beneath the Platform Assembly and recycle or discard.
6. Retrieve the Headboard and hardware kit. Position the Headboard Brackets (H) on the Platform
Assembly as shown with the longer leg of the bracket extending upward and align to the pre-
drilled holes in the bottom of the platform. Attach from the underside using 1/4" X 35mm Hex
Bolts (E) and 18mm Flat Washers (B) as shown. Finger tighten the bolts at this time. See
Figures 6 and 6a.
Fig. 6
Fig. 6a
E
B
H
B
E
x 4
x 4
Hardware bag step 6
3900ASTa Ellison Queen Adjustable Headboard Platform Bed
3904ASTa Ellison King Adjustable Headboard Platform Bed
3907ASTa Ellison Cal-King Adjustable Headboard Platform Bed
Assembly Instructions
This assembly requires two people.
3900ASTa_3904ASTa_3907ASTa —Page 10 —04/19
7. Attach the Headboard assembly (A) to the Platform Assembly as shown and secure with 1/4" X
22mm Hex Bolts (D) and 18mm Flat Washers (B). After tightening these bolts go back and
tighten the bolts securing the brackets to the bottom of the Platform Assembly. See Figures 7
and 7a.
Fig. 7
B
D
x 4
x 4
Fig. 7a
B
D
Hardware bag step 7
A
3900ASTa Ellison Queen Adjustable Headboard Platform Bed
3904ASTa Ellison King Adjustable Headboard Platform Bed
3907ASTa Ellison Cal-King Adjustable Headboard Platform Bed
Assembly Instructions
This assembly requires two people.
3900ASTa_3904ASTa_3907ASTa —Page 11 —04/19
8. NOTE: When completing step 7 you may wish to place your mattress onto the Bed to use as a
visual reference while adjusting the Headboard Height.
The Headboard for this bed is adjustable. It can be raised or lowered depending on the
thickness of your mattress. The holes for adjusting the height are numbered on the back of the
headboard legs. The chart below provides suggested settings based on the thickness of your
mattress. It also lists the overall height of the headboard at each setting. You may choose a
different setting for a variety of reasons. Individual preference, the number and thickness of
pillows on your bed, or the presence of a window or artwork above the Headboard are some of
the factors that might lead you to select a different setting than the one we have suggested. To
adjust the setting of the headboard use the Hex wrench (I) provided to remove the 5/16" X
35mm Bolts (G) attaching the Headboard to the Legs of the Headboard. Reposition the
Headboard so that the insert nuts in the back line up to the numbered holes that correspond to
the height you desire. Reinsert the bolts. See Figures 8 and 8a.
Screw Position
Headboard Height
Approximate Mattress Thickness Range
1
46"
>12"
2
44 3/4"
10" to 11"
3
43 1/2"
9" to 10"
4
42 1/4"
8" to 9"
Fig. 8
G
x 4
I
x 1
Fig. 8a
G
G
I
Fig. 8b
1
2
3
4
1
2
3
4
Hardware bag step 8

This manual suits for next models

2

Other Whittier Wood Indoor Furnishing manuals
Whittier Wood 1500AUF User manual

Whittier Wood

Whittier Wood 1500AUF User manual

Whittier Wood McKenzie 3500GACd User manual

Whittier Wood

Whittier Wood McKenzie 3500GACd User manual

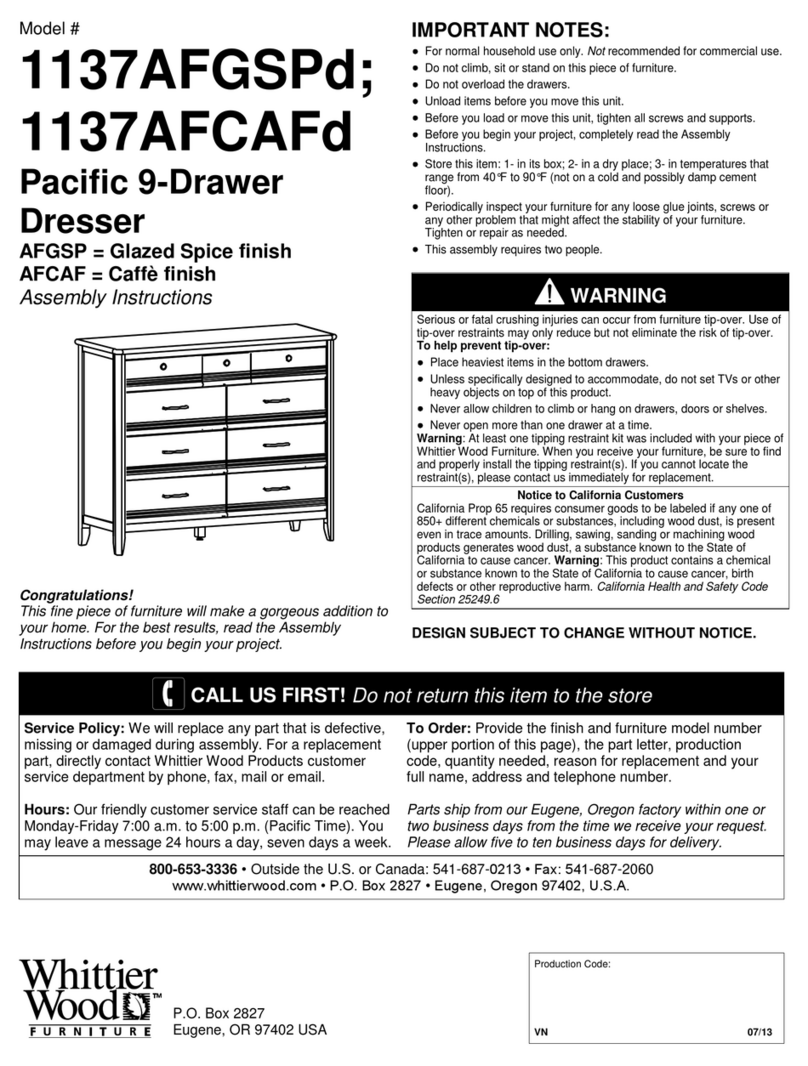
Whittier Wood 1137AFGSPd User manual

Whittier Wood

Whittier Wood 1137AFGSPd User manual

Whittier Wood 1877GBCHa User manual

Whittier Wood

Whittier Wood 1877GBCHa User manual

Whittier Wood 1122GACb User manual

Whittier Wood

Whittier Wood 1122GACb User manual

Whittier Wood 1859GBCHb User manual

Whittier Wood

Whittier Wood 1859GBCHb User manual

Whittier Wood 1262AFLSOa User manual

Whittier Wood

Whittier Wood 1262AFLSOa User manual

Whittier Wood 362KFGACb User manual

Whittier Wood

Whittier Wood 362KFGACb User manual

Whittier Wood 1127GACg User manual

Whittier Wood

Whittier Wood 1127GACg User manual

Whittier Wood 1503GBCHb User manual

Whittier Wood

Whittier Wood 1503GBCHb User manual

Whittier Wood 1555AEGSP User manual

Whittier Wood

Whittier Wood 1555AEGSP User manual

Whittier Wood 1137GSPf User manual

Whittier Wood

Whittier Wood 1137GSPf User manual

Whittier Wood 1374GACf User manual

Whittier Wood

Whittier Wood 1374GACf User manual

Whittier Wood 3531DUET User manual

Whittier Wood

Whittier Wood 3531DUET User manual

Whittier Wood 1099CAFb User manual

Whittier Wood

Whittier Wood 1099CAFb User manual

Whittier Wood Ellison 2140AST User manual

Whittier Wood

Whittier Wood Ellison 2140AST User manual

Whittier Wood 3504CAFa User manual

Whittier Wood

Whittier Wood 3504CAFa User manual

Whittier Wood 2072AEGSP User manual

Whittier Wood

Whittier Wood 2072AEGSP User manual

Whittier Wood 2070AFGAC User manual

Whittier Wood

Whittier Wood 2070AFGAC User manual

Whittier Wood 1149GBCH User manual

Whittier Wood

Whittier Wood 1149GBCH User manual

Whittier Wood 2076GAC User manual

Whittier Wood

Whittier Wood 2076GAC User manual

Whittier Wood 1221AFLSOc User manual

Whittier Wood

Whittier Wood 1221AFLSOc User manual

Whittier Wood 1150GBCH User manual

Whittier Wood

Whittier Wood 1150GBCH User manual

Whittier Wood 745W User manual

Whittier Wood

Whittier Wood 745W User manual

Popular Indoor Furnishing manuals by other brands

Turtleplay BCH0492020110 manual

Turtleplay

Turtleplay BCH0492020110 manual

Niche PEDESTAL LOCKDOWEL NPBF19 Assembly instructions

Niche

Niche PEDESTAL LOCKDOWEL NPBF19 Assembly instructions

HJH office RANGER Assembly instructions

HJH office

HJH office RANGER Assembly instructions

Hodedah HID 23-D Assembly instructions

Hodedah

Hodedah HID 23-D Assembly instructions

Safavieh Furniture Malyn ACC9712 manual

Safavieh Furniture

Safavieh Furniture Malyn ACC9712 manual

namesake Nantucket manual

namesake

namesake Nantucket manual

Kogan SHANGRI-LA user guide

Kogan

Kogan SHANGRI-LA user guide

Universal Furniture 475-801 instruction sheet

Universal Furniture

Universal Furniture 475-801 instruction sheet

Bestar 40184 manual

Bestar

Bestar 40184 manual

BLACK RED WHITE LOFT B156-WIE/55 Assembly

BLACK RED WHITE

BLACK RED WHITE LOFT B156-WIE/55 Assembly

Pillar Laguna installation instructions

Pillar

Pillar Laguna installation instructions

Sensea REMIX 33 S 60 2T Assembly, Use, Maintenance Manual

Sensea

Sensea REMIX 33 S 60 2T Assembly, Use, Maintenance Manual

Costway JV10081 manual

Costway

Costway JV10081 manual

Next MODE 583048 Assembly instructions

Next

Next MODE 583048 Assembly instructions

BOBOCHIC CORNEILLE/KANTO 1D3DR Assembly instructions

BOBOCHIC

BOBOCHIC CORNEILLE/KANTO 1D3DR Assembly instructions

Takara Belmont Square EPIPHANY manual

Takara Belmont

Takara Belmont Square EPIPHANY manual

KOBLE Larsen HM-TS001-001 Assembly instructions

KOBLE

KOBLE Larsen HM-TS001-001 Assembly instructions

Young America SSC 1300 GRACE Assembly instructions

Young America

Young America SSC 1300 GRACE Assembly instructions

manuals.online logo
manuals.online logoBrands
  • About & Mission
  • Contact us
  • Privacy Policy
  • Terms and Conditions

Copyright 2025 Manuals.Online. All Rights Reserved.