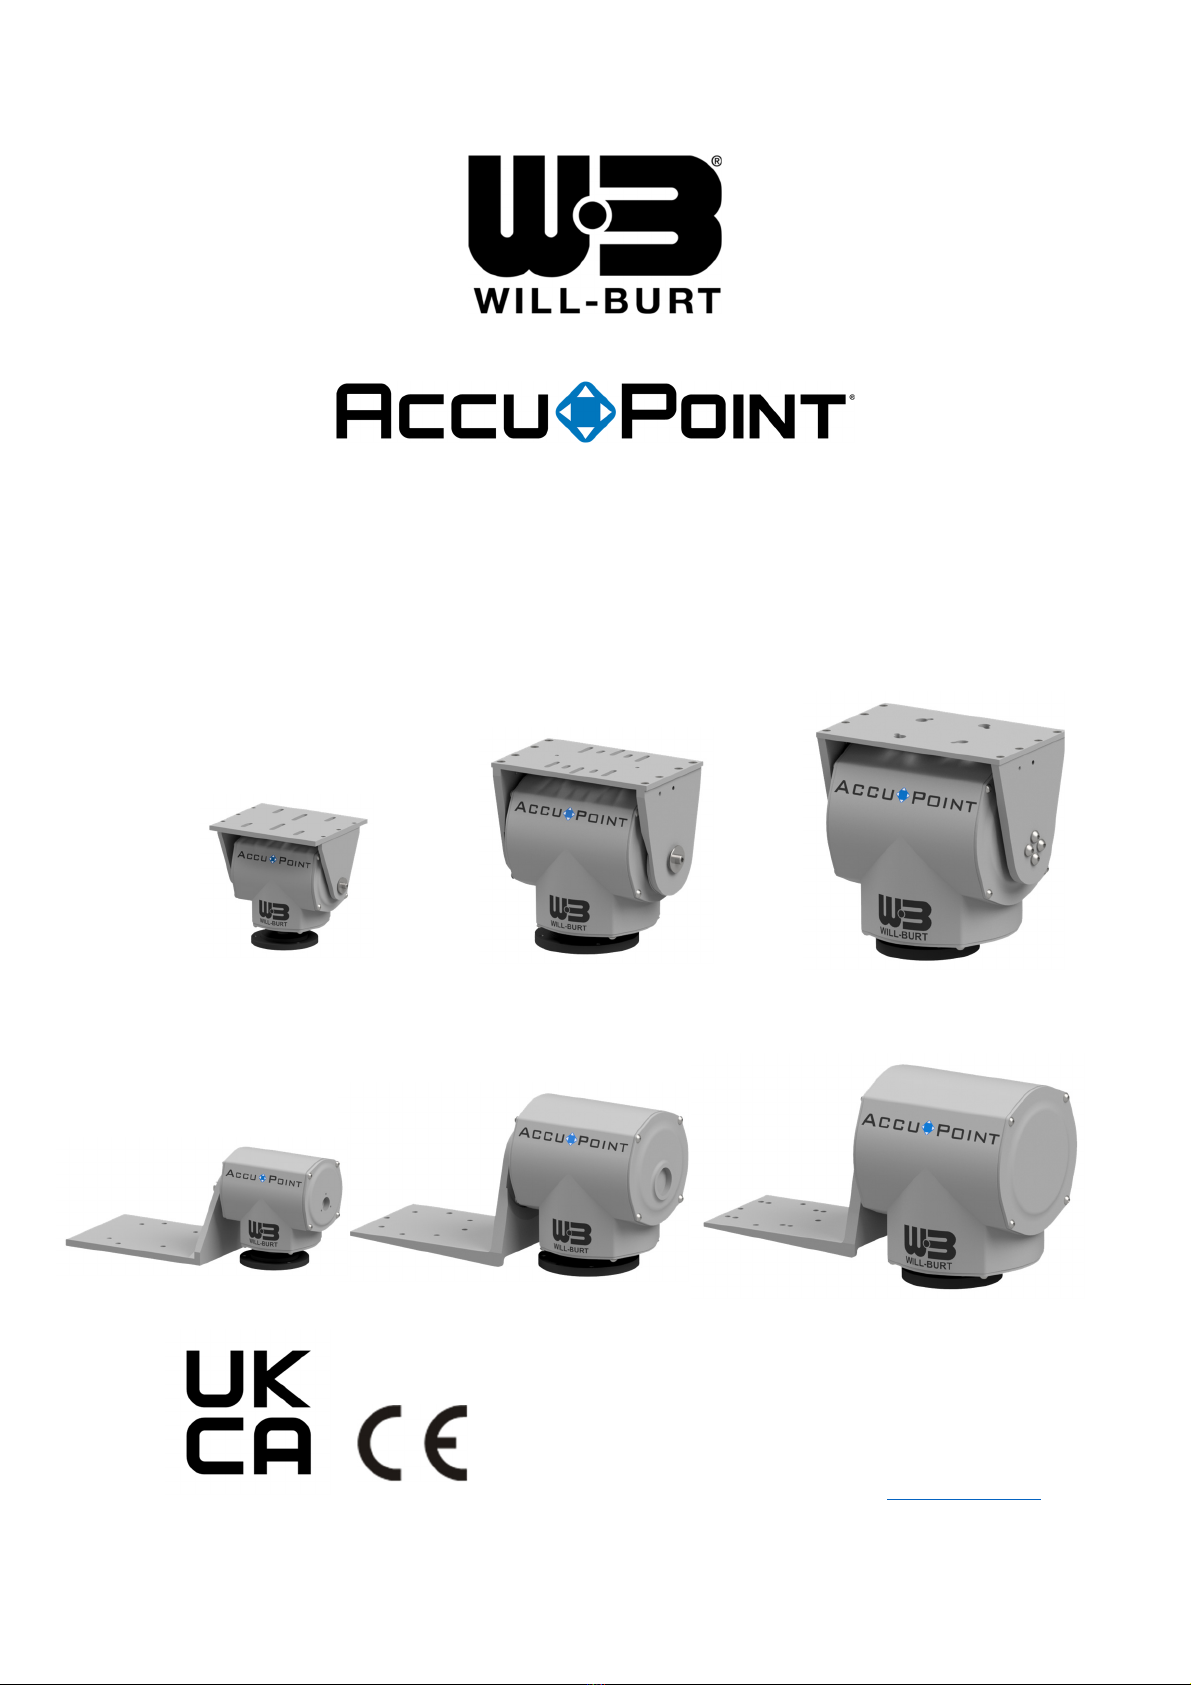
Accupoint Positioners
PM-01010-REV 2 1-5
May 2022
Table of Contents
Section 1 Introduction ....................................................................................................... 1-9
1.1 Safety Precautions ..................................................................................................................... 1-9
1.2 How this Manual is Organized ................................................................................................... 1-9
1.3 Additional Documentation .......................................................................................................... 1-9
1.4 Definitions of Terms and Symbols ........................................................................................... 1-10
1.4.1.1 General Terms: .......................................................................................................... 1-10
1.4.1.2 Positions ..................................................................................................................... 1-10
1.4.1.3 Directions ................................................................................................................... 1-11
1.4.1.4 Symbols: .................................................................................................................... 1-11
1.5 Specifications ........................................................................................................................... 1-12
1.5.1 Positioner Specifications & Dimensions ........................................................................... 1-13
1.5.1.1 AP-8 Specifications .................................................................................................... 1-13
1.5.1.2 AP-8 Dimensions ....................................................................................................... 1-14
1.5.1.3 AP-30 Specifications .................................................................................................. 1-15
1.5.1.4 AP-30 Dimensions ..................................................................................................... 1 - 1 6
1.5.1.5 AP-50 Specifications .................................................................................................. 1-17
1.5.1.6 AP-50 Dimensions ..................................................................................................... 1 - 1 8
1.5.2 Controller Specifications ................................................................................................... 1-19
1.5.2.1 Joystick Controller ...................................................................................................... 1-19
1.5.2.2 Rack Mount Controller ............................................................................................... 1-20
1.5.2.3 User Supplied Controller ............................................................................................ 1-21
1.6 Major Components ................................................................................................................... 1-21
1.6.1 Positioner .......................................................................................................................... 1-21
1.6.2 Power/Data Connector ...................................................................................................... 1-22
1.6.3 Controllers ......................................................................................................................... 1-22
1.6.3.1 Joystick Controller ...................................................................................................... 1-22
1.6.3.2 Rack Mount Controller ............................................................................................... 1-23
1.6.4 USB to RS485 Converter .................................................................................................. 1-24
1.6.5 Power/Data Cable ............................................................................................................. 1-24
1.6.6 Positioner Power Supply ................................................................................................... 1-25
1.6.6.1 AC/DC Converter ....................................................................................................... 1-25
1.6.6.2 Step Up Converter ..................................................................................................... 1-25
1.6.6.3 Step Down Converter ................................................................................................. 1-26
1.6.6.4 Barrel Connector (2.1mm) ......................................................................................... 1-26
1.7 Quick Overview ........................................................................................................................ 1-27
1.7.1.1 To install the positioner (Section 2): ........................................................................... 1-27
1.7.1.2 To operate the positioner (Section 3): ........................................................................ 1-27
Section 2 Installation ....................................................................................................... 2-28
2.1 Pre-Installation Check .............................................................................................................. 2-28
2.2 Installation Tools ...................................................................................................................... 2-29
2.3 Components ............................................................................................................................. 2-29
2.4 Unpacking ................................................................................................................................ 2-29
2.5 Mounting the Positioner ........................................................................................................... 2-30
2.6 Wiring the System .................................................................................................................... 2-32
2.6.1 Positioner Power/Data Connector .................................................................................... 2-32
2.6.2 Power and Controls System Overview ............................................................................. 2-32