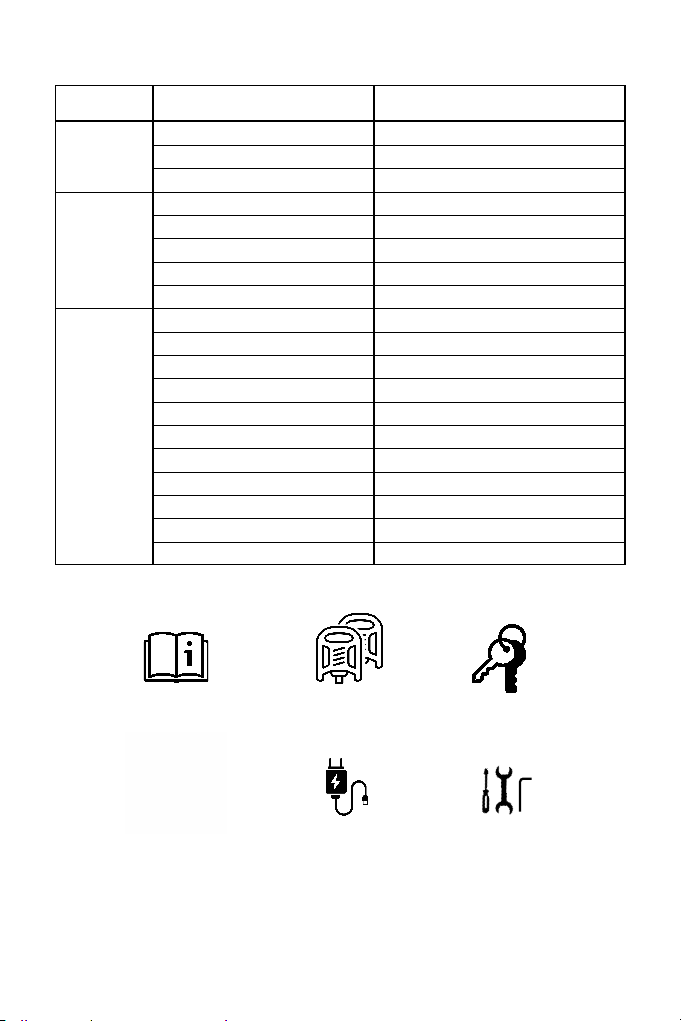
Product Safety Notice
Don't ride until you read this:
1. Always wear a helmet when you ride electric bike.
2. Keep the two keys properly. If the unique keys are lost, you will not be able to turn on
the bike or replace the battery. lf necessary, you should get more spare keys (We don't
have a backup key)
3. Make sure your electric bike has a full battery before taking it out to ride.
4. Always be aware of local road laws, and follow them.
5. Do not ride the electric bike under the influence of drugs or alcohol.
6. Always respect pedestrians.
7. Do not ride under wet conditions.The electric bike may slide from under your feet
causing injury. Wet conditions may damage the electronics and void the warranty.
10
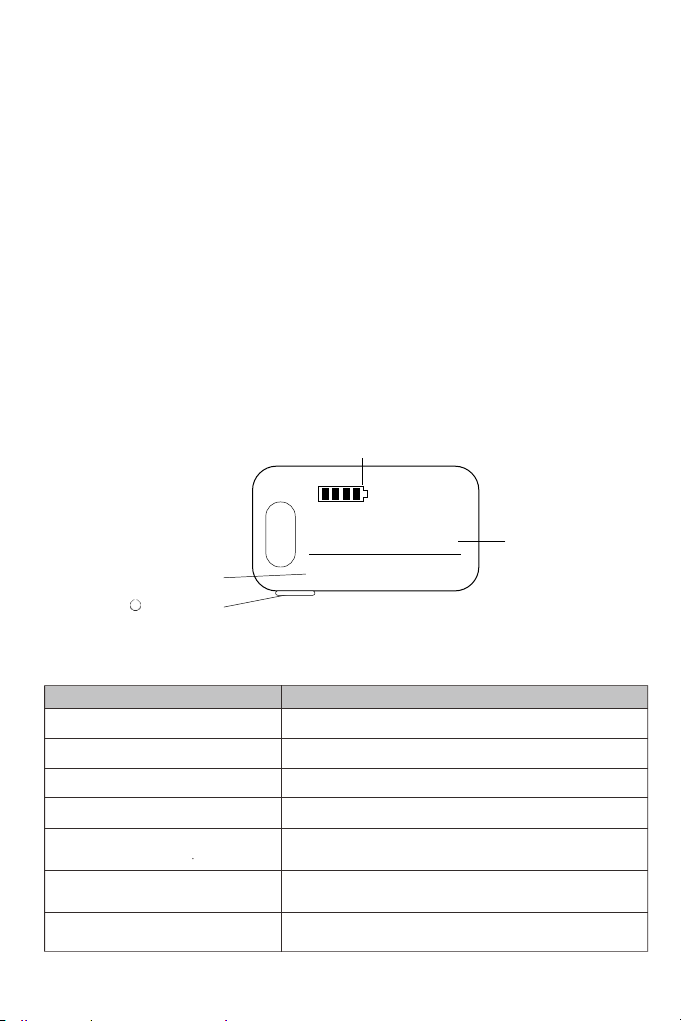
Troubleshooting
1. Low tire pressure
2. Low or faulty battery
3. Driving with too many hills, headwind, braking,
and/or excessive load
4. Battery discharged for long period of time without
regular charges, aged, damaged, or unbalanced
5. Brakes rubbing
1. Charger not well connected
2. Charger damaged
3. Battery damaged
4. Wiring damaged
5. Blown charge fuse
1. Loose or damaged wheel spokes or rim
2. Loose or damaged motor wiring
1. Adjust tire pressure
2. Check connections or charge battery
3. Assist with pedals or adjust route
4. Balance the battery; contact tech
support if range decline persists
5. Adjust the brakes
1. Adjust the connections
2. Replace
3. Replace
4. Repair or replace
5. Replace charge fuse
1. Tighten, repair, or replace
2. Reconnect or replace motor.
Reduced range
The battery will not
charge
Wheel or motor
makes strange noises
Symptoms
The bike does not
work
1. Insufficient battery power
2. Faulty connections
3. Battery not fully seated in tray
4. Improper turn on sequence
5. Brakes are applied
6. Blown discharge fuse
1. Charge the battery
2. Clean and repair connectors
3. Install battery correctly
4. Turn on bike with proper sequence
5. Disengage brakes
6. Replace discharge fuse
1. Insufficient battery power
2. Loose or damaged throttle
3. Misaligned or damaged magnet ring
1. Charge or replace battery
2. Replace throttle
3. Align or replace magnet ring
1. Loose wiring
2. Loose or damaged throttle
3. Loose or damaged motor plug wire
4. Damaged motor
1. Repair and or reconnect
2. Tighten or replace
3. Secure or replace
4. Repair or replace
Irregular acceleration
and/or reduced top
speed
The motor does not
respond when the
bike is powered on
Possible Causes Most Common Solutions