manuals.online logo
Brands
  1. Home
  2. •
  3. Brands
  4. •
  5. Wireworks
  6. •
  7. Indoor Furnishing
  8. •
  9. Wireworks Cosmos Revolve 1140 User manual

Wireworks Cosmos Revolve 1140 User manual

Parts:
x 2 spindle tubes
x 2 nuts
x 2 spindle bolts
x 1 bottom bracket
x 6 wall plugs
x 6 wall screws
Please read the instructions and warnings carefully before
use to ensure safe and satisfactory operation of this product.
It is recommended that this cabinet is only fitted by persons
competent in DIY.
Contents:
The Cabinet is supplied with screws and wall plugs suitable for a
stone or brick wall. For other wall types (eg. hollow plasterboard)
alternative fixings will be required. If in doubt, consult a qualified
person.
x 1 top bracket
Cabinet fixings:
1
2
3
4
5
A
B
Tools (supplied): Allen key
You will need a power drill, masonary drill bit, cross-head screw-
driver, spanner, spirit level and pencil to install this product. Please
ensure the wall surface is of suitable strength and construction
before fixing the cabinet.
*Hint: When drilling into masonary start with a small drill bit and in-
crease to a larger drill bit. This will give you much greater accuracy.
Step 1:
Fit spindle bolts 5 into
top 1 and bottom
bracket 2 as shown
above. Lock spindle bolts
5 with nuts 4 using
allen key.
Step 2:
Position bottom bracket 2
at desired height using spirit
level and mark holes for
drilling.
Step 3:
Drill marked holes with suit-
able drill bit* Insert wall
plugs A into the drilled
holes.
Step 4:
Fit the bottom bracket 2
using wall screws B Check
bracket is securely fixed and
that it can support 15kg.
2
1
5
4
5
2
5
4
2
A
B
Thank you for buying ‘Cosmos Revolve 1140'
Assembly instructions.
.wireworks
london
Step 5:
Insert spindle tubes
3 into a round
holes at the top and
bottom of the
cabinet as shown.
Step 6:
Insert top bracket 1
with spindle bolt
into spindle tube 3
at the top of the
cabinet. Fit cabinet
with top bracket onto
bottom bracket 2
Keep cabinet
vertical.
Step 7:
Using spirit level
make sure cabinet is
in vertical position
and top bracket 1
sits flat on the wall
surface. Mark the drill
holes with a pencil.
Take down the
cabinet and remove
top bracket 1
Step 8:
Using allen key unscrew nut 4 and re-
move spindle bolt 5 from top bracket 1
Drill marked holes with suitable drill bit*
Insert wall plugs A into holes and fix top
bracket 1 using wall screws B and
crosshead screw driver.
Step 9:
Place cabinet on bottom bracket spindle bolt 5 whilst
keeping the cabinet vertical. Align the cabinet with top
bracket 1 Fit spindle bolt 5 into top bracket 1 as
shown. Lock spindle bolt with nut 4 using allen key.
Cleaning:
Clean mirror using a damp cloth with washing up liquid or suitable glass cleaner. Do not use washing powders or
any other substance containing abrasives since these substances scratch glass. Do not leave storage shelves in
prolonged contact with water. Avoid contact with bath oils, creams and some cosmetic products as these can
damage the surface finishes.
3
3
1
3
2
1
4
5
1
A
B
1
2
5
4
Warnings:
Fit in accordance with manufacturers instructions. Wear suitable eye protection when
drilling. When using power tools near water the use of a residual current device is
advised for added protection against electric shock. Beware of hidden pipes or power
cables. Take care when drilling on glazed tile surfaces in case drill slips.
Maximum load capacity of the cabinet is 5kg.
Installeddimensions
m m
dimensionsareapproximateand
should be measuredfromthe
product
Cosmos1140
revolving cabinet
.wireworks
allrightsreserved2020
designby:LincolnRivers
10.01.2020
W
W
196
Ø 319

Other Wireworks Indoor Furnishing manuals

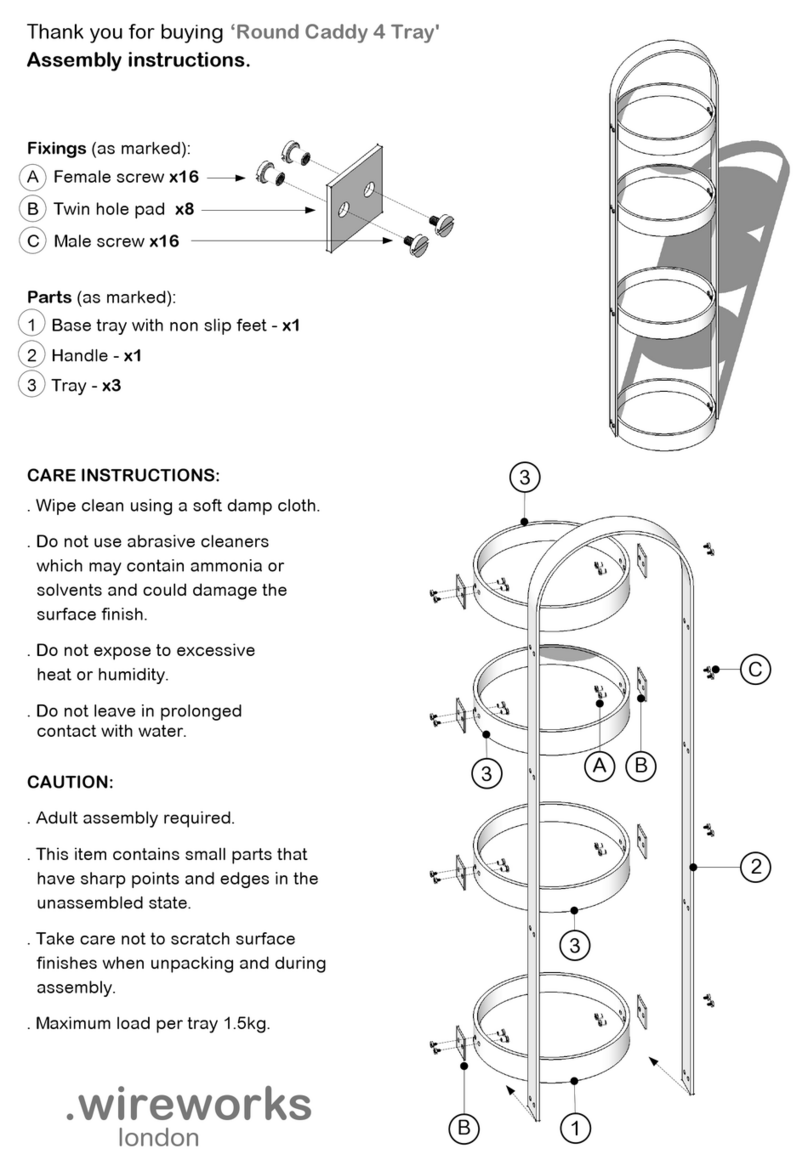
Wireworks Round Caddy 4 Tray User manual

Wireworks

Wireworks Round Caddy 4 Tray User manual

Wireworks Platform 2 User manual

Wireworks

Wireworks Platform 2 User manual

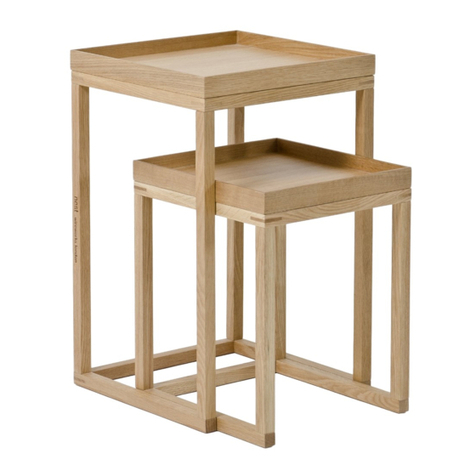
Wireworks Nest Tables User manual

Wireworks

Wireworks Nest Tables User manual

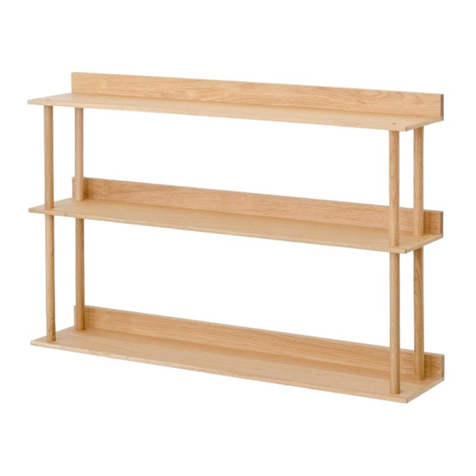
Wireworks Platform 3 User manual

Wireworks

Wireworks Platform 3 User manual

Wireworks Eclipse Installation manual

Wireworks

Wireworks Eclipse Installation manual

Popular Indoor Furnishing manuals by other brands

eclisse MIMESI instructions

eclisse

eclisse MIMESI instructions

Prepac HangUps WRGW-0701-2M Assembly instructions

Prepac

Prepac HangUps WRGW-0701-2M Assembly instructions

Dwell Notch wardrobe two door Assembly manual

Dwell

Dwell Notch wardrobe two door Assembly manual

JSI SWISH installation instructions

JSI

JSI SWISH installation instructions

Grain MONTAUK MT3311 Assembly instructions

Grain

Grain MONTAUK MT3311 Assembly instructions

Lorell 60500 Assembly instructions

Lorell

Lorell 60500 Assembly instructions

Pride Lift Chair Series owner's manual

Pride

Pride Lift Chair Series owner's manual

Songmics VASAGLE LCT065 Assembly instructions

Songmics

Songmics VASAGLE LCT065 Assembly instructions

Williams-Sonoma Hide Mirror Zebra Wall Assembly instructions

Williams-Sonoma

Williams-Sonoma Hide Mirror Zebra Wall Assembly instructions

CEROCHA COZINHA KAUS 1.44 Assembly instructions

CEROCHA

CEROCHA COZINHA KAUS 1.44 Assembly instructions

SCIEM 3BD-3086 Assembly instructions

SCIEM

SCIEM 3BD-3086 Assembly instructions

OSP Home Furnishings BARTON BRT55 Assembly instructions

OSP Home Furnishings

OSP Home Furnishings BARTON BRT55 Assembly instructions

MedViron 32 Overbed Table user manual

MedViron

MedViron 32 Overbed Table user manual

Pessotto Aladino Standard New 18 Assembly instructions

Pessotto

Pessotto Aladino Standard New 18 Assembly instructions

VIPACK BILLY BIKO1314 Assembly instructions

VIPACK

VIPACK BILLY BIKO1314 Assembly instructions

JWA ALECTO 68046 Assembly instruction

JWA

JWA ALECTO 68046 Assembly instruction

Homelegance 1660BKT Assembly instruction

Homelegance

Homelegance 1660BKT Assembly instruction

VITRA Caddy operating instructions

VITRA

VITRA Caddy operating instructions

manuals.online logo
manuals.online logoBrands
  • About & Mission
  • Contact us
  • Privacy Policy
  • Terms and Conditions

Copyright 2025 Manuals.Online. All Rights Reserved.