WISEUP SHOP CHC100 User manual

CHC100
User Guide
I. Product Overview
1. Camera Lens
2. DC 5V 1A Output/Data Output
3. DC5V 2A Power Output
4. Indicator Light
5. Mode Switch
6. Micro SD Card Slot
II. What’s In the Box
-Charging Adapter Camera -USB Cable
III. Operation
>> Before using, please make sure the Micro SD card is securely fitted into the SD card
slot on your
camera. The camera will not work without a Micro SD card. A SDHC Class 10 Micro SD
card (4GB-32GB) is recommended.
3.1. POWER ON/OFF
3.1.1. Power on the camera by plugging it into an outlet AC power socket.
3.1.2. Power the camera off by unplugging it.
3.2. VIDEO RECORDING
3.2.1. Before recording, make sure the Mode Switch stands next to the SD card slot.
3.2.2. Power on the camera by plugging it into an outlet AC power socket. The indicator
light will illuminate red for 3 seconds. Then it will flash red 3 times and go off, indicating
the camera is recording video automatically.
[Note]:
1). A video file will be generated and saved automatically every 10 minutes.
2). Video Resolution: 1920×1080P Video Format: AVI
3). Loop recording is supported.
4). If you have trouble in sliding the Mode Switch, please use a pin to help you do that.
5). If each video is less than 10 minutes, a video file will be saved but cannot be played back on
your PC computer.
3.3. MOTION DETECTION RECORDING
3.3.1. Before using, make sure the Mode Switch stands next to the indicator light.
3.3.2. Power on the camera by plugging it into an outlet power socket. The indicator light
will illuminate red for 3 seconds. Then it will flash red 3 times and go off, indicating the
motion detection function has been enabled already.
3.3.3. The camera will record video automatically when a movement is detected.
[Note]: Each video clip lasts 2 to 3 minutes.
IV. Set the Time/Date Stamp
4.1. Unplug the camera, remove the Micro SD card and insert it into a card reader.
4.2. Insert the card reader into a PC computer.
4.3. Removable disk drive folder appears.
4.4. Click on the drive in the root directory and inside the root directory, create a file
“timerset.txt”.
4.5. Input the current date and time in the “timerset.txt” file with the correct format:
YearMonthDayHourMinuteSecond Y (For example: 20160308142432 Y). Save this file. If
you don’t need time stamp on the video files, change Y into N.
4.6. Restart the camera and the system will upgrade the program automatically.

CHC100
Benutzerhandbuch
I. Produktübersicht
1. Kamera-Objektiv
2. DC 5V 1A Ausgang / Datenausgang
3. DC5V 2A Ausgangsleistung
4. Anzeigeleuchte
5. Modus-Schalter
6. Micro-SD-Kartensteckplatz
II. Was ist in der Box
- Ladeadapter Kamera -USB-Kabel
III. Betrieb
>> Vor dem Einsatz, bitte stellen Sie sicher, dass die Micro-SD-Karte sicher in den
SD-Kartensteckplatz an der Kamera angebracht ist. Die Kamera funktioniert nicht, ohne
eine Micro-SD-Karte. Eine SDHC Class 10 Micro SD-Karte (4GB-32GB) wird empfohlen.
3.1. EINSCHALTEN / AUSSCHALTEN
3.1.1. Schalten Sie die Kamera, indem sie in eine Steckdose an Steckdose anschließen.
3.1.2. Schalten Sie die Kamera aus, indem sie sie Ausstecken.
3.2. VIDEOAUFNAHME
3.2.1. Vor der Aufnahme sicher, dass der Modus-Schalter steht neben dem
SD-Kartenslot .
3.2.2. Schalten Sie die Kamera, indem sie in eine Steckdose an Steckdose anschließen.
Die Anzeigelampe für 3 Sekunden rot zu leuchten. Dann wird es rot 3 mal blinken und
gehen aus und zeigt die Kamera Video automatisch aufzeichnet.
[Hinweis]:
1). Eine Videodatei wird alle 10 Minuten automatisch generiert und gespeichert werden.
2). Video-Auflösung: 1920 × 1080P -Video-Format: AVI
3). Loop-Aufnahme unterstützt.
4). Wenn Sie Probleme haben in den Modus-Schalter Schiebe, benutzen Sie bitte einen Stift Sie
das tun zu helfen.
5). Wenn jedes Video weniger als 10 Minuten ist, wird eine Video-Datei gespeichert werden,
kann aber nicht wieder auf Ihrem PC Computer abgespielt werden.
3.3. ZUR BEWEGUNGSERKENNUNG
3.3.1. Vor der Verwendung sicherstellen, dass der Modus-Schalter steht neben dem
Kontrollleuchte .
3.3.2. Schalten Sie die Kamera, indem sie in eine Steckdose Steckdose anschließen. Die
Anzeigelampe für 3 Sekunden rot zu leuchten. Dann wird es rot 3 mal blinken und gehen
aus und zeigt die Bewegungserkennungsfunktion bereits aktiviert wurde.
3.3.3. Die Kamera wird Video automatisch aufzeichnen, wenn eine Bewegung erkannt
wird.
[Hinweis]: Jeder Videoclip dauert 2-3 Minuten.
IV. Stellen Sie die Zeit / Datumsstempel
4.1. Ziehen Sie die Kamera aus, entfernen Sie die Micro SD-Karte und setzen Sie sie in
einen Kartenleser .
4.2. Setzen Sie den Kartenleser in einen PC-Computer.
4.3. Wechselplattenlaufwerk Ordner angezeigt wird.
4.4. Klicken Sie auf das Laufwerk im Stammverzeichnis und im Inneren des
Root-Verzeichnis eine Datei "timerset.txt".
4.5. Geben Sie das aktuelle Datum und die Uhrzeit in der "timerset.txt" Datei mit dem
richtigen Format:
YearMonthDayHourMinuteSecond Y (Zum Beispiel: 20160308142432 Y). Speichern Sie
diese Datei. Wenn Sie nicht Zeitstempel auf den Video-Dateien benötigen, ändern Y in N.
4.6. Starten Sie die Kamera und das System wird das Programm automatisch
aktualisieren.

CHC100
Mode d'emploi
I. Présentation du produit
1. Objectif de la caméra
2. DC 5V 1A Données de sortie
3. DC5V 2A Puissance de sortie
4. Témoin lumineux
5. Commutateur de mode
6. Micro SD Card slot
II. Qu'y a-t-il dans la boite
- Caméra Adaptateur de charge - Câble USB
III. Opération
>> Avant d'utiliser, s'il vous plaît assurez-vous que la carte Micro SD est bien insérée
dans la fente
de la carte SD de votre appareil photo. La caméra ne fonctionnera pas sans une carte
Micro SD. Une SDHC Classe 10 carte Micro SD (4 Go-32GB) est recommandé.
3.1. MARCHE / ARRÊT
3.1.1. Allumez l'appareil en le branchant sur une prise de courant alternatif de sortie.
3.1.2. Alimentez l'appareil hors tension en le débranchant.
3.2. ENREGISTREMENT VIDEO
3.2.1. Avant l'enregistrement, assurez-vous que le sélecteur de mode se trouve à côté de
la fente pour carte SD.
3.2.2. Allumez l'appareil en le branchant sur une prise de courant alternatif de sortie. Le
voyant s'allume en rouge pendant 3 secondes. Ensuite, il se met à clignoter en rouge 3
fois et se éteint, indiquant que l'appareil enregistre automatiquement la vidéo.
[Remarque]:
1). Un fichier vidéo sera généré et sauvegardé automatiquement toutes les 10 minutes.
2). Résolution de la vidéo: 1920 × 1080P Format vidéo: AVI
3). Enregistrement en boucle est prise en charge.
4). Si vous avez du mal à faire glisser le commutateur de mode, s'il vous plaît utiliser une épingle
pour vous aider à faire cela.
5). Si chaque vidéo est inférieure à 10 minutes, un fichier vidéo sera enregistrée mais ne peut
pas être lu sur votre ordinateur PC.
3.3. DETECTION DE MOUVEMENT D'ENREGISTREMENT
3.3.1. Avant d'utiliser, assurez-vous que le sélecteur de mode se trouve à côté de la
lampe témoin.
3.3.2. Allumez l'appareil en le branchant sur une prise de courant de sortie. Le voyant
s'allume en rouge pendant 3 secondes. Ensuite, il se met à clignoter en rouge 3 fois et
partir, ce qui indique la fonction de détection de mouvement a déjà été activé.
3.3.3. L'appareil photo enregistre la vidéo automatiquement lorsqu'un mouvement est
détecté.
[Remarque]: Chaque clip dure 2-3 minutes vidéo.
IV. Régler l'heure/date
4.1. Débranchez l'appareil photo, retirez la carte Micro SD et l'insérer dans un lecteur de
carte.
4.2. Insérez le lecteur de carte dans un ordinateur PC.
4.3. Dossier de disque amovible apparaît.
4.4. Cliquez sur le lecteur dans le répertoire racine et à l'intérieur du répertoire racine,
créez un fichier "timerset.txt".
4.5. Entrer la date et l'heure actuelle dans le "timerset.txt" fichier avec le format correct:
AnnéeMoisJourHeureMinuteSeconde Y (Par exemple: 20160308142432 Y). Enregistrez
ce fichier. Si vous n'avez pas besoin horodatage sur les fichiers vidéo, changer Y en N.
4.6. Redémarrez l'appareil photo et le système de mise à niveau du programme
automatiquement.

CHC100
Guida utente
I. Panoramica del Prodotto
1.Lente della Camera
2. DC 5V 1A uscita / uscita dei dati
3. Uscita DC5V 2A Potenza
4. Spia
5. Interruttore Modalità
6. Slot Micro SD Card
II. Cosa c'è nella scatola
-ricarica della camera adattatore - Cavo USB
III. Operazione
>> Prima dell'uso, si prega di accertarsi che la scheda Micro SD sia saldamente nello slot
di schede SD della camera. La camera non funziona senza una scheda Micro SD. La
raccomando un SDHC Classe 10 Micro SD card (4GB-32GB).
3.1. APERTURA/CHIUSURA DELLA POTENZA
3.1.1. Accendere la camera e collegandolo ad una presa di corrente alternata di uscita.
3.1.2. Alimentare la batteria della camera staccando la spina.
3.2. REGISTRAZIONE VIDEO
3.2.1. Prima della registrazione, assicurarsi che l'interruttore di modalità si trova accanto
allo slot della scheda SD.
3.2.2. Accendere la camera e collegandolo ad una presa di corrente alternata di uscita.
La spia si illumina di rosso per 3 secondi. Poi lampeggia rosso 3 volte e si spegne, indi-
cando la telecamera sta registrando il video automaticamente.
[Nota]:
1). Un file di video viene generato e salvato automaticamente ogni 10 minuti.
2). Risoluzione video: × 1080P video 1920 Formato: AVI
3). registrazione in loop è supportato.
4). In caso di problemi nella scorrere l'interruttore modalità, la prego di utilizzare un perno per
aiutare a farlo.
5). Se ogni il tempo di video meno di 10 minuti, un file video sarà salvato, ma non possono
essere riprodotti sul computer PC.
3.3. RILEVAZIONE MOVIMENTO REGISTRAZIONE
3.3.1. Prima di utilizzare, assicurarsi che l'interruttore di modalità si trova accanto alla
spia.
3.3.2. Accendere la camera e collegandolo ad una presa di corrente di uscita. La spia si
illumina di rosso per 3 secondi. Poi lampeggia rosso 3 volte e spegne per indicare la fun-
zione di movimento di rilevamento è già stato attivato.
3.3.3. La camera registrare video automaticamente quando viene rilevato un movimento.
[Nota]: Ogni clip video dura 2-3 minuti.
IV. Impostare La Data / Ora
4.1. Scollegare la fotocamera, rimuovere la scheda Micro SD e inserirla in un lettore di
schede.
4.2. Inserire il lettore di schede in un computer PC.
4.3. appare cartella sul disco rimovibile.
4.4. Fare clic sul disco nella directory principale e all'interno della directory principale,
creare un file "timerset.txt".
4.5. scrivere la data e l'ora attualenel in file "timerset.txt" con il formato corretto:
YearMonthDayHourMinuteSecond Y (per esempio: 20.160.308,142432 millions Y). Sal-
vare il file. Se non avete bisogno di data e ora sui file video, cambiare Y in N.
4.6. Riavviare la telecamera e il sistema aggiornerà automaticamente il programma.
CHC100
Guía del usuario
I. Descripción del producto
1. Lente de la cámara
2. DC 5V 1A salida / salida de datos
3. Salida DC 5V 2A Fuente
4. Luz indicadora
5. Interruptor Modo
6. Ranura tarjeta Micro SD
II. Qué hay en la caja
- Carga de la cámara Adaptador - Cable USB
III. Operación
>> Antes de usar, por favor asegúrese de que la tarjeta Micro SD calza correctamente en
la ranura
para tarjetas SD de la cámara. La cámara no funciona sin una tarjeta Micro SD. Se
recomienda una tarjeta SD Micro SDHC Clase 10 (4 GB-32 GB).
3.1. ENCENDIDO / APAGADO
3.1.1. Encienda la cámara enchufándolo a una toma de alimentación de CA de salida.
3.1.2. Alimentar la cámara desconectando ella.
3.2. GRABACIÓN DE VÍDEO
3.2.1. Antes de grabar, asegúrese de que el interruptor de modo se encuentra junto a la
ranura para tarjetas SD.
3.2.2. Encienda la cámara enchufándolo a una toma de alimentación de CA de salida. La
luz indicadora se ilumina en rojo durante 3 segundos. Entonces parpadeará en rojo 3
veces y se apaga, indica que la cámara está grabando vídeo de forma automática.
[Nota]:
1). Un archivo de vídeo se genera y se guarda automáticamente cada 10 minutos.
2). Resolución de video: Formato de 1920 × 1080P vídeo: AVI
3). grabación en bucle es compatible.
4). Si tiene problemas de deslizamiento del interruptor de modo, por favor utilice un alfiler para
ayudarle a hacer eso.
5). Si cada vídeo es inferior a 10 minutos, un archivo de vídeo se guardará pero no se puede
reproducir en el ordenador PC.
3.3. GRABACION DETECCIÓN DE MOVIMIENTO
3.3.1. Antes de usar, asegúrese de que el interruptor de modo está al lado de la luz
indicadora.
3.3.2. Encienda la cámara enchufándolo a una toma de corriente de salida. La luz
indicadora se ilumina en rojo durante 3 segundos. Entonces parpadeará en rojo 3 veces
y se apaga, indicando que la función de detección de movimiento se ha activado ya.
3.3.3. La cámara grabará vídeo de forma automática cuando se detecta un movimiento.
[Nota]: Cada clip de vídeo tiene una duración de 2-3 minutos.
IV. Ajuste la hora / fecha sello
4.1. Desconecte la cámara, extraiga la tarjeta Micro SD e insertarla en un lector de
tarjetas.
4.2. Inserte el lector de tarjetas en un ordenador PC.
4.3. Aparece carpeta de la unidad de disco extraíble.
4.4. Haga clic en la unidad en el directorio raíz y dentro del directorio raíz, crear un
archivo "timerset.txt".
4.5. Introduzca la fecha y la hora actual en el archivo "timerset.txt" con el formato
correcto:
YearMonthDayHourMinuteSecond Y (Por ejemplo: 20160308142432 Y). Guarde este
archivo. Si usted no necesita marca de tiempo en los archivos de vídeo, cambiar Y en N.
4.6. Reiniciar la cámara y el sistema actualizará el programa automáticamente.

CHC100
ユーザーガイド
I.製品の概要
1.カメラレンズ
2.DC5V1A出力/データ出力
3.DC5V2A電源出力
4.インジケータライト
5.モードスイッチ
6.マイクロSDカ ード ス ロ ット
II.包装明細
-アダプターカメラを充電-USBケーブル
III.操作
>>使用する前に、マイクロSDカードがしっかりとカメラのSDカードスロットに装着されてい
ることを確認してください。マイクロSDカードがなければ、動作しません。 SDHCクラス10マ
イクロSDカ ー ド( 最 大 4GB-32GB)を 推 奨 し ま す 。
3.1.電源のオン/オフ
3.1.1.カメラをコンセントAC電源ソケットに差し込んで、電源をオンにします。
3.1.2.AC電源ソケットから抜いて、電源をオフにします。
3.2.録画
3.2.1. 録画する前に、モードスイッチは、SDカードスロットに立っていることを確認してくだ
さい。
3.2.2. カメラをコンセントAC電源ソケットに差し込んで、電源をオンにします。インジケータ
ランプが3秒間で赤点灯して、そして、赤色の3回点滅して、消灯します.。それはカメラが自動
的にビデオを録画していると示します。
[注意]:
1).ビデオファイルが生成され、10分ごとに自動的に保存されます。
2).ビデオ解像度:1920×1080Pビデオフォーマット:AVI
3).ループ録音がサポートされています。
4).あなたはモードスイッチをスライドに支障がある場合は、あなたがそれを行う助けるためにピン
を使用してください。
5). 各ビデオは10分未満である場合は、ビデオファイルが保存されますが、お使いのPCのコンピュ
ータ上で再生することはできません。
3.3.モーション検知録画
3.3.1. 使用する前に、モードスイッチは、次のインジケータライトに立っていることを確認し
てください。
3.3.2. カメラをコンセントの電源ソケットに差し込んで、電源をオンにします。インジケータ
ランプが3秒間赤点灯します。そして、それは赤3回点滅して、消灯します。動体検知機能が既
に有効になっている示します。
3.3.3.動きが検出されたときにカメラが自動的に映像を記録します。
[注意]:各ビデオファイルは約2−3分間です。
IV.時刻/日付スタンプを設 定します。
4.1.、カメラのプラグを抜きマイクロSDカードを取り外し、カードリーダーに挿入します。
4.2.PCのコンピュータにカードリーダーを挿入します。
4.3.リムーバブルディスクドライブのフォルダが表示されます。
4.4. ル ートディレクトリのドライブ をクリックして、ル ートディレクトリ内 に、ファイル「
timerset.txt」を 作 成 し ま す 。
4.5.正しい形式で「timerset.txt」ファイル内の現在の日付と時刻を入力する:
YearMonthDayHourMinuteSecondY( 例:20160308142432Y)。このファイルを保存します
。あなたがビデオファイルにタイムスタンプを必要がない場合は、Y.をNに変更します。
4.6.カメラを再起動して、システムが自動的にプログラムをアップグレードします。
Table of contents
Languages:
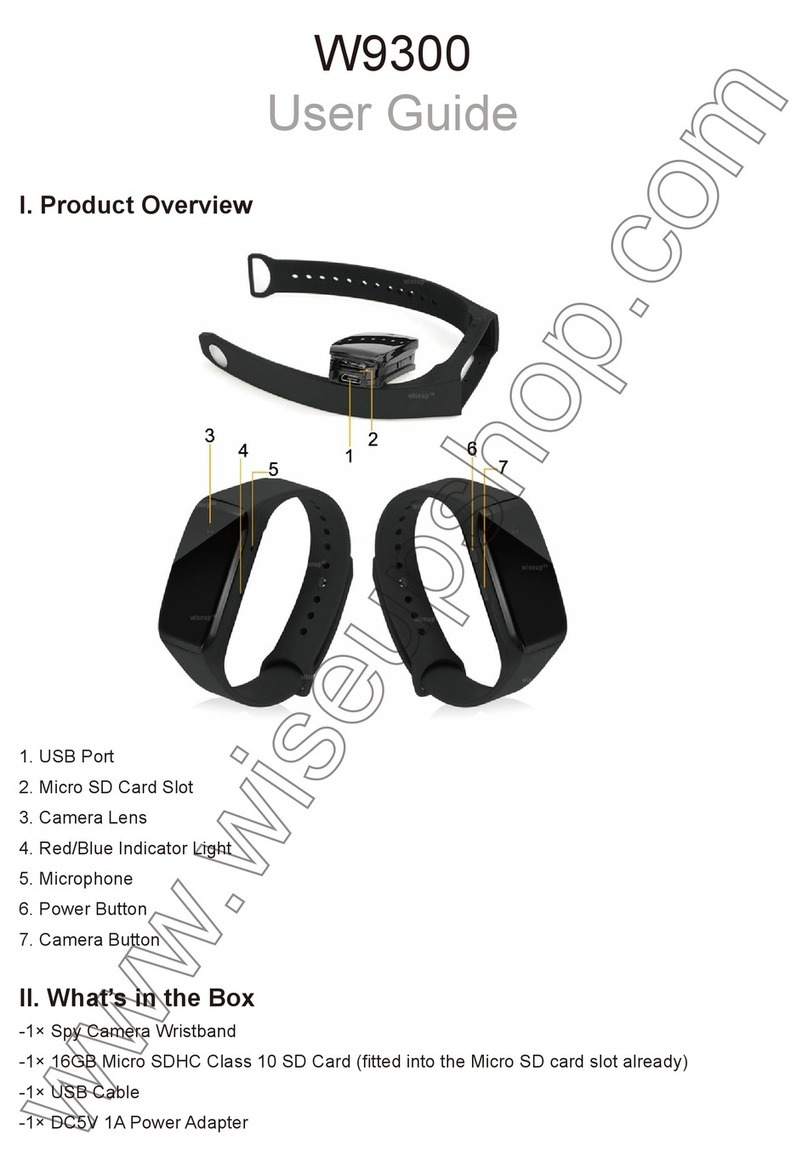
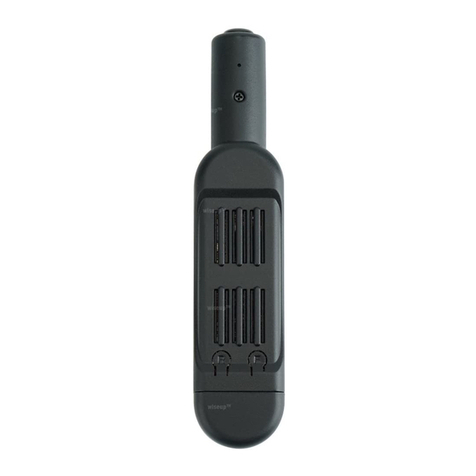
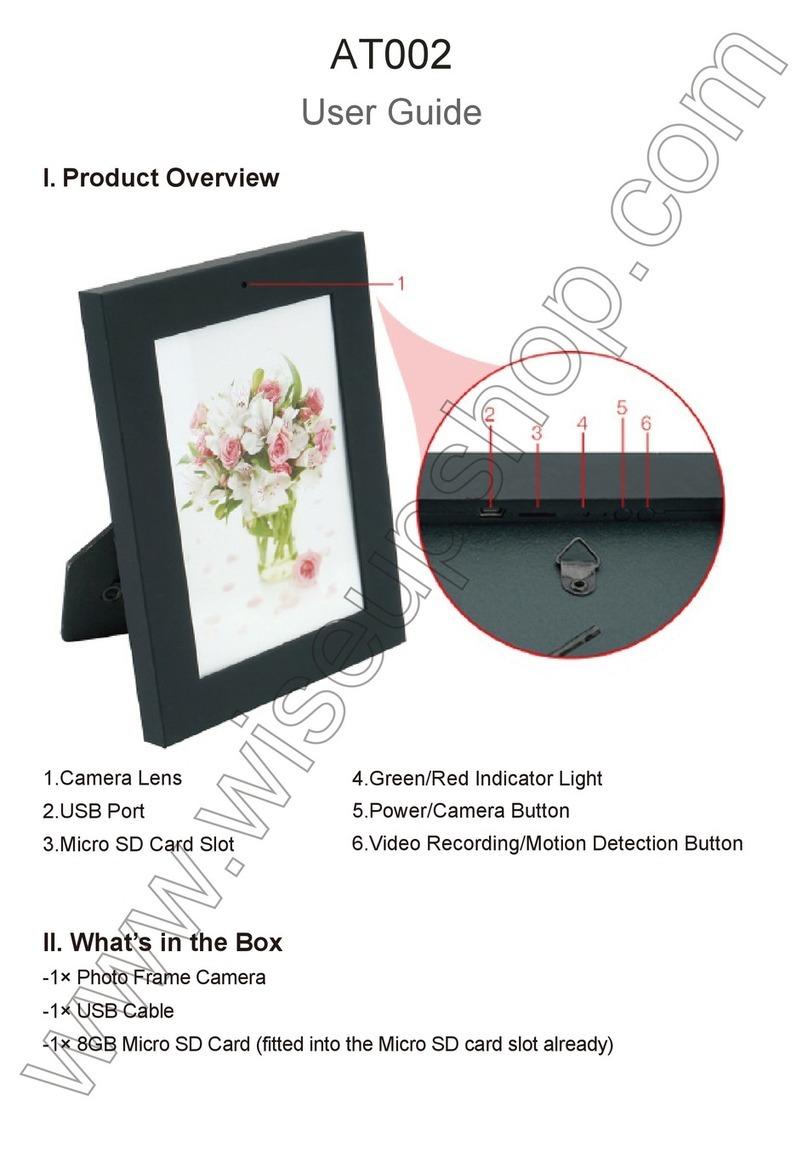
Other WISEUP SHOP Security Camera manuals

WISEUP SHOP
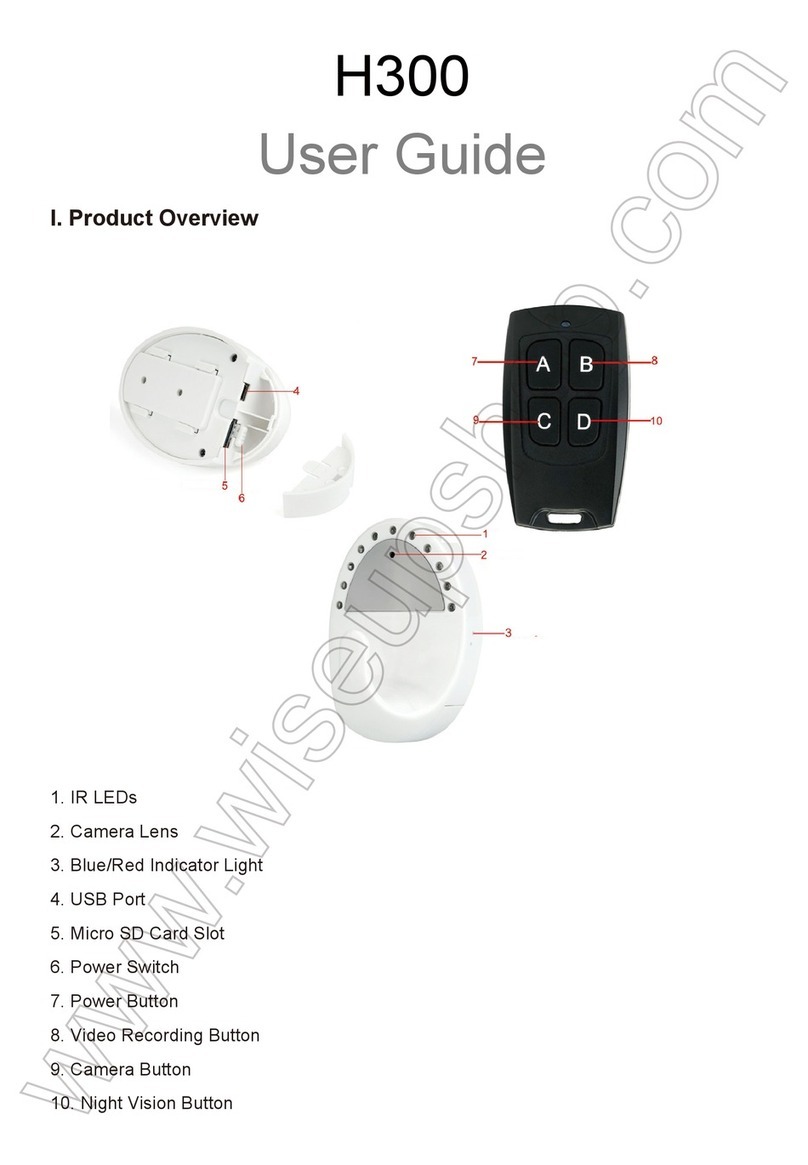
WISEUP SHOP IDC100 User manual

WISEUP SHOP
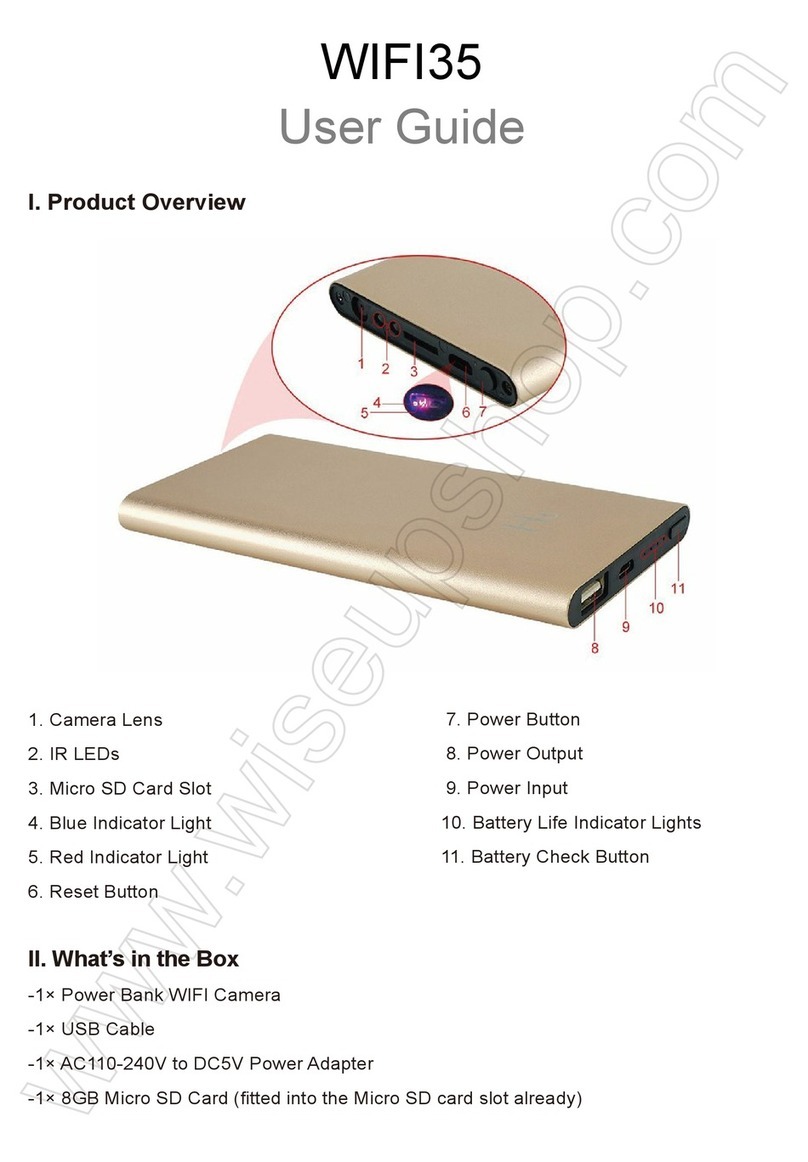
WISEUP SHOP WIFI35 User manual

WISEUP SHOP
WISEUP SHOP T187 User manual

WISEUP SHOP
WISEUP SHOP AT002 User manual

WISEUP SHOP
WISEUP SHOP MT-M130 User manual

WISEUP SHOP
WISEUP SHOP WIFI38 User manual

WISEUP SHOP
WISEUP SHOP P2000 User manual

WISEUP SHOP
WISEUP SHOP H300 User manual

WISEUP SHOP
WISEUP SHOP P9000 User manual

WISEUP SHOP
WISEUP SHOP Wi-Fi24 User manual