WISEUP SHOP Wi-Fi24 User manual

Wi-Fi24
User Guide
1
. Product Overview
1
. DC5V Power Output
2
. Red Indicator Light
3
. Blue Indicator Light
4
. USB Interface/Power Input/Data Output
5
. WAN Button
6
. LAN Button
7
. Camera Lens
8
. Infrared LEDs
9
. Micro SD card slot
1
0. Reset Button

2
. What’s In the Box
-
HD Night Vision Camera
-
USB Cable
3. Charging
3.1. Connect the power bank to a PC computer using the USB cable.
The indicator lights will not glow during the charging process.
3.2. It will take about 2 hours to obtain a full charge. The camera is able to
record video continuously for 2 hours on a full charge.
3.3. If you want the camera to work all the time, please use the external power
supply.
[Note]: If the battery is low, the camera’s Wi
-
Fi signal will keep dropping.
NETWORK SETUP
1. Install the “HBCAM” APP
Search for “HBCAM” in Apple App Store or Google Play Store and install it on
your smartphone or tablet PC.

(Android) (iOS)
2
. P2P or LAN Mode Setup
2
.1. Press and hold the LAN Button for 3 seconds to power on the camera. Th
e
r
ed indicator light will remain steady, indicating the camera has entered into
P
2P mode.
2
.2. Go to Wi-Fi setting page on your smartphone or tablet PC and connect to
t
he camera Wi-Fi network.
(Android) (iOS)

[
Note]:
1
).It will take 1-3 minutes before the camera’s Wi-Fi signal appears on your smartphone o
r
t
ablet PC’s Wi-Fi setting page.
2
). The camera Wi-Fi network password is “87654321”.
3
). If the camera’s Wi-Fi signal cannot be found on your smartphone or tablet PC, please
r
eset the camera or recharge the battery, then try it again.
Q
: How to reset the camera?
A
: Press the Reset Button for 3 seconds. The indicator light will go out. Press the LAN
B
utton to power on the camera again.
2
.3. Launch the “HBCAM” APP on your smartphone or tablet PC, and then ta
p
t
he plus sign in the top right hand corner.
(Android) (iOS)
2
.4. Tap “Search” to search for the local camera.

(Android) (iOS)
2
.5. The camera’s UID will appear on the search result page. Tap the camera
U
ID to check the camera’s information. Then tap the tick sign or “Save” to add
t
he camera.
(Android)

(iOS)
2
.6. The camera is added to the APP successfully if the camera’s UID can be
f
ound on the camera list page. Tap the “camera” icon to watch live video in th
e
P
2P mode.
[
Note]: The red indicator light on the camera will go out if you are playing live video on
y
our smartphone or tablet PC.
(Android)

(iOS)
See the table below for an explanation of the different functions available:
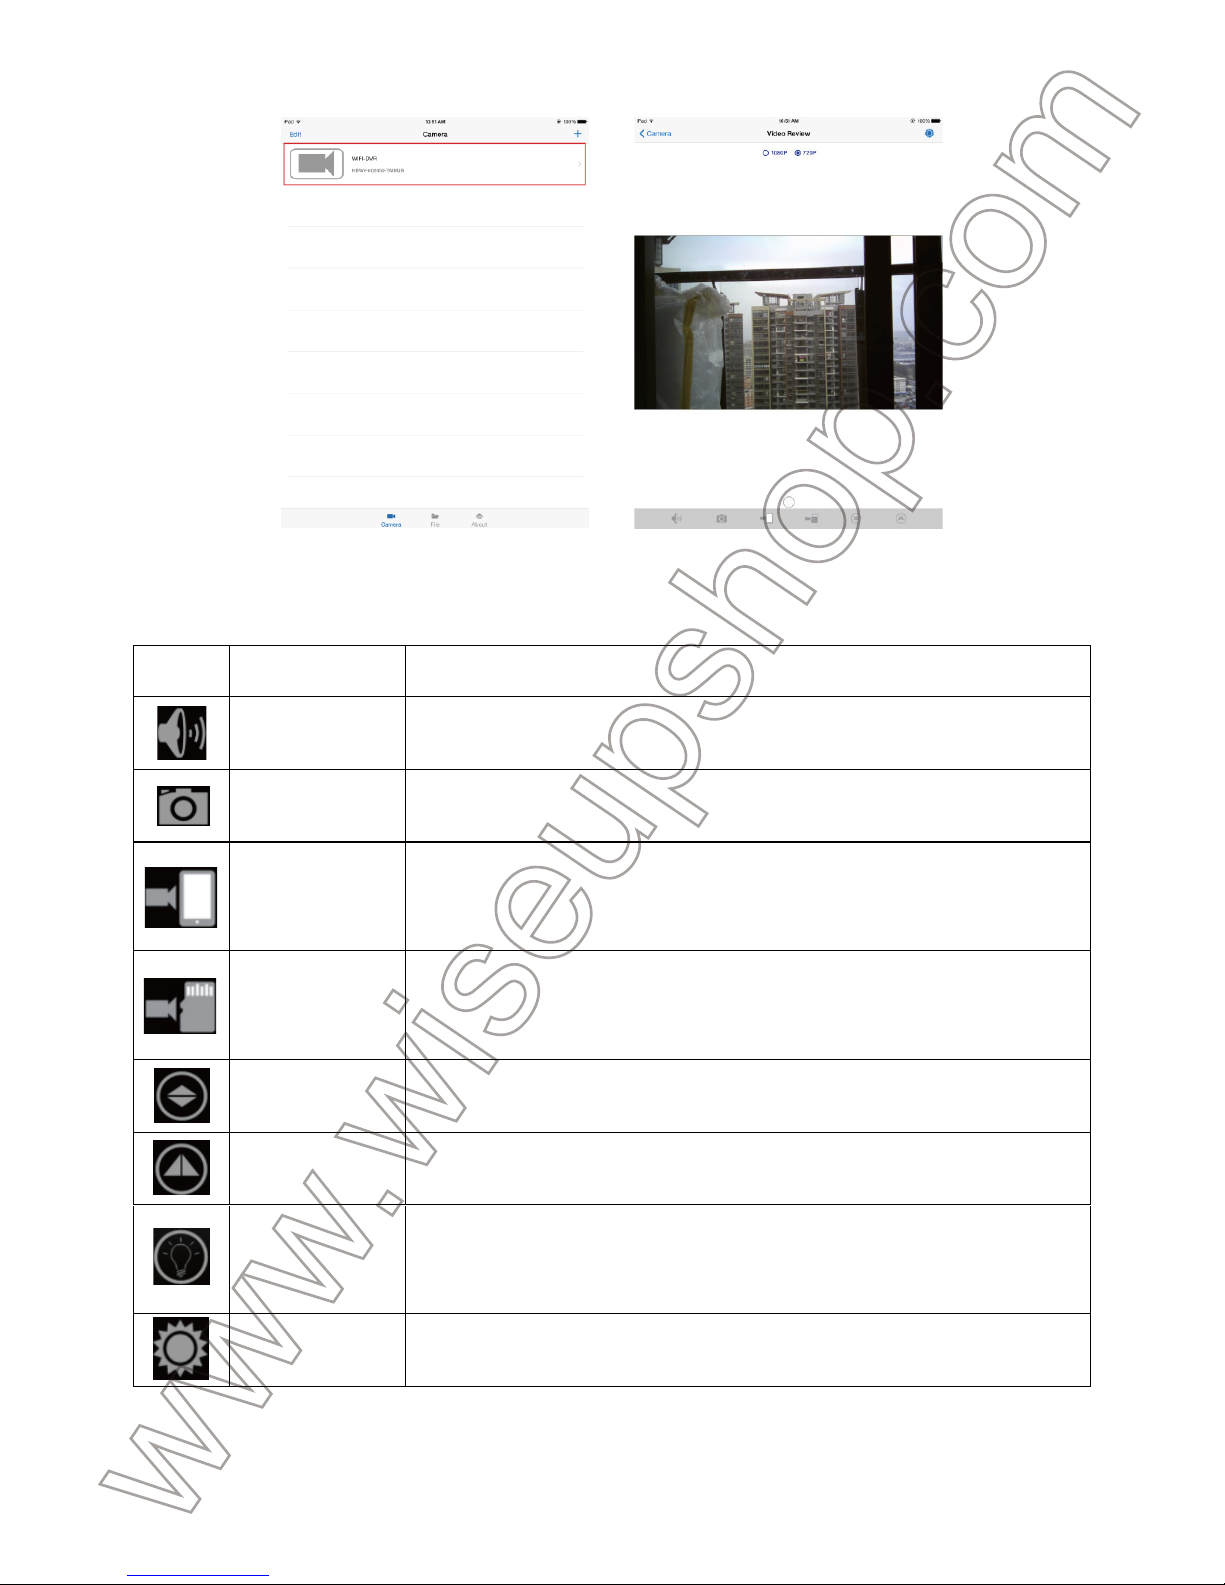
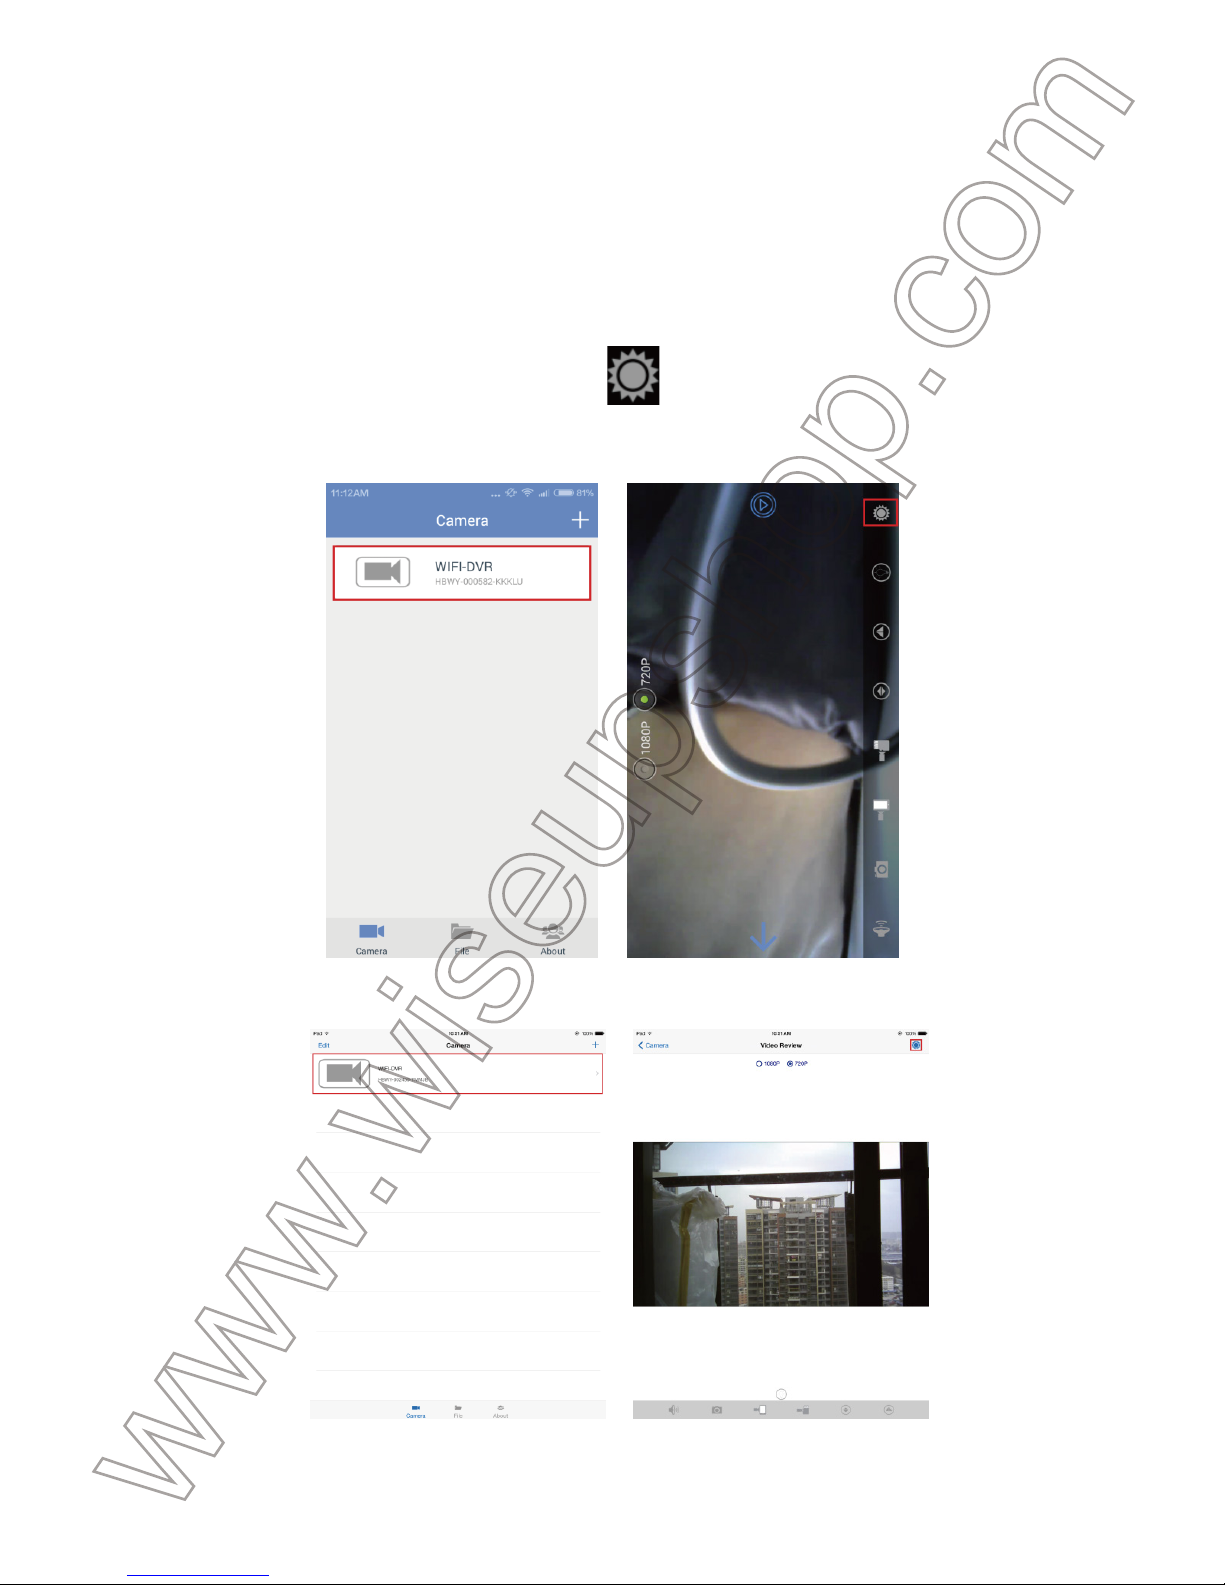
Button Function Name Function Description
Audio Tap this button and the user can listen to live audio from the camera’s
site.
Snapshot Click this button to take a screenshot of the live video. The picture will be
saved in your smartphone or tablet PC.
Remote video
recording
Click this button to start or stop recording video to your smartphone or
tablet PC. It becomes grey/blue depending on remote video recording
activation or cancellation.
Local video
recording
Click this button to start or stop record video to the Micro SD card fitted
into the camera. It becomes grey/blue depending on local video
recording activation or cancellation.
Up & Down
Mirror Click this button to adjust the live video’s picture properly.
Left & Right
Mirror Click this button to adjust the live video’s picture properly.
Night Vision
Click this button to enable or disable night vision function. The Infrared
LEDs will be turned on automatically if the illumination is under 10 lux.
The IR distance is about 1.5m.
Setting Click this button for camera configuration.
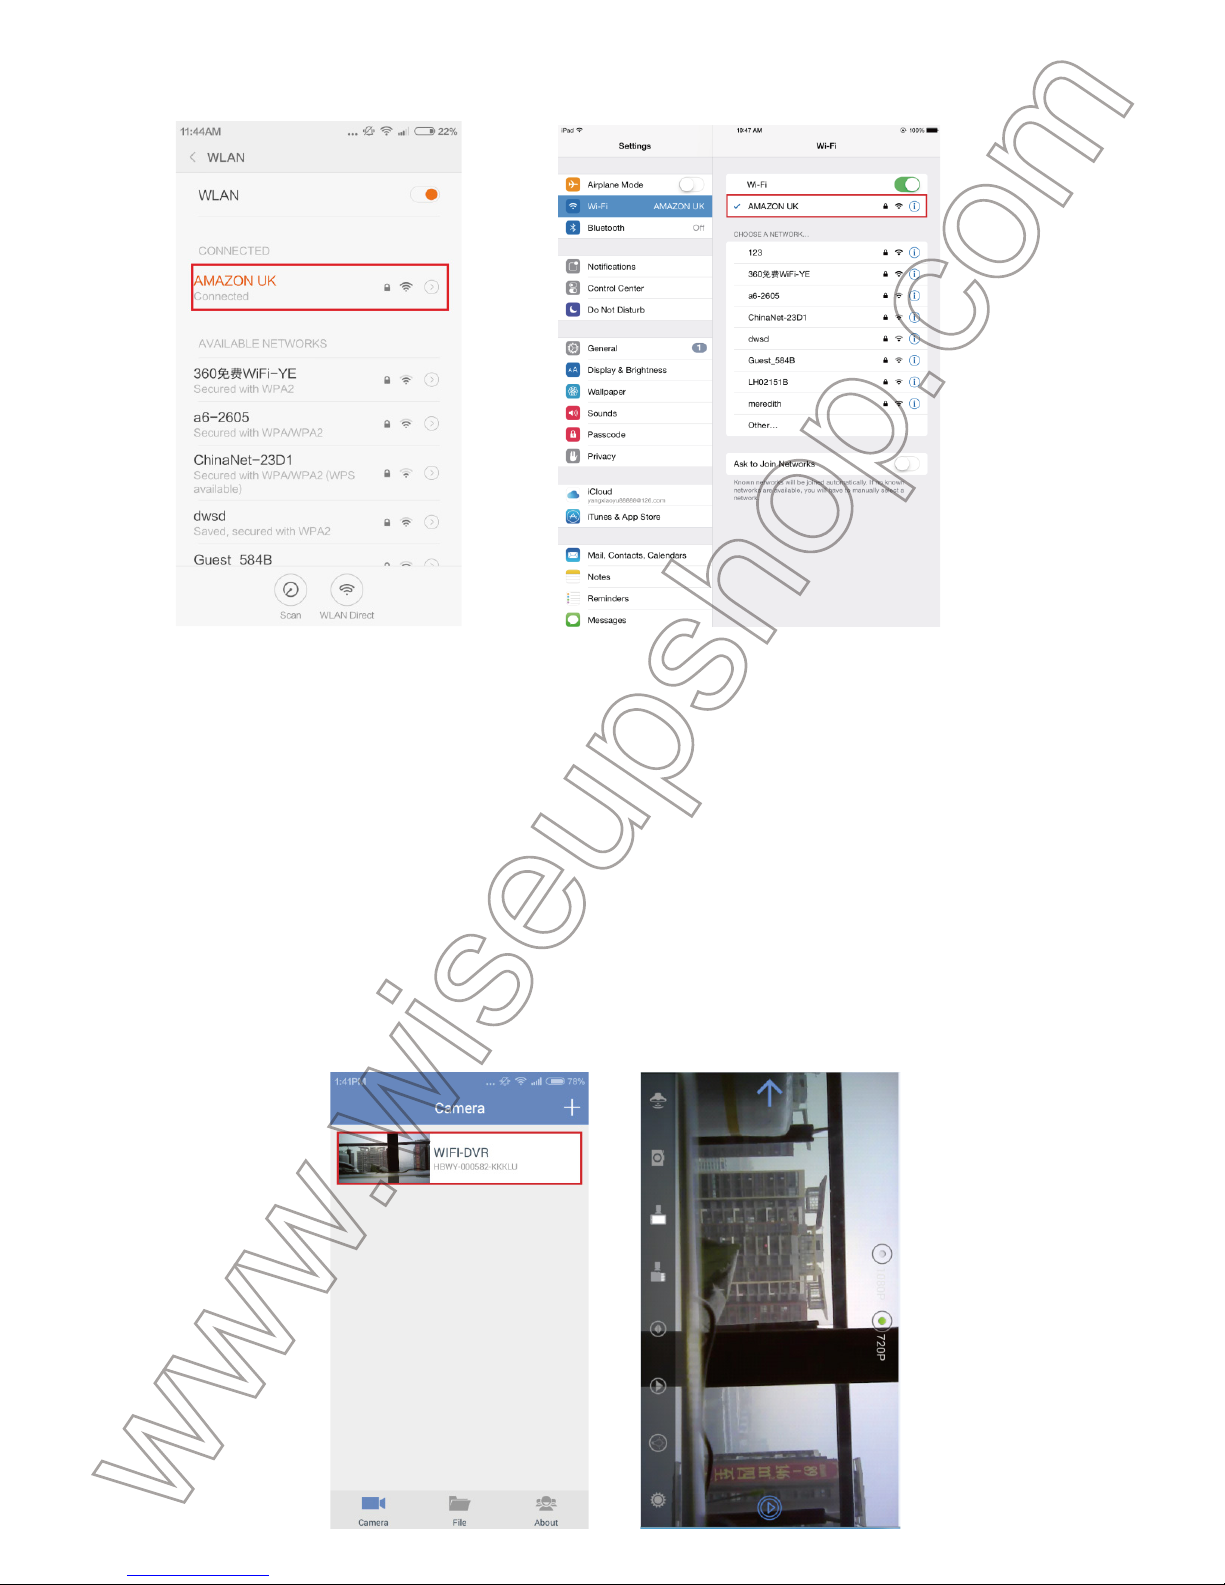
3. WAN Mode or Remote View Setup
>> Before configuring the WAN Mode, please confirm that the camera is

s
uccessfully added to your smartphone or tablet PC in the P2P mode, and tha
t
t
he P2P connection between your smartphone or tablet PC and the camera
w
orks well.
3
.1. How to set up remote view
3
.1.1 In the P2P mode, go to the P2P live video image screen by tapping the
c
amera icon, then tap the setting icon on the screen.
(Android)
(iOS)
3
.1.2 Tap “WIFI Setting” to select a Wi-Fi network you desire to enroll the
c
amera in, enter the password for the Wi-Fi network, and then tap “Sure” or

“
Save” to save the setting.
(Android)
(iOS)
3
.2. How to test the setting?
3
.2.1 Exit the “HBCAM” APP on your smartphone or tablet PC.
3
.2.2 Hold down the LAN Button for 5 seconds to turn off the P2P mode. The
r
ed indicator light will go out.
3
.2.3 Hold down the WAN Button for 3 seconds and the blue indicator light wil
l
r
emain steady, indicating the camera has entered into remote view mode.
3
.2.4 Go to Wi-Fi Setting page on your smartphone or tablet PC and connect
t
o another Wi-Fi network or cellular which must be different from the camera’s
c
urrent one.

(Android) (iOS)
3
.2.5 Launch the “HBCAM” APP again. If you can tap the camera icon on the
“
Camera” page to watch live video remotely, it means the WAN mode has
b
een set up successfully.
[
Note]: The blue indicator light will go out if you are playing live video remotely on your
s
martphone or tablet PC.
(Android)

(iOS)
4
. Record Video to Smartphone or Tablet PC
4
.1. Launch the “HBCAM” APP on your smartphone or tablet PC.
(Android) (iOS)
4
.2. Tap the camera icon on the “Camera” page to watch live video.

(Android) (iOS)
4
.3. Tap the remote video recording button to start or stop recording
v
ideo to your smartphone or tablet PC. All the video files will be saved in the
f
lash memory or extended Micro SD card of your smartphone or tablet PC.
(Android)
(iOS)

4
.4. All video and image files can be accessed on the “File” page.
(Android)
(iOS)
[
Note]:
1
). Please make sure there is enough space in your smartphone or tablet PC to store th
e
v
ideo footage before video recording.
2
).Video Resolution: 720P, 1080P Optional Video Format: mp4
4
. Record Video to a Micro SD card
>
> Please make sure the Micro SD card is securely fitted into the SD card slo
t
o
n your camera. We recommend using a SDHC Class 4 Micro SD card.

5
.1. Insert a Micro SD card into the camera’s Micro SD card slot.
5
.2. Launch the “HBCAM” APP and tap the camera icon on the “Camera” pag
e
t
o the live video image screen.
(Android) (iOS)
5
.3. Tap the local video recording button to start or stop recording
v
ideo to the Micro SD card fitted into the camera. The video files will be saved
i
n the Micro SD card.
(Android)
(iOS)

[
Note]:
1
). Please format the Micro SD card and make sure there is enough space in the Micro S
D
c
ard to store the video footage before video recording.
2
). Video files will be saved automatically every 3 minutes.
3
). Video Resolution: 720P, 1080P Optional Video Format: AVI
4
. Video Files Upload
>
> Upload video files from your smartphone or tablet PC.
M
ethod 1:
1
). Connect your smartphone or tablet PC directly to a computer via the USB
c
able.
2
). Your smartphone or tablet PC will be recognized as a removable disk drive
.
3
). All of your files can be accessed in the drive.
M
ethod 2:
1
). Remove the Micro SD card from your smartphone or tabletPC and insert it
i
nto a card reader.
2
). Insert the card reader into a computer.
3
). The Micro SD card will be recognized as a removable disk drive.
4
). All of your files can be accessed in the drive.
[
Note]: If methods above are not applicable to your smartphone or tablet PC, please
c
ontact your mobile device supplier for instructions.
>
> Upload video files from the Micro SD card fitted into the camera
M
ethod 1:
1
) Remove the Micro SD card from the camera and insert it into a card reader.
2
) Insert the card reader into a computer.
3
) The Micro SD card will be recognized as a removable disk drive.

4
) All of your files can be accessed in the “Vrec” folder.
M
ethod 2:
1
) Connect the camera directly to a computer via the USB cable.
2
) The camera will be recognized as a removable disk drive.
3
) All of your files can be accessed in the “Vrec” folder.
[
Note]: We recommend using VLC Media Player to playback video files on your compute
r.
V
LC Media Player is a free PC and Mac player available for download at
h
ttp://www.videolan.org/vlc
7
. Reset
I
f for any reason the camera stops responding or isn’t working properly, a quic
k
r
eset will restore it back to normal operation.
T
o reset the camera, you need to have a thin stick like a paper clip.
S
imply press and hold the Reset Button for 3 seconds and the red or blue
i
ndicator light will go out. Press and hold the LAN Button for 3 seconds to
r
estart the camera.
[
Note]: Do not use something that may be broken such as a lead of a mechanical pencil
.
A
broken lead may cause a problem.

Wi-Fi24
Benutzerhandbuch
1
. Produktübersicht
1
. DC 5V Ausgangsleistung
2
. Rote Anzeigeleuchte
3
. Blau-Anzeigelampe
4
. USB-Schnittstelle / Leistungsaufnahme / Datenausgang
5
. WAN-Taste
6
. LAN-Taste
7
. Kamera-Objektiv
8
. Infrarot-LEDs
9
. Micro SD-Kartenslot
1
0. Reset-Taste

2
. Was ist in der Box
-
HD Nachtsicht -Kamera
-
USB-Kabel
3. Lade
3.1. Verbinden Sie die Stromversorgungseinheit mit dem mitgelieferten
USB-Kabel mit einem PC. Die Anzeige leuchtet, wird nicht währenddes
Ladevorgangs leuchten.
3.2. Es wird etwa 2 Stunden dauern, bis eine volle Ladung erhalten. Die
Kamera ist in der Lage Video kontinuierlich für 2 Stunden auf einer vollen
Ladung aufzunehmen.
3.3. Wenn Sie die Kamera wollen die ganze Zeit arbeiten, verwenden Sie bitte
die externe Stromversorgung.
[Hinweis]: Wenn die Batterie schwach ist, wird die Kamera Wifi Signal halten fallen.
NETZWERKEINRICHTUNG
1. Installieren Sie den "HBCAM" APP
Suche nach "HBCAM" in Apple App Store oder Google Play Store und
installieren es auf Ihrem Smartphone oder Tablet-PC.

(Android) (iOS)
2
. P2P oder LAN-Modus Setup
2
.1. Drücken und halten Sie die LAN-Taste für 3 Sekunden zum Einschalten
d
er Kamera. Die rote Kontrollleuchte konstant bleiben, was auf die Kamera ha
t
s
ich in P2P-Modus eingegeben.
2
.2. Zum Wifi Einstellung Seite auf Ihrem Smartphone oder Tablet-PC und
s
chließen Sie die Kamera Wi-Fi-Netzwerk.
(Android) (iOS)

[
Hinweis]:
1
) Es dauert 1-3 Minuten dauern, bis die Wi-Fi-Signal der Kamera erscheint Einstellung
S
eite Wi-Fi auf Ihrem Smartphone oder Tablet-PC.
2
). Die Kamera Wi-Fi-Netzwerk-Passwort ist "87654321".
3
). Wenn das Wi-Fi-Signal der Kamera kann nicht auf Ihrem Smartphone oder Tablet-PC
g
efunden werden, stellen Sie die Kamera oder den Akku wieder aufzuladen, ist es dann
n
och einmal versuchen.
Q
:Wie die Kamera zurücksetzen?
A
: Drücken Sie die Reset-Taste für 3 Sekunden. Die Anzeigelampe erlischt. Drücken Sie
d
ie LAN-Taste, um erneut mit der Kamera.
2
.3. Starten Sie den "HBCAM" APP auf Ihrem Smartphone oder Tablet-PC,
u
nd tippen Sie dann auf das Pluszeichen in der oberen rechten Ecke.
(Android) (iOS)
2
.4. Tippen Sie auf "Search", um die Suche nach der lokalen Kamera.
Table of contents
Languages:
Other WISEUP SHOP Security Camera manuals

WISEUP SHOP
WISEUP SHOP L100 User manual

WISEUP SHOP
WISEUP SHOP P8000 User manual

WISEUP SHOP
WISEUP SHOP WIFI32 User manual

WISEUP SHOP
WISEUP SHOP CHC100 User manual

WISEUP SHOP
WISEUP SHOP W9300 User manual

WISEUP SHOP
WISEUP SHOP MT-M130 User manual

WISEUP SHOP
WISEUP SHOP IDC100 User manual

WISEUP SHOP
WISEUP SHOP P2000 User manual

WISEUP SHOP
WISEUP SHOP P9000 User manual

WISEUP SHOP
WISEUP SHOP AT002 User manual