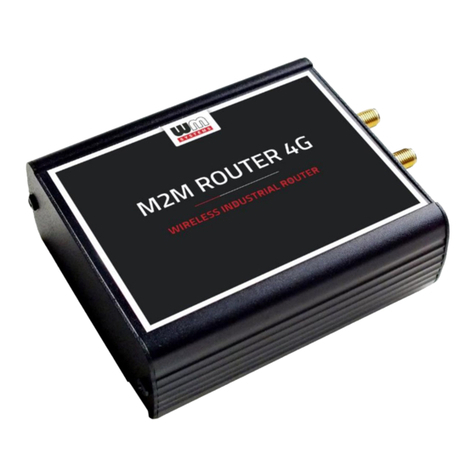
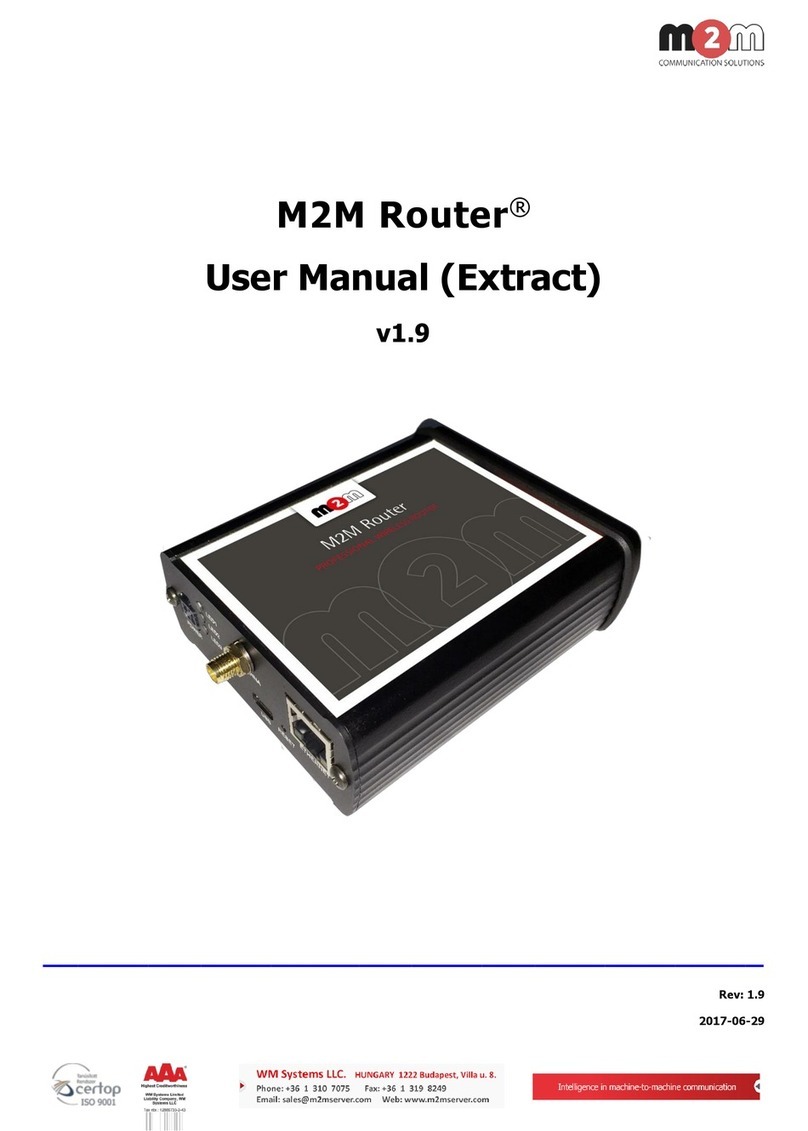
WM Systems M2M Router NB User manual

Narrow Band M2M Router®
User Manual
v2.00
_________________________________________
2019-11-18

Document specifications
This document was completed for the Narrow Band M2M Router®
device
and contains the
detailed description of the device configuration which is necessary for the proper operation of the
device.
If you are using the router with RS232/RS485 additional interface, pls. check the RS232/RS485 chapter at
Serial Proxy part in this document.
Document category:
User Manual
Document subject:
M2M Router NB
®
Author:
WM Systems LLC
Document version No.:
REV 2.00
Number of pages:
60
Hardware Identifier No.:
BE0077C_CMDA450, BE0077D_CMDA450
OpenWRT build version:
2019-07-10
Linux Kernel version:
4.4.4
Firmware version:
2019-01-18
Document status:
Final
Last modified:
18 November, 2019
Approval date:
18 November, 2019

Table of contents
1. Starting up the Router ............................................................................................. 5
1.1 Interfaces....................................................................................................................................... 5
1.2 Cable connection ............................................................................................................................ 5
1.3 Starting the router ......................................................................................................................... 5
1.4 Web user interface of the router ...................................................................................................... 6
1.5 Accessing the router on ssh connection............................................................................................. 7
2. Web Administration user interface ........................................................................... 10
2.1 Login ............................................................................................................................................ 11
2.2 Main page (Dashboard) ................................................................................................................... 12
2.3 Menu ............................................................................................................................................. 12
2.4 Status menu ................................................................................................................................... 12
2.5 System menu ................................................................................................................................. 13
2.6 Router menu .................................................................................................................................. 14
2.7 Network menu ................................................................................................................................ 14
3. Network configuration of the router ....................................................................... 15
3.1 Interface settings............................................................................................................................ 15
3.2 Mobile internet settings (configuring the NB modem) ........................................................................ 16
3.3 Ethernet (LAN) settings ................................................................................................................... 18
3.4 DHCP settings................................................................................................................................. 20
3.5 DNS settings................................................................................................................................... 22
3.6 Defining the route rules................................................................................................................... 23
3.7 Firewall settings.............................................................................................................................. 23
3.8 Port Forward settings ...................................................................................................................... 28
3.9 IP routing, NAT settings................................................................................................................... 29
3.10 Dynamic DNS settings ................................................................................................................... 30
4. Special settings ....................................................................................................... 31
4.1 M2M Device Manager settings .......................................................................................................... 31
4.2 Monitoring the modem .................................................................................................................... 32
4.3 Ping an IP address .......................................................................................................................... 32
4.4 Network Time Service (NTP) ............................................................................................................ 33
4.5 TFTP service settings....................................................................................................................... 33
4.6 Identifiying names connecting machines ........................................................................................... 34
4.7 LED configuration............................................................................................................................ 35
4.8 OpenVPN configuration.................................................................................................................... 36
4.9 Ser2net (RS232, RS485) settings...................................................................................................... 38
4.10 Periodic reboot, periodic ping settings ............................................................................................. 40
5. Software refresh and router maintenance ................................................................ 42
5.1 Firmware refresh............................................................................................................................. 42
5.2 Installing applications ...................................................................................................................... 42
5.3 Restarting the router ...................................................................................................................... 44
5.4 Shutdown / halt of the router .......................................................................................................... 44
5.5 Reset the router.............................................................................................................................. 44
5.6 Password change ............................................................................................................................ 45
5.7 Backup and restore of settings ......................................................................................................... 45
5.8 Handling external storage (uSD card, USB drives) .............................................................................. 47
5.9 RS485 M-Bus meter connection ....................................................................................................... 50
5.10 SSH configuration.......................................................................................................................... 52
6. Troubleshooting ....................................................................................................... 53
7. Support availability.................................................................................................. 57
7.1 Contact the support line .................................................................................................................. 57
7.2 Product support .............................................................................................................................. 57
8. Legal notice ............................................................................................................. 60

1.
Starting up the Router
1.1 Accessories
Unpack the router and the antenna from the product paper box.
Prepare for the installation and the configuration, follow the next hints.
1.2 Cable connection
1. Mount the Narrow Band SMA-type communication antenna to the Antenna (Main) titled
SMA-M interface (according to the module/router type).
2. Insert a SIM card (APN and data activated) to the SIM holder, placed the chip-side up and
the cutted edge towards to inside and push until it sleeves.
3. Connect UTP cable to the router Ethernet titled port. The other side of the cable must
be plugged to the PC’s Ethernet port.
4. The DHCP service is turned off for the router Ethernet interface, by default.
Therefore, you have to configure an IP address for you PC, manually.
As an example, add the 192.168.127.10 IP address to your computer’s Ethernet interface
for connecting to the router.

1.3 Starting the router
1. Plug the 12V DC power adapter cable to the POWER interface, then plug the adapter to
the 230V electrical network.
2. The router has a pre-installed system (contains uploaded firmware and system software). After
plugging the power adapter, the router begins to work, whereas its LED signals are showing
the current activity during the operation.
When power up the router, all the three LEDs will flashes once –as in case of restart.
If the device was under power supply the LED1 will lighting continuously (which means that the
system booting is in progress).
3. The system is starting, which takes about 1-2 minutes. During the boot the LED1 will lighting
by green. After cca. 2 minutes, LED1 will flashing once in every 10 seconds which means it is
available on its local interfaces. Now you can login to the web user interface.
4. As soon as you can, configure the internet settings of the wireless module (SIM and
APN) for connecting to the NB-IoT network –in other case the router will be
restarted in every 10 minutes.
5. Then the router tries to connect to the mobile network (autenticates and logging to the APN
zone and will be initiating the network connection) –if that was configured and the SIM card
network registration has performed, then the LED2 will lighting continuously, which signs that
the the router has access to the mobile network and can transmit data.
6. Change the web login password as soon as you can.
7. If you need, turn on the DHCP service.
If you notice any failure or unusual LED flashing, then go to the Troubleshooting chapter.
1.4 Web user interface & Login
For accessing the the router through the web user interface you have to setup the IP address of
the Ethernet interface on your computer to allow the fixed ipv4 address for the following IP address:
192.168.127.1, Subnet mask: 255.255.255.0)
Default web user interface (LuCi) address is: https://192.168.127.1:8888
( USB web address: https://192.168.10.1:8888 )
Attention!
For accessing the web user interface we offer the Mozilla Firefox web.

At first time, you have to allow the security risk in the Mozilla®browser by choosing the Advanced
option at the
Potential Security Risk
.
Then choose the Accept the Risk and Continue option here.
Now, you can login to the router’s local website (LuCi interface) - through the Ethernet
interface –accessing the default URL.

The login data are the following:
Username:
root
Password:
wmrpwd
Then push to the Login button to load
the configuration management user
interface of the router.
1.5 Accessing the router on ssh connection
The router can be accessed through an ssh connection, when it is available on its IP address –by
a terminal utility (e.g.
putty
) –at 192.168.10.1:22 (Login:
root
, Password:
wmrpwd
).
When connecting, you have to allow the usage and store of the encryption key on your client, then
the following login screen appeas in your command line on your computer.
Attention!
When connecting to the public network, it is recommended to change the login password!
The ethernet IP address can be modified after login from the OpenWrt.

1.6 Remote configuration of the router by Remote Device Manager®
software
You can use the remote device management application (Remote Device Manager®) for maintaining your
m2m routers. The application
provides you continuous QoS
monitoring of operation, remote
re-configuration and installation
of firmware updates.
There you can manage hundreds
of m2m routers by checking their
network availability, unwanted
outages.
You can also storage the current
configuratio or reconfigure mass
of the routers in one step or
refresh the firmware for a group
of routers - or singular devices as well.
The application is available through license pack constructions, please advise our sales about the license pack
options.
You can get further information on the Remote Device Manager®website:
https://www.m2mserver.com/en/product/m2m-device-manager/

2. Web Administration user interface
2.1 Dashboard (Main page)
After login to the web interface, the startup screen appears with the current status of the router.
Check that the
Build Date
(OpenWrt) is 2019-07-10 or newer version, and the
STM32 Firmware
version –which must be at least 2019-01-18 or newer.

At the Network part you can identify the Modem Model, the modem identifier (IMEI), the SIM
identifier (SIM ID), and the Modem RSSI (signal strength) and Modem SQ (signal quality in
CSQ) and the mobile network registration, login and access information as well (
CREG,
COPS
).
You also can check the IPv4 and IPv6 WAN status and the connection Type to the public
Internet. There you can check the DHCP and DNS information as well.
2.3 Menu
By the menu you can access the following features:
-Status –Status data, operation logs, operation monitoring
-System –System settings, administration, software and fw-refresh, backup/restrore of the
configuration settings
-Router –Device Manager settings, Modem and Logging parameters, Ping an IP address,
Daily restart, Factory settings
-Services –DynDNS (dynamical DNS) settings, Ser2Net (RS232/RS485) settings, OpenVPN
settings
-Network –network interface settings, DHCP, DNS, Route rules, diagnostics, firewall
2.4 Status menu
In the Status you can check the current status (Overview),
at the Firewall item, you can see the firewall events and information,
at the Routes item the valid/active route settings,
check the system messages and event log (System Log and Kernel Log),
activities of the router (Processes),
monitoring the realtime operation at the Realtime Graphs.

2.5 System menu
You can found several system settings in these menu items:
In the System menu: Hostname (router name), Time synchronisation (time and NTP
server settings), Logging, Language (of user interface)
Administration: Password (for admin user interface) and the SSH Access
Installation of further Software (3rd party tools, applications for the Linux distribution.
You can define the Startup applicatons - resident - programs during the operation
You also can define Scheduled Tasks for starting them in the right time and sequence
Setup the NTP server for Time Synchronisation.
The Mount Points are showing the available (mounted) shares and drives.
The LED Configuration is also configurable.
You also can Backup / Flash firmware updates
Even the Rebooting the router.
You can store the router settings with the Save button. The Save & Apply button stores the
settings and reconfigure the router related on these settings.
2.6 Router menu

You can define the remote monitoring software connection settings of the az Remote
Device Manager®(optional remote management software for firmware refresh and
reconfiguartion, check QoS).
Then at the Modem parameters (define special parameters for the connection).
Define the Logging parameters.
At the Periodic Ping you can configure the cyclic heartbeat ping interval settings –as a
network checking method feature.
The daily router reboot can be allowed at the Periodic Reboot menu item.
The backup of the factory settings is possible at the Factory Configuration (save to a file).
2.7 Services menu
Here you can setup the DynDNS (dynamical DNS) service settings
Configure the RS485 settings at Ser2net menu item
Define the OpenVPN client connection settings.
2.8 Network menu
Interfaces - Here you can configure the settings of each network interface
DHCP and DNS settings can be modified
Hostname can be modified to the router name to identify on network
Static route paths can be also defined
Diagnostics - you can test network operation and connection health (ping IP address).
Firewall rules can be declared here as: Port forward, IP router, NAT settings.

3. Network configuration of the router
3.1 Interface settings
The list of the available network interfacescan be found at the Interfaces / Interface Overview
menu item.
The network interfaces are listed at the Interface Overview. The
LAN
interface means the
Ethernet port connection (
eth0
), the
USBLAN
is the USB-Ethernet (
usb0
) and the
WAN
interface
is the public wireless Internet connection (
3g-wan
) for the NB-IoT modem. You can modify the
settings with the Edit button.
Modifying the interface settings
At the interfaces, at right you can modify the settings with the button.

The Stop button stops the communication on the current interface, the button
reconnects the related interface connection. At the upper WAN, USBLAN, LAN title you will found
further settings for the chosen Interface.
3.2 Mobile internet settings (configuring the NB modem)
Open the WAN item from the upper selection. Then at the General Setup tab you can see the
current status of the interface and the transmitted data amount.

Setup the module for connecting to the NB-IoT mobile network (according to the assembled module
type) –at the WAN interface tab.
Configure the module to the wireless internet and for Narrow Band network connection (by the
modem type and network behaviour) here for the WAN interface.
For configuring end enabling the roaming settings –in case of international or country border
usage –you may need to setup the Mobile country code and Mobile network code parameters
–even if you are attempted to use only a prefered mobile network.
The international country codes can be found here: http://mcc-mnc.com
Ask your mobile operator about the available international settings.
You can define the SIM #1 APN account name, and the SIM #1 PIN code if it is necessary for
the connection.
Here you will found some examples for the APN settings.
M2M APN (enclosed)
APN name: wm2m
Public Internet APN
APN name: net
Attention!
ALWAYS use the given APN name and password of your Mobile Operator.
Automatic mode
When you not set any value for the APN, the router will connect by the SIM-card automatically
to the next available network’s available APN.
Attention!
The available APN settings will be assured by the SIM card provider mobile operator or your
mobile internet service provider.

Authentication
The PAP/CHAP username and PAP/CHAP password settings can be also configured here –if
it is required for the connection. Click to the Save & Apply button for saving the settings, while
the devices attempts then connecting to the mobile network.
ONLY for NB IoT (Vodafone GDSP SIM)
APN: nb.inetd.gdsp
APN password:
(not presented)
ONLY for GDSP SIM (WM2M GDSP)
By using the GDSP SIM you have to follow the hints of the mobile operator when filling the SIM #1
APN, APN username and password fields.
In case of APN (WM2M network): wm2m.gdsp
APN username: IMSI identifier of the SIM card (number written on the SIM card, and which is
usually starting with „20404” tag)
APN password: wm2m.gdsp
// for using the Hungarian WM2M
For further international mobile network providers or in case of using in foreign
countries this information is assured by the local GDSP SIM mobile provider.
Attention!
After configuring the APN and saving & applying the settings of the WAN interface,
you must restart the router as soon as you can!
Choose the System menu / Reboot item and reboot the router - then the modem will
be restarting by the new settings!

3.3 Ethernet (LAN) settings
For the LAN interface, at the LAN menu item at the General Setup tab you can define an own IP
range (IPv4 address), with the related IPv4 netmask (subnet mask).
Important!
To be connected to a Narrow Band network can be longer than it is usual in case of
3G, 4G LTE network. NB IoT connection sometimes takes 2-3 minutes, but some
other networks need more time as 5-10 minutes until the successful connection.
In the overview you can be ensured about the IPv4 WAN status which will be
„connected” when the module registered successfully to the network.
In this case you will get good reception values at RSSI and CSQ (and not values 99
which means no signal).

The detailed LAN interface settings can be performed by the Network Interfaces menu item at
the LAN interface button.
Change the default 192.168.127.1 router IPv4 address to an own IP address, regarding the current
subnet. Check the IPv4 netmask to be proper for the selected and required network class which
you are attempted to use.
When you have modified the settings, save them by the Save & Apply button.
Important!
The DHCP service is turned off for the router Ethernet interface, by default. Therefore, you have
to configure an IP address for you PC, manually.

If you are not attempted to use a fixed IP address for the router, and if you are attempted to use
given IP by a different network device (by DHCP service), then modify the IPv4 address to the
connecting gateway –or other network device - IP address, and choose the
Static address
at the
Protocol, the
DHCP client
setting, and push the button.
Then the DHCP client will be activated for ethernet interface.
Push the Save & Apply button for performing the changes.
3.4 DHCP, DNS settings
The DHCP service allows the automatic IP address providing for the connecting devices in the
current IP segment by the router.
The DHCP settings can be found at the Network menu, Interfaces (according to the required
interface),
Edit
and Advanced Setttings tab item.
If you attempted to enable the DHCP service, uncheck the
Disable DHCP for this interface
option.
Then the related parameter settings will be visible with their default settings.
The Start field means the starting IP addres in the subnet for the connecting devces (by default
192.168.x…). You can Limit how many IP addresses will be provided. The router will be providing
IP addresses for the connecting devices in the 192.168.x subnet within the
Start
and between the
Start+Limit
address range (especially important for WiFi).
Important!
The DHCP service is disabled by the factory default configuration. First, you have to enable the
DHCP service for the usage and performing the further DHCP settings!
Table of contents
Other WM Systems Network Router manuals

WM Systems
WM Systems M2M Router PRO 4 User manual

WM Systems
WM Systems M2M PRO4 DCU User manual

WM Systems
WM Systems M2M Industrial Router 2 SECURE User manual

WM Systems
WM Systems M2M Router PRO 4 User manual

WM Systems
WM Systems M2M PRO4 MODEM User manual

WM Systems
WM Systems M2M Industrial Router User manual

WM Systems
WM Systems M2M PRO4 MODEM User manual

WM Systems
WM Systems M2M Router PRO4 User manual

WM Systems
WM Systems M2M Router PRO 4 User manual

WM Systems
WM Systems M2M Router PRO 4 User manual