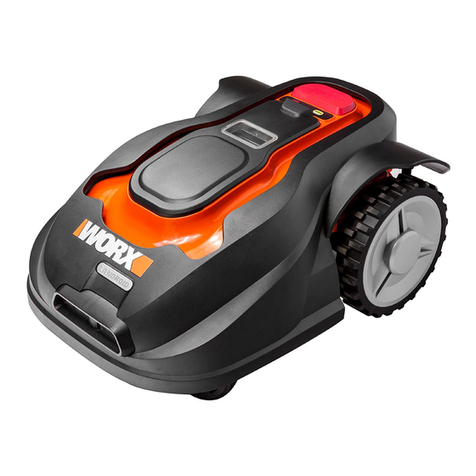
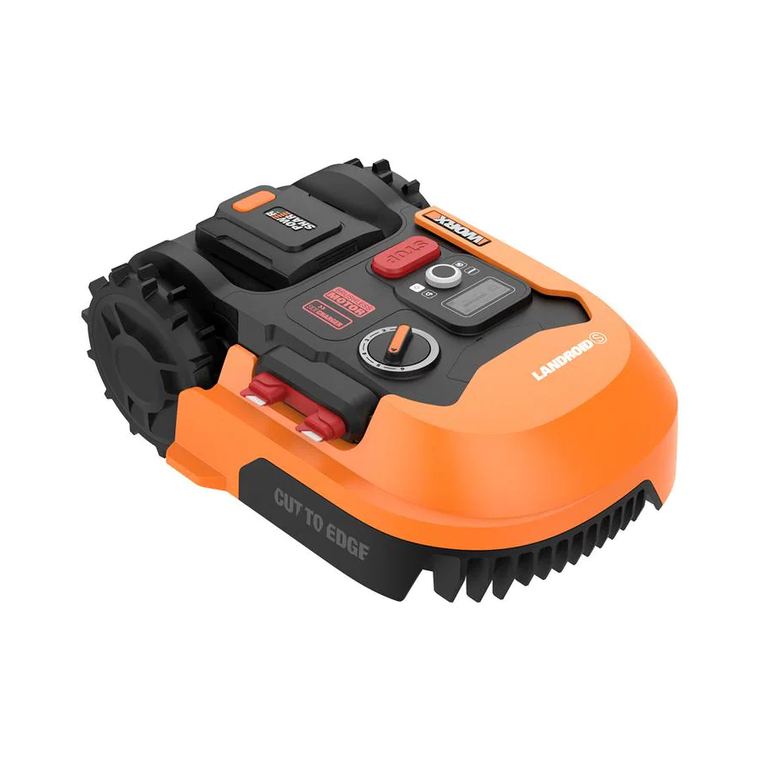
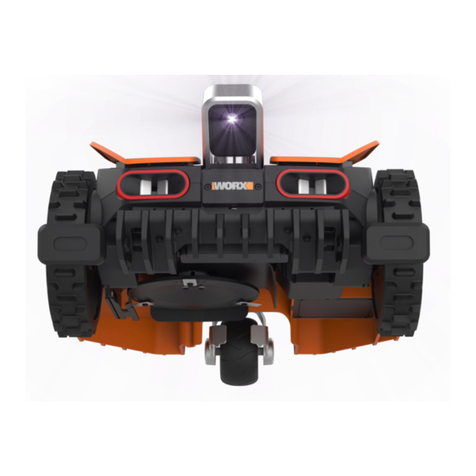
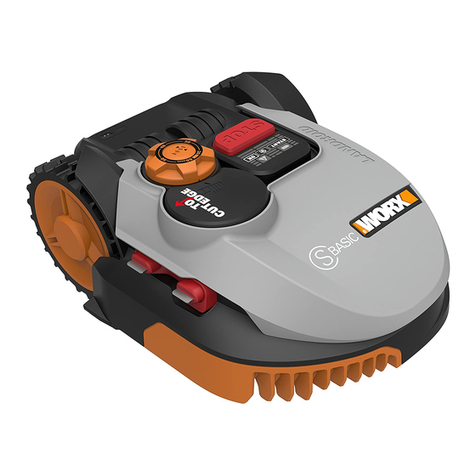
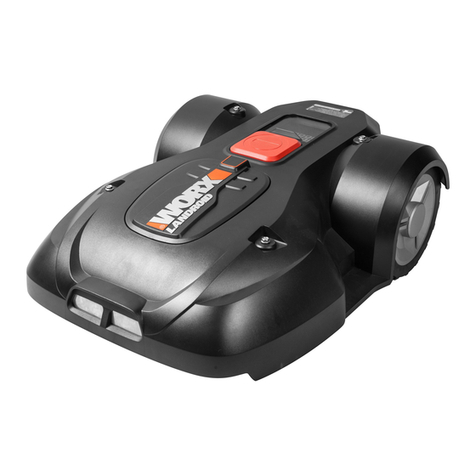
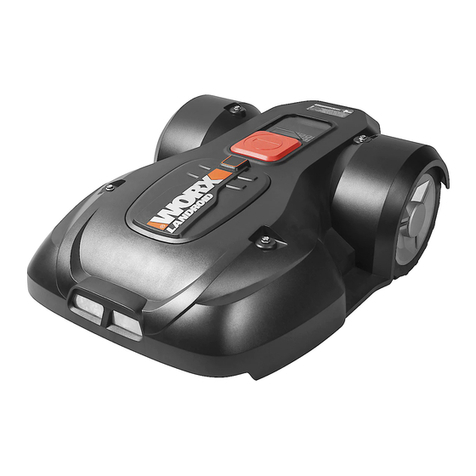
Worx Landroid User manual

Worx Landroid
Maintenance Sheet
A Steelfort Product steelfort.co.nz

A Steelfort Product steelfort.co.nz
Worx Landroid
Maintenance Sheet
1. How to manage ordinary Landroid
maintenance?
With minimal maintenance, your Landroid will operate smoothly, season after season
Your Landroid works hard and needs to be cleaned and checked from time to time. This section of our
guide helps you keep Landroid in good shape so it can last for years without troubles. Here’s how to
take care of your Landroid:
Keep it sharp
Landroid does not cut grass like other mowers. Its cutting blades are razor sharp on 2 edges and ro-
tate in both directions for maximum cutting capacity.
• The blade turning disc makes a clockwise and counterclockwise rotation at random to use both cut-
ting edges and minimise the frequency of replacing the blades
• Each cutting blade will last up to 2 months when it is programmed to mow every day
• Always check to see if the blades are chipped or damaged and replace them if they are
• When the cutting blades are dull and worn out, they should be replaced with the spare blades pro-
vided with your Landroid.
Spare blades are also available at your nearest Landroid retailer.
WARNING! Before cleaning, adjusting, or replacing the blades, turn your Landroid OFF and remove
the battery. Always wear protective gloves.
Replacing the Blades
1. Remove the battery
2. Gently flip the Landroid over
3. Take the screws o the blades with a screwdriver
4. Firmly screw on the new blades
5. Refit the battery
When fitting new blades, make sure you replace ALL the blades.
Always use new screws when fitting blades. This is important to ensure blade retention and balance
the blade turning disc. Failure to use new screws could cause serious injury
Attention: After screwing the blade to the blade disc, make sure the blade is able to spin freely.

A Steelfort Product steelfort.co.nz
Worx Landroid
Maintenance Sheet
Keep it clean
Your Landroid should be cleaned regularly. This helps keep it in good condition, especially removing
dirt, debris and the build-up of grass from daily mowing. Turn Landroid o before cleaning it. For extra
safety, remove the battery.
WARNING! DO NOT use a hose, high pressure washer or otherwise pour running water on your
Landroid. High pressure water can go inside the sealings and damage electronic and mechanical
parts.
Cleaning the upper body
• Clean with a spray bottle filled with water. Don’t use solvents or polishers
• Use a brush or a clean cloth to remove built-up dirt
Cleaning the bottom
• Flip Landroid upside down
• Remove debris and grass clippings using a brush to remove
• Be careful not to touch the blades with your hands. Wear gloves for protection
• Clean the blade disc, the chassis and the front wheel(s) thoroughly with a soft brush or moist rag
• Rotate the blade disc to ensure it rotates freely. Remove any obstructions. Remove any lodged
debris so that they don’t cause a crack in the blade disk. Even the tiniest crack eects mowing
performance
• Check the blades spin freely around the fixing screws. Remove any obstructions
Cleaning the drive wheels
• Remove mud from wheels with a brush in order to ensure good grip of the tread
Clearing the charging contacts
• Clean the contact pins located on the charging base and the charging strips located on the Landroid
using a cloth
• Periodically remove any build-up of grass clippings or debris around the contact pins and the
charging strips to ensure Landroid successfully charges each time

A Steelfort Product steelfort.co.nz
Worx Landroid
Maintenance Sheet
2. How to repair the boundary wire?
This tutorial will help you to proceed in case boundary wire is broken
Boundary wire can be repaired in dierent way, we suggest you to follow the one of the two listed
below taking in to account your personal skills.
Attention: it is not recommended to simply splice the boundary wire with insulating tape or use a
screw terminal block for connection. A broken circuit may occur after a period of time as soil moisture
can oxidize the wire.
How to repair boundary wire (beginners option)
You can encounter two cases: the wire is cut or the wire is damaged. In this second case, you must
cut and take away the damaged part.
Please read the steps below to proceed.
Then to proceed you will need:
A. the two waterproof boundary wire connectors that are in your Landroid box
B. a small piece of spare wire
Proceed as follows and remember to not strip anyone of the wires you will use.
1. Insert one end of the broken boundary wire into any hole of the connector

A Steelfort Product steelfort.co.nz
Worx Landroid
Maintenance Sheet
2. Use the small piece of new boundary wire and connect it to one of the two remaining holes on the
connector
3. Press the connector firmly by using a pair of pliers
4. Insert the other end of the spare wire and the other end of the boundary wire using the second
connector. Press the connector firmly by using a pair of pliers.
5. Proceed with burying again the boundary wire and secure it to the ground with a peg.
Alternatively, advanced users can tin the soldering wire, taking care to cover the wire with self-
amalgamating tape and eventually cover everything with an insulating tape.

A Steelfort Product steelfort.co.nz
Worx Landroid
Maintenance Sheet
3. How to update Landroid firmware
This maintenance article will help you to keep your Landroid firmware always up to date
Landroid is always improving and new software versions are made available for free.
Always keep Landroid firmware updated to make the most of your machine.
The update can be done Over-the-Air if your Landroid is connected to our cloud via Wi-Fi, Find My
Landroid or RadioLink. If not connected, it can be managed via a USB stick.
By keeping the auto-update enabled, you won’t have to push a button to keep it updated, everything is
done automatically as soon as new firmware is released and your Landroid is in the charging station.
How to know when a new firmware release is available
Once you’ve registered your Landroid on our account web panel, you can check the latest version
available. If you’ve connected Landroid with the app, you can check it the “Update” section.
Check which firmware version you have
If you are using the Landroid app, the firmware version is displayed on menu/device.
If you have a Landroid with an LCD display, the firmware version is always displayed on the left-hand
side of the display when you power on your Landroid.
If you have a Landroid 2019/2020 with the 7-segments display, please:
press and hold the Power and OK buttons together — a beep will sound.
a number will appear on the display that indicates the version number.

A Steelfort Product steelfort.co.nz
Worx Landroid
Maintenance Sheet
If you have a Landroid S 2017/2018 the software version is shown only in the app. (menu/device info)
OTA (Over-the-Air) updates
If you have auto-update disabled, please open the “Update” section of the app, if new firmware is
available you’ll be able to send the update to your Landroid. Please make sure that your Landroid is
under Wi-Fi coverage when sending updates.
Manual updates (via USB)
Depending on which Landroid model you have please refer to the following tutorials:
Landroid S, M500, L1000 2019/2020 (7-segments display): WR139E
Log in with your credential on our Account web panel.
If you haven’t registered your mower for the warranty extension yet, the system will ask you to do it first.
Once registered, select your mower model from the list, then download the lates available firmware on
your computer by clicking the download button.
Now follow the instructions here:
1. Get a USB stick, insert in your computer and format it FAT32. Small capacity USB sticks (e.g. 2, 4 or
8GB) work better for this purpose.
2. Copy the file as it is (no need to unzip it) from your computer to the USB stick.
3. Open the rear cover of the robot and locate the USB port.
4. Switch the robot o.
5. Insert the USB stick in the port, then power the robot on.
6. The machine will start to download the firmware. When the robot displays “USB”, remove the USB
stick.
7. Now the firmware update process starts. Once it is finished, the robot restarts and you will be asked
to insert the PIN.
Enjoy your newly updated Landroid.

A Steelfort Product steelfort.co.nz
Worx Landroid
Maintenance Sheet
Landroid M, L 2019/2020 (digital display): WR140, WR150
Log in with your credential on our Account web panel.
If you haven’t registered your mower for the warranty extension yet, the system will ask you to do it first.
After that please select your mower from the list, and download the latest available firmware by clicking
on the download button.
1) Please copy the file as it is (no need to unzip it) in an empty and formatted FAT32 USB stick. Older
ones (2/4/8GB ) are preferred.
2) The USB port is in the rear of the robot.
3) With the unit powered o, insert the USB then power the unit ON.
4) Follow the instructions on the display.

A Steelfort Product steelfort.co.nz
Worx Landroid
Maintenance Sheet
4. How to deal with a completely
discharged Landroid?
Tutorial to act in case of emergency charging need
If you Landroid does not power up when turned on it can be than Landroid it is completely discharged
due to an unexpected event. This is a rare vent that can be easily fixed.
In this case you should operate an emergency charge, depending on your Landroid model please follow
the steps below:
S, M, L 2019/2020
WR130E, WR141E, WR142E, WR143E, WR147, WR153E, WR155E, WR140, WR150
Manually dock it to charge, making sure the contact pins touch in the middle the contacts on the
charging base, and the emergency charging will start.
When the charge is completed, power Landroid on and it will operate accordingly to its schedule.
S 2017/2018
WR101SI, WR102SI, WR104SI, WR105SI, WR106SI, WR110MI, WR100SI, WR101SI.1, WR102SI.1, WR103SI,
WR104SI.1, WR105SI.1, WR106SI.1, WR110MI.1, WR115MI, WR090S, WR091S, WR092S, WR093S, WR094S,
WR095S, WR096S
Please proceed as per steps below:
1. Turn your Landroid o
2. Manually dock it to charge. The charging station LED will turn from green to red, the battery symbol
will blink red and green for about an hour and half. The charge is completed when the red LED on the
base truns green
You don’t need to wait for the entire charge cycle, Landroid can go back to work after approximately
one hour
3. Turn the power on
Attention: when an emergency charge is performed your Landroid remains in standby mode, waiting for
instructions even once the main switch has been turned on.

A Steelfort Product steelfort.co.nz
Worx Landroid
Maintenance Sheet
In order to restore full functionality, you have two options:
A. Press START then OK. Landroid will start work immediately
B. Take your Landroid out of the base and press HOME/OK. Landroid will return to base and operate
according to schedule.
M, L 2016/2018
WG757E, WG796E.1, WG797E.1, WG798E, WR111MI, WR112MI, WG799E, WR113MI, WG754E, WG755E,
WG756E, WG790E.1, WG791E.1, WG792E.1, WG793E.1, WG758E
1. Place manually your Landroid on the charging base
2. As the led of the charging base will light on, please turn on your Landroid
3. The charge is completed when the red LED on the base turns green. Landroid will then operate
accordingly to its schedule.

A Steelfort Product steelfort.co.nz
Worx Landroid
Maintenance Sheet
5. Worx Landroid Spring awakening
Wake up! Follow these quick steps to make sure your Landroid is ready for the season.
Check the charging base
During the cold season, ants might have made a nest of your Landroid charging base. Unplug the base,
check it and clean it thoroughly with a brush. Also check that the base is still lying flat to ensure good
contact with the charging pins, as the ground might have become uneven due to winter rains and snow.
Check the boundary wire
The boundary wire might have got damaged or broken. Animals and shovels can cause harm to the
wire. If this is the case, Landroid might behave erratically or display errors such as “wire missing”. Please
refer to above “How to repair the boundary wire”.
Check blades
If you haven’t done that already, we advise you to replace your Landroid blades to ensure the best
mowing performance. Please refer to above “How to manage ordinary Landroid maintenance”
Check your Landroid
Depending on how often you’ve charged it during the winter season, your Landroid battery might not be
fully charged. It’s a good idea to put the mower on the charging base a few hours before the first work
session.
Update Landroid firmware
Landroid has rested during the cold season, but we have not. Make sure your robot is running the latest
firmware by following the instructions above “How to update Landroid firmware”.
Tidy up your lawn a bit
Before starting your mower, remove debris such as dead sticks, leaves and any other rubbish in your
lawn, so Landroid can work unhindered. Pay some attention to borders as well, as plants might have
grown over the boundary wire.
When to mow
Not too early, not too late. Mowing too soon might injure the grass and weaken its roots. Grass experts
recommend not to mow grass before it has grown at least 5cm long. If your grass is long, follow the
instructions at next step.

A Steelfort Product steelfort.co.nz
Worx Landroid
Maintenance Sheet
How to mow
It’s a good practice to set the cutting disc at maximum height in the beginning and then gradually
reduce it over the course of the weeks until the grass reaches the desired length. As a rule of thumb,
you should never cut more than one third of the grass blade height. This will serve several purposes:
taller grass blades will grow stronger roots, provide more shade to the soil, retain heat, prevent weeds
from growing, and the smaller clippings will decompose more easily.
New garden layout?
If you have made any modification to the layout of your lawn, such as creating a new flowerbed or
installing a brand-new trampoline, please remember that you will have to adjust your perimeter wire.

A Steelfort Product steelfort.co.nz
Worx Landroid
Maintenance Sheet
6. Worx Landroid winter maintenance
To make sure your Landroid will be in perfect shape for the next mowing season, please
follow these instructions.
Store your Landroid
Clean your Landroid thoroughly. Do not use high pressure washers, detergents, or water in general.
Compressed air, a cloth and some elbow grease are plenty enough.
Make sure the battery is fully charged and then turn OFF your Landroid.
Store your Landroid inside in a dry place, at a temperature above 0°C.
Please, if you enabled the lock function on your Landroid there are some precautions you need to take.:
Lock functioning
The “Lock” function serves the purpose of blocking the Landroid in case it gets stolen.
The lock function is enable via app on the main menu. Once the function has been enabled, it triggers
when Landroid isn’t able to communicate with the Wi-Fi network for 72 hours: the robot will get locked
and won’t work anymore.
If your Landroid gets accidentally locked (e.g. you experience a power outage, the router goes oine,
etc.), you’ll just have to bring the Wi-Fi back online and make sure the robot is connected to it.
Landroid winter storage
If you’re about to store your Landroid for the winter season, you should also disable the “Lock” function.
The robot will get locked after not being able to connect to the Wi-Fi. Should you modify your network
SSID/password in the mean time, you won’t be able to unlock it once spring comes.
Keep the battery charged
Batteries discharge much faster at cold temperature. If the charge level drops to zero, the battery may
get damaged. We recommend that you fully recharge the battery once every two months.
2019/2020 models equipped with a removable PowerShare battery
You can either place the mower on its charging station, or remove the battery and recharge it with a
Worx 20V PowerShare charger.
What about the charging base?
Your charging base is suitable to stay outside during wintertime. In case temperatures drop really low in
your area, we suggest you bring it inside. Disconnect the ends of the boundary wire and wrap them with
insulating tape to avoid oxidation.
Other manuals for Landroid
16
Table of contents
Other Worx Lawn Mower manuals

Worx
Worx Landroid WR153E User manual

Worx
Worx Landroid User manual

Worx
Worx Landroid M WG794E User manual

Worx
Worx Landroid WR101SI User manual

Worx
Worx WG784E User manual

Worx
Worx WG776E.9 Installation manual
Worx
Worx Landroid M WG794E Installation manual

Worx
Worx WG784E Installation manual

Worx
Worx WG779E User manual

Worx
Worx WG730E.9 User manual