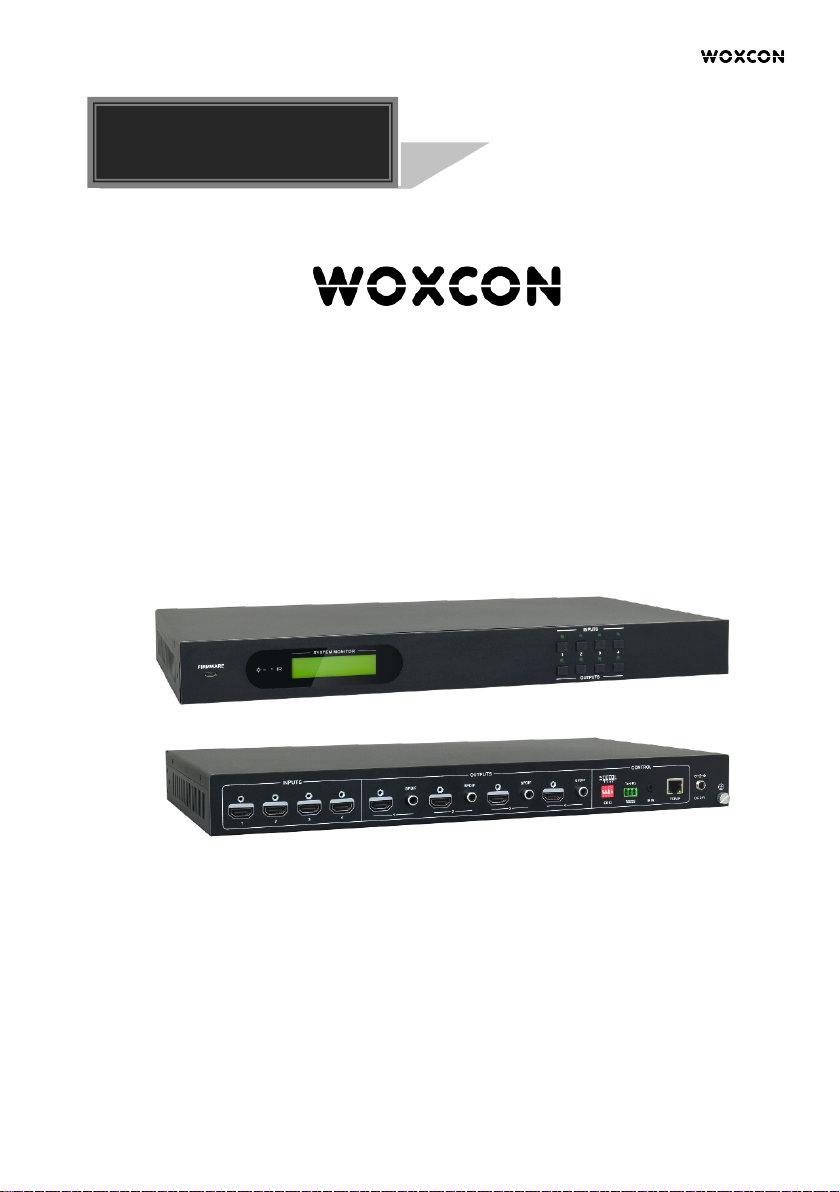
4K 4x4 HDMI2.0 Matrix Switcher
Contents
1. Introduction .................................................................................................................. 1
1.1 Brief Introduction ................................................................................................ 1
1.2 Features ............................................................................................................. 1
1.3 Package List ....................................................................................................... 1
2. Panel Description ........................................................................................................ 2
2.1 Front Panel ......................................................................................................... 2
2.2 Rear Panel ......................................................................................................... 3
3. System Connection ..................................................................................................... 4
3.1 Usage Precautions ............................................................................................. 4
3.2 Connection Diagram ........................................................................................... 4
3.3 Connection Procedure ........................................................................................ 4
3.4 System Applications ........................................................................................... 5
4. Panel Button Control ................................................................................................... 6
4.1 I/O connection switching .................................................................................... 6
4.2 EDID Configuration ............................................................................................ 6
4.3 I/O connection Inquiry ........................................................................................ 7
5. IR Control .................................................................................................................... 8
6. RS232 Control ............................................................................................................. 9
6.1 Installation/uninstallation of RS232 Control Software ........................................ 9
6.2 Basic Settings ..................................................................................................... 9
6.3 RS232 Communication Commands ................................................................. 11
6.3.1 System Commands ................................................................................ 11
6.3.2 Lock/unlock Commands ......................................................................... 12
6.3.3 Switching Commands ............................................................................ 12
6.3.4 Scene Commands .................................................................................. 13
6.3.5 HDCP Compliance ................................................................................. 13
6.3.6 EDID Configuration ................................................................................ 14
6.3.7 Enable/disable Digital Audio ................................................................... 16
7. TCP/IP Control ........................................................................................................... 17