www.xa.com/en 1
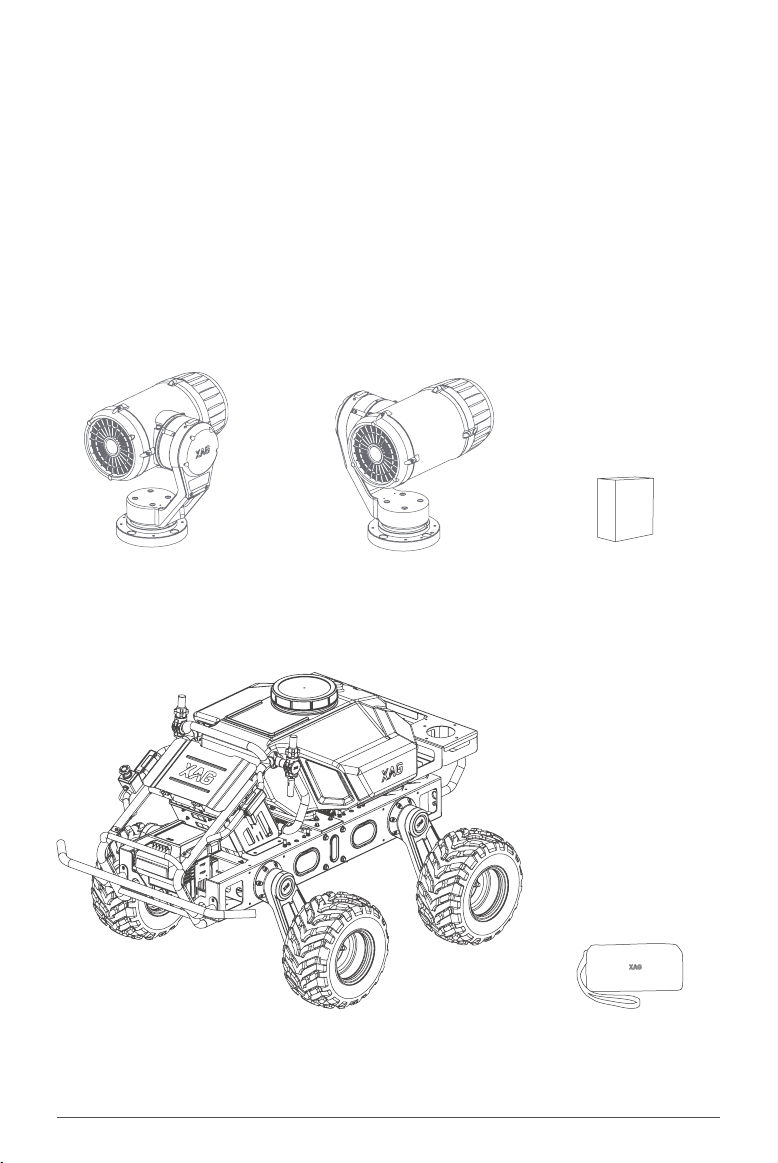
List of Items
Please check carefully to ensure that this package contains all the items listed below. Contact your
dealer if there are any missing items.
Vehicle
×1
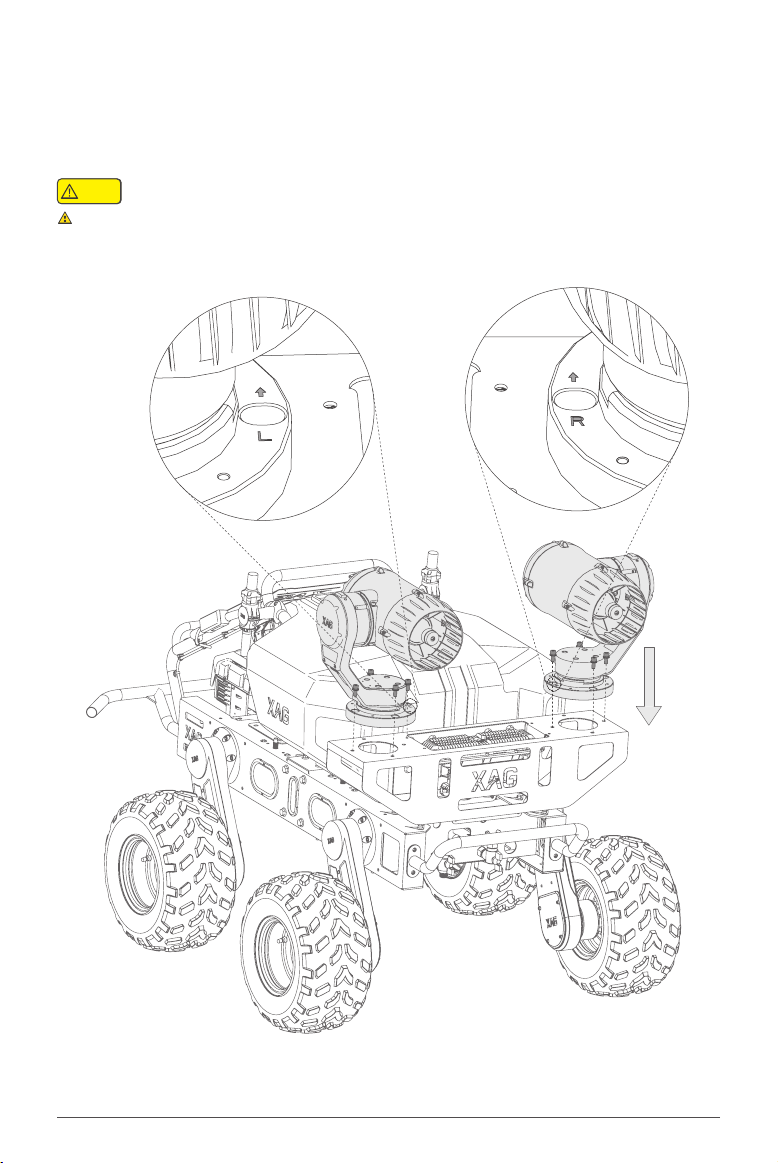
Jet Sprayer with Pan Tilt (Left)
×1
Jet Sprayer with Pan Tilt (Right)
×1
Tool Kit
×1
ACS2 ControlStick + RTK
×1
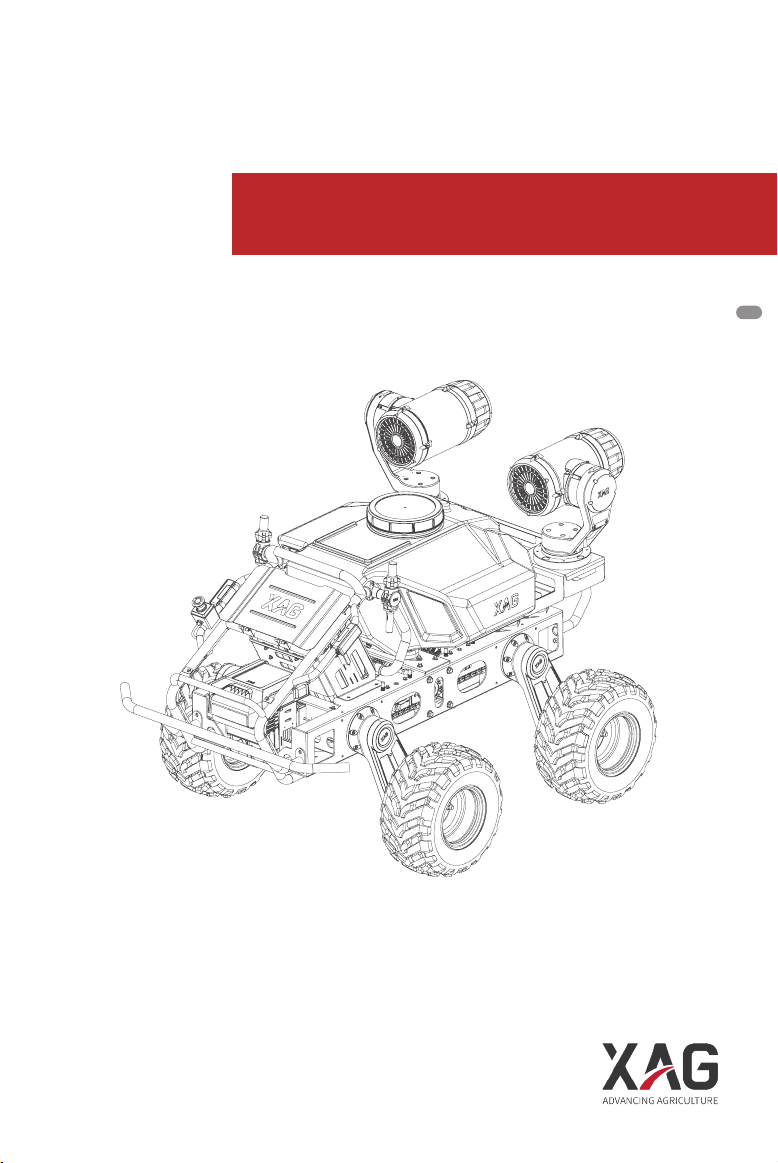
Product Prole
XAG R150 Agricultural Unmanned Vehicle (R150) is intended for next generation farming with concise
modular design, robust on-board carrier, powerful scalability, and multiple operation modes. When
equipped with the XAG JetSprayer ™ System, XIoT ™ Agriculture IoT System, or other smart agriculture
options, the R150 can oer a wide range of services from precision crop protection, eld scouting to
on-farm material delivery. By delivering industry-leading autonomous solutions that lead to better
operating performance and higher operating eciency, XAG is committed to moving beyond business
success alone and bring benets to both the environment and society.