manuals.online logo
Brands
  1. Home
  2. •
  3. Brands
  4. •
  5. Xblue Networks
  6. •
  7. IP Phone
  8. •
  9. Xblue Networks IP5g User manual

Xblue Networks IP5g User manual

IP5g
Quick Reference Guide
Extension Name
:
Extension Number
:
Voicemail Password
:
Setup Password
:
Making a Call
Pre-Dialing (allows corrections & quick calling out).
 Handset: enter the phone number then pick up the
handset.
 Handsfree: enter the phone number then press .
 Headset: enter the phone number then press .
While entering the phone number use the [Delete] softkey
to replace an incorrect digit.
Note: you can first lift the handset, press the Headset key
or press the Speakerphone key before dialing but pre-dial
sends the call faster since the action of pressing these keys
after dialing causes the immediate sending of the number.
Answering a Call
 Using the Handset: pick up the handset.
 Using the Speakerphone: press .
 Using the Headset: press .
3-Party Conference
1. While connected to the 1
st
call, press [Conf] softkey.
The 1
st
call is placed on Exclusive Hold.
2. Call the 2
nd
number. (Hint: press when finished
dialing to send the number faster.)
3. After the 2
nd
call is established, press the [Conf] softkey
to connect the three people (2 called and yourself) in a
conference.
Putting a Call on Hold
Exclusive Hold – call held for you only.
1. Press the [Hold] softkey. Caller is put on
Exclusive Hold.
2. To retrieve the call press [Resume] softkey.
Note: when there are more than one active
calls, select the desired call with the Navigation
keys and use the corresponding softkey to
[Hold] or [Resume] that call.
System Hold (shared) – any user can pick up
calls on System Hold 1 or 2.
1. While on a call press an idle (green) Hold
key 1 or 2
2. To retrieve the call on Hold 1 or 2 press that
key at any telephone.
Notes:
1. System Hold keys are red when a call is
held there.
2. System Hold keys become available (green)
immediately after any user retrieves a call
from one of the System Hold keys.
Call Transfer
Attended Transfer:
1. Press [Xfr] softkey during an active conversation. That
call is put on Exclusive hold.
2. Dial the transferee number (extension or outside
number.)
3. When the transferee answers you can announce the
call.
a. If the transferee wants the call, press the [Xfr] softkey
to complete the transfer.
b. If the transferee does NOT want the call, press [End]
softkey to disconnect the transferee and then press
the [Resume] softkey to return to the call on
Exclusive hold.
Blind Transfer:
1. Press [Xfr] softkey during an active conversation. That
call is put on Exclusive hold.
2. Enter the transferee number and then press the [Xfr]
softkey.
Mute
1. Press to Mute the microphone during a call.
2. Press again to un-Mute the microphone.
Call Forward
1. Press [Menu] > Features > Call Forward.
2. Select your extension (top of the list).
3. Select the type of forward (Unconditional, Busy, No
Answer).
4. Use the or keys to Enable/Disable.
5. Press to Forward To and input the destination.
6. Press [OK] softkey or Navigation key.
Voicemail
If you have voicemail messages waiting the red lamp at the
upper-right corner of your phone will flash.
1. To access your mailbox, press or [Vmail] softkey.
2. Input your password (1111 is the default) and follow the
voice prompts to listen to your messages.
Call List
1. Press key or [CallLog].
2. Scroll through the lists using the navigation keys .
3. To dial an entry, press the [Dial] softkey or pickup the
handset or press the or .
Contacts
Access Contacts:
1. Press key or softkey [Menu].
a. If you started using Menu select Contact.
2. Select Local Contacts.
3. Select All Contacts or Add a new group.
4. To dial an entry, navigate to the entry and press [Dial]
softkey or pickup the handset or press or .
Add new entry:
1. Select Contact as above then All Contact or other
group.
2. Press [Add].
3. Enter name and number and press [OK] softkey.
Do Not Disturb
1. Press [DND]. (Use [More] if it is not shown.)
2. Press [DND] again to remove DND.
Redial
1. Press to redial a number that was previously dialed.
220330-4
Packing List
Handset Cord Ethernet Cord This Guide
IP5g Phone Handset Desk Stand Power Supply Wall Mount
(Sold separately)
Installation Tips
Desk Stand Installation
 Determine the desired angle: Low (A) or High (B).
 Use the illustration at the right to choose the correct pair of
slots and slide the Desk Stand – left-to-right into the slots for
the angle you want.
Wall Mount Installation
 A Wall Mount kit (sold separately) is required.
1. Remove the handset retaining tab using your thumb to
push it up and out of its socket.
2. Spin the retaining tab so that the retaining hook is in an
upward position and slide the tab back into the socket.
3. Mount the Wall Mount kit to the wall where the phone is to
be located.
4. Slide the IP5g phone onto the Wall Mount from left to right
by mating the slots on the back of the phone (slot pairs A
or B as above).
Connections
1. Power Port: connect the power adapter.
2. Network Port: connect to the LAN (Local Area
Network)(Internet).
3. PC Port: This optional port can be used to connect your PC
to the same LAN.
4. Headset Port: Connect an optional headset to this port.
5. Handset Port: Connect the supplied handset to this port.
Screen Icons
Handsfree Mode
Auto-Answer ON
Received Calls
No IP Address
Headset Mode
Call Forward
Dialed Calls
Internet Connected
Handset Mode
Do Not Disturb OFF (Blue)
New Voicemail
Internet Not Connected
Mute ON
Do Not Disturb ON (Red)
Keypad Locked
VLAN Active
Ringer OFF
New SMS
VPN Active
Call on Hold
Missed Call(s)
Voice Quality
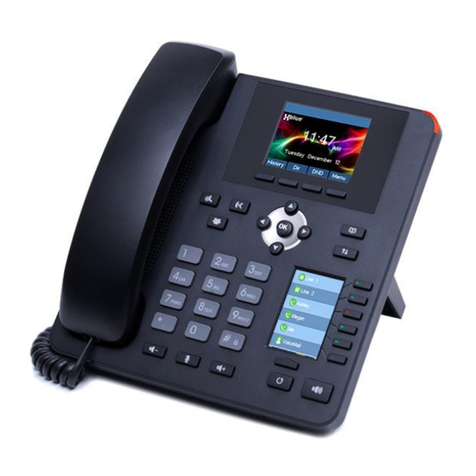
Keys Features
Softkeys (under display) are
interactive with the displayed
functions. “More” displays
additional options.
Message Waiting
Indicator
Left, Right, Up &
Down Navigation
Keys
Shortcuts (must be idle):
 Up - Call Log
 Down – Phone Status info
 Right – ICON access
Contacts key
Voice Messages
key
System Hold keys
(access at any
phone)
Headset key
Redial key
Mute key
When connected
on a call press to
Mute/Unmute
Note: pressing
Mute while idle
turns of the Ringer.
Volume key (up/dn)
Handsfree key
Activate/Deactivate
speakerphone
Hash/Lock key
Pressing the hash
sign key for 3 sec
or more will lock
your phone.
Language Setting
Several languages are available for the prompts on your
telephone display.
1. Press [Menu]. (Use [More] if it is not shown.)
2. Navigate to and select Basic.
3. Select “1” from the list.
4. Navigate to the desired language and press OK.
Browser Access
IP5g settings can be changed via a web browser.
Note: some settings can interrupt the phone
function!
1. Find the phone’s IP Address. Press the key.
The IPv4 IP Address will be listed there.
2. Login:
a. Open a web browser (MS Edge, Chrome, etc.)
b. Input the IP Address discovered into the
address bar (at the top of the browser) (search
bars cannot be used for this purpose.)
c. When prompted input the Username and
Password (admin/ admin).
3. Configure:
a. Navigate to the desired setting, make changes.
b. Save the changes.

Other Xblue Networks IP Phone manuals

Xblue Networks 45P Instruction Manual

Xblue Networks

Xblue Networks 45P Instruction Manual

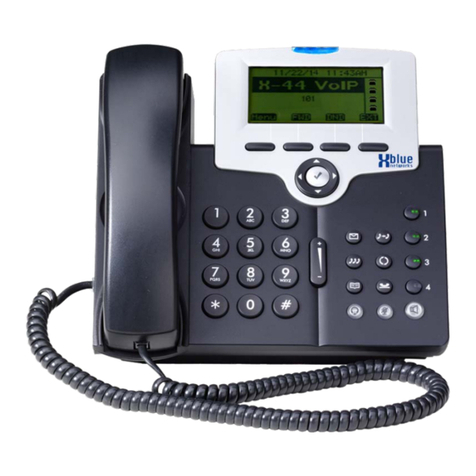
Xblue Networks X-44 Operation manual

Xblue Networks

Xblue Networks X-44 Operation manual

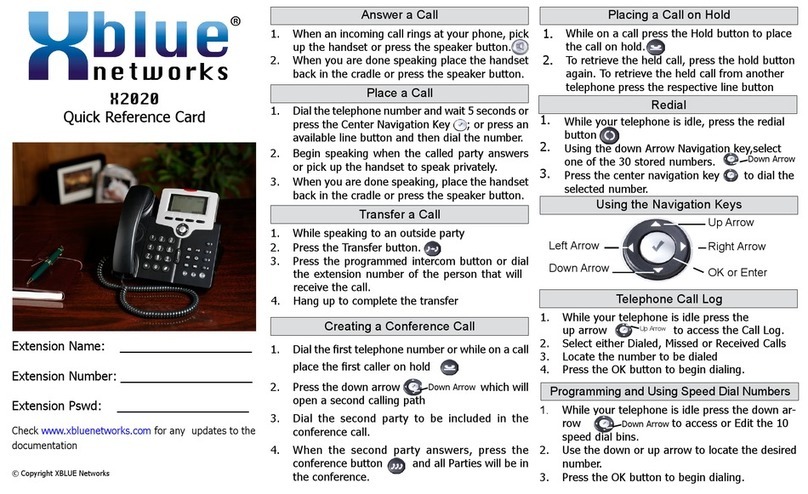
Xblue Networks X2020 Reference guide

Xblue Networks

Xblue Networks X2020 Reference guide

Xblue Networks X2020 Reference guide

Xblue Networks

Xblue Networks X2020 Reference guide

Xblue Networks SP2014 User manual

Xblue Networks

Xblue Networks SP2014 User manual

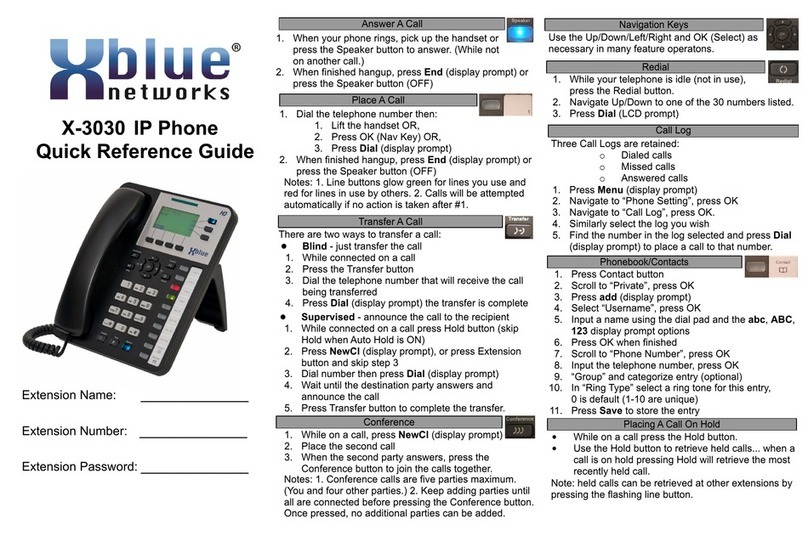
Xblue Networks X-3030 User manual

Xblue Networks

Xblue Networks X-3030 User manual

Xblue Networks IP7g User manual

Xblue Networks

Xblue Networks IP7g User manual

Xblue Networks X2020 User manual

Xblue Networks

Xblue Networks X2020 User manual

Xblue Networks IP9g User manual

Xblue Networks

Xblue Networks IP9g User manual

Popular IP Phone manuals by other brands

switel DC60x operating instructions

switel

switel DC60x operating instructions

Cisco Cisco Unified IP Phone 7960G Phone guide

Cisco

Cisco Cisco Unified IP Phone 7960G Phone guide

Zultys ZIP 4 5 Series user manual

Zultys

Zultys ZIP 4 5 Series user manual

Aastra 6753I Quick reference guide

Aastra

Aastra 6753I Quick reference guide

Yealink Telkom T21P E2 quick start guide

Yealink

Yealink Telkom T21P E2 quick start guide

Unitech HT680 user manual

Unitech

Unitech HT680 user manual

D-Link DPH-400G user manual

D-Link

D-Link DPH-400G user manual

D-Link DPH-150SE Quick installation guide

D-Link

D-Link DPH-150SE Quick installation guide

IPitomy IP290 user manual

IPitomy

IPitomy IP290 user manual

Proximus Maestro 3016 IP quick start guide

Proximus

Proximus Maestro 3016 IP quick start guide

Fortinet FortiFone FON 80 Series user guide

Fortinet

Fortinet FortiFone FON 80 Series user guide

Grandstream Networks GRP2615 Quick installation guide

Grandstream Networks

Grandstream Networks GRP2615 Quick installation guide

Allworx 9212 user guide

Allworx

Allworx 9212 user guide

Ericsson Dialog 5446 IP Premium Quick reference guide

Ericsson

Ericsson Dialog 5446 IP Premium Quick reference guide

ATCOM AT-620 quick start guide

ATCOM

ATCOM AT-620 quick start guide

Samsung OfficeServ WIP-5000M user guide

Samsung

Samsung OfficeServ WIP-5000M user guide

Avaya IP Office 9608 Installation and maintenance guide

Avaya

Avaya IP Office 9608 Installation and maintenance guide

Avaya 4625SW user guide

Avaya

Avaya 4625SW user guide

manuals.online logo
manuals.online logoBrands
  • About & Mission
  • Contact us
  • Privacy Policy
  • Terms and Conditions

Copyright 2025 Manuals.Online. All Rights Reserved.