1704
B
Instruction for the operation of touch screen
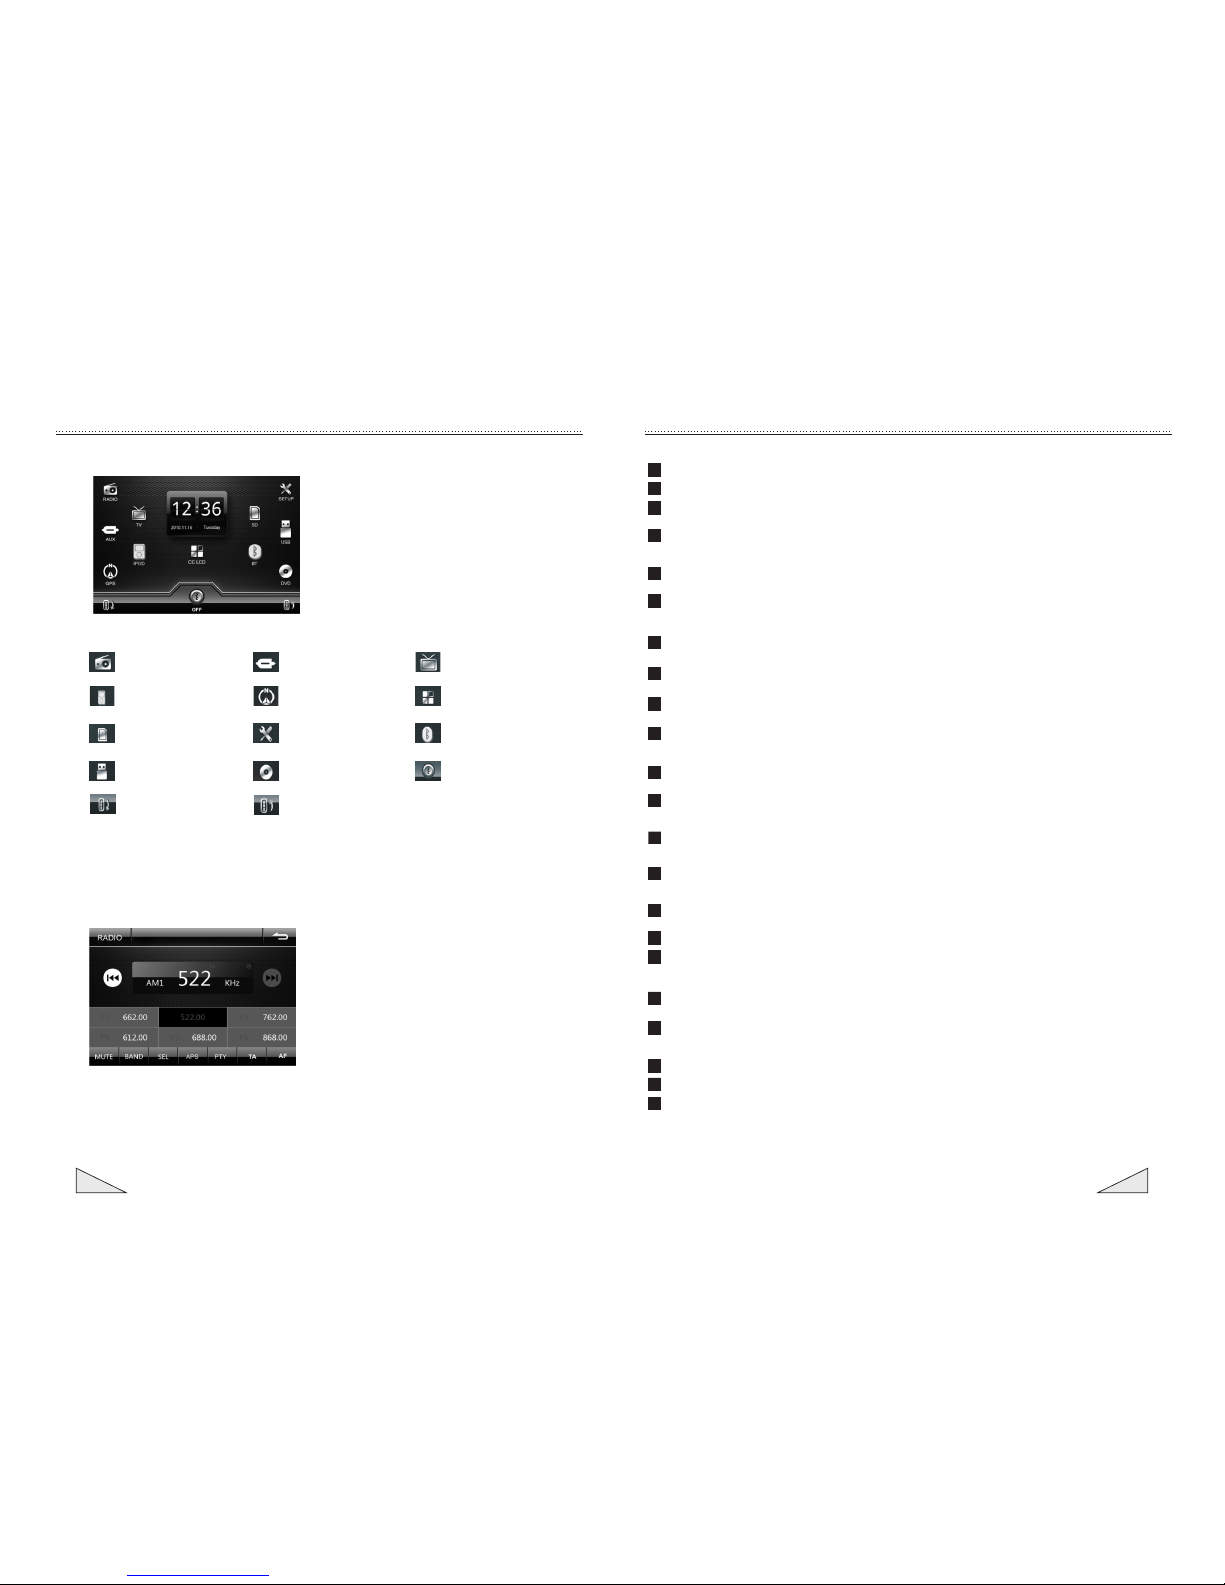
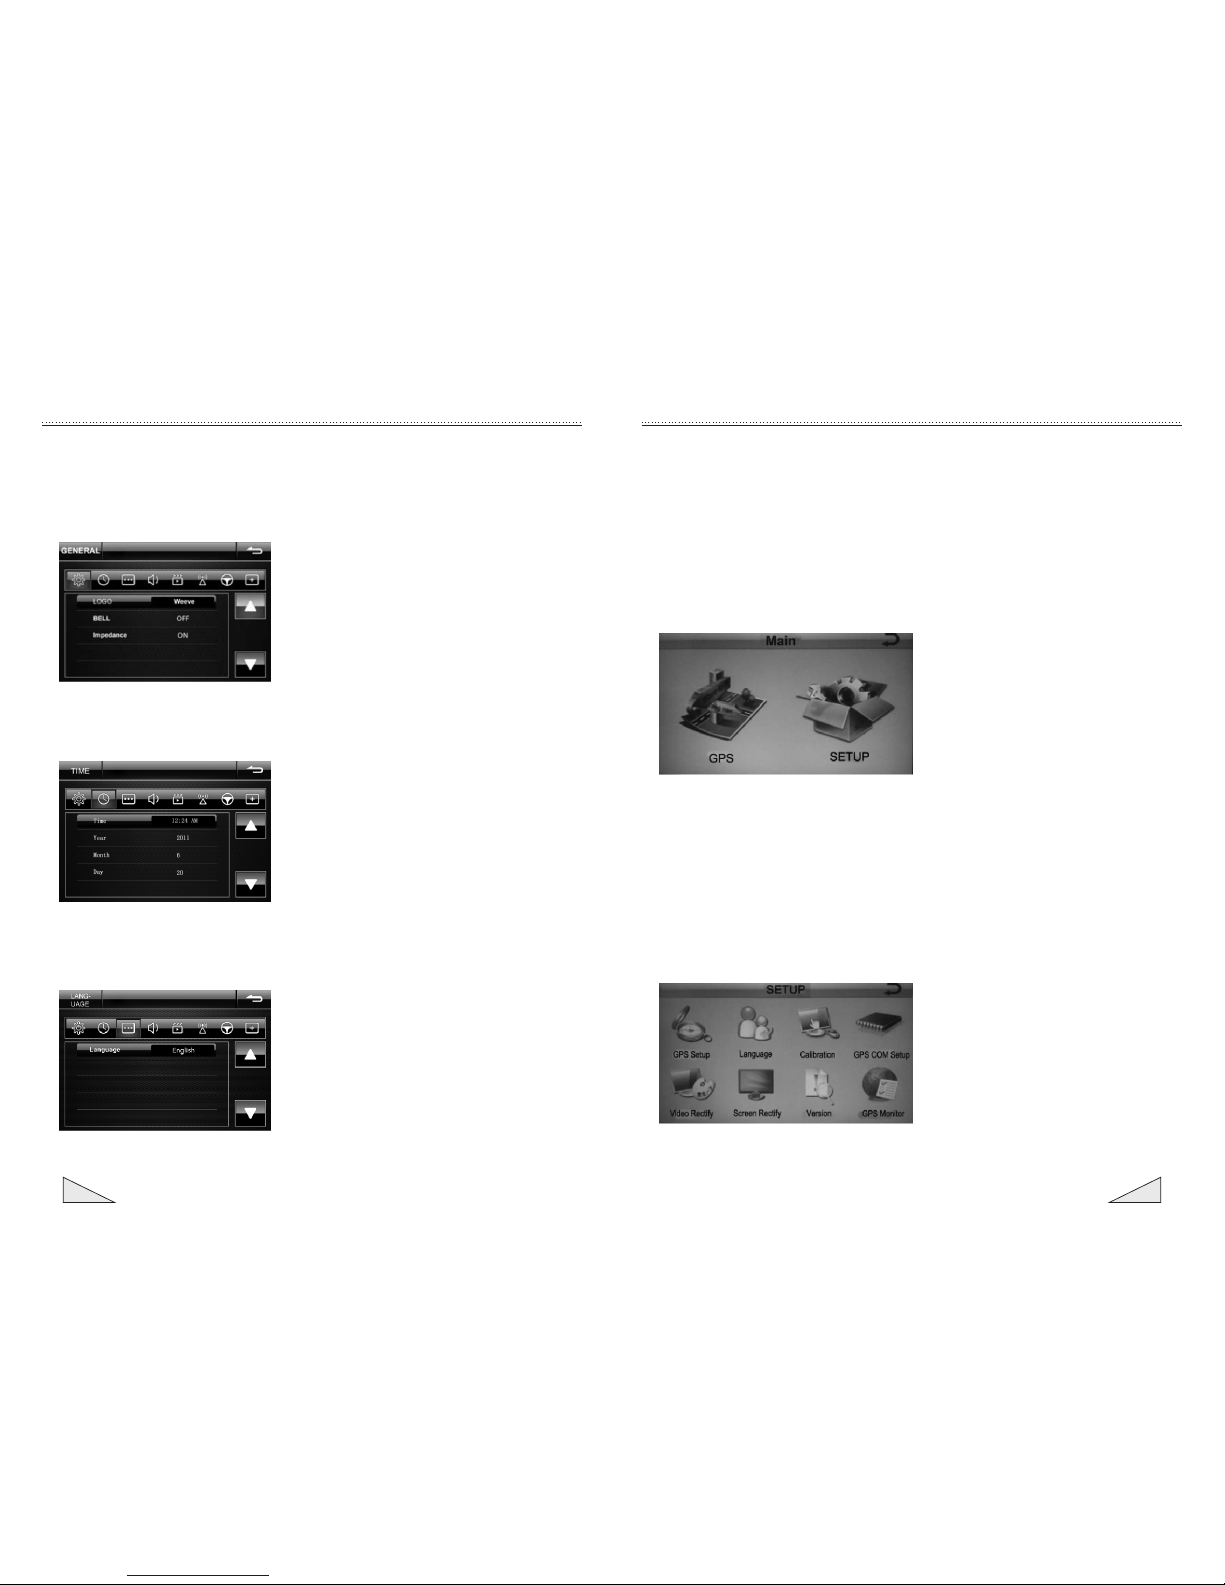
1. Instruction for the operation of main menu
:Radio function icon :AUX function icon :TV function icon
:IPOD function icon :Navigation function icon :Adjust backlight for
the function button
:SD card function icon :Setting function icon :Bluetooth function
icon
:USB function icon :DVD function icon :Screen protection
switch
Description of the button function
2. Instruction for the operation of radio
Receive signal from radio station
Select the [RADIO] icon from the main menu and switch to the radio interface to
enter the RADIO main page and continue to receive the radio signal received last
time.
To switch to another band, press [BAND] button to conduct switching.
One to six storage units (pre-set number) are provided for every band to store the
commonly-used radio channel. Press this radio storage channel of the unit (pre-set
number) to listen to this channel. To change or to set the radio channel in the
storage unit (pre-set number), follow the following instruction:
:Slide screen downwards :Slide screen upwards
TA
P1
P4 P5
P3
P6
B
P1
P4 P5
P3
P6
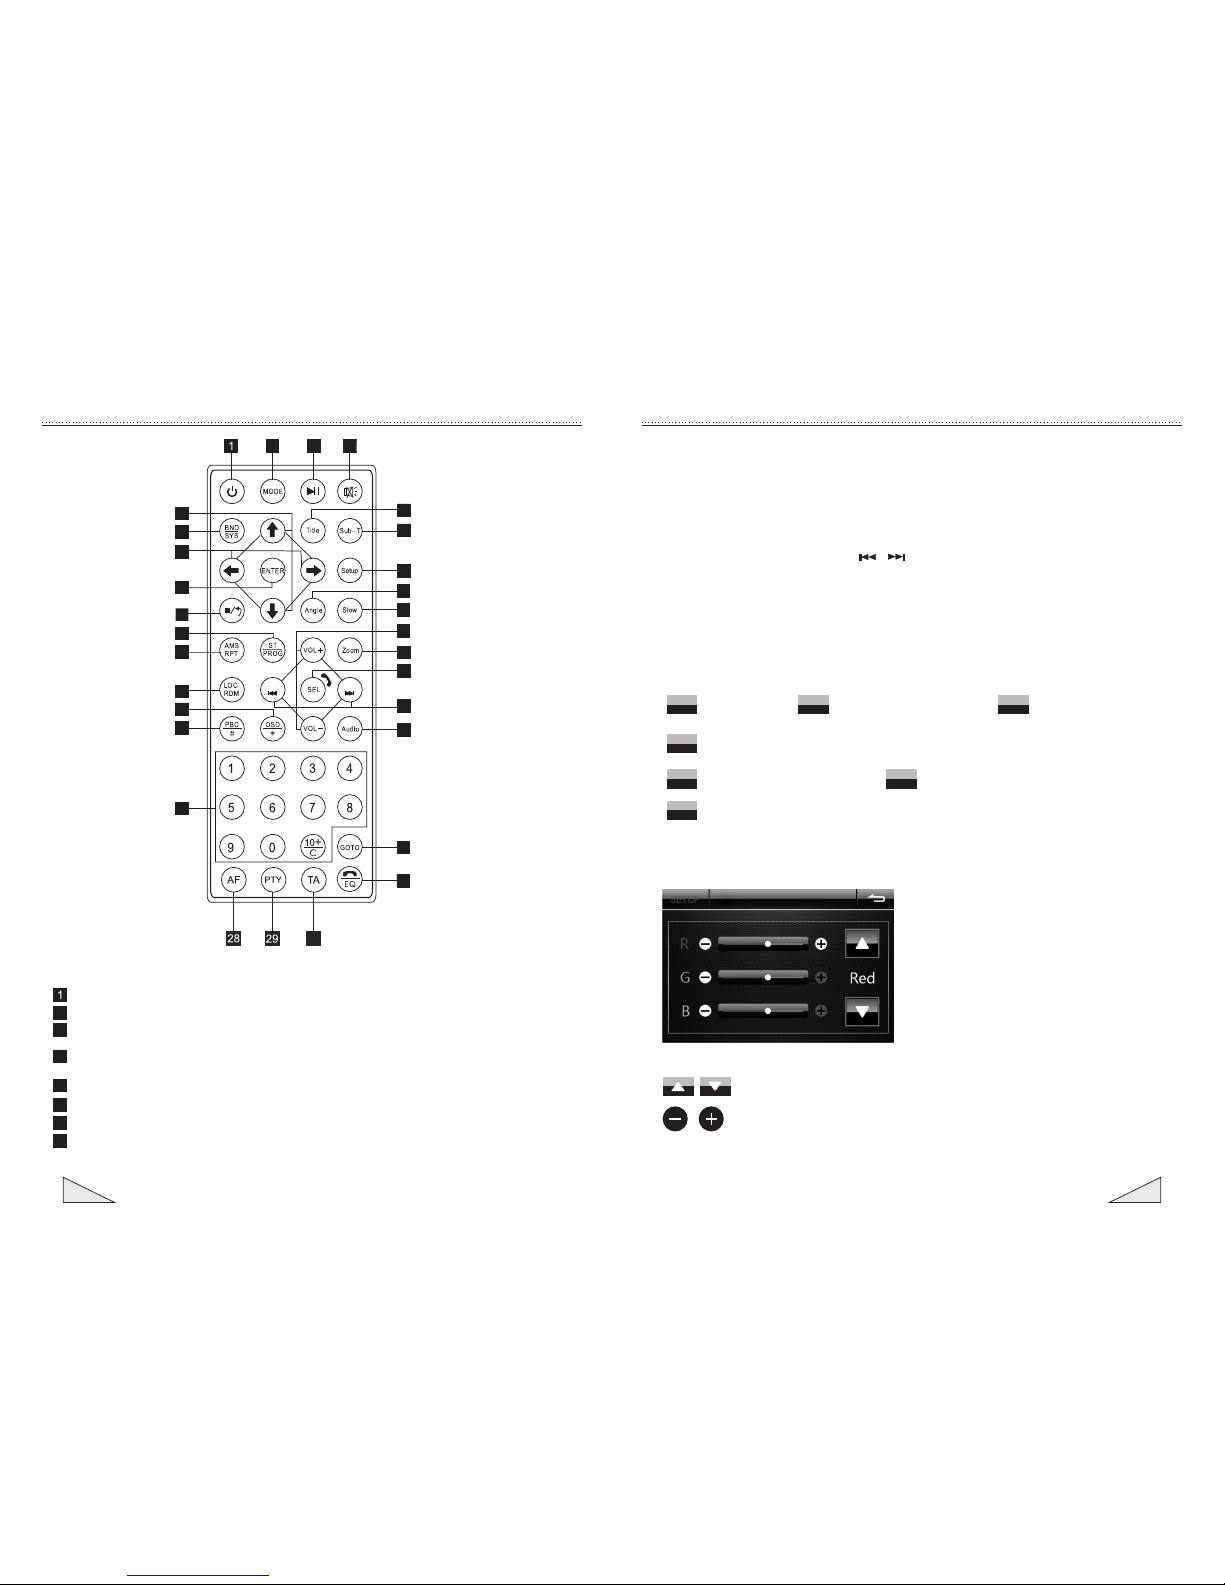
Introduction for the function of controller
Under the DVD mode, press this button to move the cursor upwards and downwards
and select the option in the system setting menu and press the enter button to confirm the
Under the DVD mode, press this button to move the cursor leftwards and rightwards
and select the option in the system setting menu and press the enter button to confirm the
14
13
10
12
9 (Slow playback): under the sound play state, press this button to conduct slow playback.
(Volume increasing/decreasing) button: press this button to adjust the volume.
11 (Zoom in) button: under the disc reading state of VCD/DVD, press this button to
zoom in/out the image.
(Audio language) button: under the DVD mode, press this button to convert the
dialogue language of played program. Under VCD mode, press this button to select
left/right sound track/stereo.
(FF/FR/station selection/song selection) button: press this button to conduct the control
of manual search adjustment, FF, FR and song selection.
(Multiple function selection) button: press this button repeatedly to set the adjustment
and the control of VOL (volume)TRE(high pitch)/BAS(low pitch)/BAL (left and right
balance)/FAD (front and rear balance).
15
16
17 (Numeral) button: press this button to select the needed repertoire, chapter and
pre-set radio station.
(Selective playing) button: under the sound playing state, after pressing this button,
the number keys can be used together to select the song or to choose when to play).
(Preset equalizer selection) button: press this button to select the popular, rock and
roll and classic mode.
26
27
25
24
18
19
22
21
20
(Band/system) button: under the radio state, press is to select the band, under
the VCD/DVD state, press this button to select the automatic, PAL or NTSC system.
needed option.
needed option.
Confirmation button
23 (Pause) button: press this button once to pause with the play and press this button
(Stereo/single track switching/programming playing) button: under the radio mode,
press this button to select stereo or single track radio station; under the sound
playing mode, it can conduct programming play working with (play/pause) button.
(Playing menu) button: under the VCD mode, press this button to display all repertoire
menus and select the song working with the numeric button; under the DVD mode,
press this button to return the menu of root directory.
(Screen display) button: press this button to display title, chapter, playing time and
remaining time.
(Close range/remote conversion/random play) button: under the radio state, press
this button to conduct the close range/remote conversion; under the sound playing state,
press this button to conduct random playing.
(Automatic browse memory/ switching) button: under the radio state, press
this button to browse the memorized radio station; under the sound playing state,
press this button to conduct cyclic switching.
twice to stop playing the play completely.
28
(PTY)program type selection.button:
29
30 (TA)button:traffic announcement switching.
(AF)button:frequency replacement table switching.