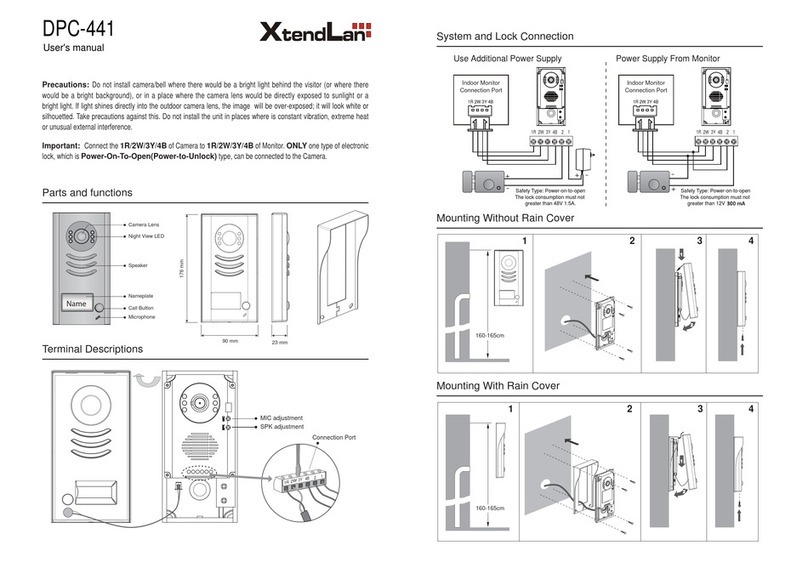
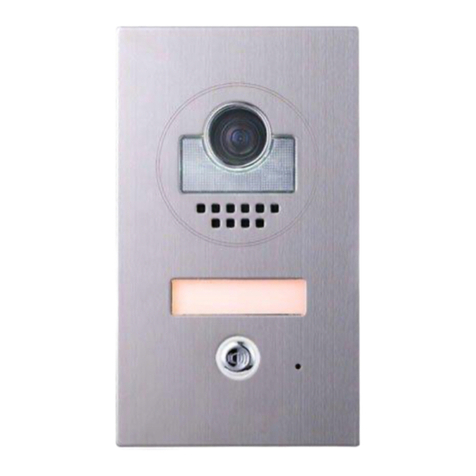
3. Standard System Wiring
-2-
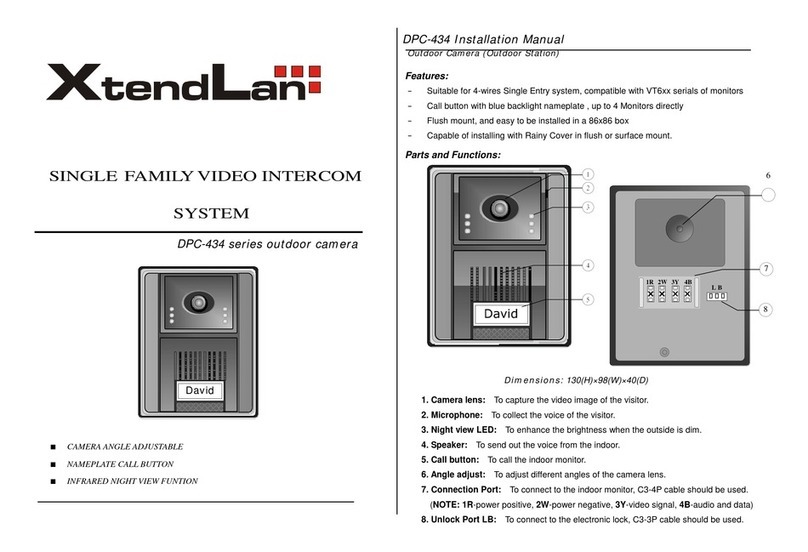
●1R Power positive. +12V present when Door Station calling or being monitored
●2W Power negative (GND)
●3Y Image signal (Video signal)
●4B Talk and control signal (Audio signal)
Terminal Discriptions:
It’s recommended to use RVVP 4x0.3mm2 Shielded Cable. And when distance is over 30m, we
suggest to use additional co-axle cable SYV- 75-3 (RG-59) connect 3Y and 2W pin.
AC ~
JS/AP
JS-LK
JS-VD
3Y
4B
2W
1R
+12
2W
4B
JS/VP CN101
DC
DC+
JS-OS2
1R
2W
3Y
3Y
4B
2W
1R
Back View
4B
JS-OS1
* Note 2
* Note 1
JS-VP
White
Red
Yellow
Black
Black
Yellow
Red
White
4
1R
2W
4B
3Y
1
2
3
LB
* Note 3
--- shielded layer
1R
2W
3Y
4B
1R
2W
3Y
4B
●Note 1: Plug the AC Adaptor to the AC power socket properly.
●Note 2: JS-VD is used for setting the video impedance. When there is only one Monitor, keep
the jumper (which is already on JS-VD ). But when multi Monitors are installed, be sure of taking
away all JS-VD of Monitors except only the last Monitor. JS-LK is used for Lock selection,
remove the jumper if use the Monitor power to supply the Lock. Refer to the Outdoor station
manual.
●Note 3: LB includes 3 wiring Terminals: ‘1’-Normally Opened Terminal, ‘2’- Common Terminal,
‘3’- Normally Closed Terminal. If the Lock is activated when powering, connect it between ‘1’ and ‘2’
terminal; if the Lock is activated when power-off, connect it between ‘2’ and ‘3’ terminal.(refer to the
Door Camera manual for lock connection)
6.5 Basic Setup Instructions
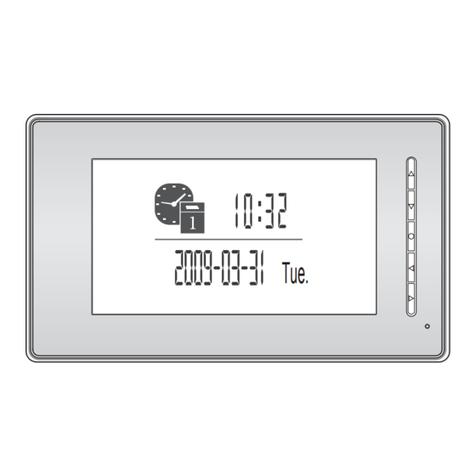
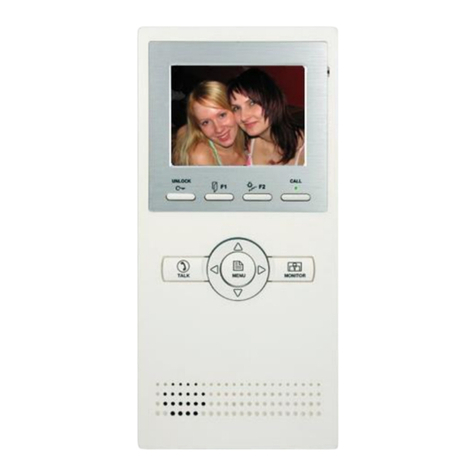
1. In standby state, press ( ) Button will show the
date/time page. The first line show the current
time, the second line shows the current date
and weekday.(the date/time page will close in 1
munite if no operation).
2. Press the ( ) again to show the Main menu,
then press ( ) to enter the Setup page.
3. The
Outdoor Tone / Intercom Tone are for
chord ring selection, you can set different rings
to didentify the calling sources.
4. the
Monitor Time item is to set the longest
time you can monitor each time. Press the
according Buttons to increase the value of item
in turn.
5. Select
Advanced Set... itme will open an
other menu.
6. The
1/2 Camera should be set to 2 if 2
Outdoor stations are to be installed.
7. Date/Time Set... item, the setting page will
show as bellow. Press the ( )/( ) to change
the current number, press ( ) Button to confirm
and switch to the next number; press ( ) to
quit and exit.
8. INFORMATION...item will show the hardware
version, software version, voltage information,
manufacture date. Press ( ) in this page will
load the default settings to the monitor.
Ooutdoor Tone -- 01
Intercom Tone -- 05
Monitor Time -- 2min
Advanced Set...
Exit
1/2 Camera -- 1
Date/Time Set...
Information...
Exit
Tue.
-7-
play
monitor
intercom
setup
exit
TIME
DATE
2009 03 31
11 35
:
: Modify Digit : Next Digit : ESC
