manuals.online logo
Brands
  1. Home
  2. •
  3. Brands
  4. •
  5. Xylem
  6. •
  7. Toilet
  8. •
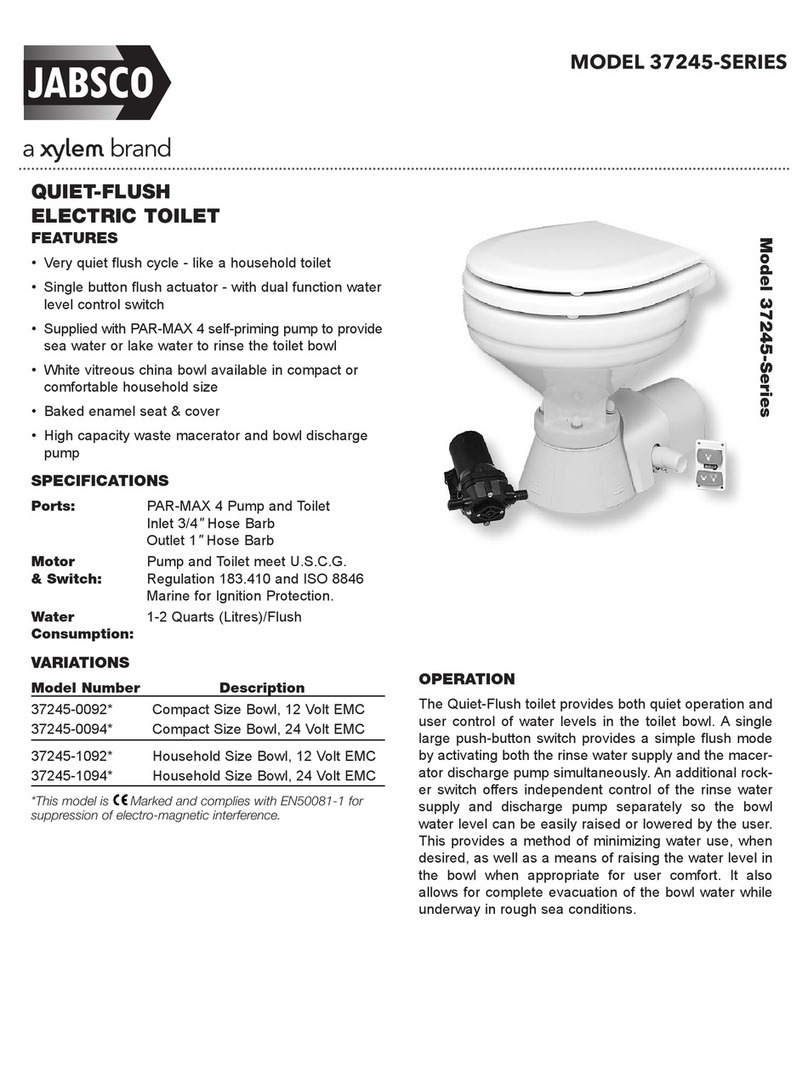
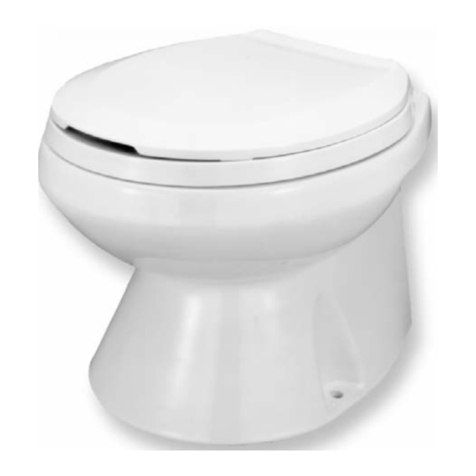
  9. Xylem Jabsco Lite Flush User manual

Xylem Jabsco Lite Flush User manual

Many boatowners are looking at ways to improve
comfort and luxury levels within their boats and as
getaway plans begin to form, it’s time to make some
changes using this simple 6 step by step guide.
With over 10 million Jabsco manual toilets in use
worldwide, the bathroom is a focus for upgrades as
boatowners look to make their marine interior closer
to home comforts. The Jabsco Lite Flush toilet can help
boat owners to achieve increased comfort through a
simple retro-fitting procedure which will enable them
to benefit from its electric operation, low water
consumption properties, non clogging system and
large bore flush pump.
As much as some DIY projects are exciting for
boatowners, those involving water systems can be
slightly more intimidating but instead of hiring some
help, boat owners can take simple steps to upgrade
their toilet system – as demonstrated here through
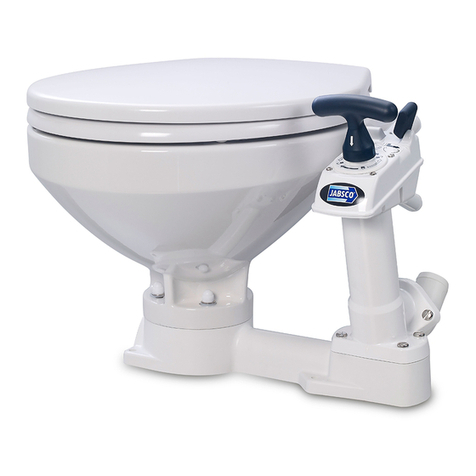
replacing the Jabsco Manual toilet with the Jabsco
Lite Flush toilet from Xylem.
Step One: Removing the manual toilet
Before starting work, flush the toilet several times so
that any water that will drain from the pipes will be
clean water, and then pump the bowl dry. From there,
the first step is to make sure you can access the four
bolts at the base of the toilet that are holding it in
position. These should be unscrewed and the toilet
can be released.
The Jabsco Lite Flush Toilet
THE EASY WAY TO INSTALL AN ELECTRIC TOILET
STEP
1
STEP
2
Step Two: Release the pipes
Close the seacocks on both the inlet and outlet pipes
on the manual toilet. Next, release the hose clips on the
inlet and outlet on the manual pump and catch any
STEP
3
Step Three: Lid installation on the Lite Flush system
The Lite Flush toilet will have been delivered with both
the flush pump and the rinse pumps connected and
installed within the toilet bowl to ensure that most of
the connection is simple. Before maneuvering the Lite
Flush toilet into tight space though, attach the toilet
seat and lid with two nylon bolts.
remaining water in a bucket. Lift the manual toilet out
of place, creating the space for the new installation.
Step Four: Connect the inlet and outlet pipes
Connect the inlet and outlet pipe at the back of the
toilet and move it into position. The power is now
ready to be connected and base bolted down. The
inlet and outlet hoses are the same size on both the
Jabsco Manual toilet and the Jabsco Lite flush toilet
so there will not be any difficulty with the replacement.
If the pipes are in good condition, they can be reused
from the manual toilet. The smaller 19mm hose is the
inlet and the larger 38mm hose is the outlet. Each
hose should be secured into position with hose clips.
Step Five: Connect to power
STEP
4
STEP
5
Xylem Water Solutions UK Limited
Bingley Road, Hoddesdon. Herts EN11 0BU
Tel: 01462 480380 Fax: 01462 482422
email: [email protected]
website: www.jabscoshop.co.uk
© 2011 Xylem, Inc.
Xylem Water Solutions UK Limited reserve the right to make modifications without
prior notice.
The next step is to connect to the power supply. The
boat’s positive feed needs to be connected to the
red lead, and the negative feed to the black lead.
Always ensure that a suitable size circuit breaker and
wiring is used and consult an electrician if you are
unsure of this. The electric toilet is almost operational.
The complete installation:
Test the installation by pushing the footswitch to rinse
and flush. Check for any leaks and the toilet is now
ready for use. Enjoy the extra comfort and luxury on
board with the electric toilet installation from Xylem.
Step Six: Fix the toilet into place
The Jabsco Manual toilet
and the Jabsco Lite Flush
toilet are exactly the
same size. Additionally,
the same size mounting
holes and hose sizes on
both models ensure that
the bolts fit exactly into
the same holes as before,
meaning additional
drilling is not needed.
Lower the toilet into
position and secure using
suitable bolts. The new
base will hide any marks
around the previous base.
STEP
6

Other Xylem Toilet manuals

Xylem Jabsco 37010 Series User manual

Xylem

Xylem Jabsco 37010 Series User manual

Xylem JABSCO 37245 Series User manual

Xylem

Xylem JABSCO 37245 Series User manual

Xylem Jabsco 37010 Series User manual

Xylem

Xylem Jabsco 37010 Series User manual

Xylem JABSCO Quiet Flush E2 Installation instructions

Xylem

Xylem JABSCO Quiet Flush E2 Installation instructions

Xylem JABSCO Twist'N'Lock COMPACT 29090-3000 User manual

Xylem

Xylem JABSCO Twist'N'Lock COMPACT 29090-3000 User manual

Xylem JABSCO 37075 Series User manual

Xylem

Xylem JABSCO 37075 Series User manual

Xylem JABSCO 29120-5000 User manual

Xylem

Xylem JABSCO 29120-5000 User manual

Xylem Jabsco 37045 Series User manual

Xylem

Xylem Jabsco 37045 Series User manual

Popular Toilet manuals by other brands

Toto UWN903 Series quick start guide

Toto

Toto UWN903 Series quick start guide

Dometic GROUP SeaLand MasterFlush 8100 Series Operation manual

Dometic GROUP

Dometic GROUP SeaLand MasterFlush 8100 Series Operation manual

Toto CS300D Series installation manual

Toto

Toto CS300D Series installation manual

Toto NEOREST installation guide

Toto

Toto NEOREST installation guide

Woodbridge T-0042 Installation and care guide

Woodbridge

Woodbridge T-0042 Installation and care guide

Kohler K-45363R Installation and care guide

Kohler

Kohler K-45363R Installation and care guide

Kohler K-3357 installation guide

Kohler

Kohler K-3357 installation guide

Toto CST484CEMF Installation and owner's manual

Toto

Toto CST484CEMF Installation and owner's manual

BEMIS bioBidet HD-7000 owner's manual

BEMIS

BEMIS bioBidet HD-7000 owner's manual

Kohler K-3484 Homeowner's guide

Kohler

Kohler K-3484 Homeowner's guide

VITRA V-Care Prime 7231B403-6216 user manual

VITRA

VITRA V-Care Prime 7231B403-6216 user manual

Kohler ODEON K-6286T installation instructions

Kohler

Kohler ODEON K-6286T installation instructions

Dometic CT 4110 operating manual

Dometic

Dometic CT 4110 operating manual

FV Parma E157 installation instructions

FV

FV Parma E157 installation instructions

Toto SoftClose 0GU543 installation manual

Toto

Toto SoftClose 0GU543 installation manual

Kohler K-77795 Series Homeowner's guide

Kohler

Kohler K-77795 Series Homeowner's guide

Laufen Pro A installation instructions

Laufen

Laufen Pro A installation instructions

Porcelanosa N3301512843 manual

Porcelanosa

Porcelanosa N3301512843 manual

manuals.online logo
manuals.online logoBrands
  • About & Mission
  • Contact us
  • Privacy Policy
  • Terms and Conditions

Copyright 2025 Manuals.Online. All Rights Reserved.