manuals.online logo
Brands
  1. Home
  2. •
  3. Brands
  4. •
  5. Xylem
  6. •
  7. Water Pump
  8. •
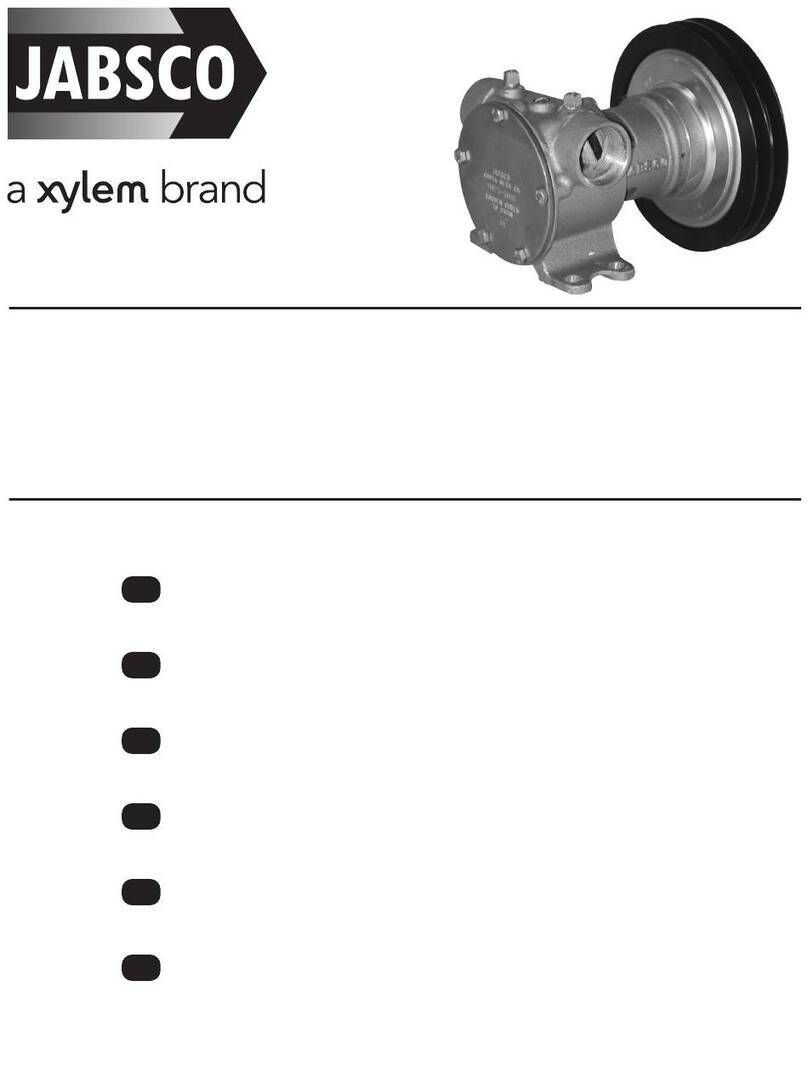
  9. Xylem JABSCO 36600-0000 User manual

Xylem JABSCO 36600-0000 User manual

ELECTRIC BILGE
PUMPS
THE PRODUCT DESCRIBED HEREIN IS SUBJECT TO THE JABSCO ONE YEAR LIMITED
WARRANTY, WHICH IS AVAILABLE FOR YOUR INSPECTION UPON REQUEST.
36600-Series
EXPLODED VIEW
**Indicates items included in
Hardware Kit (Key 21).
2
PARTS LIST
Key Part Description Part Number Qty
1 Motor Kit 12 Volt DC 30200-0000 1
Motor Kit 24 Volt DC 30200-0010
Motor Kit 115 Volt AC 30200-0050
2 Motor Mount 34628-0000 1
3 Small Pulley 37169-0000 1
4 Large Pulley 37171-0001 1
5 Belt 30022-0000* 1
6 Jack Shaft Assembly 35691-0001 – See note 1 1
7 Connecting Rod Kit 37173-0001 – See note 1 1
8 Diaphragm Plate 35212-0000 2
9 Diaphragm 30016-0000* 1
10 Retainer 35173-0000 1
11 Valve Set (Inlet & Outlet) 30003-0000*† 1 Set
12 Base Assembly † 35630-1100 1
13 Ports (Inlet & Outlet) 37175-0000† 1
14 Small Pulsation Dampener 37177-0000*† 1
15 Pulsation Dampener 37178-0000*† 1
16 Small Bottom Plate 35628-0000† 1
17 Bottom Plate 35623-0000† 1
20 Vibration Pad Kit 37180-0000† 1
21 Hardware Kit 37165-0000 1 Set
22 Belt Guard 35691-0001 – See note 1 & 2 1
Service Kit * 30124-0000 1 Set
* Indicates Parts Contained in Service Kit.
† Indicates Parts supplied with Base Assembly.
NOTE 1 – Jack shaft assembly kit, with part number ending in -0001 includes new style
connecting rod (37173-0001) with a 5/16” diameter hole and two (2) locknuts. Previous
model pumps use a connecting rod (37173-0000) with a 1/4” diameter hole and a bolt.
NOTE 2: Belt Guard only included with Jack Shaft Assembly (P/N 35691-0001), Belt
Guard retrofit not available for old models.
WARNING
NOT FOR FLAMMABLE LIQUIDS. For pumping water only.
EXPLOSION HAZARD
22
FR POMPE DE CALE ÉLECTRIQUE
DE ELEKTRISCHE BILGEPUMPEN
IT POMPE DI SENTINA ELETTRICHE
NL ELEKTRISCHE LENSPOMPEN
SE ELEKTRISKA LÄNSPUMPAR
ES BOMBAS ELÉCTRICAS DE SENTINA
FR NON DESTINÉ À DES LIQUIDES INFLAMMABLES.
Uniquement pour le pompage de l’eau.
DE NICHT FÜR ENTZÜNDLICHE FLÜSSIGKEITEN GEEIGNET.
Nur zum Pumpen von Wasser.
IT NON PER LIQUIDI INFIAMMABILI.
Solamente per pompare l’acqua.
NL NIET VOOR BRANDBARE VLOEISTOFFEN.
Alleen voor het pompen van water.
SE INTE FÖR BRANDFARLIGA VÄTSKOR.
Endast för vattenpumpning.
ES NO USAR LÍQUIDOS INFLAMABLES.
Para bombeo de agua solamente.
www.xylemflowcontrol.com
Jabsco is a trademark of Xylem Inc. or one of its subsidiaries.
© 2012 Xylem, Inc. 43000-0107 Rev. D 11/2012
UNITED STATES
East Coast
Tel: +1 978 281 0440 Fax: +1 978 283 2619
West Coast
Tel: +1 949 608 3900 Fax: +1 949 608 3887
UNITED KINGDOM
Tel: +44 (0) 1992 450 145 Fax: +44 (0) 1992 467 132
GERMANY
Tel: +49 (0) 40 53 53 73 0 Fax: +49 (0) 40 53 53 73 11
ITALY
Tel: +39 039 6852323 Fax: +39 039 666307
JAPAN
Tel: +81 (0) 45 475 8906 Fax: +81 (0) 45 477 1162
CHINA
Tel: (86)21 2208 2888 Fax: (86)21 2208 2999
ELECTRIC BILGE
PUMPS
36600 Series
FEATURES
• Self-Priming
• Diaphragm Design Allows Dry
Running
• Quiet Operation
• Built-In Hydraulic Pulsation Dampener
• Permanently Lubricated Ball Bearings
on Shaft and Connecting Rod
• Large Vibration Absorbing Pads
• Corrosion Resistant Materials
Throughout for Sea Water Service
• Meets USCG Regulation 183.410
and ISO 8846 MARINE for Ignition
Protection
SPECIFICATIONS
Open Flow: 8.0 GPM
Vert. Dry
Suction Lift: 10 feet (3 m)
Ports: 3/4” Slip-on Hose
Weight: 11 lb
APPLICATION
Jabsco diaphragm bilge pumps are self-priming, so they can be mounted
above and outside of harsh bilge environments. Because they are mounted
remotely, the intake hose can be routed to the lowest point of the bilge
regardless of space limitations. They are supplied with an in-line strainer
to prevent damaging debris from entering pump. The reliable diaphragm
design is not damaged by dry running.
MAINTENANCE
Winter Storage
When possible, it is preferred that the complete pump or at least motor,
diaphragm and valves be removed and stored in a warm dry place. If this
is not possible, the pump must be completely drained, hoses removed and
pump run until all water is expelled.
CAUTION DO NOT USE AUTOMOTIVE TYPE ANTI-FREEZE.
Mounting
Mount upright in a dry location (above highest bilge water level) on a solid
surface. Adjust belt tension for 1/4” play between pulleys.
Plumbing
For intake and discharge use 3/4” ID non-collapsible hose. Keep intake
and discharge lines free of kinks and restrictions. Use the 3/4” bilge in-line
stainer (Model 36200-0000) in the intake line from the bilge to protect
pump from debris. Use a 3/4” thru-hull fitting for discharge.
WIRING FOR DC VOLTAGE MODELS - See Figure 1 & 3.
Wire pump in a circuit independent of all other electrical fixtures. Use
stranded copper wire. Install fuse/breaker in positive circuit. See table for
recommended wire and fuse size. See diagram for wiring connections.
After installation, it is recommended that voltage be checked at the motor
terminals with motor operating under full load and all other appliances in
the circuit operating. Voltage should not be less than 90% of rated motor
voltage.
WIRING FOR AC VOLTAGE MODELS
Use 16 gauge standard copper wire for lengths up to 100 feet from power
source. Connect the grounded, unswitched conductor (white) to the white
motor lead. Connect the ungrounded switched conductor (black ) to the
black motor lead. This conductor should include, at the power source, a
1.5 amp 125 Volt fuse. The green motor lead must be connected to the AC
circuit ground.
ES
Dimensional Drawings
Standard Models
Model No. Voltage Amperage Nominal
36600-0000 12 Vdc 11.0
36600-0010 24 Vdc 5.5
36600-0031 115 Vac 1.0
MINIMUM WIRE SIZES
Model
Number Voltage
Wire Size for
Length of Run
1–25’ 25–50’
Fuse/
Breaker*
36600-0000 12 Vdc 12 AWG 10 AWG 15 amp
36600-0010 24 Vdc 14 AWG 14 AWG 8 amp
36600-0031 115 Vdc 16 AWG 16 AWG 1-1/2 amp
*Customer supplied, not included with pump.
Rule Model 41/42
1
WARNING
Wiring must comply with applicable electrical standards and
include a properly sized fuse or circuit breaker. IMPROPER WIRING
CAN CAUSE A FIRE RESULTING IN INJURY OR DEATH.
FIRE HAZARD
3
SERVICIO - Ver la gura 2.
1. Desconecte la corriente eléctrica de la bomba. Retire los cuatro pernos de fijación.
2. Levante el contraeje y el conjunto del diafragma de la base de la bomba.
3. Retire los dos tornillos de retención del diafragma y el retenedor del diafragma.
4. Retire la tuerca de fijación. Retire el vástago de conexión y el diafragma del contraeje, luego
desatornille el perno para separar el diafragma y las placas.
5. Inspeccione el diafragma para asegurar que no tenga cortes o grietas. Inspeccione el cojinete
del ensamblaje del vástago para asegurar que no muestre un desgaste excesivo. Reemplácelo
si muestra mucho desgaste.
6. Sin apretar, vuelva a ensamblar el diafragma, las placas del diafragma, la arandela y el perno
del diafragma con el vástago de conexión. Fije firmemente el vástago de conexión al contraeje
con una tuerca de fijación. Fije el diafragma a la montura del motor con el retenedor del
diafragma y los dos tornillos.
7. Apriete el perno del vástago de conexión.
REEMPLAZO DE VÁLVULAS - Ver la Figura 2.
1. Desconecte la corriente eléctrica de la bomba. Retire los cuatro pernos de fijación.
2. Levante el contraeje y el diafragma adjunto de la base de la bomba para que las válvulas
queden expuestas. Retire y limpie o reemplace las válvulas.
3. Instale las válvulas, asegurando que la aleta de hule esté hacia ARRIBA en la toma y hacia
ABAJO en la descarga.
4. Vuelva a colocar el ensamblaje del motor, el soporte y el diafragma y fíjelo de forma uniforme
a la base con los cuatro pernos de fijación.
REEMPLAZO DE LOS HUMIDIFICADORES DE PULSACIÓN - Ver la Figura 2.
1. Desconecte los cables de alimentación de la bomba y retírela del soporte.
2. Retire los nueve tornillos inferiores de la tapa y los tres tornillos inferiores de la placa. Retire la
tapa inferior y la placa. Saque y reemplace los humidificadores de pulsación.
3. Vuelva a colocar la tapa inferior, la placa y los tornillos. Apriete los tornillos de forma
uniforme para asegurar que quede sellada contra aire y agua.
4. Vuelva a instalar la bomba y conecte los cables de corriente.
RESOLUCIÓN DE PROBLEMAS
PROBLEMA SOLUCIÓN
Pérdida de succión para bombear -Escape de aire en la línea de succión.
-La toma de la sentina no está sumergida.
-Manguera de entrada torcida u obstruida.
-Válvula de toma o descarga atorada o sucia.
-Diafragma perforado.
Funcionamiento irregular o con ruido. -Manguera de entrada o descarga torcida u obstruida.
-La bomba no está montada firmemente.
-Tornillo excéntrico flojo.
-Humidificador de pulsación perforado o colapsado.
PRECAUCIÓN
POSIBLE INCOMPATIBILIDAD DE COMPONENTES – SÓLO PARA AGUA
PRECAUCIÓN
LA BASE DEL MOTOR SE PODRÍA CALENTAR AL OPERAR DURANTE PERÍODOS
LARGOS. EL CONTACTO PROLONGADO CON LA PIEL PUEDE CAUSAR QUEMADURAS.

This manual suits for next models

2

Other Xylem Water Pump manuals

Xylem Bell & Gossett e-82SC User manual

Xylem

Xylem Bell & Gossett e-82SC User manual

Xylem LOWARA e-SHE Series User manual

Xylem

Xylem LOWARA e-SHE Series User manual

Xylem LOWARA Manual

Xylem

Xylem LOWARA Manual

Xylem LOWARA e-SV Series Manual

Xylem

Xylem LOWARA e-SV Series Manual

Xylem JABSCO 18670 Series User manual

Xylem

Xylem JABSCO 18670 Series User manual

Xylem Goulds MPE Series Setup guide

Xylem

Xylem Goulds MPE Series Setup guide

Xylem Flygt 3102 Series User manual

Xylem

Xylem Flygt 3102 Series User manual

Xylem Flygt 3085 Maintenance manual

Xylem

Xylem Flygt 3085 Maintenance manual

Xylem LOWARA VOGEL Series Manual

Xylem

Xylem LOWARA VOGEL Series Manual

Xylem Goulds AquaBoost Advanced User manual

Xylem

Xylem Goulds AquaBoost Advanced User manual

Xylem GOULDS AC8743 User manual

Xylem

Xylem GOULDS AC8743 User manual

Xylem LOWARA ESHS ATEX User manual

Xylem

Xylem LOWARA ESHS ATEX User manual

Xylem Rule LoPro LP900D User manual

Xylem

Xylem Rule LoPro LP900D User manual

Xylem Bell & Gossett Domestic VL Series User manual

Xylem

Xylem Bell & Gossett Domestic VL Series User manual

Xylem Laing Thermotech E-10 Series User manual

Xylem

Xylem Laing Thermotech E-10 Series User manual

Xylem Goulds Marlow Series User manual

Xylem

Xylem Goulds Marlow Series User manual

Xylem LOWARA LNTSE User manual

Xylem

Xylem LOWARA LNTSE User manual

Xylem Goulds GB Series Manual

Xylem

Xylem Goulds GB Series Manual

Xylem LOWARA AQUAVAR User manual

Xylem

Xylem LOWARA AQUAVAR User manual

Xylem Lowara Scuba User manual

Xylem

Xylem Lowara Scuba User manual

Xylem Flygt 2620.172 Setup guide

Xylem

Xylem Flygt 2620.172 Setup guide

Xylem Flygt 3127 User manual

Xylem

Xylem Flygt 3127 User manual

Xylem Rule Mate User manual

Xylem

Xylem Rule Mate User manual

Xylem rule RLP900D User manual

Xylem

Xylem rule RLP900D User manual

Popular Water Pump manuals by other brands

Pfeiffer Vacuum Adixen A3H Series operating instructions

Pfeiffer Vacuum

Pfeiffer Vacuum Adixen A3H Series operating instructions

Pfeifer Vacuum DUP 5 M operating instructions

Pfeifer Vacuum

Pfeifer Vacuum DUP 5 M operating instructions

Espa POOL instruction manual

Espa

Espa POOL instruction manual

Elisabeth Pharmacon ZEPHYRUS ZVPMS-300 Instructions for use

Elisabeth Pharmacon

Elisabeth Pharmacon ZEPHYRUS ZVPMS-300 Instructions for use

Lowara Ecocirc OEM Installation and operating instructions

Lowara

Lowara Ecocirc OEM Installation and operating instructions

EINHELL RG-DP 8535 operating instructions

EINHELL

EINHELL RG-DP 8535 operating instructions

Ulvac DAP-9D-DC24 instruction manual

Ulvac

Ulvac DAP-9D-DC24 instruction manual

Pentair Lincoln J Series Operator's manual

Pentair

Pentair Lincoln J Series Operator's manual

Jets GWT800PL manual

Jets

Jets GWT800PL manual

Hydor AQAMAI KP Series user guide

Hydor

Hydor AQAMAI KP Series user guide

EBARA DDLFU Operating instructions, installation & maintenance manual

EBARA

EBARA DDLFU Operating instructions, installation & maintenance manual

ITT Goulds Pumps VIS Installation, operation and maintenance instructions

ITT

ITT Goulds Pumps VIS Installation, operation and maintenance instructions

Wilo DrainLift M2/8 Installation and operating instructions

Wilo

Wilo DrainLift M2/8 Installation and operating instructions

SFA sanishower flat Important information leaflet

SFA

SFA sanishower flat Important information leaflet

Waterhouse XC-SP08301 User guide manual

Waterhouse

Waterhouse XC-SP08301 User guide manual

Gardner Denver Welch 2090W-01 owner's manual

Gardner Denver

Gardner Denver Welch 2090W-01 owner's manual

Hospira Plum 360 with Hospira MedNet System Quick Reference Card Software

Hospira

Hospira Plum 360 with Hospira MedNet System Quick Reference Card Software

baxter Flo-Gard 6301 Operator's manual

baxter

baxter Flo-Gard 6301 Operator's manual

manuals.online logo
manuals.online logoBrands
  • About & Mission
  • Contact us
  • Privacy Policy
  • Terms and Conditions

Copyright 2025 Manuals.Online. All Rights Reserved.