順送りカット機能
順送りカット機能
SELECT
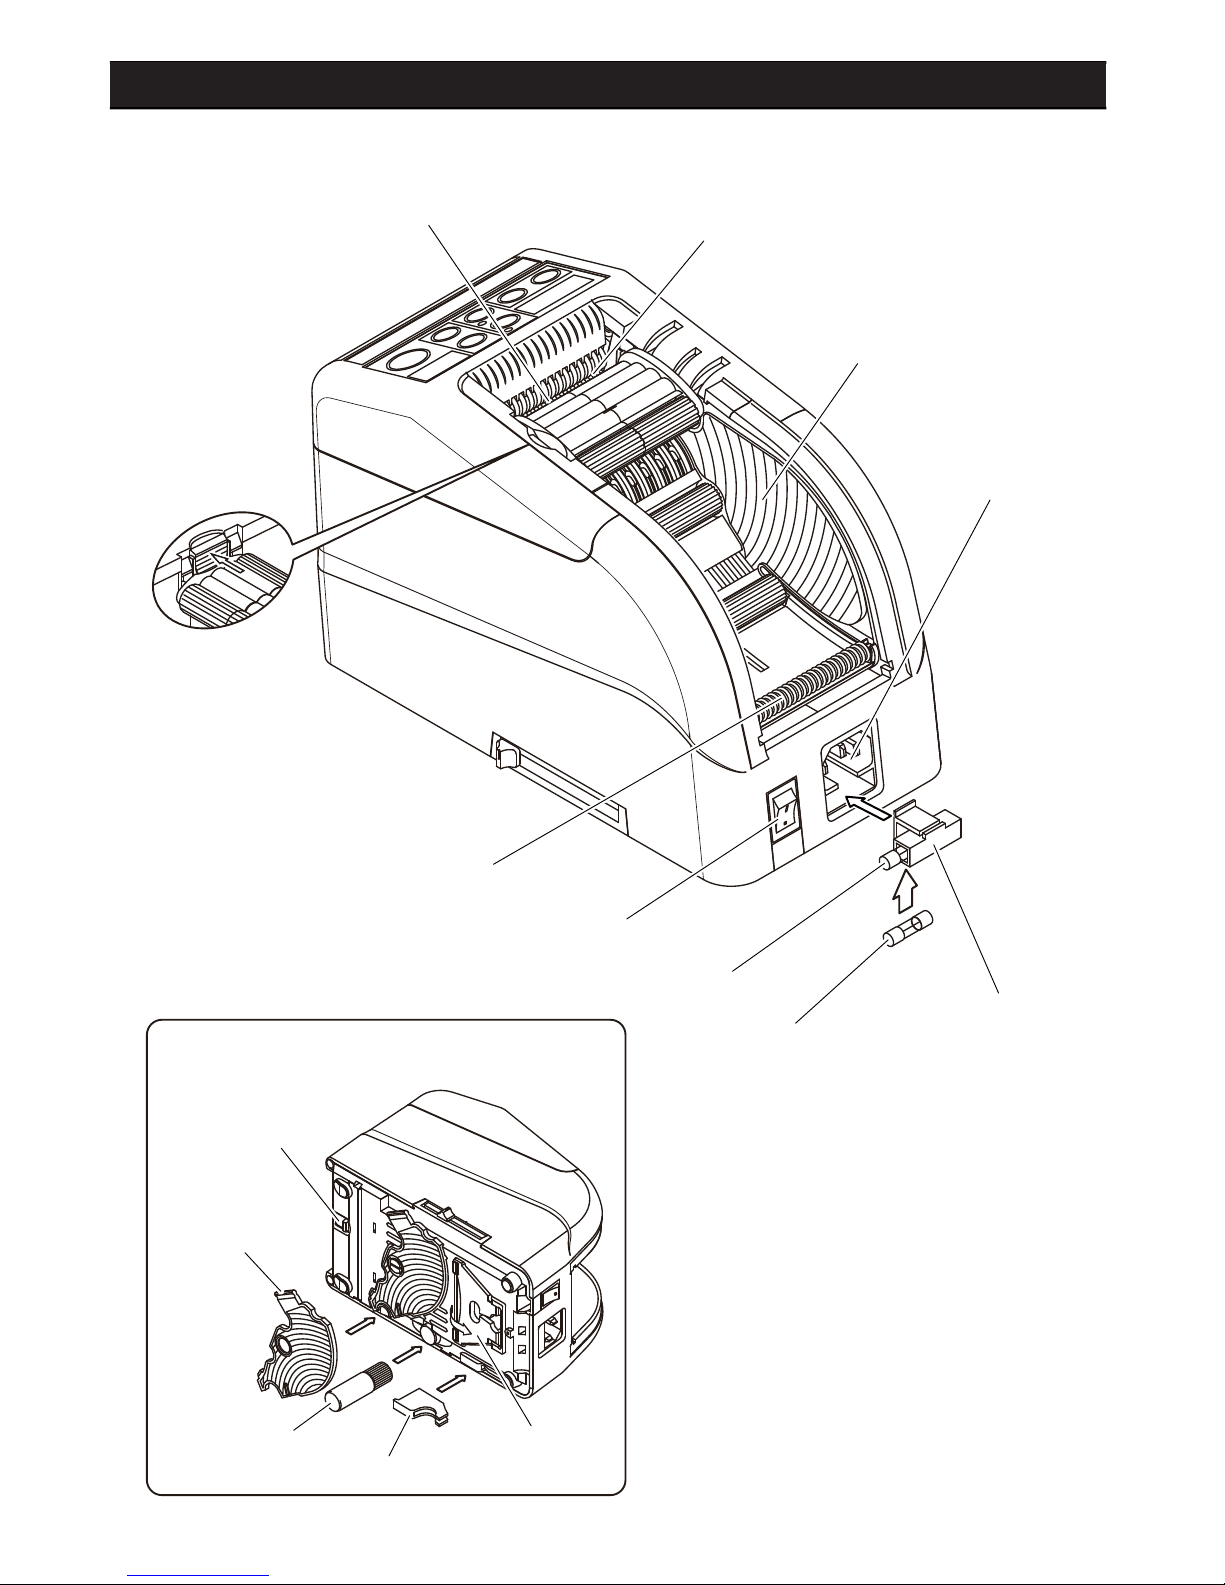
9
START
START
Green LED
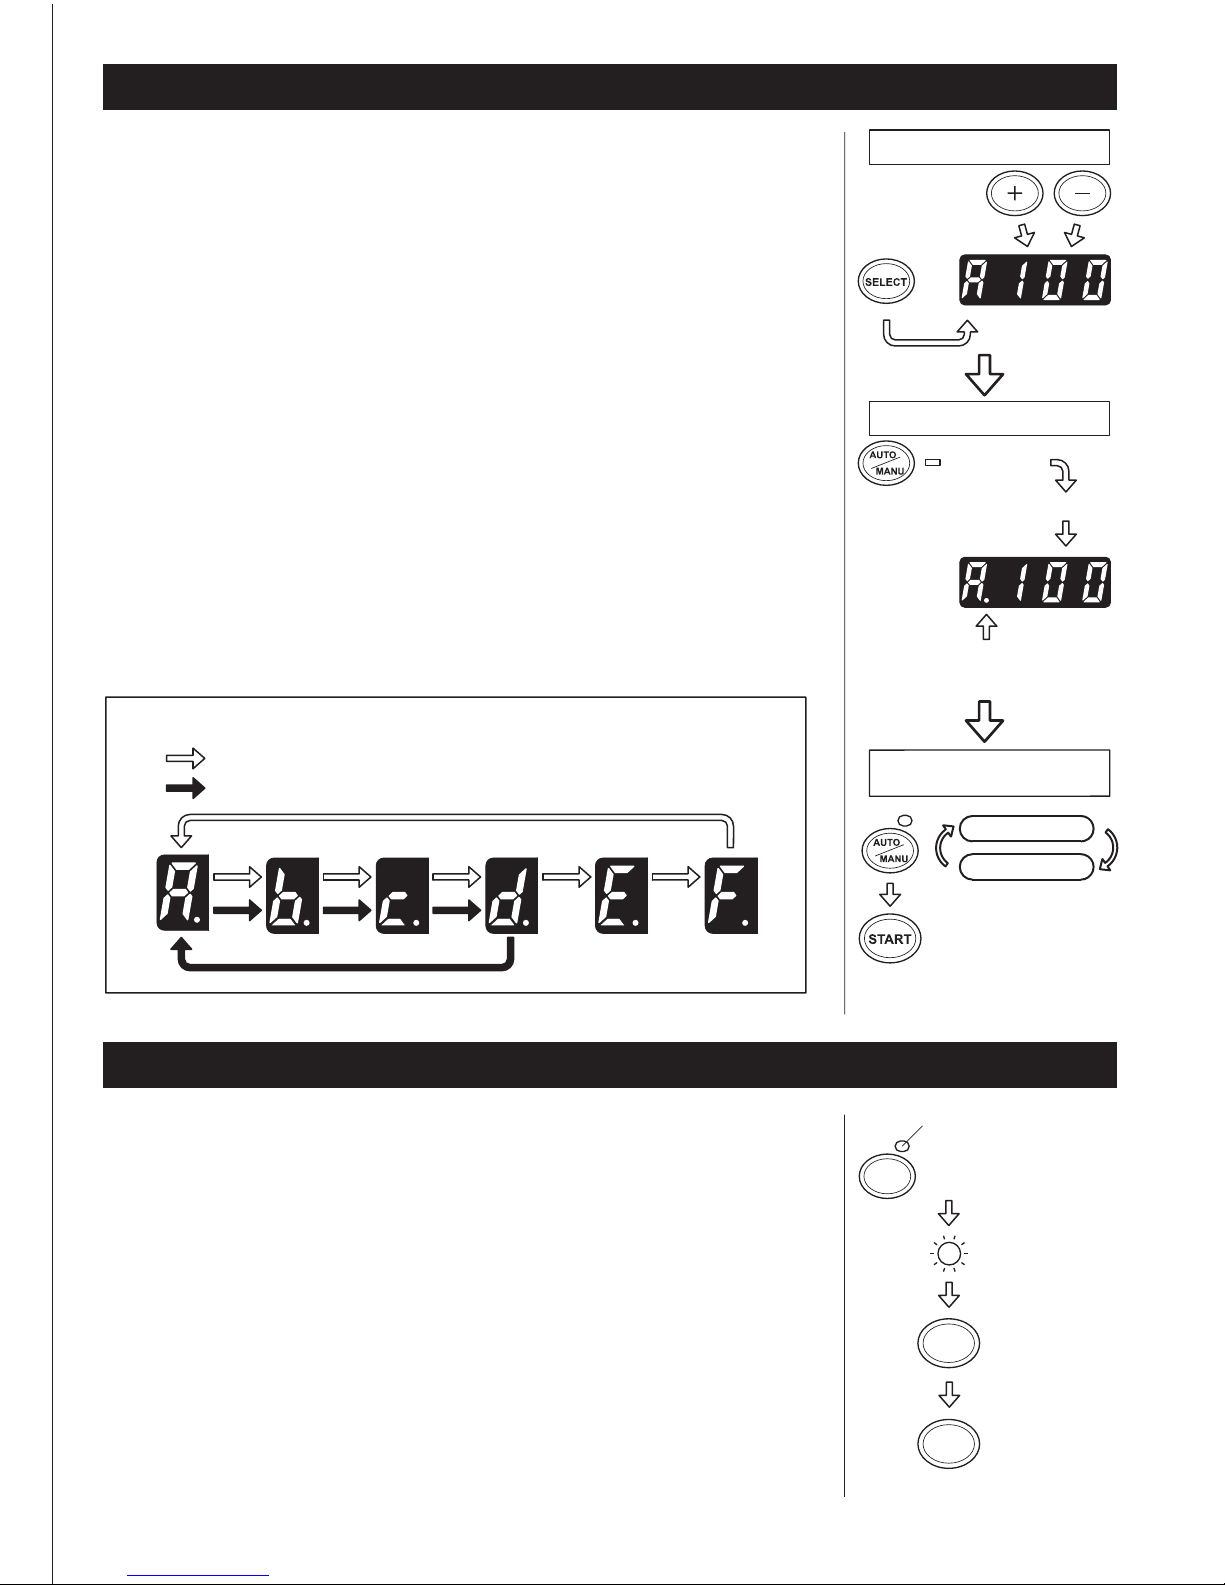
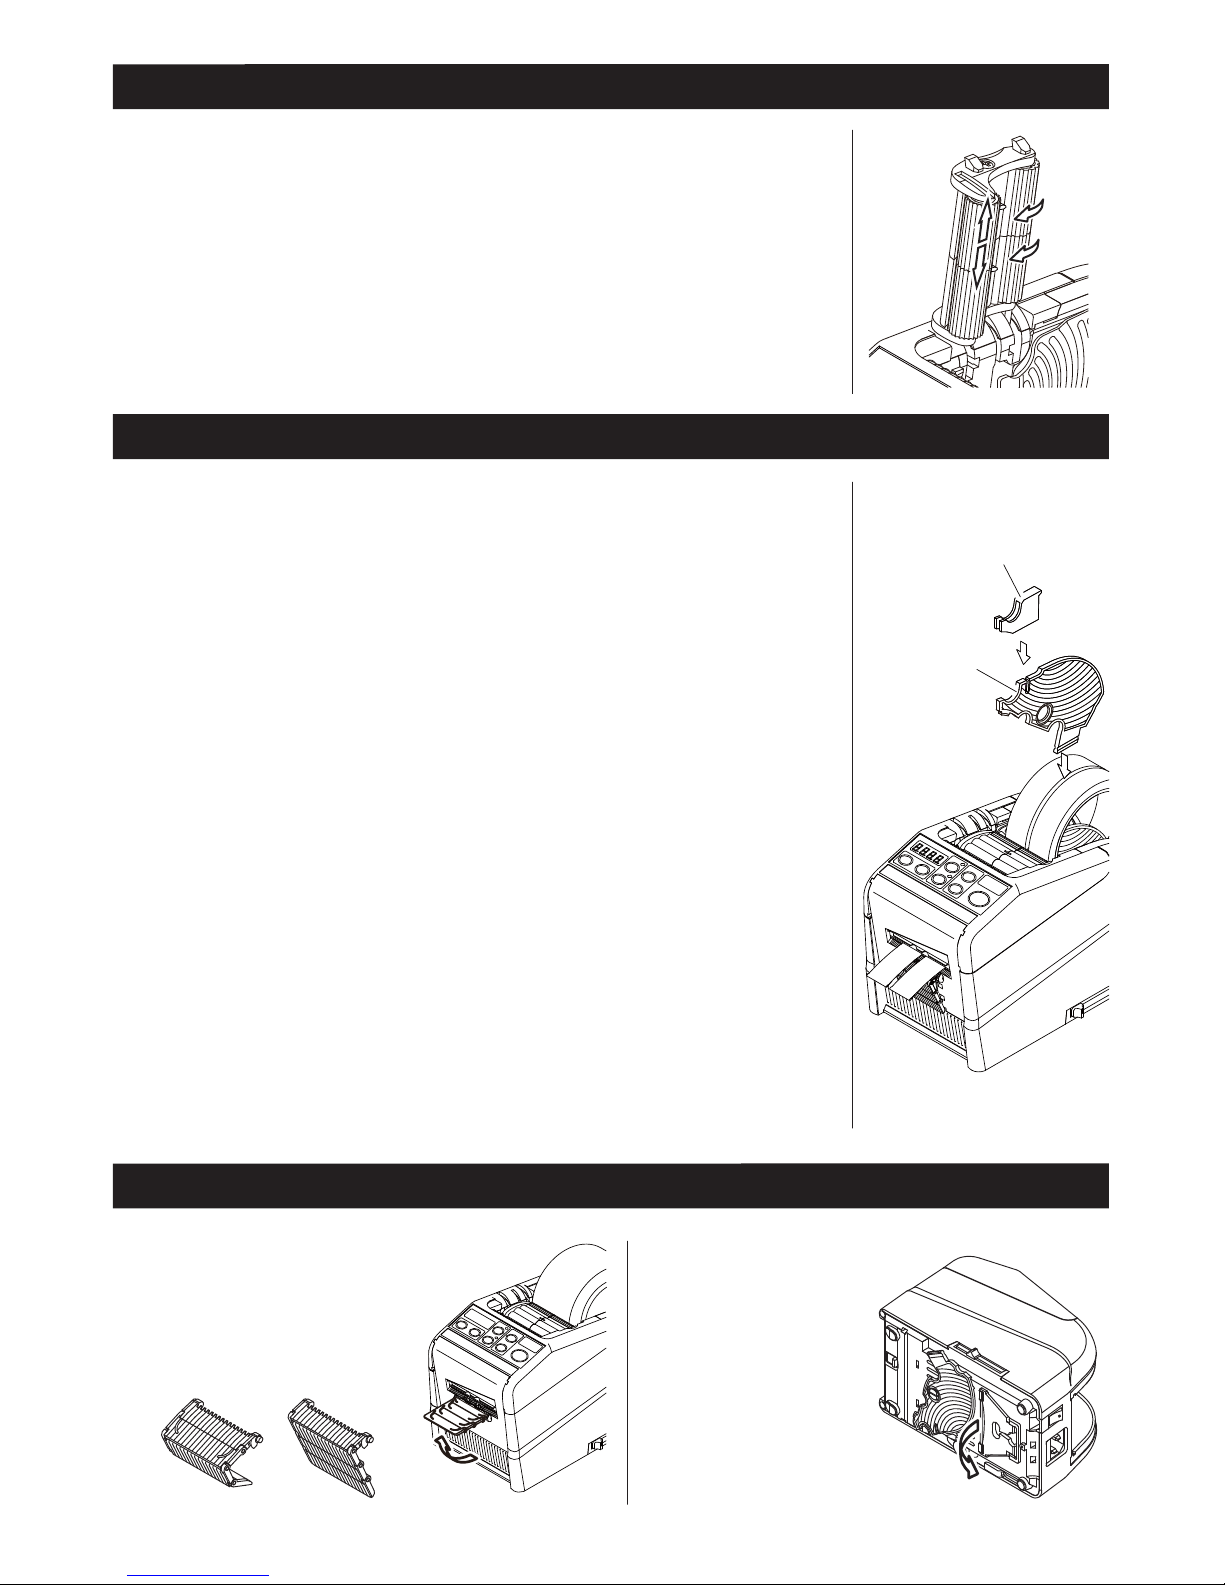
Programing Function
Folding Mode
Function that cuts the material registered from A to F accordingly.
As refer to the following figure, operation will keep working.
This function may apply every mode.
◆Please follow the instruction on page 7.
◆Set the cutting length from A to F as you prefer.
◆Please set the cutting length in ZERO for between B to F if not necessary.
Then skip the position registered with ZERO accordingly and operate
repeatedly.
◆Apply the cutting length to your first cutting.
◆Press AUTO/MANUAL BUTTON more than 1 second.
Then [ . ] will appear on the lower right of Alphabet.
◆Press AUTO/MANUAL button and select AUTO MODE or MANUAL MODE.
◆Press START BUTTON and tape is ready to take.
When setting MANUAL MODE, the next cutting length will be desplayed.
When setting AUTO MODE, the next cutting tape is ready to take with
displaying the cutting length.
◆When discontinuing Program Function, please press AUTO/MANUAL
BUTTON longer and make sure that [ . ] is eliminated.
Operating Example
in the case of 6 different cut length setting
in the case of zero setting for E. F.
A~u:A 100mm
Set a cutting length
Programing Function setting
Press more
than 1 second
Press more
than 1 second
Buzzer sound
Buzzer sound
Setting
example
AUTO/MANUAL setting
MANUAL MODE
AUTO MODE
Confirm [ . ] description
Display the first cutting length
This mode is to fold the tape edge.
This mode can be used with other function.
◆Press SELECT BUTTON more than 1 second.
Green LED will be flashing if pressing SELECT BUTTON more than 1
second. If setting is completed and press START BUTTON, a piece of
tape with folding the edge as set the cutting length will be ready to take
after pressing START BUTTON again.
◆Set other mode as depends on your requirement.
◆In the case of folding mode, minimum cutting length is 15mm.
The folding length is fixed by 7mm.
◆When cancelling folding mode, please press SELECT BUTTON more
than 1 second. Please make sure that green LED is off.
Green LED Flassing
Feed a tape without
folding the edge
Feed a tape with
folding the edge