manuals.online logo
Brands
  1. Home
  2. •
  3. Brands
  4. •
  5. Yamaha
  6. •
  7. Drum
  8. •
  9. Yamaha CB832C User manual

Yamaha CB832C User manual

・この「安全へのこころがけ」は製品を
安全に正しくお使いいただき、お客様
や他の人々への危害や財産への損害
を未然に防止するために、いろいろな
絵表示を使って説明しています。
・絵表示の意味をよく理解してから、
本文をお読みください。
このたびは、ヤマハ・コンサートバスドラムをお買上げいただき、
誠にありがとうございます。
ご使用の前にこの取扱説明書をお読みいただき、末永くご愛用ください。
Thank you for purchasing the YAMAHA Concert Bass Drum.
Please read this Owner’s Manual throughly before use.
ご使用の前に、この『安全へのこころがけ』および取扱説明書をよくお読みのうえ正しくお使いください。
室内での置き場所や日常の取扱いについて、下記の注意を必ず守ってください。
特に小さなお子様には、最初にご家族の方、または指導者の方から取扱い方法の指導をお願いいたします。
CB832C/836C/840C
CB832CCB/836CCB/840CCB
CBF32C/36C
CBF32CCB/36CCB
取扱説明書 / OWNER’S MANUAL
コンサートバスドラム
CONCERTBASSDRUM
絵表示に
ついて
安全へのこころがけ
人身障害の危険を防止するには 〜以下の指示を必ず守ってください〜
注意(危険・警告を含む)を促す内容があることを
告げるものです。
禁止の行為を告げるものです。
行為を強制したり指示する内容を告げるものです。
0612 R0 Printed in Japan
楽器をぐらついた台の上や傾いた所
など、不安定な場所に置かないでくだ
さい。落ちたり倒れたりして、けがの
原因となります。
楽器にもたれかかったり、乗ったりし
ないでください。楽器が倒れて、大け
がをすることがあります。
楽器のまわりで遊ばないでください。
身体をぶつけてけがをすることがあり
ます。楽器の転倒の原因にもなりま
す。お子様が楽器のまわりで遊ばない
よう注意してください。
地震による強い揺れにより、楽器が移
動したり転倒をする恐れがあります。
地震の際には楽器に近づかないように
してください。
この表示を無視して誤った取扱いをすると、人が死亡又は
重傷を負う危険の恐れがある内容を示しています。
警告
この表示を無視して誤った取扱いを
すると、人が障害を負ったり、物的損
害を受ける危険の恐れがある内容を
示しています。
注意
雨天時には極力使用しない
でください。濡れた場合は、
すぐに乾いた柔らかい布で
お拭きください。
普段のお手入れも、乾いた柔
らかい布でお拭きください。
シンナー、ベンジン等は絶対
に使わないでください。
頻繁に移動するような場合
は、各部のボルト類がゆる
むことがあります。移動後
には、ゆるみをチェックし、
ゆるんでいる場合は締めて
ください。
キャスターを利用しての楽器の移動
は、滑らかな平坦面でのみ行なってく
ださい。(停止時は、必ずキャスター
をロックしてください。)
キャスターを利用して移動する時は
1. バスドラム本体が回転しないよう、
バスドラムを垂直にしてスタンドに
しっかりと固定してください。
2. 傾いた所や凸凹のある道、じゃり道
は避けてください。楽器が倒れたり
暴走したりして危険です。
3. 走らないでください。楽器が止まら
なくなって、壁にぶつかるなどして
大けがをすることがあります。
本楽器は重量物です。組立作業の際は、
必ず2人以上で行なってください。
可動部には触れないでください。
手などを挟む恐れがあります。
•Do not place the stand on uneven surfaces. The stand may be-
come unstable and/or overturn, and result in possible injury.
•Do not lean on, or ride upon the instrument stand. The stand
may move and cause a fall resulting in injury.
•Do not rough play, etc. in the vicinity of the stand. Bodily
harm may result by falling onto the stand. Rough play may
also result in the instrument being overturned. Also, keep
children from playing in the vicinity of the stand.
•Strong earthquakes may cause the stand to move about or
overturn. Stay away from the stands during earthquakes.
•Use the stand’s casters to move the instrument on flat, even
surfaces only. (Lock the casters when the instrument is
not to be moved.)
1. In order to keep the bass drum from rotating on its axis,
firmly secure the bass drum in a vertical position in the
stand.
2. On inclined, rough, or gravel surfaces the instrument may
overturn and/or become uncontrollable.
CAUTION
3. Do not run while moving the instrument. The stand may
become uncontrollable and crash into other objects re-
sulting in injury.
•Due to this instruments heavy weight, two or more persons
are necessary in the assembly of the stand.
•Do not touch the moving parts. Fingers and hands can get
caught in the moving parts.
•Do not use the stand in the rain. If the stand becomes wet,
use a soft dry cloth to wipe the stand as soon as possible.
•Always use a soft, dry cloth to clean the stand as a part of
periodic maintenance. Never use thinner, benzene, or other
similar solvents to clean the stand.
•If the instrument is frequently moved, the bolts will become
loose over time. Check bolts regularly and firmly tighten any
loose bolts found.
保 証 書
ご住所
お名前
電 話     (     )
持込修理
この度はヤマハ製品をお買上げ戴きましてありがとう
ございました。
本書は下記の保証規定により無料修理を行う事をお
約束するものです。お買い上げの日から左記期間中
に故障が発生した場合は、本書をご提示の上、お買上
げの販売店に修理をご依頼ください。
 (本書はヤマハ打楽器に適用します。)
ご販売店様へ ※印欄は必ずご記入の上お渡しください。
保証書
・保証書は、お買い上げ店による必要事
項(お買い上げ日、販売店名)の記入を
ご確認の上、お受け取りください。
・
必要事項の記入および記載内容をお確
かめのうえ、大切に保管してください。
アフターサービス
・万一不具合が起きたときは、まず、この
取扱説明書をもう一度お読みになり、
原因を調べてください。それでも具合
の悪いときは、お買い上げの販売店、ま
たは、下記窓口にご相談ください。
・保証期間中の修理について
保証書の記載内容に基づいて修理さ
保証書とアフターサービス
ご相談窓口のご案内
ヤマハ打楽器のアフターサービス(修理)、お買い物相談につきましてはお求
めいただきましたお店または下記の相談窓口へお願いします。
■商品の取り扱い等に関するご相談
ヤマハ株式会社 管弦打学校営業部 管打楽器推進グループ
〒108-8568 東京都港区高輪2-17-11
TEL:03-5488-1684 FAX:03-5488-5087
管弦打楽器インフォメーションセンター
〒430-8650 静岡県浜松市中沢町10-1 TEL:053-411-4744
受付日:月曜日〜土曜日(日曜、祝日およびセンター指定休日を除く)
受付時間:10:30〜19:00
*都合により、住所・電話番号・名称などが変更になる場合がございますが、予
めご了承ください。
無料修理規定
1. 保証期間内において正常な使用状態(取扱説明書などの注意書きに従った使用状態)で故障した場合には無料修理を致します。
2. 保証期間内に故障して無料修理をお受けになる場合は商品と本書をご提示のうえ、お買上げの販売店にご依頼ください。ご贈答品、
ご転居後の修理について、お買上げの販売店にご依頼できない場合には下記ヤマハ管弦打学校営業部にお問い合わせください。
3. 保証期間内でも次の場合は有料とさせていただきます。
(1) 本書のご提示がない場合。
(2) 本書にお買上げの年月日、お客様名、お買上げの販売店の記入がない場合、本書の字句を書き替えられた場合
(3) 使用上の誤り、不当な修理や改造による故障、損傷
(4) お買上げ後の移動、輸送、落下などによる故障、損傷
(5) 火災、地震、風水害、落雷、その他天災地変、公害、塩害などによる故障、損傷
(6) 経時変化または酸化などによる塗装面及び金属面の自然な退色、変色
(7) 過湿、過乾燥によって生じる故障、損傷
(8) 消耗部品交換(音板、ヘッド、マレット、スティック 等 )
(9) お客様のご要望により出張修理を行う場合の出張料金
(10)
お買上げ後の調律バランス等の調整作業
4. この保証書は日本国内においてのみ有効です。
5. この保証書は再発行しませんので大切に保管してください。
☆この保証書は本書に示した期間、条件のもとに おいて無料修理をお約束するもの で す 。従って
この保証書によってお客様の法律上の権利を制限するもの で は ありませんので、保証期間経過
後の修理などについてご不明の場合は、お買上げの販売店にお問い合わせください。
□ヤマハ管弦打学校営業部 TEL:03-5488-1684
打楽器 製番
住所
店名  
電 話     (     ) 管弦打楽器事業部
〒430-8650 静岡県浜松市中沢町10-1
印
<本皮ヘッド使用上の注意>
◇
本皮は、温度・湿度により張力(テンション)が大きく変わりますので、下記の点にご注意ください。
・できる限り演奏の直前にチューニングをするよう、心がけてください。
・湿度が高いときはテンションが下がりやすいので、少し強めに張ってください。
・使用しないときに大きくテンションを緩めると、形が崩れてしまうことがありますので、保管時
も常に演奏時のテンションが保たれるようご配慮ください。
◇新しい本皮ヘッドを装着(交換)する場合は、本皮ヘッドのシェルとの接地部分を少し湿らせた雑巾で
軽くなぞってから、ヘッドを装着し均等に締めます。ヘッドが乾燥したらチューニングしてくださ
い。この作業をすることで本皮が本体となじみやすくなります。
◇本皮ヘッドの場合は、テンションをむやみに上げ下げせずご使用いただくと、良い状態を長く保つこ
とができます。
せていただきます。詳しくは保証書を
ご覧ください。
・保証期間経過後の修理について
修理によって機能が維持できる場合
は、ご要望により修理(有償)させてい
ただきます。
消耗部品の交換について
・本機には使用年月とともに性能が劣化
する消耗部品(バスドラムヘッドなど)
が使用されています。消耗部品の劣化
の進行度合いは、使用環境や使用時間
などによって異なります。
・消耗部品の交換の際は、お買い上げの
販売店、または、下記窓口にご相談くだ
さい。
この保証書は日本国内においてのみ有効です。
ThiswarrantyisvalidonlyinJapan.
お
 
客
 
様
※

販

売

店
※お買上日      年    月    日
保証期間
お買上げ日
より1 年間
<Regarding the Use of Calf Heads>
◆As changes in temperature and humidity have a great effect on the tension of calf heads,
please pay attention to the following points.
•If possible, tune the head just before playing.
• As tension generally lowers when humidity is high, slightly over tune the head.
•The head may become warped if the head is loosened when the drum is not in use, so
please make sure head tension is maintained even when the drum is not used.
◆When mounting (replacing) new calf heads on the drum, first wipe the area of the calf head
that comes in contact with the shell edge using a slightly damp cloth, then mount the head
and tighten the tuning rods equally. Tune the head after it has dried. This procedure im-
proves contact between the calf head and the drum shell.
◆As long as the tension is not needlessly raised or lowered, the calf head should maintain in
good condition for a long period of time.
* バスドラムスタンドは別売りです。
* Bassdrumstandsoldseparately.
Get other manuals https://www.bkmanuals.com
お買い上げいただいたバスドラム本体を旧モデル(CB800Aシリーズ/CBF30Aシリーズ、
CB800Bシリーズ/CBF30Bシリーズ)のバスドラムスタンドにセットする場合は、本体の
サイズ(インチ)に合ったスタンドキット(別売)をお買い求めの上、ベースパイプ(×2)と固定
レバー(×2)を交換する必要があります。
BS800Cスタンドキット(別売)のご購入は、以下の表をご参考の上、本製品をお買い上げの
販売店、または、裏面のご相談窓口にお申し付けください。
To mount your new bass drum on an older model stand (CB800A series/CBF30A series,
DB800B series/CBF30B series), please purchase the optional stand retrofit kit (sold sepa-
rately) that fits your bass drum’s size (inches) and replace the Base Pipes (x2) and Lock
Handles (x2) on your bass drum stand with those supplied in the kit.
To purchase the optional BS800C Stand Retrofit Kit (sold separately), please refer to the
list below and contact the dealer from whom you purchased the bass drum.
●平座金x2(固定レバー用)
●Flat Washer x 2 (for Lock Handle)
BS800Cスタンドキット(別売)
BS800C Stand Retrofit Kit (sold separately)
●固定レバーx2
●Lock Handle x 2
●ベースパイプx2
※ベースパイプは左右共通です。
●Base Pipe x 2
* Both base pipes are the same.
●ボルトx4
●Bolt x 4
●バネ座金x4
●Spring Washer x 4
●平座金x4(ベースパイプ用)
●Flat Washer x 4 (for Base Pipe)
■ベースパイプの交換
交換作業は必ず2人以上で、平坦な床面で
行なってください。
1. 旧スタンドのベースパイプを取り外しま
す。下図をご覧の上、六角棒レンチを使っ
てベースパイプを固定しているボルト、平
座金、バネ座金をすべて外します。
2. スタンドベースの受け穴に、BS800Cス
タンドキットのベースパイプを差し込み、
六角棒レンチを使ってボルトを仮止めしま
す。4ヶ所とも仮止めをした後で、4ヶ所す
べてのボルトを確実に締め付けて固定しま
す。
※ ベースパイプは左右共通です。
※
ボルト、平座金、バネ座金はすべてBS800C
スタンドキットのものをお使いください。
※仮止めをせずに強く締め付けると、後から取
り付けるパイプ部のネジ山のつぶれや、スタ
ンドのゆがみの原因となります。
ベースパイプ
Base Pipe
ベースパイプ
Base Pipe
スタンドベース
Stand Base
スタンドベース
Stand Base
ベースパイプ
Base Pipe
キャスター
Caster
締める
Tighten
平座金
Flat Washer
バネ座金
Spring Washer
ボルト
Bolt
六角棒レンチ
Hexagonal Wrench
スタンドベース
Stand Base
ゆるめる
Loosen
■固定レバーの交換
1. 旧スタンド軸受け部に付いているウイング
ナット( )と平座金を取り外しま
す。
2. 軸受け部のフタを閉め、交換用スタンド
キットの平座金1枚を固定ボルトに通した
後、固定レバー先端部を固定ボルトにねじ
込みます。
打面の傾きを調整できるよう、固定レバー
はゆるめておきます。
3. もう一方の軸受け部にも固定レバーを取り
付けます。
4. 打面を希望する傾きにしたら、両側の軸受
けの固定レバーをしっかりと締め付けて固
定します。
■Replacing the Wing Nuts
1. Remove the wing nuts ( ) and flat
washers from the pivot shaft holder of your
stand.
2. Close the pivot shaft holder then put one
(1) flat washer (supplied with the retrofit kit)
on the bolt and screw the end of the lock
handle onto the bolt.
Loosen the lock handle enough to allow
angle adjustment of the bass drum.
3. Attach one more lock handle to the other
side of the bass drum stand.
4. Position the bass drum at the desired angle
then firmly tighten the lock handles on both
sides of the bass drum stand to secure.
平座金
Flat Washer
固定ボルト
Bolt
締める
Tighten
固定レバー
Lock Handle
■
Exchanging the Base Pipes
Base pipe should be replaced by at
least two persons on a level surface.
1.
Remove the base pipes from your stand. Re-
fer to the illustration below and use the hex-
wrench to completely remove the bolts used
to attach the base pipes to the stand, along
with the flat washers and spring washers.
2.
Insert the base pipes supplied with the BS800C
Stand Retrofit Kit into the holes on the stand base
and use the hex-wrench to partially tighten the
four (4) bolts into the base pipe ends. After all
four (4) bolts are loosely tightened into the base
pipes, tighten all four bolts firmly.
*Both base pipes are the same.
*Please replace all bolts, flat washers, and
spring washers on your drum stand with
those supplied with the retrofit kit.
*Fully tightening the bolts without
first loosely tightening the bolts
into the base pipes will result in
damaged threads in the base pipes
and a misshapen stand.
本体サイズ(インチ) 適応するスタンドキット パーツNo.
32 BS832Cスタンドキット U0801620
36 BS836Cスタンドキット U0801630
※40インチのスタンドキットは、取り扱いがございません。スタンドの新規購入をお願い致します。
Bass Drum Size (inch)
Applicable Stand Retrofit Kit Part No.
32” BS832C Stand Retrofit Kit U0801620
36” BS836C Stand Retrofit Kit U0801630
*There is no retrofit kit available for the 40-inch bass drum. We recommend the purchase
of a new stand.
Get other manuals https://www.bkmanuals.com

This manual suits for next models

9

Other Yamaha Drum manuals
Yamaha DD-6 User manual

Yamaha

Yamaha DD-6 User manual

Yamaha DTX Drums TP70S User manual

Yamaha

Yamaha DTX Drums TP70S User manual

Yamaha DD-7 User manual

Yamaha

Yamaha DD-7 User manual

Yamaha FGDP-30 User guide

Yamaha

Yamaha FGDP-30 User guide

Yamaha KP125W User manual

Yamaha

Yamaha KP125W User manual

Yamaha RX-15 User manual

Yamaha

Yamaha RX-15 User manual

Yamaha DTXPRESS II User manual

Yamaha

Yamaha DTXPRESS II User manual

Yamaha DTX530K User manual

Yamaha

Yamaha DTX530K User manual

Yamaha DTX400K User manual

Yamaha

Yamaha DTX400K User manual

Yamaha DD65 YDD-60

Yamaha

Yamaha DD65 YDD-60

Yamaha RX-11 User manual

Yamaha

Yamaha RX-11 User manual

Yamaha DTXTREME User manual

Yamaha

Yamaha DTXTREME User manual

Yamaha DTX8K-X User manual

Yamaha

Yamaha DTX8K-X User manual

Yamaha DTX Drums PCY175 User manual

Yamaha

Yamaha DTX Drums PCY175 User manual

Yamaha DD-75 User manual

Yamaha

Yamaha DD-75 User manual

Yamaha DTS70 User manual

Yamaha

Yamaha DTS70 User manual

Yamaha DD-45 User manual

Yamaha

Yamaha DD-45 User manual

Yamaha DD-75 Service manual

Yamaha

Yamaha DD-75 Service manual

Yamaha RX 5 User manual

Yamaha

Yamaha RX 5 User manual

Yamaha DTX-PRO User manual

Yamaha

Yamaha DTX-PRO User manual

Yamaha KP65 User manual

Yamaha

Yamaha KP65 User manual

Yamaha DD-12 User manual

Yamaha

Yamaha DD-12 User manual

Yamaha BP80 User manual

Yamaha

Yamaha BP80 User manual

Yamaha DTXTREME IIs Instruction Manual

Yamaha

Yamaha DTXTREME IIs Instruction Manual

Popular Drum manuals by other brands

EFNOTE EFNOTE 3 quick start guide

EFNOTE

EFNOTE EFNOTE 3 quick start guide

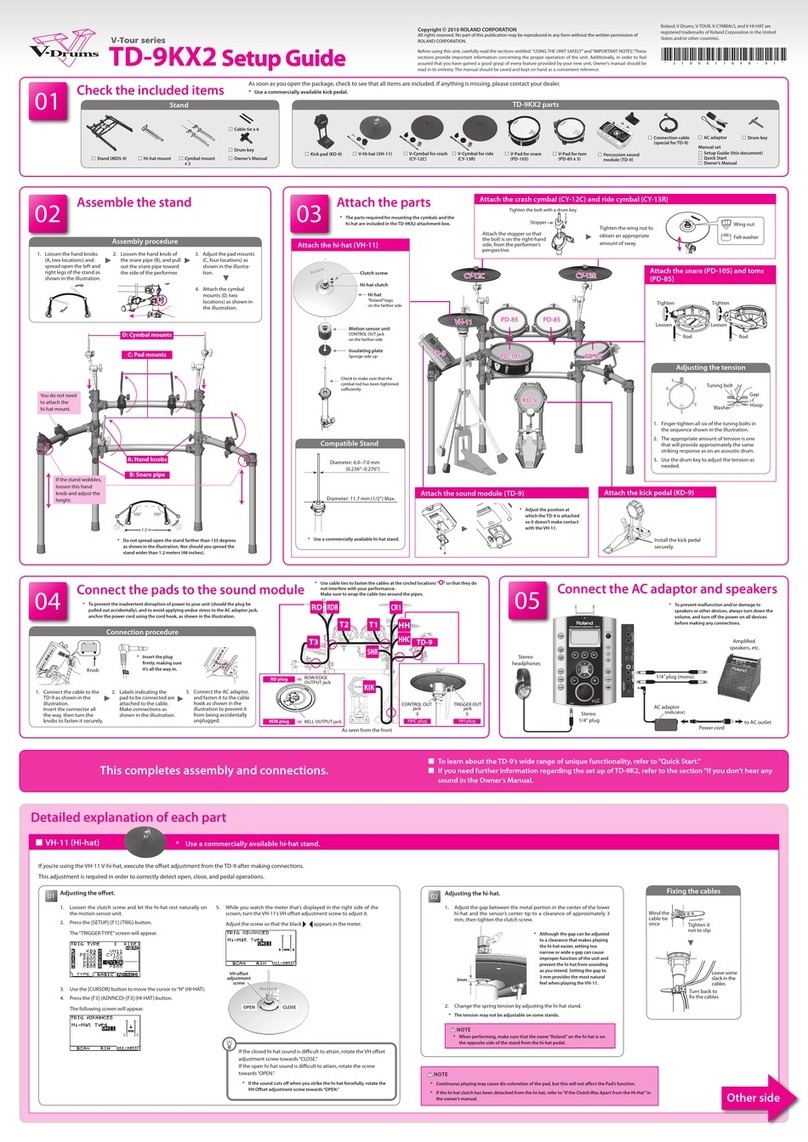
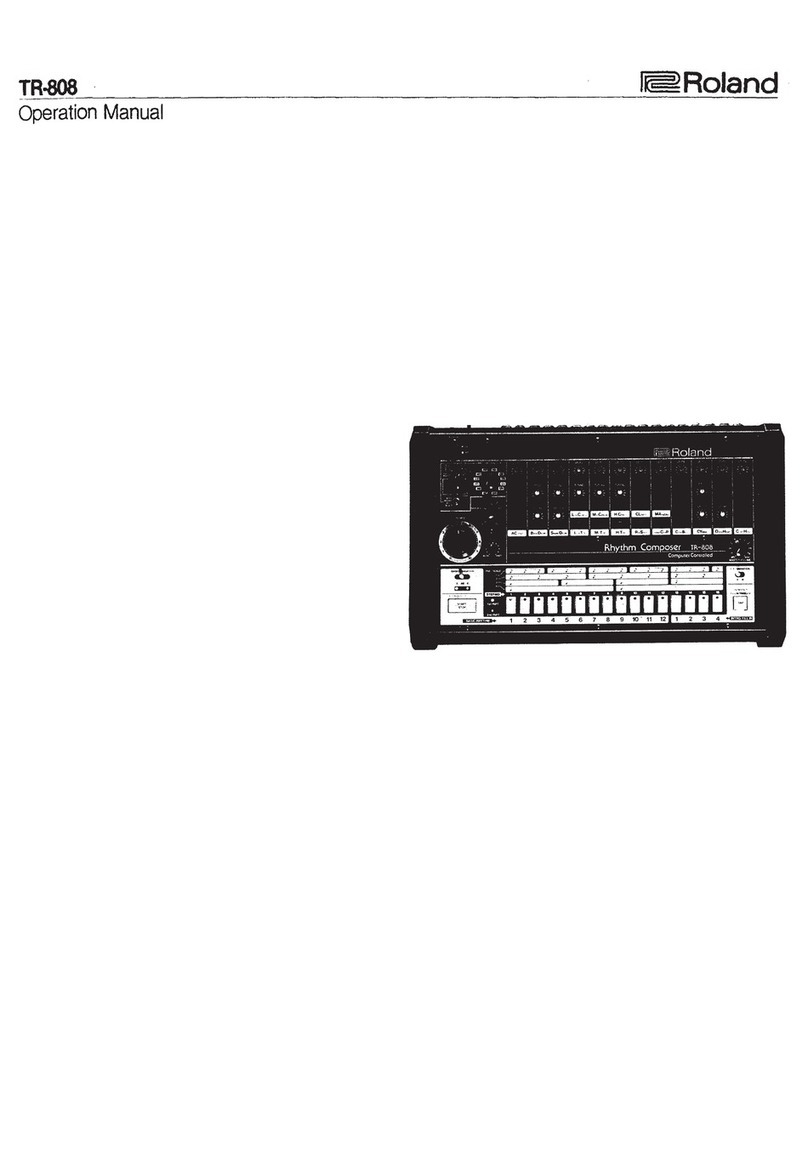
Roland TR-808 instructions

Roland

Roland TR-808 instructions

nux DM-3 user manual

nux

nux DM-3 user manual

Roland HandSonic 10 Service notes

Roland

Roland HandSonic 10 Service notes

MFB MFB-503 operating manual

MFB

MFB MFB-503 operating manual

PMFoundations ER-808 Assembly guide

PMFoundations

PMFoundations ER-808 Assembly guide

Pearl Travel Timbales instruction manual

Pearl

Pearl Travel Timbales instruction manual

Alesis DM10 MKII Pro Assembly guide

Alesis

Alesis DM10 MKII Pro Assembly guide

XM XSM-5S user manual

XM

XM XSM-5S user manual

Roland BT-1 user manual

Roland

Roland BT-1 user manual

Roland VH-12 owner's manual

Roland

Roland VH-12 owner's manual

Roland V-Pad PDX-100 owner's manual

Roland

Roland V-Pad PDX-100 owner's manual

Alesis DM10 MKII Pro quick guide

Alesis

Alesis DM10 MKII Pro quick guide

KAT multipad KTMP1 owner's manual

KAT

KAT multipad KTMP1 owner's manual

Pearl P-2000C instruction manual

Pearl

Pearl P-2000C instruction manual

2Box DrumIt Five manual

2Box

2Box DrumIt Five manual

2Box MK2 manual

2Box

2Box MK2 manual

thomann Millenium MPS-400 Assembly instructions

thomann

thomann Millenium MPS-400 Assembly instructions

manuals.online logo
manuals.online logoBrands
  • About & Mission
  • Contact us
  • Privacy Policy
  • Terms and Conditions

Copyright 2025 Manuals.Online. All Rights Reserved.