Yamakawa MR-200 User manual

Table of Contents
Introduction.........................................................................................................2
Copyright notice........................................................................................3
Safety information.....................................................................................3
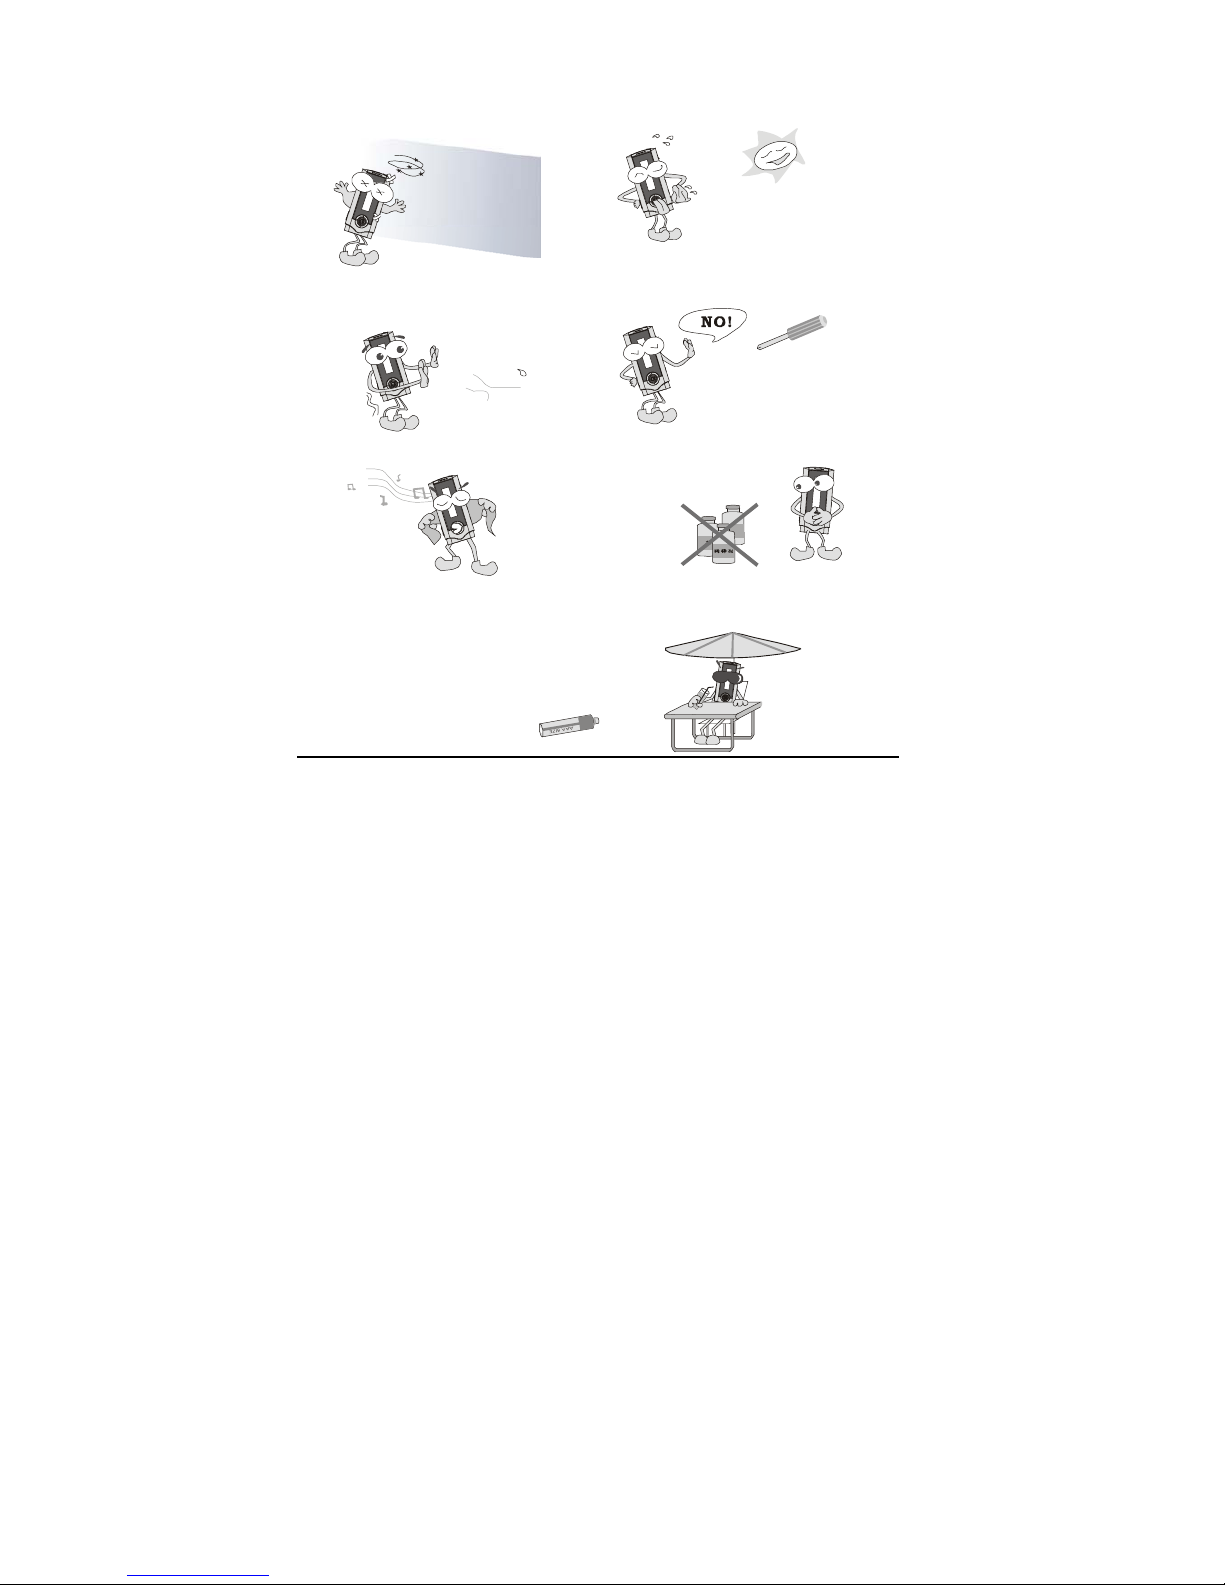
Precautions................................................................................................5
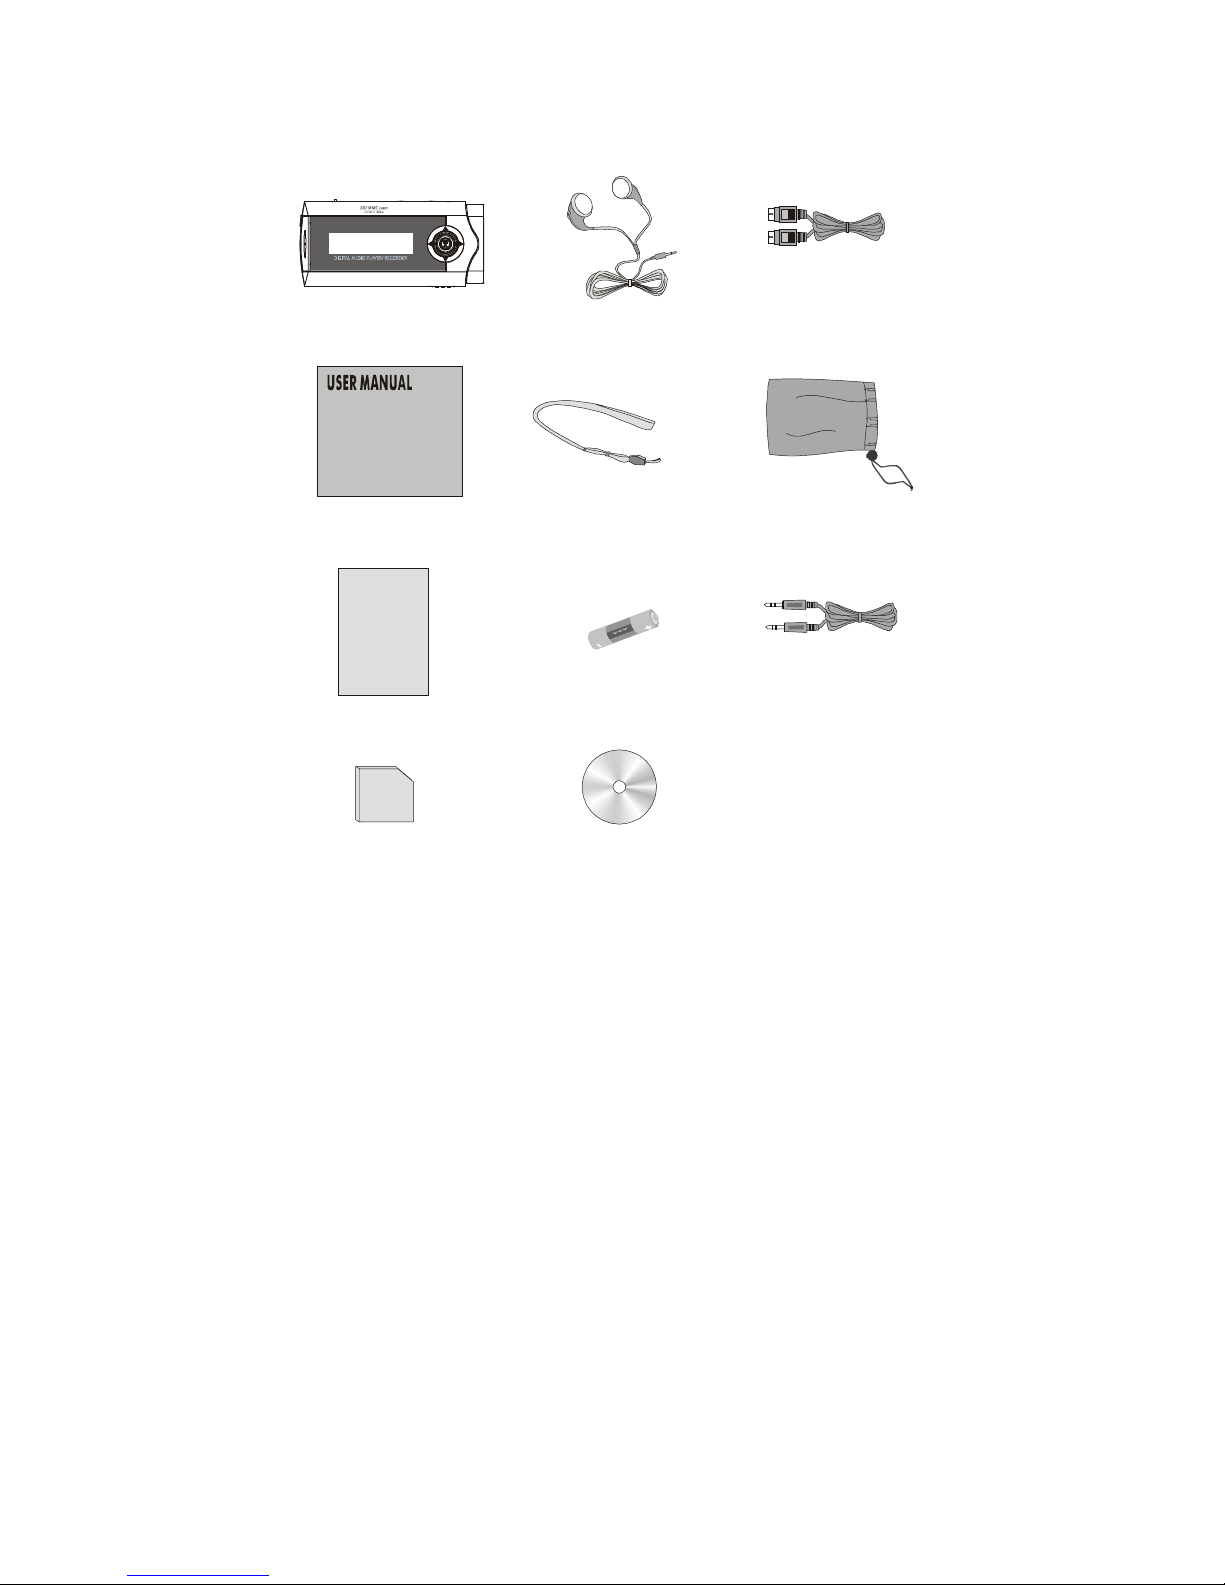
In the Package.....................................................................................................6
Specifications......................................................................................................7
Knowing Your Portable MP3 Player..................................................................8
Name of parts............................................................................................8
Inserting battery........................................................................................9
Turn on MP3 player................................................................................10
Turn off MP3 player................................................................................10
Multiple Language Support.......................................................................10
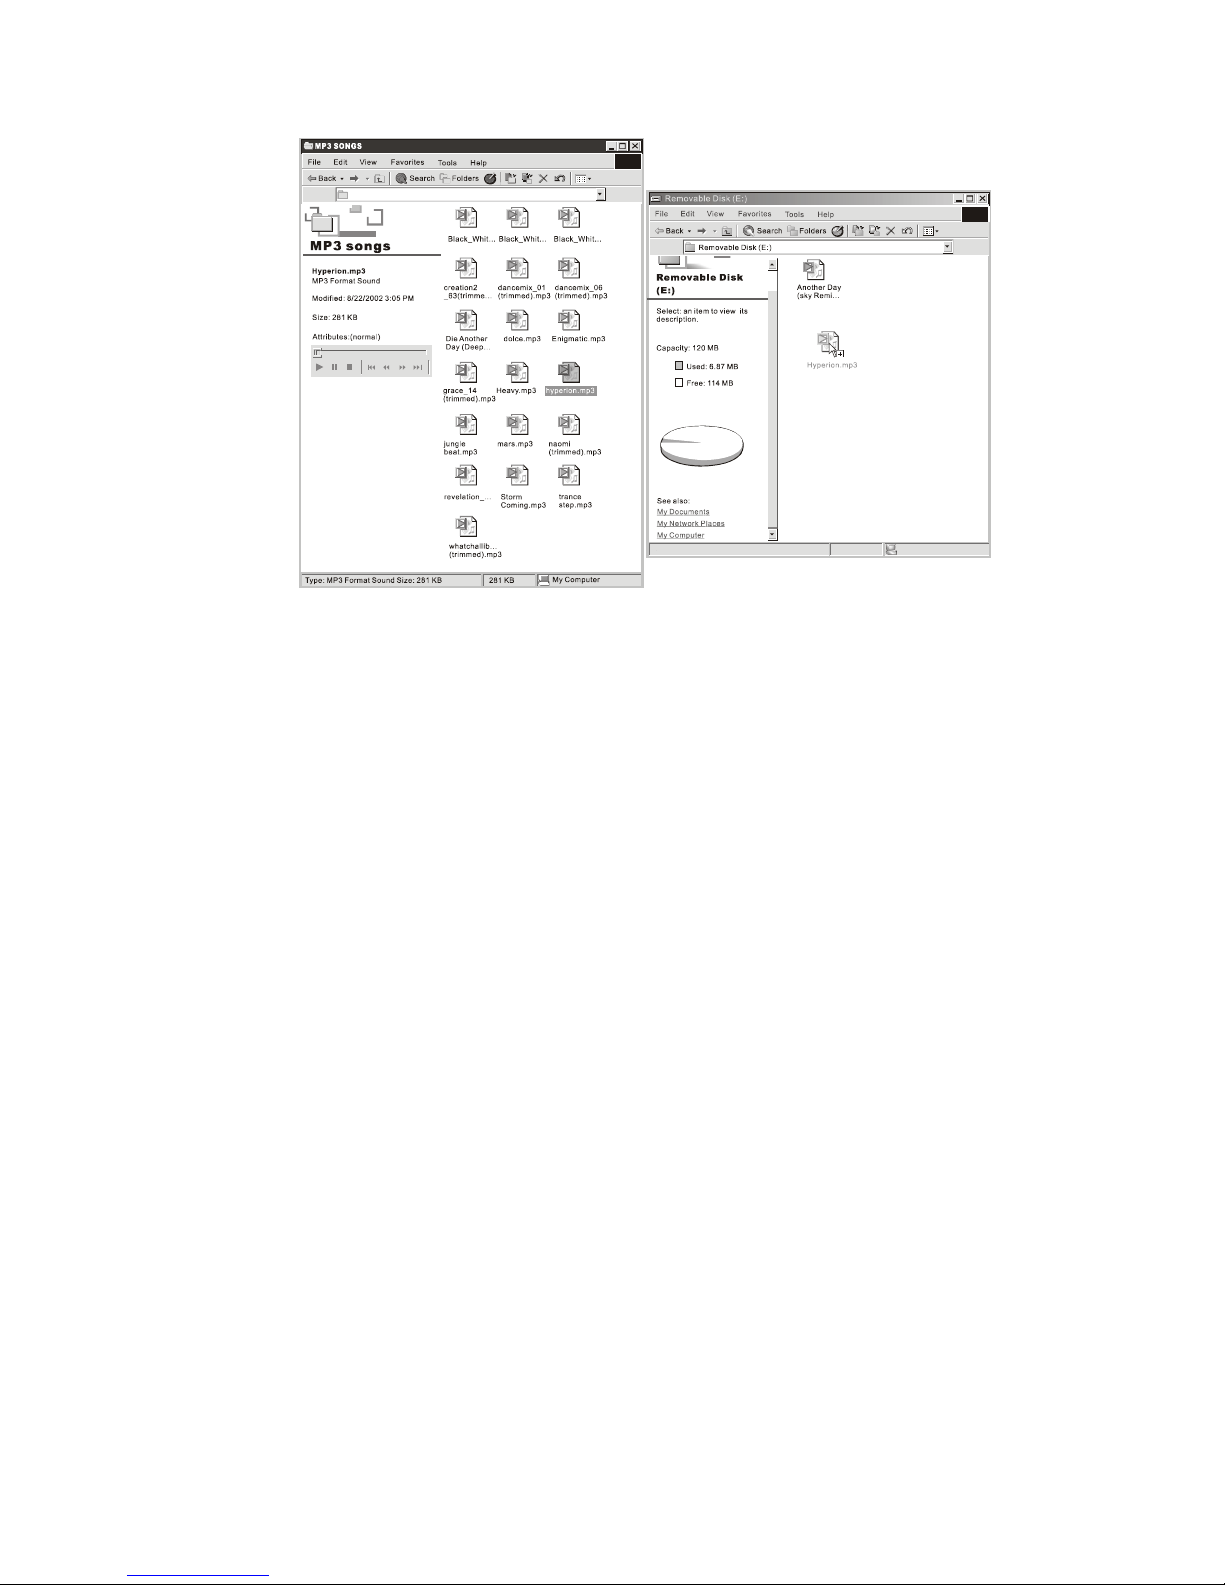
PC Connection...................................................................................................11
Operating Controls...........................................................................................15
Operating in music mode...........................................................................15
Operating in radio mode............................................................................17
Operating in voice mode..........................................................................19
Detailed Controls..............................................................................................21
Switching modes.........................................................................................21
Playing music or voice files......................................................................21
Music recording in voice mode.................................................................22
Voice recording in voice mode..................................................................23
Radio recording in radio mode..................................................................23
Menu Settings....................................................................................................24
Menu settings in Music mode....................................................................24
Menu setting in Radio mode.....................................................................26
Menu setting in Voice mode......................................................................29
System Settings..................................................................................................30
Troubleshooting.................................................................................................32
Company Contacts............................................................................................34

Introduction
Thank you for purchasing Yamakawa MR-200 portable MP3 recorder and
player!
With this MP3 player you can enjoy digital music in a more convenient way.
You can directly encode your music from any audio source and record your
voice into voice format, all of this WITHOUT the use of a computer. You can
also transfer songs you enjoy from your computer to your player. With its
one-touch voice-recording feature you can record lectures, interviews or
meetings in good quality.
The MP3 player is compact in size, light in weight and highly functional. Begin
to enjoy the various features of your player by following this user manual.
To familiarize yourself with your player, here are some function highlights:
· Expandable MMC/SD card slot (support 32MB, 64MB, 128MB)
· Direct line-in encoding to MP3 or voice format
· MP3, WMA, ADPCM playback
· 30 FM radio preset channels (Enhanced Feature!)
· FM recording function
· Voice recording from built-in microphone
· Voice messages recording in MP3 or voice format
· Supports ID3 tagging
· Firmware upgrades available
· A-B looping support
· 5 equalizers
· Sleep preset

Copyright Notice
You must be aware that distribution of MP3 files without the permission from
the content owner is against the copyright laws. Yamakawa Digital
Entertainment and its associating companies will not be liable against such
actions.
Safety information
The user manual or instruction manual for an intentional or unintentional
radiator shall caution the user that changes or modifcations not expressly by the
party responsible for compliance could void the user’s authority to operate the
equipment.
Modifications not authorized by the manufacturer may void users authority to
operate this device.
This equipment has been tested and found to comply with limits for class B
digital device, pursuant to part 15 of the FCC rules. These limits are designed to
provide reasonable protection against harmful interference in a residential
installation. This equipment generates, uses and can radiate radio frequency
energy and, if not installed and used in accordance with the instruction, may
cause harmful interference to radio communications. However, there are no
guarantees that interference will not occur in a particular installation. If this
equipment does cause harmful interference to radio or television reception,
which can be determined by turning the equipment off and on, the user is
encouraged to try to correct the interference by one or more of the following
measures:
●Reorient or relocate the receiving antenna
●Increase the separation between the equipment and receiver
●Connect the equipment into an outlet on a circuit different from that to
which the receiver is connected.
●Consult the dealer or an experienced radio / TV technician for help.
Keep in mind, modifications not authorized by the manufacturer may
void users authority to operate this device.
If the product suddenly has no response or power off, it may be caused by
electrostatic discharge. If this circumstance, please follow the procedures
below for recovery:
●Switch off the unit, if the unit has no response
●Turn on the unit again

Precautions
Do not abuse your MP3 pl ayer
by usi ng ext r eme f or c e.
Avoi d keepi ng or
uni t i n pl aces w
i c f i el d, di r ect s
posur e f or ext ended
Keep t he uni t away f r om
hi gh humidity. Do not open t he MP
sowill damage t h
Use a soft towel to clean
t he sur f ace of your pl ayer . Keep t he pl ayer aw
Remove the battery from the
pl ayer when you ar e not usi ng t he MP3 pl ayer .
Thi s i s t o avoi d needl ess bat t er y wear .
oper at i ng t he
i t h st r ong magnet
unl i ght , or heat ex
per i ods of t i me.
3 pl ayer , as doi ng
e uni t .
ay f r omchemicals.

In the Package
Mai n Uni t St er eo Ear phone
Us e r Manual Ne c k St r i n g
War r ant y Car d ( Optional) Bat t e r y
MMC/ SD Ca r d ( Opt i onal ) CD- Ro m ( Opt i onal )
Mini USBCa b l e
Ca r r y i n g Po u c h
Li ne- i n Cabl e

Specifications
Size (HxWxD) 88x41x15mm
Net Weight 42g (without battery)
Internal Flash Memory 128MB o
r
256MB or 512MB
Power Supply 1x AAA alkaline battery
PC Interface USB
Radio Function FM with auto scan and 30 preset channels
Digital Music Format
Playback
Record
MP3, WMA, all bit rates including VBR
In MP3, ADPCM format
Digital Voice Format ADPCM (32kbps)
Built-in Microphone Electric condenser microphone
Signal to Noise Ratio >90dB
Frequency Range 20Hz - 20kHz
Battery Life 12+ hours
Support External Memory SD/ MMC Memory Card
Equalizer Jazz, Rock, Classic, Pop, User Default
Play Mode Normal, Repeat one, Repeat all, Random,
Repeat random

Knowing your Portable MP3 Player
Name of parts
LCD: Display Window

Inserting battery
O
penthebatterydoor
accordingtothisdirectionPutthebatteryintothecom
partm
ent.
P
ayattentiontothepolarity.
C
lose
thebatterydoo
Inserting MMC/SD card
Insert the MMC/SDcard i n a
cor r ect direct i on, youwill see an
arrowin the card ri ght hand corner.
Press once so t hat the card is i nsert
completelyinthe socket, you will see
the cardicon i n t he LCD.
To r el
one t
come o
ease t he car d, pr ess
o t he c ar d and i t wi l l
ut d i r ec t l y .
Remarks :
1. Make sure the card is facing the correct direction when inserting into
the slot.
2. When inserting the card, make sure the logo of the MMC/SD card is
facing upwards.
3. There is a locking device on the SD card. You cannot format, delete or
download any files when the SD card is locked.

Turn on MP3 player
Press and hold
Make sure the HOLD button is switched off. If not, “LOCKED” will
be displayed.
Turn off MP3 player
Press and hold (except when your player is connected to a PC)
Multiple Language Support
When the player is in stop mode, pressing the Vol+ and Vol- buttons will
change the song name display language. By using these buttons will convert
the song titles through a series of different languages listed below:
Western European Languages - (ISO8859)
Korean (Hangeul, KS)
Japanese (Hiragana, Katakana and Kanzi, shift JIS)
Traditional Chinese (Big 5)
Simplified Chinese (GB)
PC Connection
This is a mass storage device. No driver installation is required except
Windows 98. The driver is not required for Windows 2000/XP or Mac. For
Window 98 users, please download the driver from www.yamakawa.de
Locate the downloaded driver file (setup.exe) on your hard drive and double
click the driver file (setup.exe). Follow on-screen prompts to complete the
driver installation process.
(For Window 98 users, you can use the Window 98 driver CD if you retailer
bundled it in the package)
Mac OS 8/9 may or may not require driver installation.
Transfer files from PC to player:
1. Switch on the player and connect it securely to the PC with the USB cable.
2. Double click on “My Computer” on the desktop of windows, there will be
an additional drive created.
3. If the player is connected to your PC, you will see “USB Connected” on the
player’s screen.
4. To download music files to your MP3 player, simply drag the files from the
Windows File Explorer and drop them to the newly opened drive. You can
also upload files from the player to the PC by doing the reverse.

CAUTION:
ONLY UNPLUG THE USB CABLE WHEN ALL DOWNLOAD
PROCEDURES ARE COMPLETED.
Do not unplug the USB cable when the LCD is still displaying “USB writing”
as doing so may corrupt the files stored in the player and you will need to
re-format the MP3 player. If the player encounters abnormal interruption
during recording such as battery removal, you may also need to re-format it
Add on functions:
1. The MP3 player can also be used as an external drive for storage of
non-music files.
2. The MP3 player is compatiable with Music Match. You can directly
rip your audio CDs to WMA or MP3 format using Music Match
software and directly download to the player.
* Our MP3 player does not support WAV files downloaded or created by user.
It only supports WAV files recording direct from the MP3 player.

To differentiate internal & external memory drive:
1. You will find two removable drive after plugin the USB cable with the
computer.
2. Check once to the drive, you can check the memory size of the
particales drive (32MB / 64MB).
3. If insert MMC/SD card, the drive size is same with the card.
How to format the player?
The purpose of re-formatting the player is to try to restore the player to normal
operation. This is for when the player is not able to function properly or in cases
where you player is unable to power on. Keep in mind, that the content of the
player will be removed once being formatted.
* Please make sure when you format the player, the "file system" is calling
FAT or FAT16. Otherwise, the player will appear "Error please reformat". To
solve the problem, user is suggested to reformat the player by choosing
FAT/FAT16 when the format windows pop-up.
1. Connect the player to the PC.
2. Right click the additional drive and click Format.
3. Click “Yes” to confirm.
Firmware Upgrader
You should check your vendor’s website for new firmware upgrades, these
developments provide add-on functions and language support options.
Upgrades are announced on the web site and users can then download the
software from the download section at http://www.yamakawa.de

Operating controls
There are three modes which you can operate your portable MP3 player; music
mode, radio mode, and voice mode.
Operating in Music Mode
The following tables show all key responses under different operations in music
mode.
Music Playing Mode
Key Key Action Browsing Playing
Short Play current track Stop/Pause current track
Long Power off Power off
Short Move to next track Play next track
Long Move to previous track
continuously
Rewind
MENU Enter Menu Mode Enter Menu Mode
VOL + Change to next display
language code
Increase the volume
VOL - Change to previous display
language code
Decrease the volume
REC Start recording Set point A (A-B loop
function)
—> Hold On/Off All keys are locked All keys are locked
Mus ing Modeic Record
key Key Action Recording
Short Pause / Resume recording
Long Power off
Short / Long No response
MENU No response
VOL + No response
VOL - No response
REC Stop recording
—> Hold On/Off All keys are locked

Operating in Radio Mode
The following tables show all key responses under different operations in voice
mode.
FM Radio Playing Mode
key Key Action Normal Preset Mode
Short No response No response
Long Power off Power off
Short Increase frequency
(step size = 0.05MHz)
Move to next preset
station
Long Auto-search up Continuously move to
next preset station
Short Decrease frequency
(step size =
0.05MHz)
Move to previous
preset station
Long Auto-search down Continuously move
t
previous preset station
MENU Enter Menu Mode Enter Menu Mode
VOL + Increase the volume Increase the volume
VOL - Decrease the volume Decrease the volume
REC Start recording Start recording
—> Hold On/Off All keys are locked All keys are locked
FM Radio Recording Mode
Key Actionkey Recording
Short Pause / Resume recording
Long Power off
Short / Long No response
MENU No response
VOL + No response
VOL - No response
REC Stop recording
—> Hold On/Off All keys are locked

Operating in Voice Mode
The following tables show all key responses under different operations in voice mode.
Voice Playing Mode
Key Key Action Browsing Playing
Short Play current track Stop/Pause current track
Long Power off Power off
Short Move to next track Play next track
Long Move to previous track
continuously
Rewind
MENU Enter Menu Mode Enter Menu Mode
VOL + Change to next display
language code
Increase the volume
VOL - Change to previous display
language code
Decrease the volume
REC Start recording Set point A (A-B loop
function)
—> Hold On/Off All keys are locked All keys are locked
Voice Recording Mode
key Key Action Recording
Short Pause / Resume recording
Long Power off
Short / Long No response
MENU No response
VOL + No response
VOL - No response
REC Stop recording
(Go back to previous screen)
—> Hold On/Off All keys are locked

Detailed Controls
Switching Modes
To switch from one mode to another, press the MENU button, then press the
button. Next, to select the mode, use the / to select the desired mode, then
press the button to confirm your selection.
Playing Music or Voice files
1. Play and stop
Press the
button to play tracks. To stop the track, press the
button again.
2. Selecting tracks
a. When the MP3 player is playing a file, move towards the
direction quickly to play the next track and move towards the
direction quickly to play the previous track.
b. When the player is stopped, moving with or allows you to
browse through the tracks stored in memory.
3. Moving within track
Moving with or for longer than 1 second will fast forward or rewind
during a track.
4. A-B looping
While playing music or voice files, you can set a section to repeat continuously.
Press the REC button to mark the point where you want the section to start
(Point A). Then, press REC again to mark where you want the section to end
(Point B). The selected section will then repeat continuously.
5. Deleting track and voice files
Choose delete from MENU. Use or to select track or voice file you
wish to delete and press to delete.
Music recording in music mode
This function enables you to record any audio source to the machine. Simply,
connect the audio source to line-in jack by using a stereo cable.
1. Select SET (system setting) at any mode, choose source as line
(line-in),press play button to confirm the source.
2. Put an end of “line in cable”into the earphone jack of the normal audio
player and the other one of “line in cable”into the “input jack”of the
MP3 player.
3. You should start at the stop mode of music mode.
4. Press REC button to start recording.
5. Press REC button to stop recording.
6. Press play button to pause/resume the current recording file.
7. After recording,press play button to play the recorded file and it will be

displayed as V001,V002....V003.wav.
8. The recording music files are only playable on the MP3 player and not
on the PC.
Voice recording in voice mode.
This feature offers high quality one touch voice recording an ADPCM format.
1. Select SET (System setting) at any mode,Choose source as MIC, Press
play button to confirm the source.
2. You should start at the stop mode of voice mode.
3. Press REC button to start recording.
4. Press REC button to stop recording.
5. After recording,press play button to play the recorded file and it will be
displayed as V001,V002....V003.wav.
Note:
The default recording source in Voice mode is the internal
microphone ,
“MIC-IN.” You can record audio files line-in in voice mode. The quality of the
audio file will be in voice quality but the file size will be smaller. Please refer to
the System Settings section to find out how to do this.
Radio recording in radio mode
First navigate your player into radio mode. Press the REC button to start
recording in radio mode. To stop recording, press REC again. When recording,
a “ ●” will be shown on the LCD display.
Note:
Radio recording quality depends on the reception quality at the time of
recording.

Menu Settings
To change the settings, use the /jog dial to select each particular option.
Press the button to enter into the sub-menu and use the /jog dial to
choose the desired settings. Press the button to confirm your choice. To
change the setting in different modes you need to press the MENU button.
The following table shows all key responses for menu settings in different
modes:
KEY KEY ACTION
MENU Enter/exit menu
/Move right/left
Enter into sub-menu/confirm
Others No response
Menu settings in Music Mode
Switching to Music Mode.
Playmode
Normal: Play all in order once.
Repeat One: Continuously repeat the current track.
Repeat All: Play all tracks in order repeatedly.
Random: Continuously select tracks randomly.
Rpt Random: Continuously repeat all tracks
randomly.
Equalizers

Select Normal, Rock, Classic, Jazz, Pop and User
default
Bass: Set bass from levels 1 to 4 (1 is the weakest
and 4 is the strongest)
Treble: Set treble from levels 1 to 4 (1 is the
weakest and 4 is the strongest)
Recording Bit Rates
There are various choices of recording bit rates in
MP3recording: 48kbps, 96kbps, and 128kbps.
Deleting File
Go to file you want to delete.
Press Menu
Press the play button to confirm deletion
Menu setting in Radio Mode
Normal Mode
Switching to Radio Mode
Channel Preset

Your MP3 player can store up to 30 preset programme frequencies.
These programmes can be quickly tuned when the radio is in the
PRESET MODE. This section gives instructions for saving
programme presets. The next section explains how to enter the
PRESET MODE and retrieve a preset programme.
1. Enter the RADIO mode as described previously.
2. In NORMAL MODE tune the radio to the programme you wish to preset.
3. Press the MENU button.
4. Use the or controls to select CH PRESET.
5. Press .
6. Use the or controls to select the preset number.
7. Press .
Mono/Stereo Mode
Set FM radio output to stereo or mono
Preset Mode
Switching to Radio Mode.
Using the preset mode
1. Enter the RADIO mode as described previously.
2. Press the MENU button.
3. Use the
or controls to select PRESET MODE.
4. Press
. The radio is now operating in preset mode.
5. Use the or controls to select the preset programmes until the one
you require is selected.

Deleting Program preset
Deleting programme presets
1. Enter the RADIO PRESET MODE as described above.
2. Press the MENU button.
3. Use the or controls to select DELETE.
4. Press
.
5. Use the
or controls to select the preset programme you wish to
delete.
6. Press
.
Mono/Stereo Mode
Menu setting in Voice Mode
Switching to
Voice Mode
Deleting Files
Go to file you want to delete.
Press Menu
Press the play button to confirm deletion
Table of contents
Other Yamakawa MP3 Player manuals