manuals.online logo
Brands
  1. Home
  2. •
  3. Brands
  4. •
  5. Yealink
  6. •
  7. IP Phone
  8. •
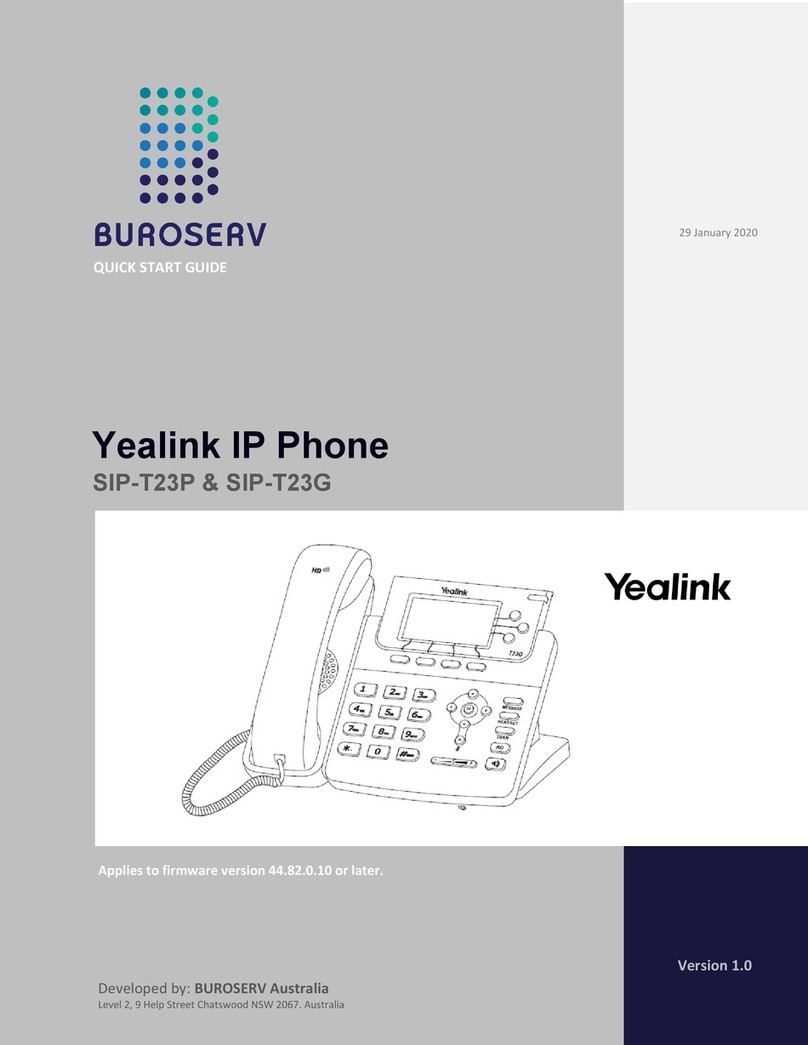
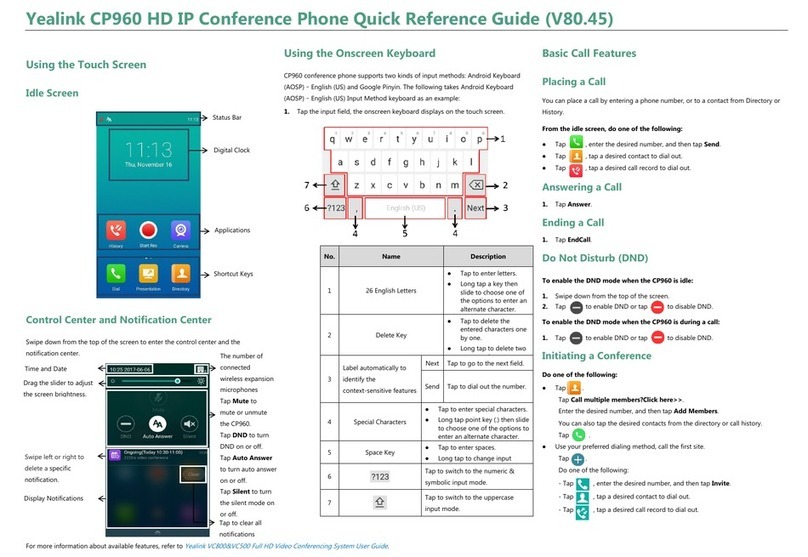
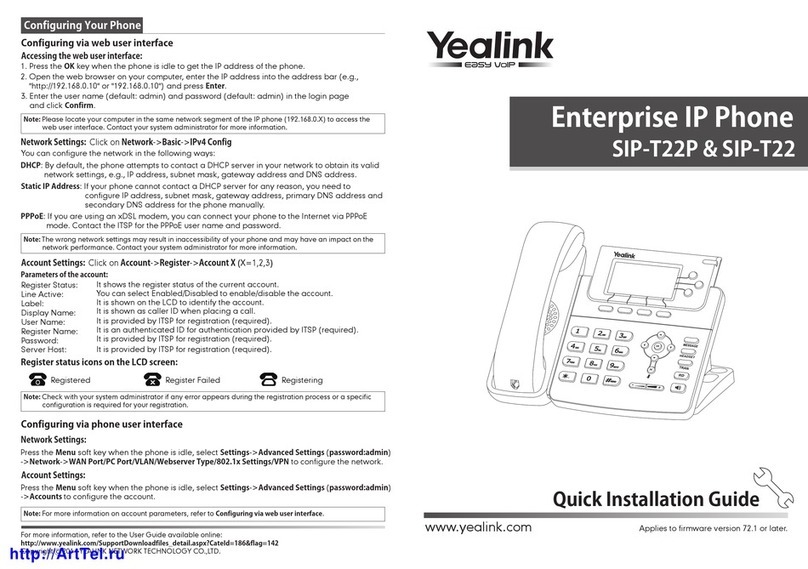
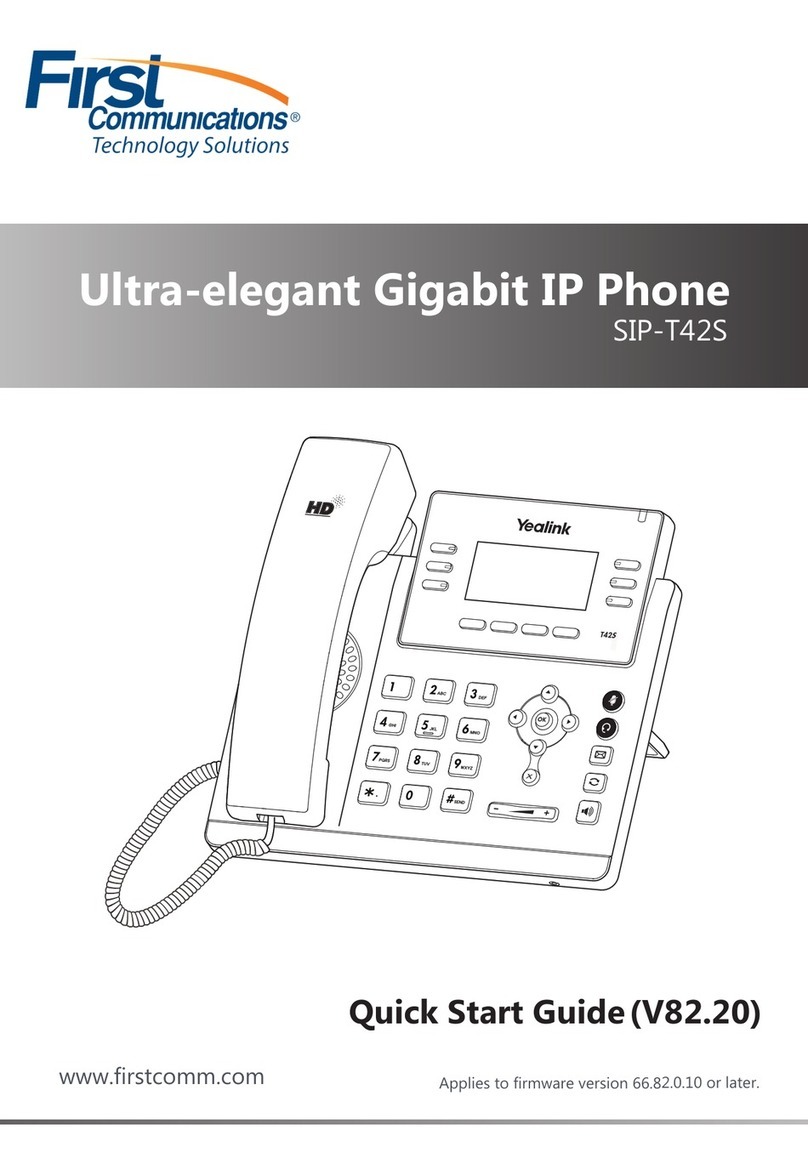
  9. Yealink SIP-T33P/G User manual

Yealink SIP-T33P/G User manual

Yealink
SIP-T33P/G
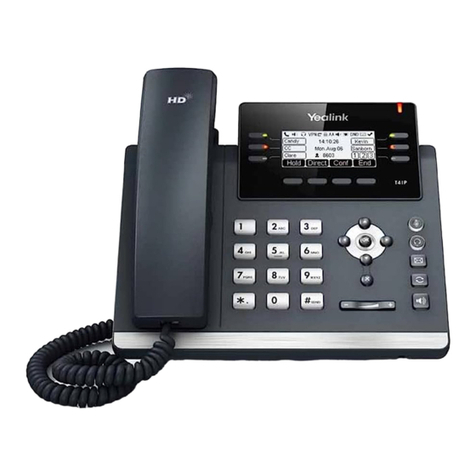
Before you use your phone
The IP phone package you received from us
includes: IP phone, handset, power adapter
and cables. Take the stand and snap it to the
phone from the back. Connect one end of the
twisted pair cable to the handset. The other
then into the phone to the jack marked with
the handset. Plug the Ethernet cable into the
phone into the socket marked internet. Plug
the other end into a modem, router, or switch
into the IP phone jack. If the switch does not
support Power over Ethernet (PoE), connect
the AC adapter to the phone and plug it into
an electrical outlet. Now check the phone
display. "Welcome Initializing - Please Wait"
should appear on the display. When your
abbreviated phone number appears after a
few minutes, everything is ready and you can
start calling.
We have prepared a telephone directory of
your company for you directly on the phone.
Now prepare the data obtained during the
handover of the service, your telephone
number and password. Use the password to
log in to portal-uc.gtsce.com.
The name is your phone number. Here you
can adapt the Virtual PBX service to your
needs. Help for all functions is available by
clicking on the "Help" button. For more
instructions, click on "Download".
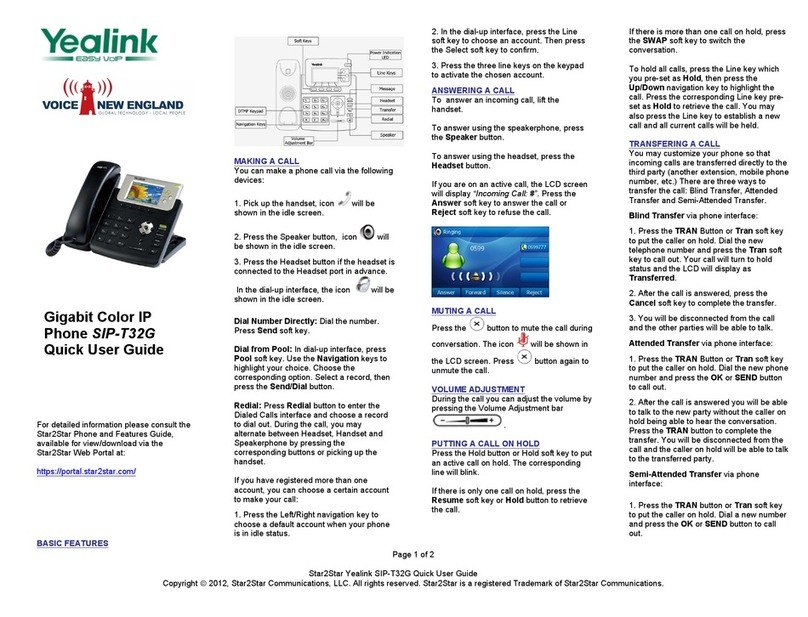
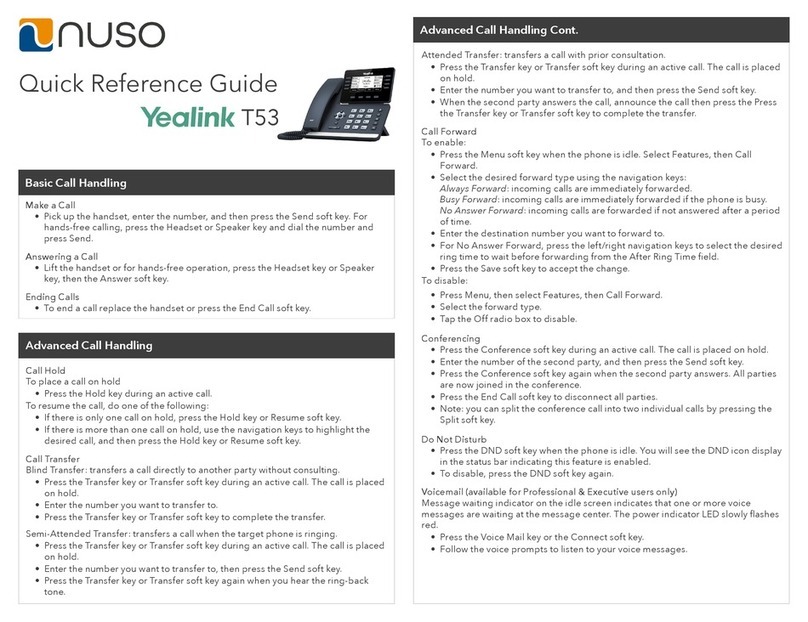
1. Making a call
Start dialing, pick up the handset, or press
the Speaker key). Enter a phone number.
Confirm the selection by picking up the
handset, the OK navigation key or the #key).
To end the call, hang up or press the Speaker
key again.
2. Control function
The navigation buttons are used to move in
the menu. The OK button is used to confirm
the selection. The phone also has the
following key groups: Keys with occupancy
indicator (BLF function) and context-sensitive
keys. Buttons with occupancy indicator can
be set via the web portal portal-uc.gtsce.com.
Context-sensitive buttons change their
function automatically according to the state
of the phone. The menu can be scrolled with
the navigation keys, or by direct dialing with a
number key, as each selection is numbered.
Further in the manual we will talk about the
so-called sequence, which means calling up
the configuration menu with the context-
sensitive "Menu" button and pressing direct
dial 1-9.
That is: the sequence Menu-2-4-1 means
successively pressing the MENU, 2, 4, 1 keys.
To return to the default state, use the
Back-Back-Back-Exit Context-dependent
button.
Hold Context-dependent button - the caller
hears music (music on hold).
Context-dependent button Transfer - to
transfer the call.
Menu Context-dependent button - used to
enter the phone's configuration menu.
Mute button - used to deactivate the
microphone. To reactivate, press the button.
for the second time.
Headset button - switches the sound of the
headset / microphone to the headset.
Message button - connects the phone to your
voicemail, settings: MENU-5-1-2.
Redial button - opens the list of recently
dialed numbers.
Speaker Button - Used to activate
speakerphone.
3. Telephone contact list
As part of the virtual exchange service, two
telephone directories of the platform are
used: corporate, personal and external. The
company list contains all active users of the
company; external numbers (eg employee
mobile phones) cannot be stored in it. All
users have read-only. The personal address
book is intended for the user's private
contacts. It is individual for each line. Add,
edit or delete personal list items either
directly in the phone menu or via the portal-
uc.gtsce.com portal. Any number can be
stored in the external directory, but for
administration it is necessary to log in to the
web portal portal-uc.gtsce.com as an
administrator. Other users have it read-only.
Indikace napájení
Hlasitý odposlech
Ovládání
hlasitosti
Číselník
Navigační
tlačítka
Kontextová tlačítka
Funkční tlačítka
Tlačítka s
indikátorem obsazení
Yealink
SIP-T33P/G
4. Using contact list
Press the "Address" context-dependent
button. The corresponding phonebook is
loaded into the phone. Use the up and down
arrows to move through the list, press OK to
call the selected contact. For a quick search
(by person's name or surname), enter the
numbers that correspond to the letters on the
keypad, press the key only once for each
letter. You can find the letter combinations
corresponding to the number you need to
press on the telephone keypad or in this
table:
5. Call register
Press the History context-dependent button,
you will see a list of all calls, press the
navigation keys left or right to select another
history, and you will see missed calls,
received calls or diverted calls, press the
navigation key OK to call numbers from the
list, or for more detailed calls. information,
press Options - Details. Deleting call lists:
Press the History context-dependent button
and the Delete context-dependent button to
delete the selected entry. To delete the entire
list, press Options - Delete. all.
6. Redial
Press the (Redail) button twice. This dials the
last number dialed.
7. Transferring
Call transfer without consultation:
During a ring / call, press the Transfer / Divert
context-dependent button, dial the phone
number, wait for the ring and press the
Transfer / Divert context-dependent button
again, or hang up (do not press #or OK to
confirm).
Transferring a call with a consultation: During
a call, press the Switch context-dependent
button, dial the phone number and press #or
OK to confirm. You can talk to the other party
and then transfer the call to them by pressing
the Transfer button again.
To transfer when a call is on hold: During a
call, press the Hold context-dependent button
and then the New context-dependent button,
dial the other party's phone number, and then
press #or OK to confirm. You can then switch
between the two callers using the Swap
context-dependent button. You can transfer
the call again with the Transfer context-
dependent button.
Conference call for 3 participants:
Call the first person. Press the Conference
context-dependent button to put the active
call on hold with the first person and get a
dial-up call.
tone. Call the other party and press Confirm
again after connecting. The conference is set
up.
8. Redirection
All types of forwarding can be found in MENU-
2-1-4- (1 to 3). To change, use the left or right
navigation keys.
9. Adjusting volume
To change the earpiece and speakerphone
volume: Lift the handset and use the
Volume + / Volume - keys to adjust the
handset volume. To adjust the call volume via
speakerphone, press the Speaker + / Volume-
buttons again by pressing the Speaker button.
This can also be done during a call. Changing
the ringer volume: You can change the ringer
volume using the Volume + / Volume - button.
10. Language settings
Telephone's language setting depends on the
settings in the user profile on
portal-uc.gtsce.com portal. In the left bar
select "Profile", in the basic setting select
"Profile" and then select the preferred
language ("Czech" or "English") and press
OK. The language used on the portal will
change after the new sign on the portal, the
language of the telephone will change after
switching the power supply off and on. The
language setting on portal-uc.gtsce.com
portal has the priority over the language
setting in the telephone's menu.
11. Meet Me Conference
We assume that you have a Meet me
conference created on the
portal-uc.gtsce.com web portal, ie you have a
set access number, you have a conference ID
and possibly a PIN / ID of the moderator. On
your phone, click the Menu button in the
lower right corner of the screen.

Other Yealink IP Phone manuals

Yealink Yealink SIP-T22P User manual

Yealink

Yealink Yealink SIP-T22P User manual

Yealink Yealink SIP-T42G User manual

Yealink

Yealink Yealink SIP-T42G User manual

Yealink W56P Telesystem User manual

Yealink

Yealink W56P Telesystem User manual

Yealink Yealink SIP-T41P User manual

Yealink

Yealink Yealink SIP-T41P User manual

Yealink SIP-T4X Instruction Manual

Yealink

Yealink SIP-T4X Instruction Manual

Yealink Yealink SIP-T46G User manual

Yealink

Yealink Yealink SIP-T46G User manual

Yealink T20 User manual

Yealink

Yealink T20 User manual

Yealink MP56 User manual

Yealink

Yealink MP56 User manual

Yealink SIP-T23G User manual

Yealink

Yealink SIP-T23G User manual

Yealink W53P User manual

Yealink

Yealink W53P User manual

Yealink SIP-T21 E2 User manual

Yealink

Yealink SIP-T21 E2 User manual

Yealink T46G Skype For Business Edition User manual

Yealink

Yealink T46G Skype For Business Edition User manual

Yealink T4 series User manual

Yealink

Yealink T4 series User manual

Yealink T32G User manual

Yealink

Yealink T32G User manual

Yealink Telkom W52P User manual

Yealink

Yealink Telkom W52P User manual

Yealink T48G User manual

Yealink

Yealink T48G User manual

Yealink VP530 User manual

Yealink

Yealink VP530 User manual

Yealink TR-069 User manual

Yealink

Yealink TR-069 User manual

Yealink Yealink SIP-T42G User manual

Yealink

Yealink Yealink SIP-T42G User manual

Yealink Yealink SIP-T41P User manual

Yealink

Yealink Yealink SIP-T41P User manual

Yealink Yealink SIP-T41P User manual

Yealink

Yealink Yealink SIP-T41P User manual

Yealink T48G User manual

Yealink

Yealink T48G User manual

Yealink T48G User manual

Yealink

Yealink T48G User manual

Yealink MP54 User manual

Yealink

Yealink MP54 User manual

Popular IP Phone manuals by other brands

Aastra Ascotel IntelliGate Office 35 user guide

Aastra

Aastra Ascotel IntelliGate Office 35 user guide

THOMSON ST 2030 SIP Administrator's guide

THOMSON

THOMSON ST 2030 SIP Administrator's guide

Cisco Linksys WIP310 user guide

Cisco

Cisco Linksys WIP310 user guide

ACN IRIS 3000 user manual

ACN

ACN IRIS 3000 user manual

Grandstream Networks DP750 user guide

Grandstream Networks

Grandstream Networks DP750 user guide

Avaya IP Office 4601 Quick reference guide

Avaya

Avaya IP Office 4601 Quick reference guide

Patton SL4050/B12/E quick start guide

Patton

Patton SL4050/B12/E quick start guide

Cisco 7941G - Unified IP Phone VoIP user guide

Cisco

Cisco 7941G - Unified IP Phone VoIP user guide

Grandstream Networks GRP2636 Quick installation guide

Grandstream Networks

Grandstream Networks GRP2636 Quick installation guide

Avaya IP Office 9640 Quick reference guide

Avaya

Avaya IP Office 9640 Quick reference guide

Akuvox VP-R47P user manual

Akuvox

Akuvox VP-R47P user manual

AudioCodes 450HD quick guide

AudioCodes

AudioCodes 450HD quick guide

Allnet ALL7950 Quick user guide

Allnet

Allnet ALL7950 Quick user guide

Mitel 6865i quick start guide

Mitel

Mitel 6865i quick start guide

Grandstream Networks GXV324 Resident User Guide

Grandstream Networks

Grandstream Networks GXV324 Resident User Guide

Panasonic KX-TGP500 manual

Panasonic

Panasonic KX-TGP500 manual

Crexendo CX275 quick start guide

Crexendo

Crexendo CX275 quick start guide

D-Link DPH-850S user manual

D-Link

D-Link DPH-850S user manual

manuals.online logo
manuals.online logoBrands
  • About & Mission
  • Contact us
  • Privacy Policy
  • Terms and Conditions

Copyright 2025 Manuals.Online. All Rights Reserved.