manuals.online logo
Brands
  1. Home
  2. •
  3. Brands
  4. •
  5. YitaHome
  6. •
  7. Outdoor Furnishing
  8. •
  9. YitaHome FTPLCG-0214 User manual

YitaHome FTPLCG-0214 User manual

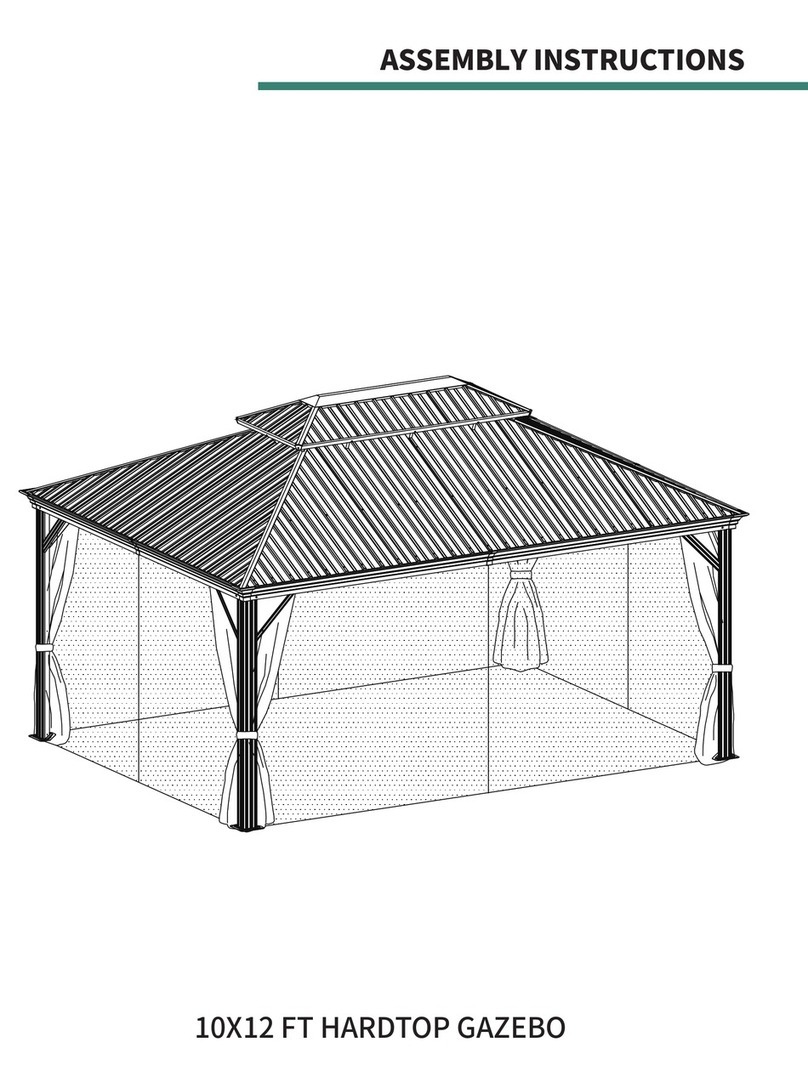
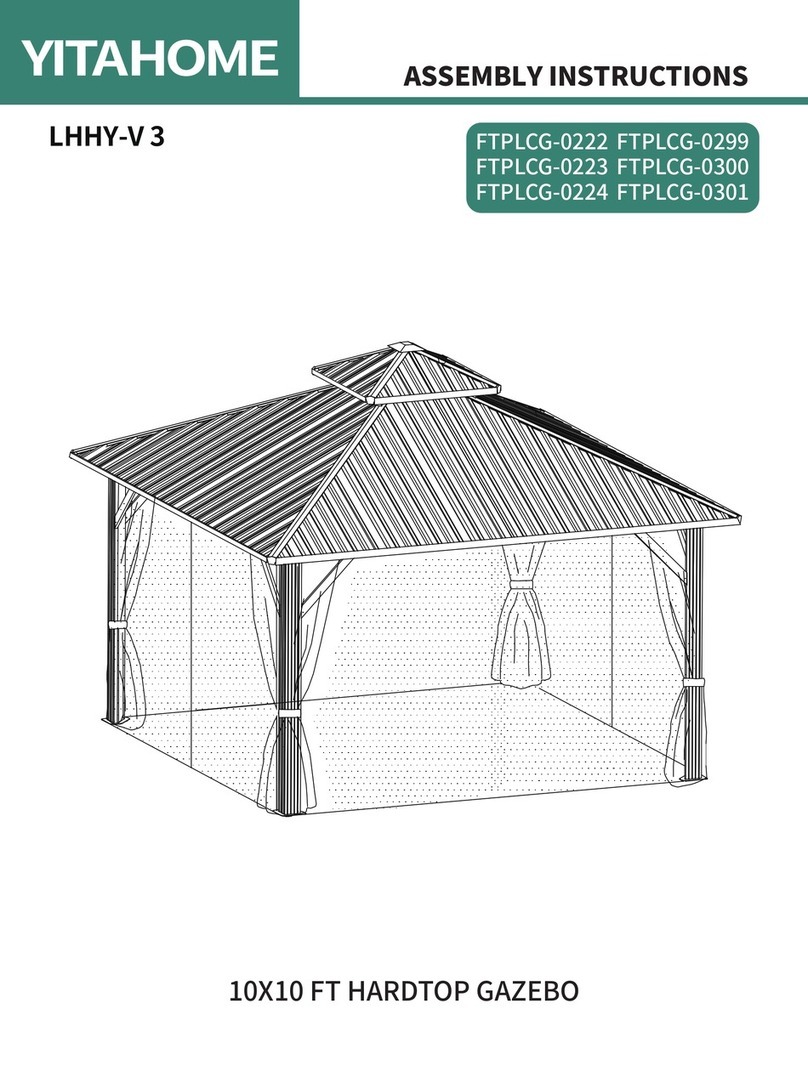
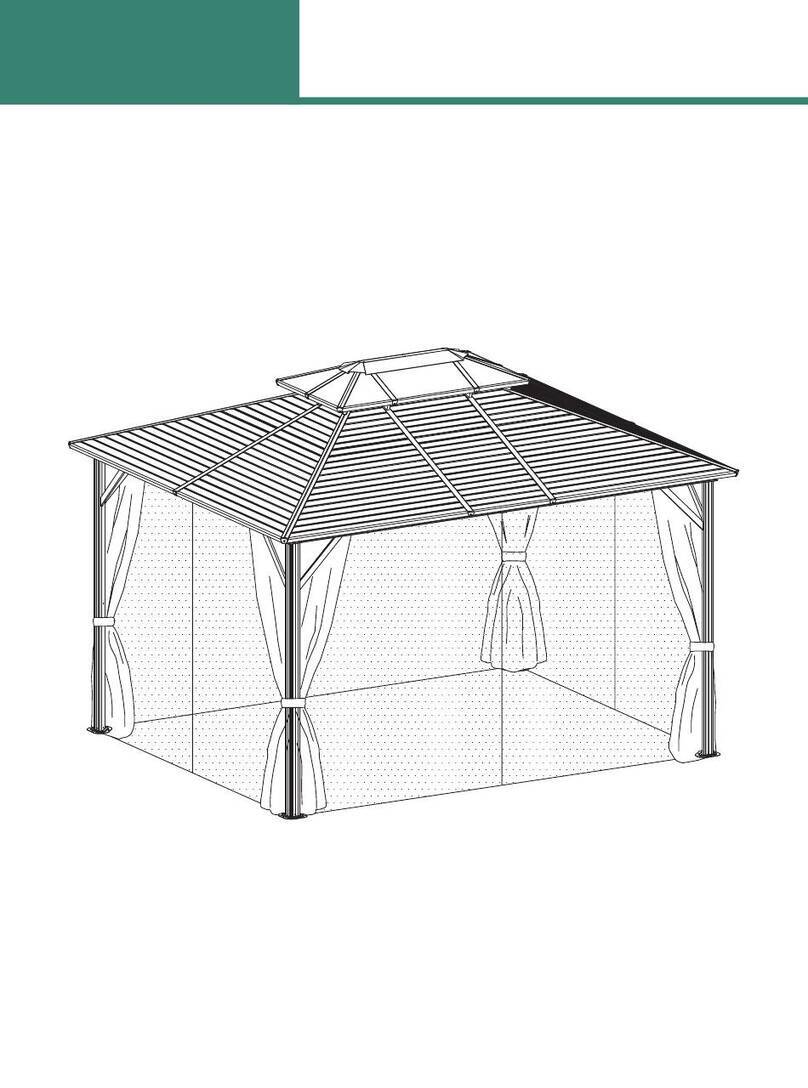
ASSEMBLY INSTRUCTIONS
12X16 FT HARDTOP GAZEBO
FTPLCG-0234
FTPLCG-0235
FTPLCG-0236
FTPLCG-0237
FTPLCG-0238
FTPLCG-0214
FTPLCG-0215
FTPLCG-0216
FTPLCG-0217
FTPLCG-0218
TZBTCS-V1
WARNING
1. Must use ground nails, ropes, and expansions screws for
whichever ground you install on for stability to avoid devastat-
ing injuries for people inside or nearby and property damage
caused by a collapsing gazebo.
2. Do not use this gazebo in high winds, heavy snow, or inclem-
ent weather. It is not designed to withstand strong gusts of wind,
heavy snow accumulation, or other inclement weather. Must
take precautions when the wind speed exceeds 25Mph, and
clear snow when it accumulates more than 2 inches.
3. Before use, thoroughly inspect the gazebo to make sure all
bolts, nuts, and buckles have been completely tightened and
securely fastened.
4. Warranty does not cover damages, losses, or injuries resulting
from improper installation, misuse, not using stability accesso-
ries mentioned above, non snow cleaning, failure to take pre-
cautionary measures, etc.
ASSEMBLY INSTRUCTIONS
1
A
B
B1
C
C1
X4
X2
X2
X2
X2
D1
D2
X2
X2
Item no. Reference Image Qty.
EX4
Ea X4
E1 X4
E2 X4
1. Two or more people are required for assembly.
2. A ladder and electric drill may be necessary.
3. Do not erect the structure in heavy winds or inclement weather.
4. Do not leave up this unit for extended periods of time, as it is not a
permanent structure or designed to withstand sustained wind or rain.
It is a temporary, portable shelter that shields you from sunlight and rain.
The screens also block flying insects.
5. Do not use candles, matches, or any open flames near the tent.
6. To better align the screws for practical situations, do not fully tighten
screws initially.
7.Professional installation is highly recommended.
ASSEMBLY INSTRUCTIONS
2
F2 X2
F3 X2
F1 X2
FX4
F4 X2
G2 X2
G3 X2
G1 X2
G4 X2
G6 X2
H1 X4
G5 X2
Item no. Reference Image Qty.
H2 X4
HX4
Q3 X2
Q4 X2
R1 X2
K1 X4
LX1
KX4
MX1
N1 X4
NX12
Q1 X2
Q2 X2
PX4
Pa X4
Item no. Reference Image Qty.
ASSEMBLY INSTRUCTIONS
3
JX4
R2 X2
R3 X2
R4 X2
R5 X2
R6 X2
Sa X2
S1 X2
X2
SX2
S2
X2
S3
T1
UX128
TX4
Item no. Reference Image Qty.
ASSEMBLY INSTRUCTIONS
4
X4+X1
+
ST4.8X12mm
M6X42mm
VX4
YX128
Z1 X12
Item no. Reference Image Qty.
ASSEMBLY INSTRUCTIONS
5
4
5
6
10
X24
X3
X36
X12
X1
M6X15mm
M6X23mm
M5X12mm
1
2
3
X184
X8+X84
X36
11 X12
ZX72
ASSEMBLY INSTRUCTIONS
6
4pcs
A4pcs
J12pcs
1
1
X4
1
1
1
A
A
J
J
ASSEMBLY INSTRUCTIONS
7
2pcs
B2pcs
B1 2pcs
P20pcs
1
2
X2
B
B
B
B1
B1
B1
P
P
1
1
1
When connecting B and B1 via P, make sure that 3 holes on part P
(as shown in the picture) should be facing upwards. Do not install it upside down.
1
2
ASSEMBLY INSTRUCTIONS
8
2pcs
C2pcs
C1 2pcs
P20pcs
1
3
X2
C
C
C
C1
C1
C1
P
1
1
1
When connecting C and C1 via P, make sure that 3 holes on part P
(as shown in the picture) should be facing upwards. Do not install it upside down.
1
2
P
ASSEMBLY INSTRUCTIONS
9
432pcs
1
C
B
C
C
B
C1
B1
C1
B1
B1
A
A
A
A
1
1
ASSEMBLY INSTRUCTIONS
10
4pcs
H1 32pcs
3
4pcs
H2
H2
H2
H2
C
B
C
B
C1
B1
C1
B1
A
A
A
A
A
5
H1
H1
H1
33
H1
H1
H2
H2
ASSEMBLY INSTRUCTIONS
11
4pcs
H8pcs
1
C
B
C
B
C1
B1
C1
B1
A
A
A
A
A
6
H
H
H
H
11
H
ASSEMBLY INSTRUCTIONS
12
4pcs
K128pcs
U4pcs
V
4pcs
K1 24pcs
4
4pcs
3
3
4
44
1
2
7
B1
B1
X7 X7 X7
X7
U
K
K1
V
B
B
3
3
C1
X9 X9 X9
X9
U
V
C
C
B
C
B
C1
B1
C1
B1
A
A
A
A
ASSEMBLY INSTRUCTIONS
13
4pcs
E1pc
L
4pcs
Ea 28pcs14pcsPa
8
E
E
Ea
Ea Pa E
E
E
E
E
E
E
L
LE
E
1
1
1
1
2
1
3
A
Ea
Ea
Ea
ASSEMBLY INSTRUCTIONS
14
4pcs
E1 4pcs
E2 16pcs1
E1 E1
E2
E2
E2
E2
E1
E1
E2
E2
L
E1
E1
9
E
E
E
E
E
E
1
1
ASSEMBLY INSTRUCTIONS
15
1pc
M3pcs
5
M
10
5
5
5
L
ASSEMBLY INSTRUCTIONS
16
11 4pcsN2pcsG5 2pcsG6 12pcs
1
G6
G5
G5
G6
G6
E
N
G5
G5
G6
1
1
1
ASSEMBLY INSTRUCTIONS
17
36pcs
Z8pcs
Z1
2pcs
Q1 2pcs
Q2 2pcs
Q3 2pcs
Q4 2pcs
S2pcs
Sa
Attach Z and Z1 by lightly tapping with a screwdriver.
ZZ
12
X2
or or
Z1
Z1
Z1
Z1 Z1
Z1
S
Sa
Z
Z
Z
Z
Z
Z
Q1
Q2
Q3
Q4
ASSEMBLY INSTRUCTIONS
18
Z1
Z1
ZZ
Z
Z
Z
Z
R5
R6
R1
R2
S1
S3
S2
R3
R4
36pcs
Z4pcs
Z1
2pcs
R1 2pcs
R2 2pcs
R3 2pcs
R4 2pcs
R5 2pcs
R6 2pcs
S1 2pcs
S2 2pcs
S3
13
X2
Attach Z and Z1 by lightly tapping with a screwdriver.
ZZ
or or
Z1
Z1

This manual suits for next models

9

Other YitaHome Outdoor Furnishing manuals
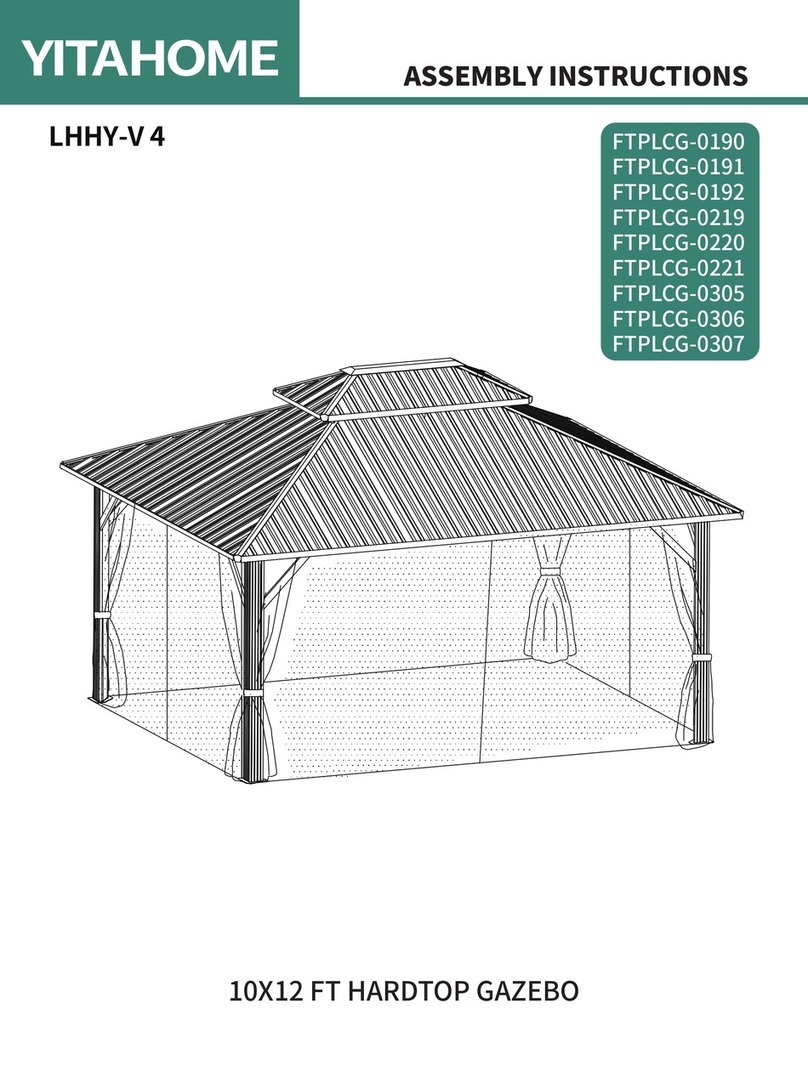
YitaHome FTPLDB-5001 User manual

YitaHome

YitaHome FTPLDB-5001 User manual

YitaHome YSS-V 2 User manual

YitaHome

YitaHome YSS-V 2 User manual

YitaHome Pure & Easy FTPLPB-K07-TZC-02 User manual

YitaHome

YitaHome Pure & Easy FTPLPB-K07-TZC-02 User manual

YitaHome FTPLCG-0222 User manual

YitaHome

YitaHome FTPLCG-0222 User manual

YitaHome LHHY-V 2 User manual

YitaHome

YitaHome LHHY-V 2 User manual

YitaHome YSS-V 1 User manual

YitaHome

YitaHome YSS-V 1 User manual

YitaHome SHFTPLCG0141-3 User manual

YitaHome

YitaHome SHFTPLCG0141-3 User manual

YitaHome FTPLCG-0193 User manual

YitaHome

YitaHome FTPLCG-0193 User manual

YitaHome FTPLCG-0302 User manual

YitaHome

YitaHome FTPLCG-0302 User manual

YitaHome FTPLCG-0271 User manual

YitaHome

YitaHome FTPLCG-0271 User manual

YitaHome LHHY-V 4 User manual

YitaHome

YitaHome LHHY-V 4 User manual

YitaHome LHHY-V 1 User manual

YitaHome

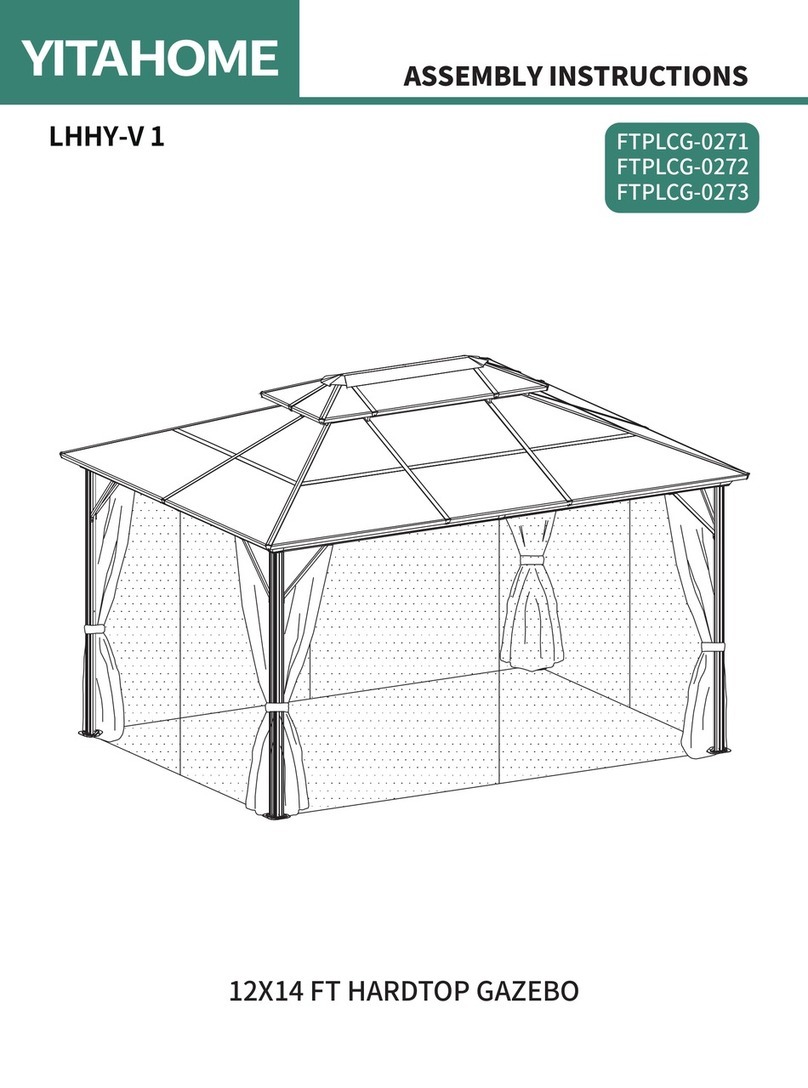
YitaHome LHHY-V 1 User manual

YitaHome FTPLCG-0229 User manual

YitaHome

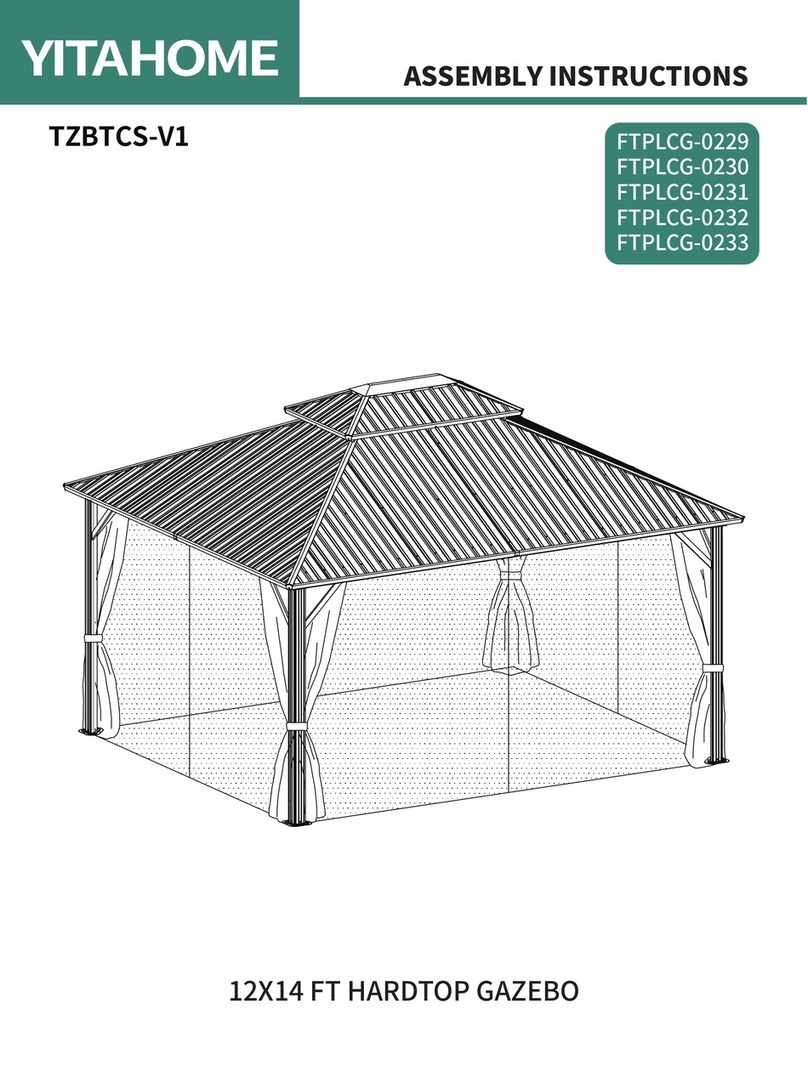
YitaHome FTPLCG-0229 User manual

Popular Outdoor Furnishing manuals by other brands

Garden Trading St Mawes Drinks/Planter Bar Table Assembly instructions

Garden Trading

Garden Trading St Mawes Drinks/Planter Bar Table Assembly instructions

Forever Redwood TI AMO BENCHES Assembly instructions

Forever Redwood

Forever Redwood TI AMO BENCHES Assembly instructions

Canada Docks STANDING DOCK WHEEL KIT manual

Canada Docks

Canada Docks STANDING DOCK WHEEL KIT manual

Courtyard Creations KVS824N Assembly instructions

Courtyard Creations

Courtyard Creations KVS824N Assembly instructions

LuxCraft Crestville CV-4CPS quick start guide

LuxCraft

LuxCraft Crestville CV-4CPS quick start guide

Hanover Traditions TRADDN5PCSWG-BLU manual

Hanover

Hanover Traditions TRADDN5PCSWG-BLU manual

real living Valencia GB23-001-1 Assembly instructions

real living

real living Valencia GB23-001-1 Assembly instructions

Alice's Garden GAIA AFTXDECKX2 manual

Alice's Garden

Alice's Garden GAIA AFTXDECKX2 manual

Goodiy 502368042 instruction manual

Goodiy

Goodiy 502368042 instruction manual

Patio Post CS62671 Assembly instruction

Patio Post

Patio Post CS62671 Assembly instruction

modway EEI-4223 manual

modway

modway EEI-4223 manual

Courtyard Creations RUS487W-WM Assembly instructions

Courtyard Creations

Courtyard Creations RUS487W-WM Assembly instructions

Flash Furniture JJ-C14501-BLU-GG Assembly instructions

Flash Furniture

Flash Furniture JJ-C14501-BLU-GG Assembly instructions

Stryker T-Tops SG600 Installation guide & owner's manual

Stryker T-Tops

Stryker T-Tops SG600 Installation guide & owner's manual

Sunjoy L-GZ472PST-ICL Assembly instructions

Sunjoy

Sunjoy L-GZ472PST-ICL Assembly instructions

Hanover Traditions TRADDN9PCBRSQG-SU-B manual

Hanover

Hanover Traditions TRADDN9PCBRSQG-SU-B manual

vita CLASSIC SPRINGPORT ARBOR VA68146 Assembly guide

vita

vita CLASSIC SPRINGPORT ARBOR VA68146 Assembly guide

Hanover Mod Skylar SKY3PC-GRY Assembly instructions

Hanover

Hanover Mod Skylar SKY3PC-GRY Assembly instructions

manuals.online logo
manuals.online logoBrands
  • About & Mission
  • Contact us
  • Privacy Policy
  • Terms and Conditions

Copyright 2025 Manuals.Online. All Rights Reserved.