manuals.online logo
Brands
  1. Home
  2. •
  3. Brands
  4. •
  5. YitaHome
  6. •
  7. Outdoor Furnishing
  8. •
  9. YitaHome LHHY-V 2 User manual

YitaHome LHHY-V 2 User manual

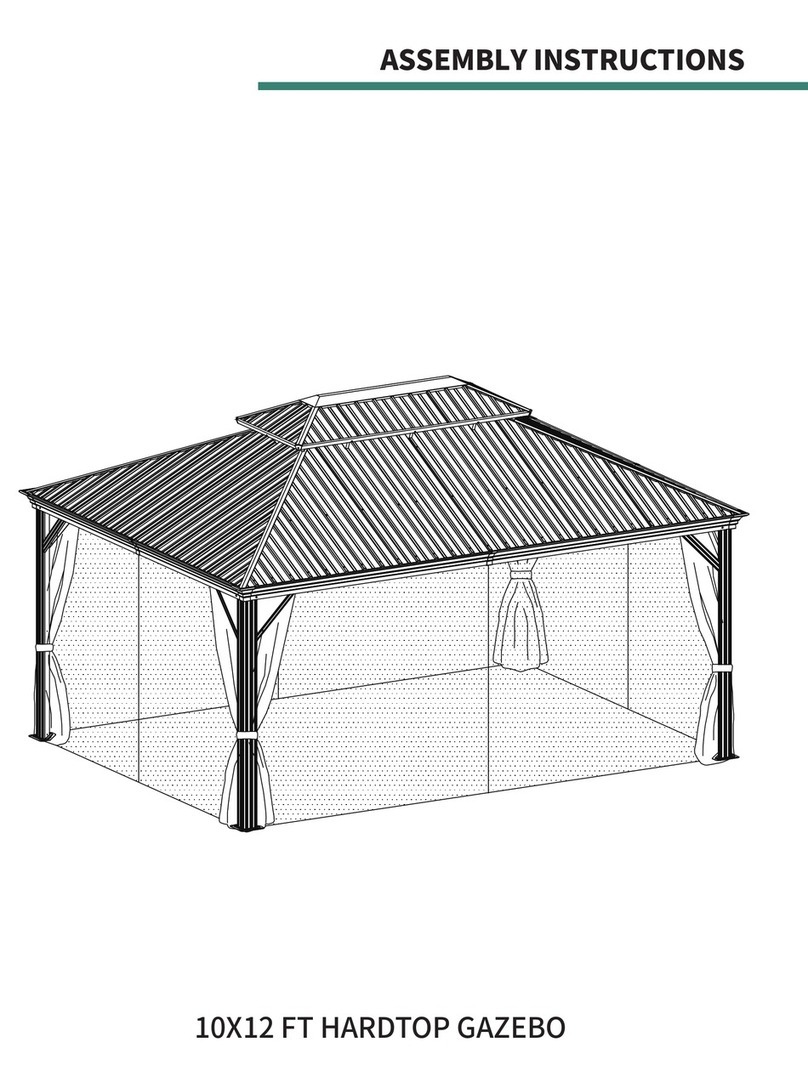
ASSEMBLY INSTRUCTIONS
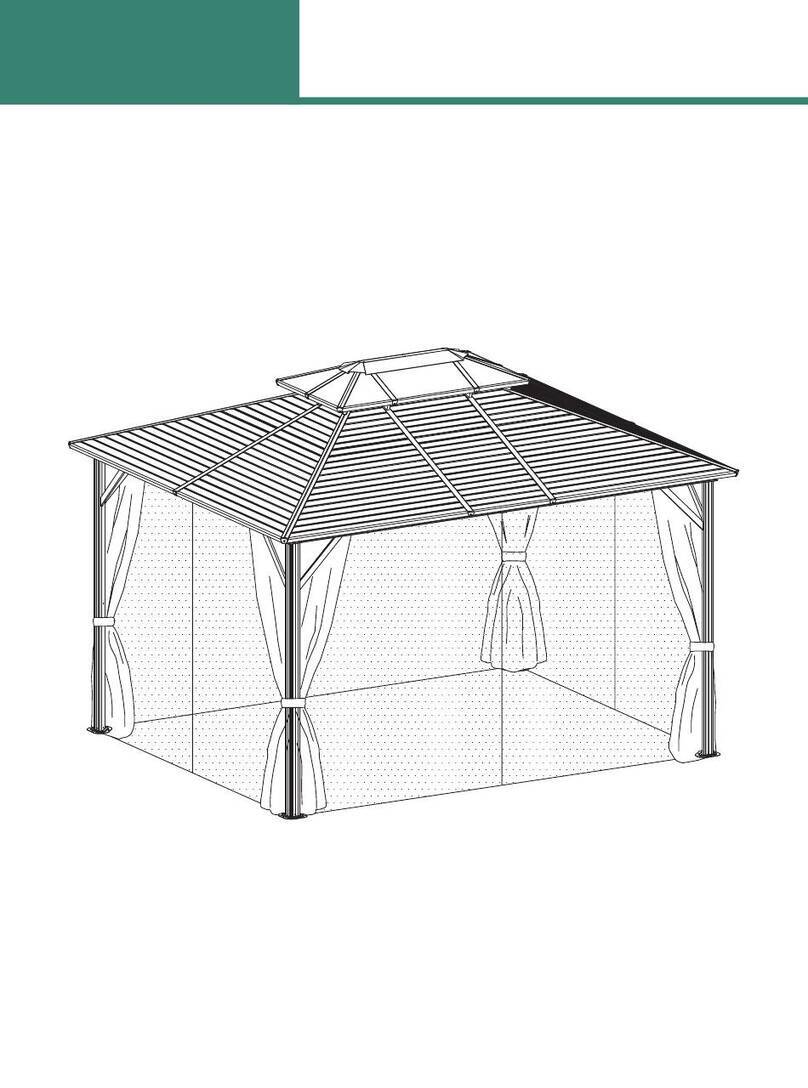
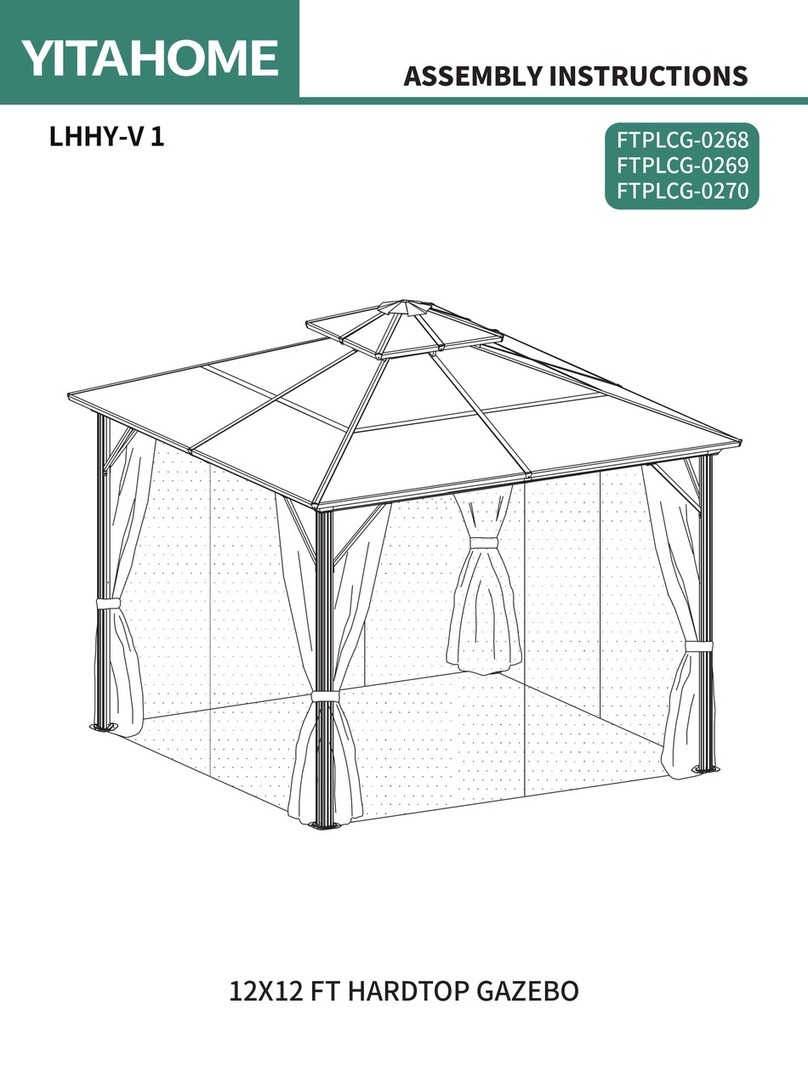
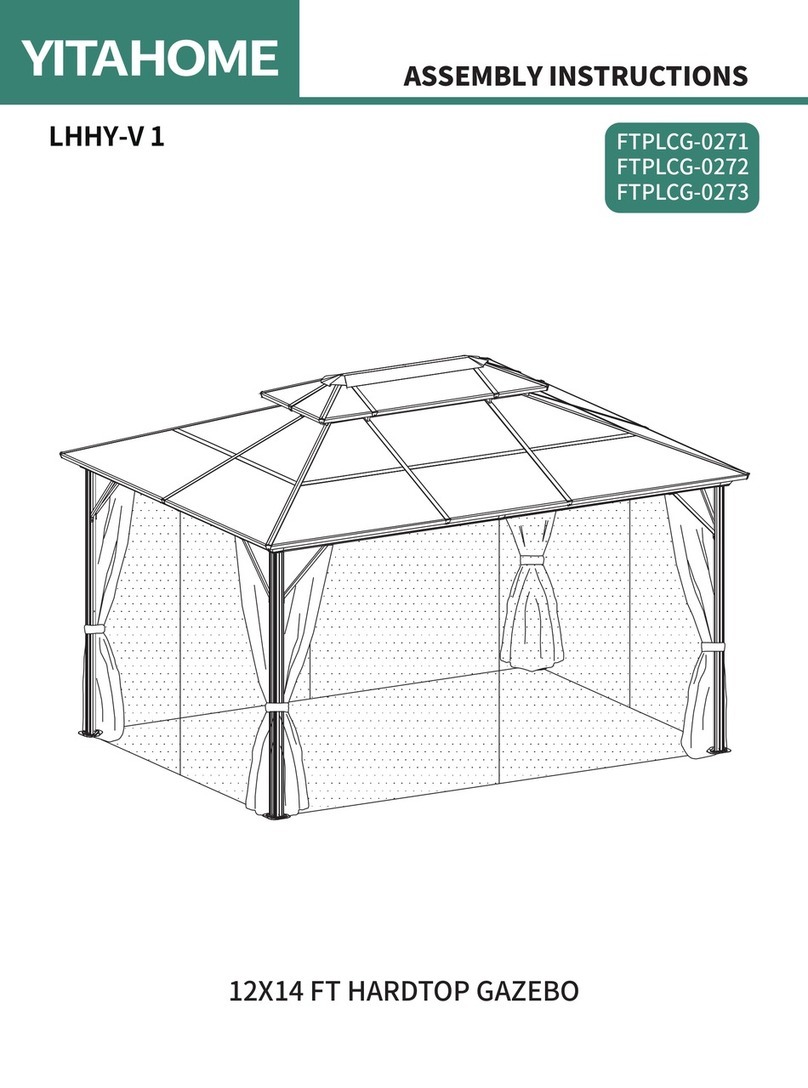
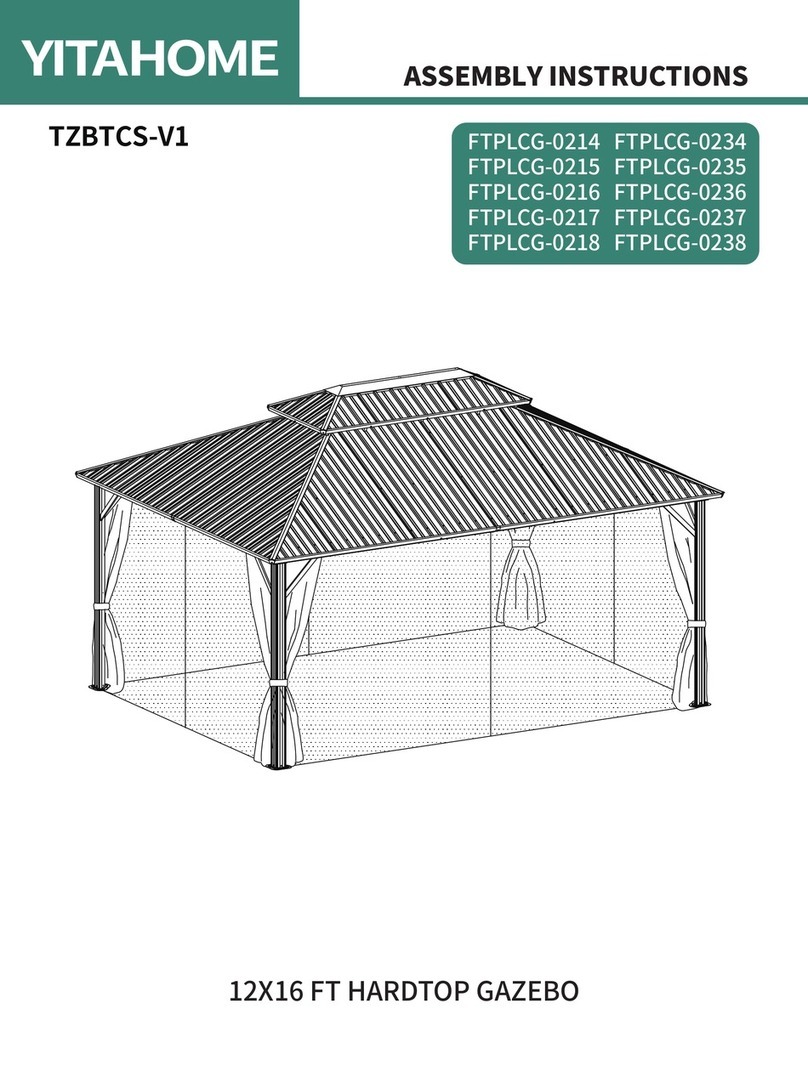
12X20 FT HARDTOP GAZEBO
FTPLCG-0144
FTPLCG-0145
FTPLCG-0146
FTPLCG-0147
FTPLCG-0148
LHHY-V 2
WARNING
1. Must use ground nails, ropes, and expansions screws for
whichever ground you install on for stability to avoid devastat-
ing injuries for people inside or nearby and property damage
caused by a collapsing gazebo.
2. Do not use this gazebo in high winds, heavy snow, or inclem-
ent weather. It is not designed to withstand strong gusts of wind,
heavy snow accumulation, or other inclement weather. Must
take precautions when the wind speed exceeds 25Mph, and
clear snow when it accumulates more than 2 inches.
3. Before use, thoroughly inspect the gazebo to make sure all
bolts, nuts, and buckles have been completely tightened and
securely fastened.
4. Warranty does not cover damages, losses, or injuries resulting
from improper installation, misuse, not using stability accesso-
ries mentioned above, non snow cleaning, failure to take pre-
cautionary measures, etc.
ASSEMBLY INSTRUCTIONS
1
A
A1
B
B1
B2
C
C1
C3
C2
X4
X2
X4
X4
X2
X4
X4
X2
X2
DX2
D1 X2
D2 X2
D3 X2
Item no. Reference Image Qty.
1. Two or more people are required for assembly.
2. A ladder and electric drill may be necessary.
3. Do not erect the structure in heavy winds or inclement weather.
4. Do not leave up this unit for extended periods of time, as it is not a
permanent structure or designed to withstand sustained wind or rain.
It is a temporary, portable shelter that shields you from sunlight and rain.
The screens also block flying insects.
5. Do not use candles, matches, or any open flames near the tent.
6. To better align the screws for practical situations, do not fully tighten
screws initially.
7.Professional installation is highly recommended.
EX4
E1 X2
E2 X4
E3 X2
D4 X2
D5 X2
ASSEMBLY INSTRUCTIONS
2
F1
F2
G1
FX4
X2
G2 X2
G3 X2
G4 X2
G5 X2
G6 X2
HX4
X4
X4
Item no. Reference Image Qty.
ASSEMBLY INSTRUCTIONS
3
J1 X2
KX4
K1 X6
LX1
H1 X4
JX4
N
N1
P
MX1
X6
Q2 X2
Q1 X2
Q3 X2
Q4 X2
Q5 X2
Q6 X2
X8
X2
Item no. Reference Image Qty.
ASSEMBLY INSTRUCTIONS
4
R1 X2
R2 X2
R3 X2
R4 X2
Q7 X2
Q8 X2
R6
R7
R8
R5 X2
X2
R10
X2
R9 X2
R11
X2
R12
X2
SX2
Sa X2
X2
X2
Item no. Reference Image Qty.
S2
T
T1
U
V
W
W1
Y
Z
Z1
S1 X2
X2
S3 X8
S4 X2
S5 X2
X4+X2
X4+X2
X152
X6
X4
X160
X8
X72
X16
ASSEMBLY INSTRUCTIONS
5
Item no. Qty.
Reference Image
ASSEMBLY INSTRUCTIONS
6
M6X42mm
ST4.8X12mm
M6X23mm
M6X47mm
M6X10mm
M6X15mm
M6X15mm
M6X25mm
Item no.Reference Image Qty.Item no.Reference Image Qty.
V1 X2
V2 X2
V3 X2
X330
1
X100
2
X7
3
X28
4
X2
5
X8
6
X48
7
X16
8
X12
9
X18
10
11
12
X1
X1
13 X1
14 X1
15 X18
1
1
1
ASSEMBLY INSTRUCTIONS
7
4pcs
A4pcs
J12pcs
1
1
X4
A
A
J
J
ASSEMBLY INSTRUCTIONS
8
2pcs
B2pcs
B1 2pcs
P8pcs
1
2
X2
B
B
B1
B1
P
P
11
11
When connecting B and B1 via P, make sure that 3 holes on part P
(as shown in the picture) should be facing upwards. Do not install it upside down.
ASSEMBLY INSTRUCTIONS
9
2pcs
C2pcs
C1 20pcs
1
3
X2
B
B
B1
B1
1
1
1
1
1
1
1
1
1
1
1
1
C
C
C1
C1
ASSEMBLY INSTRUCTIONS
10
4
X2
B
B1
1
1
1
1
1
1
1
1
1
1
1
1
1
1
2pcs
D2pcs
D1 24pcs1
B
B1
D1
D1
D
D
ASSEMBLY INSTRUCTIONS
11
2pcs
B2pcs
B1 2pcs
B2 4pcs
P
5
X2
1
1
1
1
16pcs
1
B
B2
B2
B1
B1
P
P
P
When connecting B1 and B2 via P, B2 and B via P, make sure that 3 holes on part P
(as shown in the picture) should be facing upwards. Do not install it upside down.
1
1
1
1
B
B2 P
ASSEMBLY INSTRUCTIONS
12
1
1
1
B
B2
B2
B2
B1
B1
B
1
1
1
1
2pcs
C2pcs
C1 2pcs
C2 2pcs
C3 36pcs1
C1
C3
C2
C
6
X2
C1
C3
C2
C
ASSEMBLY INSTRUCTIONS
13
2pcsD2 2pcsD3 2pcsD4 2pcsD5
7
X2 44pcs
1
D5
D5
D3
D3
D4
D2
D2
B
B
B2
B2
B2
B1
B1
D4
1
1
1
1
1
1
1
1
A
A
A
A
A
A
B
B
B1
B1
B1
B1
B
B
B
B
B2
B2
B1
B1
ASSEMBLY INSTRUCTIONS
14
816pcs
116pcs
8
1 1
1 1
88
A
B
B
B
B
B
B1
B1
B1
B1T
B1
ASSEMBLY INSTRUCTIONS
15
9
1
11
1
4pcsH4pcsH1 32pcs
1
H1
H
H1
H1
H1
H
H
H1
H
H
11
1 1
B2
B2
B
B
B
B
B
B1
B1
B1
B1
B1
ASSEMBLY INSTRUCTIONS
16
10 4pcs
K16pcs
4
K
K
K
K
K
4
4
4
B2
B2
B
B
B
B1
B1
B1
B
B
B2
B1
B1
B1
X7 X8 X8 X4
X7 X7X7
ASSEMBLY INSTRUCTIONS
17
11 152pcs
U
When sliding 8 x hook U onto each rail of parts B &B1&B2, they should face inward.
The same for sliding 7 x hook U on rails of parts B and B1.
X4
U
B
B2
X4 X4 X8 X8
U
U
B2
B2
B
B
B1
B1
B2
B2
B3
B3
ASSEMBLY INSTRUCTIONS
18
12pcs
4
6pcs
1
6pcs
K1 6pcsV
12
1
K1
K1
K1
4
123
V
E2
E2

This manual suits for next models

5

Other YitaHome Outdoor Furnishing manuals
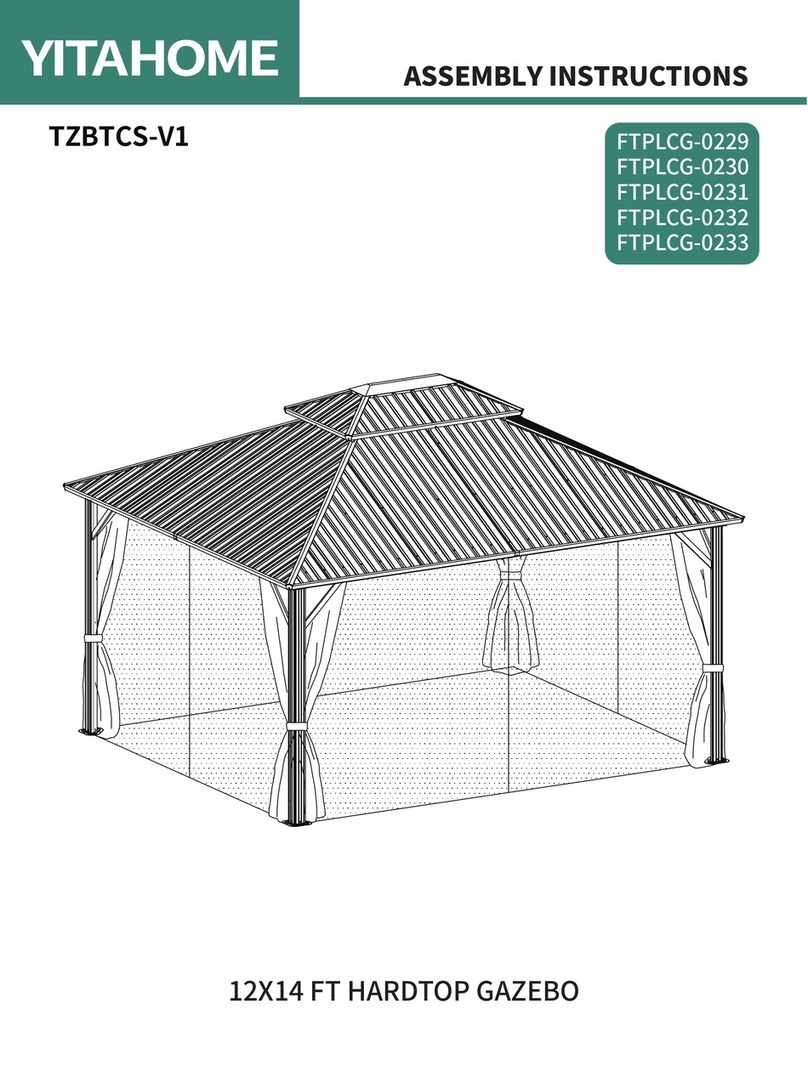
YitaHome YSS-V 2 User manual

YitaHome

YitaHome YSS-V 2 User manual

YitaHome LHHY-V 4 User manual

YitaHome

YitaHome LHHY-V 4 User manual

YitaHome FTPLCG-0214 User manual

YitaHome

YitaHome FTPLCG-0214 User manual

YitaHome FTPLCG-0222 User manual

YitaHome

YitaHome FTPLCG-0222 User manual

YitaHome YSS-V 1 User manual

YitaHome

YitaHome YSS-V 1 User manual

YitaHome FTPLCG-0271 User manual

YitaHome

YitaHome FTPLCG-0271 User manual

YitaHome SHFTPLCG0141-3 User manual

YitaHome

YitaHome SHFTPLCG0141-3 User manual

YitaHome FTPLDB-5001 User manual

YitaHome

YitaHome FTPLDB-5001 User manual

YitaHome Pure & Easy FTPLPB-K07-TZC-02 User manual

YitaHome

YitaHome Pure & Easy FTPLPB-K07-TZC-02 User manual

YitaHome LHHY-V 1 User manual

YitaHome

YitaHome LHHY-V 1 User manual

YitaHome FTPLCG-0302 User manual

YitaHome

YitaHome FTPLCG-0302 User manual

YitaHome FTPLCG-0193 User manual

YitaHome

YitaHome FTPLCG-0193 User manual

YitaHome FTPLCG-0229 User manual

YitaHome

YitaHome FTPLCG-0229 User manual
Popular Outdoor Furnishing manuals by other brands

OWT Project 342 manual

OWT

OWT Project 342 manual

Courtyard 187019 quick start guide

Courtyard

Courtyard 187019 quick start guide

leco Profi Pavillion manual

leco

leco Profi Pavillion manual

LuxCraft Poly Serving Bar Assembly instructions

LuxCraft

LuxCraft Poly Serving Bar Assembly instructions

Pacific Casual 5LGZ0702V2NN Assembly instructions

Pacific Casual

Pacific Casual 5LGZ0702V2NN Assembly instructions

L.L.Bean ADIRONDACK GLIDER Assembly instructions

L.L.Bean

L.L.Bean ADIRONDACK GLIDER Assembly instructions

Costway HW66422 user manual

Costway

Costway HW66422 user manual

Winsol So! Mounting instructions

Winsol

Winsol So! Mounting instructions

TREEPOD STAND instruction manual

TREEPOD

TREEPOD STAND instruction manual

vipp VIPP714 quick start guide

vipp

vipp VIPP714 quick start guide

Canaan CAL-810 Assembly instruction

Canaan

Canaan CAL-810 Assembly instruction

YOTRIO FSS60586CLST Assembly instructions

YOTRIO

YOTRIO FSS60586CLST Assembly instructions

Palmetto Craft Palmetto Boon Table Assembly instructions

Palmetto Craft

Palmetto Craft Palmetto Boon Table Assembly instructions

Replas LYREBIRD LBS-1800FS Assembly instructions

Replas

Replas LYREBIRD LBS-1800FS Assembly instructions

Essential Garden L-GG076PST Use and care guide

Essential Garden

Essential Garden L-GG076PST Use and care guide

LIGMAN FOR-10051 installation manual

LIGMAN

LIGMAN FOR-10051 installation manual

Outsunny 860-102V70 manual

Outsunny

Outsunny 860-102V70 manual

Alice's Garden TRIOMPHE PGBC3X6 manual

Alice's Garden

Alice's Garden TRIOMPHE PGBC3X6 manual

manuals.online logo
manuals.online logoBrands
  • About & Mission
  • Contact us
  • Privacy Policy
  • Terms and Conditions

Copyright 2025 Manuals.Online. All Rights Reserved.