3IM 77J01P08-01E 5th Edition
●Do not operate the product in the presence of
ammable or explosive gases or vapors. To do so is
highly dangerous.
●The product is sensitive to static electricity;
exercise care in operating it. Before you operate
the product, touch a nearby metal part to discharge
static electricity.
●For 15-30 V DC (±20%) power supply, as a safety
measure, always install a circuit breaker (an IEC
60947-compatible product, 1 A, 30 V DC) in an easily
accessible location near the instrument. Moreover,
provide indication that the switch is a device for
turning o the power to the instrument.
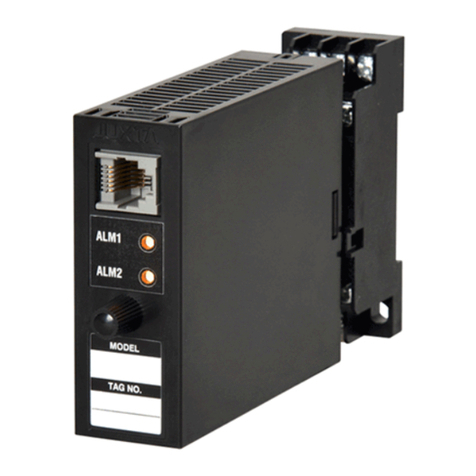
4. DESCRIPTION OF FRONT PANEL
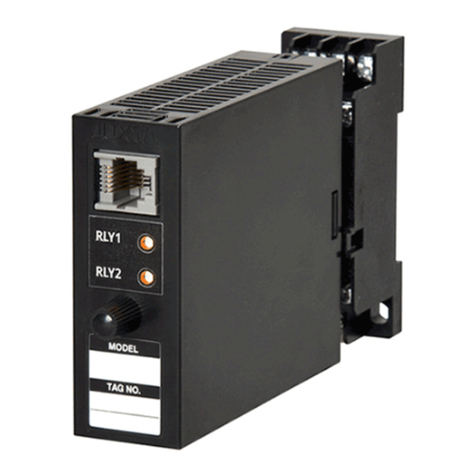
4.1 Front Panel
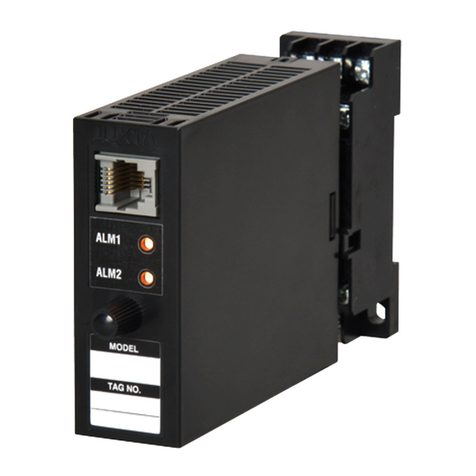
The communications connector in the front panel is used for
setting up parameters through a PC (VJ77 PC-based Parameters
Setting Tool) or the Handy Terminal.
4.2 Connector for Communication
Use the connector for communication when setting the
parameters using a PC (VJ77 Parameters Setting Tool) or the
Handy Terminal.
How to connect with the setting tool
Modular jack conversion
adapter (E9786WH)
[Provided with VJ77]
JHT200
Handy Terminal
JUXTA communication cable
with 5-pin connector (F9182EE)
[Provided with VJ77 and JHT200]
Dedicated adapter (E9789HA)
[Provided with VJ77]
PC which is installed
Dedicated cable (E9786WK)
[Provided with VJ77]
• Use the VJ77 of version R1.04 or later.
• The modular jack conversion adapter does not come with the
JHT200 Handy Terminal. It is sold separately.
5. SETTING PARAMETERS
Set the parameters using a PC (VJ77 Parameter Setting Tool) or
the Handy Terminal. Refer to “6. LIST OF PARAMETERS” in this
manual and the User’s Manual for VJ77 PC-based Parameters
Setting Tool (IM 77J01J77-01E) or the User’s Manual for JHT200
Handy Terminal (IM 77J50H01-01EN). Parameters are indicated
inside the [ ].
5.1 Settings Related to Inputs and Outputs
5.1.1 Input Display Unit
The input display unit is used for referring the input signal.
Select and set "Hz" or "kHz" in [D10: UNIT].
5.1.2 Pulse Rate
Set the pulse rate within the numerically specied range in
[D41: PULSE RATE].
Setting range: 0.0001 to 2.0000(settable up to 4 decimal
places)
When the pulse width type is set to
“THROUGH” (no change), eective range is
0.0001 to 1.0000.
5.1.3 Pulse Width Type
Select and set “THROUGH” or “ON PULSE” in [D42: PULSE
TYPE].
THROUGH: Outputs ON-state pulse time of frequency as
it is.
MANUAL Outputs ON-state pulse time after chang ing it
to the set value.
When the instrument is used as a pulse
signal repeater, set the pulse width type to
“THROUGH”, and the pulse rate to “1.0000”.
5.1.4 Pulse Width Time
The pulse width time is set when the pulse width type is set to
"ON PULSE."
Select and set "12.5µs", "50µs", "100µs", "12.5ms", "30ms",
"50ms", or "100ms" in [D43: PULSE WIDTH].
5.1.5 Input Filter
When the chattering noise is generated in input, the input lter
is used to restrain the inuence.
Select and set "ON" in [D50: INPUT FILTER], then the input
lter for time constant of about 10ms will be connected.
5.2 Settings Related to Communication
Function
Set the following parameters when output-2 is specied
for communication function. For more information on the
communication function, see the Instruction Manual for VJ Series
Communication Function (IM 77J1J11-01E).
5.2.1 Communication Protocol
Set the communication protocol by selecting from among
PCLINK, PC-LINK WITH SUM, MODBUS ASCII, MODBUS
RTU, and LADDER in [F01: PROTOCOL].
5.2.2 Communication Address
Set the address number of the isolator numerically in a range
of 1 to 99 in [F02: ADDRESS].
5.2.3 Baud Rate
Set the baud rate by selecting from among 1200, 2400, 4800,
and 9600 bps in [F03: BAUD RATE].
5.2.4 Parity
Select and set NONE, EVEN, or ODD in [F04: PARITY].
5.2.5 Data Length
Select and set 7 bits or 8 bits in [F05: DATA LEN].
5.2.6 Stop Bit
Select and set 1 bit or 2 bits in [F06: STOP BIT].
5.2.7 Input Decimal Point Position
Number of digits of decimal places (setting of D register
[D0003]) can be set.
Select and set among 0 to 5 digits in [F07: INPUT DEC PT].

