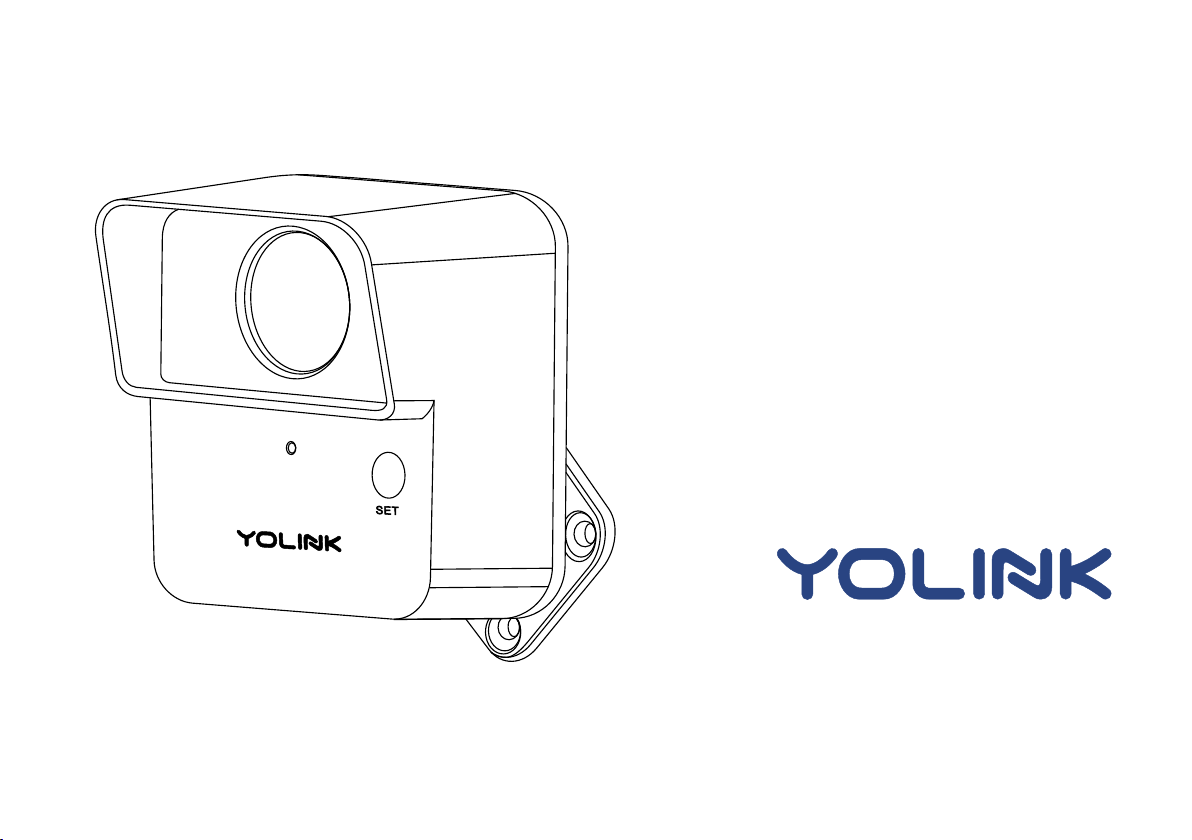
Yolink YS7805-UC Operation manual

Outdoor Moon Sensor
YS7805-UC
Installaon & User Guide
Rev 1.0

Sincerely,
Emily, Clair, James, Eric
Customer Support Team
Thank you for purchasing YoLink products and for entrusng us with your smart home needs!
Your 100% sasfacon is our goal. If you experience any problems with seng up your new
YoLink Outdoor Moon Sensor, please give us a chance to assist you, before returning your
purchase.
We at Customer Support are here for you.If you need any assistance installing , seng up or
using a YoLink product or our app.
Find addional support and ways to reach us at:
www.yosmart.com/support-and-service
Or scan this QR code with your smartphone
Email us, 24/7 at:
service@yosmart.com
Call us, 9AM to 5PM Pacific Standard Time at:
(949) 825-5958
You may chat with us on Facebook (non-urgent maers):
www.facebook.com/YoLinkbyYoSmart

Contents
A.
B .
C .
D.
E .
F .
G.
H.
I .
J .
K .
In the Box ······· ····· · ·· · ··1······················ ····· ···················································· · ·
·Introducon ······························································································ 2
Set Up ····································································································· · 4· ·
Installaon ······························································································ · 6· ·
Using the YoLink App ·················································································13
YoLink Control ···························································································19
Maintenance ······················································································· ····23·
Specificaons ····················································································· ·····26·
Troubleshoong ················································································· ·····28·
Warning ······························································································ ····29·
Customer Service & Warranty ······························································· ····31·
Revised: 06/30/2021
Copyright 2021 YoSmart Inc. All rights reserved©

1
A. In the Box
A. Outdoor Motion Sensor
B. Wall Screws (M4, 4)
C. Quick Start Guide
C.
B.
A.

2
B. Introducon
The Outdoor Moon Sensor can be used to detect moon in an area*, and based on the presence
or absence of moon it can trigger acons by other devices. Acons may include turning on
and/or turning off a light, acvang a siren and/or sending a noficaon via the YoLink app.
When moon is detected, the LED will blink red once, and noficaons will be sent to you via
the YoLink app. Available noficaon types are: email, SMS/text*, and banner ("push")
noficaons on your Apple or Android smartphone, each configurable in app sengs.
*Applicaons include but are not limited to: for detecon of trespassers/intruders on
property, driveway (for visitor alert and floodlight acvaon), swimming pool area (pool safety
& security), in or on any detached building, other locaons outside of environmental
limitaons of the (indoor) Moon Sensor
Baery Compartment
Includes two AA
non-rechargeable baeries
Mounng Plate
Axis
Adjust the sensor posion
for opmal detecon area
SET Buon
Status LED
Detecon
Window

The LED light indicates the current status of the Outdoor Moon Sensor:
3
Blinking Red Once, then Green Once
Device turned on
Blinking Green
Connecng to Cloud
Slow Blinking Green
Updang
Blinking Red And Green Alternately
Restoring to Factory Defaults
Fast Blinking Green
Establishing Connecon with YoLink System (YoLink Control)
Fast Blinking Red
Removing Connecon to YoLink System (YoLink Control)
Blinking Red Once
Device alerts or device is connected to the cloud and is funconing normally
Fast Red Every 30 Seconds Blinking
Baeries are low; please replace the baeries (see page 25)

C. Set Up
C-1. Set Up - First-Time YoLink Users (Exisng users proceed to C-2. Add Device, next page)
The YoLink Hub is required to
set up your Outdoor Moon
Sensor. Please set up your
Yo L i n k H u b fi r s t ( r e fe r to
YoLink Hub manual)
3
Power
Adapter
YoLink Hub
Log in to the YoLink app
2
Create a new account if
required
Download the YoLink app through
Apple App Store or Google Play
Store (Search in the store or use
the QR code on the right)
1
Apple iPhone or tablet that is iOS 9.0
or higher, or an Android phone or
tablet that is Android 4.4 or higher
YS1603-UC
User Guide
2. Ethernet patch cable (included) to
your network (router, switch, etc.),
recommended. Otherwise connect
your Hub to your home 2.4 GHz Wi-Fi
network (only when necessary).
Refer to the Hub set up manual for
more informaon:
1. Make sure your Hub is connected
to the internet (green LED indicator is
blinking, blue LED indicator is always
on)
4

C-2. Add Device
Ta p “ ” b u o n , t h e n s c a n Q R
C o d e o n t h e d e v i c e . Fo l l o w t h e
ste p s t o a d d t h e d e v i c e
1
1. You will need to press the SET buon once again if the device failed to connect to the cloud
2. Pressing the SET buon at any other me aer this inial process will result in the LED blinking
red once, only. This indicates the device is connected to the cloud and is funconing normally
3. If the red LED does NOT blink as noted this may indicate a problem with the sensor. Please see
the troubleshoong secon and the contact secon for technical support
Press the SET buon once to turn
on the device. The Status LED will
blink red once, then green several
mes, indicang your device has
connected to the cloud and is
ready to use
2
Outdo or Moon Sensor
Mad e in Chin a SN: 7 80000 0001
Mod el: YS7 805 -UC
Ba ery : 2 AA, 3 V DC
FCC I D: 2ATM77 805
SET Buon
5

D. Installaon
Test your outdoor moon sensor locaon before affixing the plate to the surface. Use masking
or painters tape to secure the sensor to the surface, being careful to not obscure the detecon
window. Once you have the sensor temporarily mounted, test it out. With the app in hand,
walk into the intended detecon area while observing the status of the sensor as shown on the
app (Moon Detected or No Moon Detected). Oponally, you may set up your automaon
(e.g. turn on a light on moon detecon) to funconally test the moon - proceed to the
following steps for informaon on creang automaons, then return to this step
Depending on the locaon, the height and/or distance from your intended moon-detecon
area, it may be possible that your outdoor moon sensor responds slower than desired or too
soon. Experiment with several locaons unl the sensor responds as desired
The outdoor moon sensor responds best to moon across the coverage area (refer to page 4),
as opposed to directly towards the outdoor moon sensor. With the detecon window aimed
towards a door, which is not an ideal applicaon
As your sensor ulizes heat detecon technology, avoid locaons subject to rapid temperature
changes, direct sunlight, or near heat sources such as heang registers, vents, radiators, space
heaters, fireplaces, etc. All these environmental factors may cause false alarm and/or damage
to the PIR sensor
D-1. Test the Outdoor Moon Sensor Locaon Before Installaon
Avoid being installed in the locaon where is easily touched by small animals, such as cat, dog,
etc.
6

1. Avoid di recng the sensor near
sur rounding areas with movement or
ac v ity (such as a nearby road) t h at
may cause false alerts.
2 . Fa c t o rs s u c h a s t e m p e ra t u r e c a n
a d v e r s e l y i m p a c t t h e o p m a l ra n g e
a n d p e r fo r m a n c e o f t h e s e n s o r.
D-2. Installaon Diagram
7
Detecon Range:
~ 0 - 40 feet
(0 - 12 meters)
We recommend mounng the moon sensor on a sturdy, non-metal surface, like a wall or a
wooden post or a tree
Detecon Angle:
The opmal detecon angle is
across the direcon of moon, or
90°, similar to a gate across your
driveway, as shown right

8
D-3. Sensor Coverage Diagram:
Horizontal: 60°
Vercal: 30°

9
B: Keep the plate hori zo ntal to th e floo rA: K e e p t h e p l a te v e r c a l t o t h e fl o o r
D- . 4 Installaon Method
D-5. These Tools May be Required
Phillips Screwdriver Pencil

M o u n t t h e p l a t e w i t h t h r e e o f t h e
f o u r w a l l s c r e w s
2
10
D-6. Begin Installaon
Mark an outline (with a pencil, tape,
etc.) of the mounng plate on the
m o u n n g s u r f a c e f o r f u t u r e
reference aer TESTING
1
B.
Keep the arrow
o n t h e p l a t e
upward
Do NOT over-ghten
the screws

Method A Installaon
3
B.
Tig hten the pl ate w it h t h e fou rt h s c rew
3-3
A d j u s t t h e a n g l e o f y o u r s e n s o r s o t h a t
i t i s l o o k i n g a t y o u r t a r g e t a r e a
3-1
Ti g hte n t h e s c re w se c u r el y u s i n g a p hi l li p s
sc re wd r i v e r
3-2
11

Method B Installaon
4
G e n t l y t u r n o v e r t h e s e n s o r s o t h a t t h e
f o u r t h s c r e w h o l e i s v i s i b l e . T i g h t e n t h e
f o u r t h s c r e w h o l e w i t h t h e s c r e w
4-1 A d j u s t t h e a n g l e o f yo u r s e n s o r s o t h a t
it i s l o o k i n g a t yo u r ta rg et a re a
4-2
Tighten the screw securely using a phillips
screwdriver
4-3
B.
12

E. Using the YoLink App
E-1. Device Page
Connecon Status
of and HubOutdoor Moon Sensor
Baery Level
of Outdoor Moon Sensor
Shown red if baery level is low-
Details
- Tap to go to Details page(refer to page 14)
Device alert history
Moon detected and cleared events,
logged with date & me
Real-me status of Moon Sensor:
No moon detected or moon detected
13
- Tap to get device manual link, feedback, contact us informaon, etc.

E-2. Details Page
1. Change Sensivity will shorten the detecon range
2. Aer changing “Alert LED Light”, “Time to enter No-Moon State” and / or “Sensivity” sengs, press
the device’s SET buon once, to sync the new sengs to the device. Otherwise, the device will
automacally update within 4 hours (maximum)
14
f. Add/Remove from favorites
a. Device Type
c. Choose a Room for device
e. Alert LED Light Sengs
- Enable or disable LED light when device alerts
b. Rename the Device
d. Alert Sengs
- Enable or disable alerts
I. Device Alert History
Moon detected and cleared events, logged with date & me
g. Restore Device to normal monitoring status aer no moon detected for
a set me
- Default is set to be 1 minute
h. Switch Sensivity of detecon for the Outdoor Moon Sensor: High,
Medium, Low (Default is high)
- Tap to get device manual link, feedback, contact us informaon, etc.

15
j. Real-me Status: Normal, Warning
k. Device Model
l. Device EUI (unique)
m. Device SN (unique)
o. Connecon Status of sensor and Hub
p. Current Baery Level
Shown red if baery level is low-
q. Firmware Version
- “#### ready now (refer to page 23)” indicates a new update is available
r. Remove Device From Current Account
Tap to delete the device from your YoLink account-
n. Temperature Value
- Updates when:
1. SET buon pressed
2. On a device alert
3. Baeries are replaced
4. Automacally within 4 hours maximum

E-3. Device Alerts
Your outdoor moon sensor may be oponally used for security/intrusion detecon (rather
than for the control of home lighng). Enable alerts in device sengs to use your moon
sensor for intrusion detecon or other crical funcons. Upon the detecon of moon, an
alert will be sent to your YoLink account
2. One excepon is that if someone
stays sll in the room for more than
one minute, another alert will be
sent when the person starts
moving again
1. Aer the first alert, subsequent
alerts will be sent every 30 minutes
i f th e mo o n s e n s o r ke e p s
detecng moon
16

E-4. Automaon
Outdoor Moon Sensor can be set as a trigger only, with two trigger opons: Moon Detected; No
Moon Detected
a. Tap the “+” icon to add
an automaon
b. Add an automaon
b-1 Edit name
b-2 Edit trigger
b-3 Edit behavior (You must have at least one acon
device, or you cannot set a behavior)
b-4 Edit when (Set a me range for the automaon:
always or during specific days or mes)
b-5 Tap to save the sengs
1. Tap “ ” buon to enable or disable the
automaon
2. Swipe le to view the history logs and to edit or
delete the automaon
c. Click to edit the automaon
Swipe Le
a.
Go to the “Smart” screen, tap “Automaon”
17
b-1
b-2
b-3
b-5
b-4
c.
Table of contents
Other Yolink Accessories manuals

Yolink
Yolink YS7704-UC User manual

Yolink
Yolink YS6704-UC User manual

Yolink
Yolink YS7804-UC User manual

Yolink
Yolink YS7201-UC Operation manual

Yolink
Yolink YS7704-UC User manual

Yolink
Yolink Plug Mini YS6604-UC User manual

Yolink
Yolink YS6602-UC User manual

Yolink
Yolink YS7904-UC Operation manual

Yolink
Yolink YS7704-UC User manual

Yolink
Yolink YS7903-UC User manual